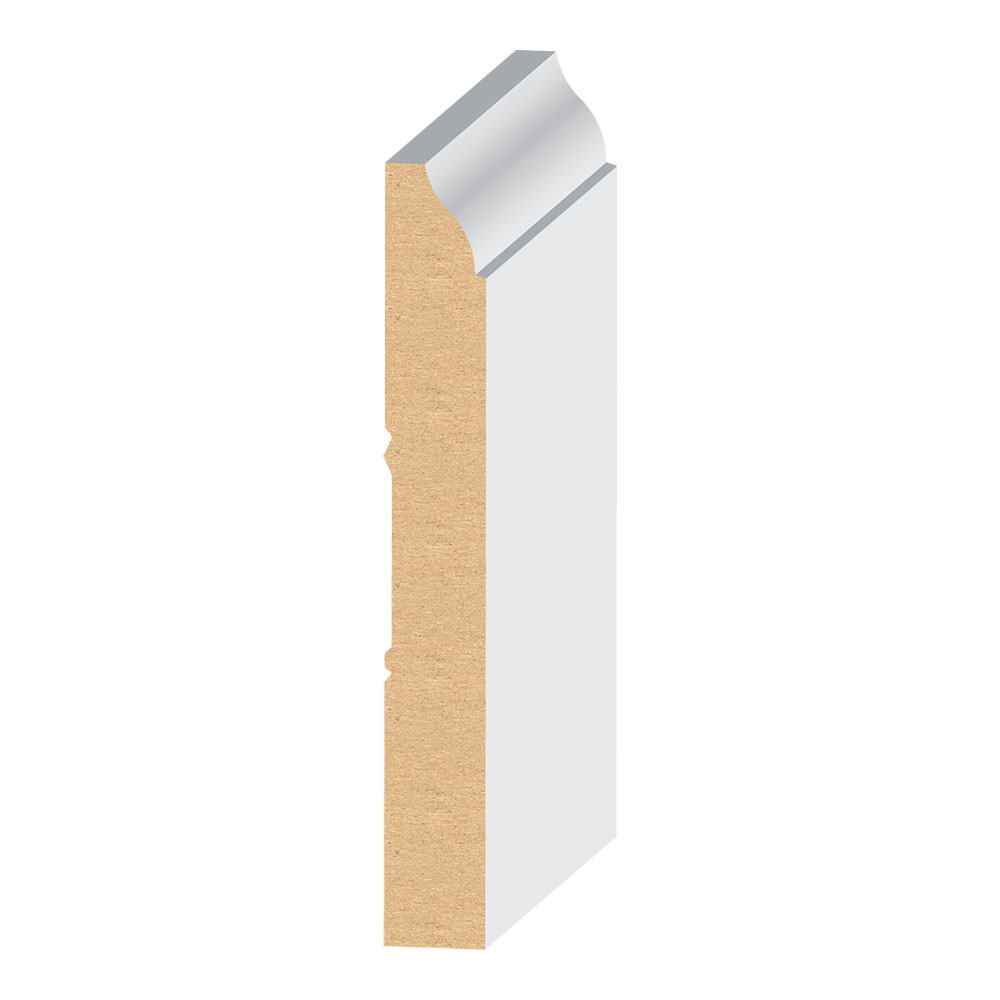
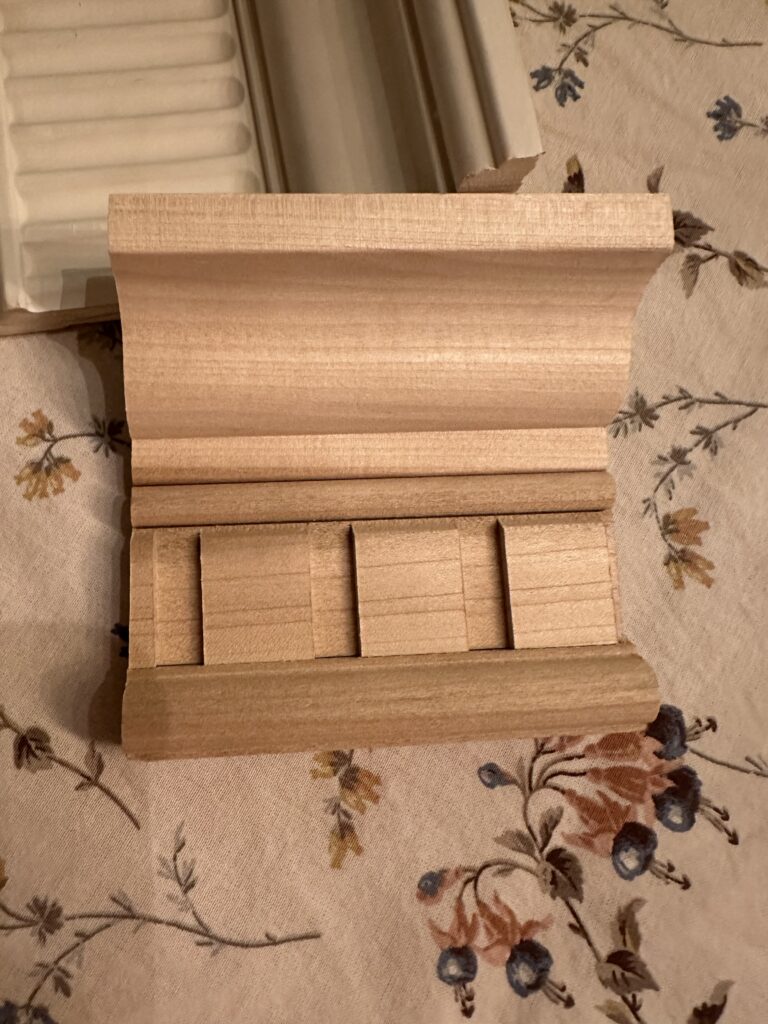
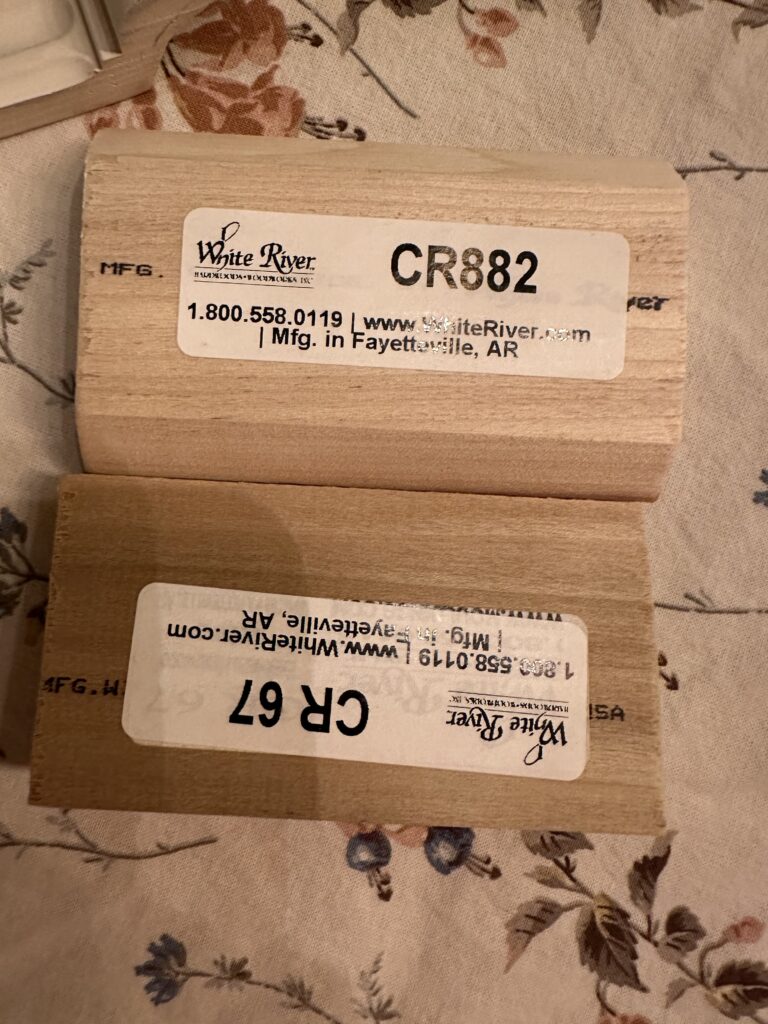
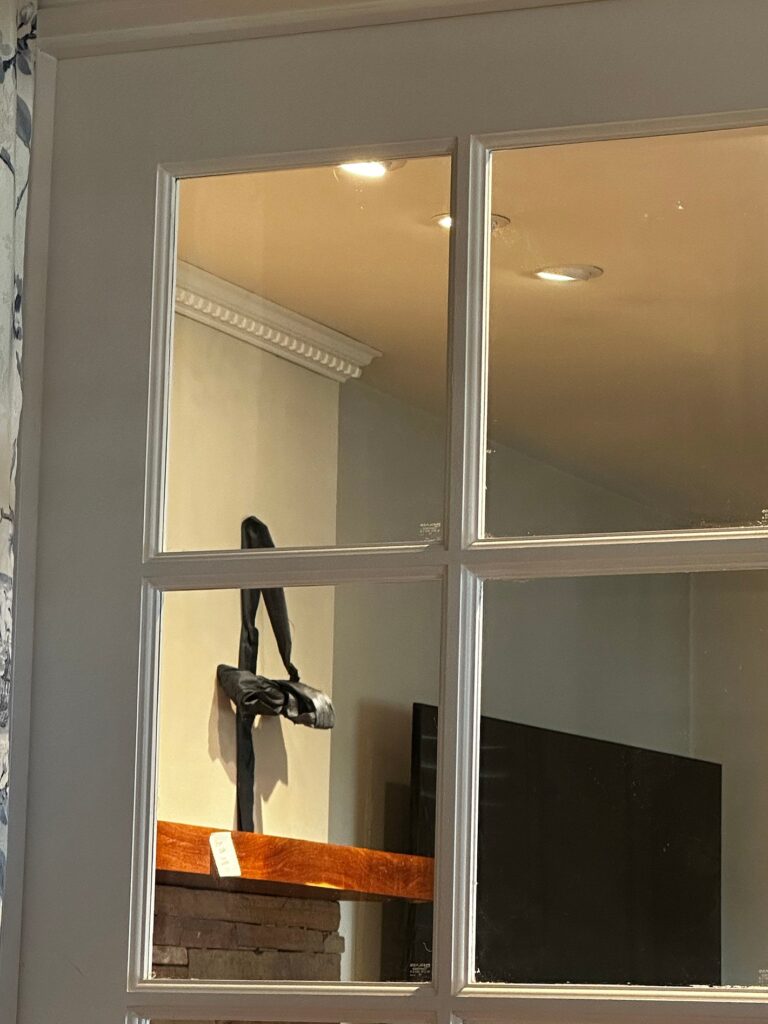
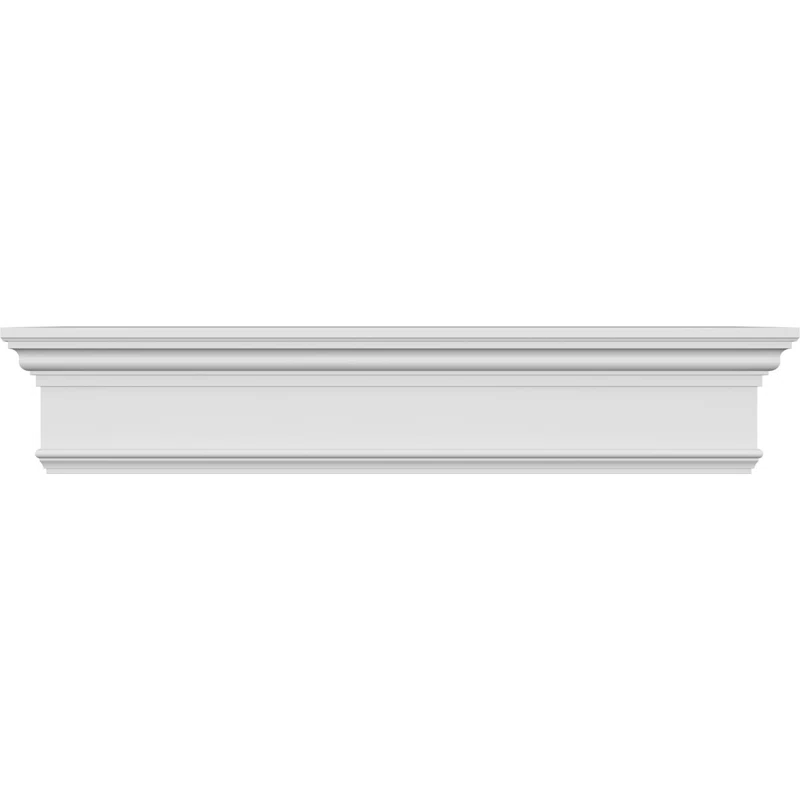
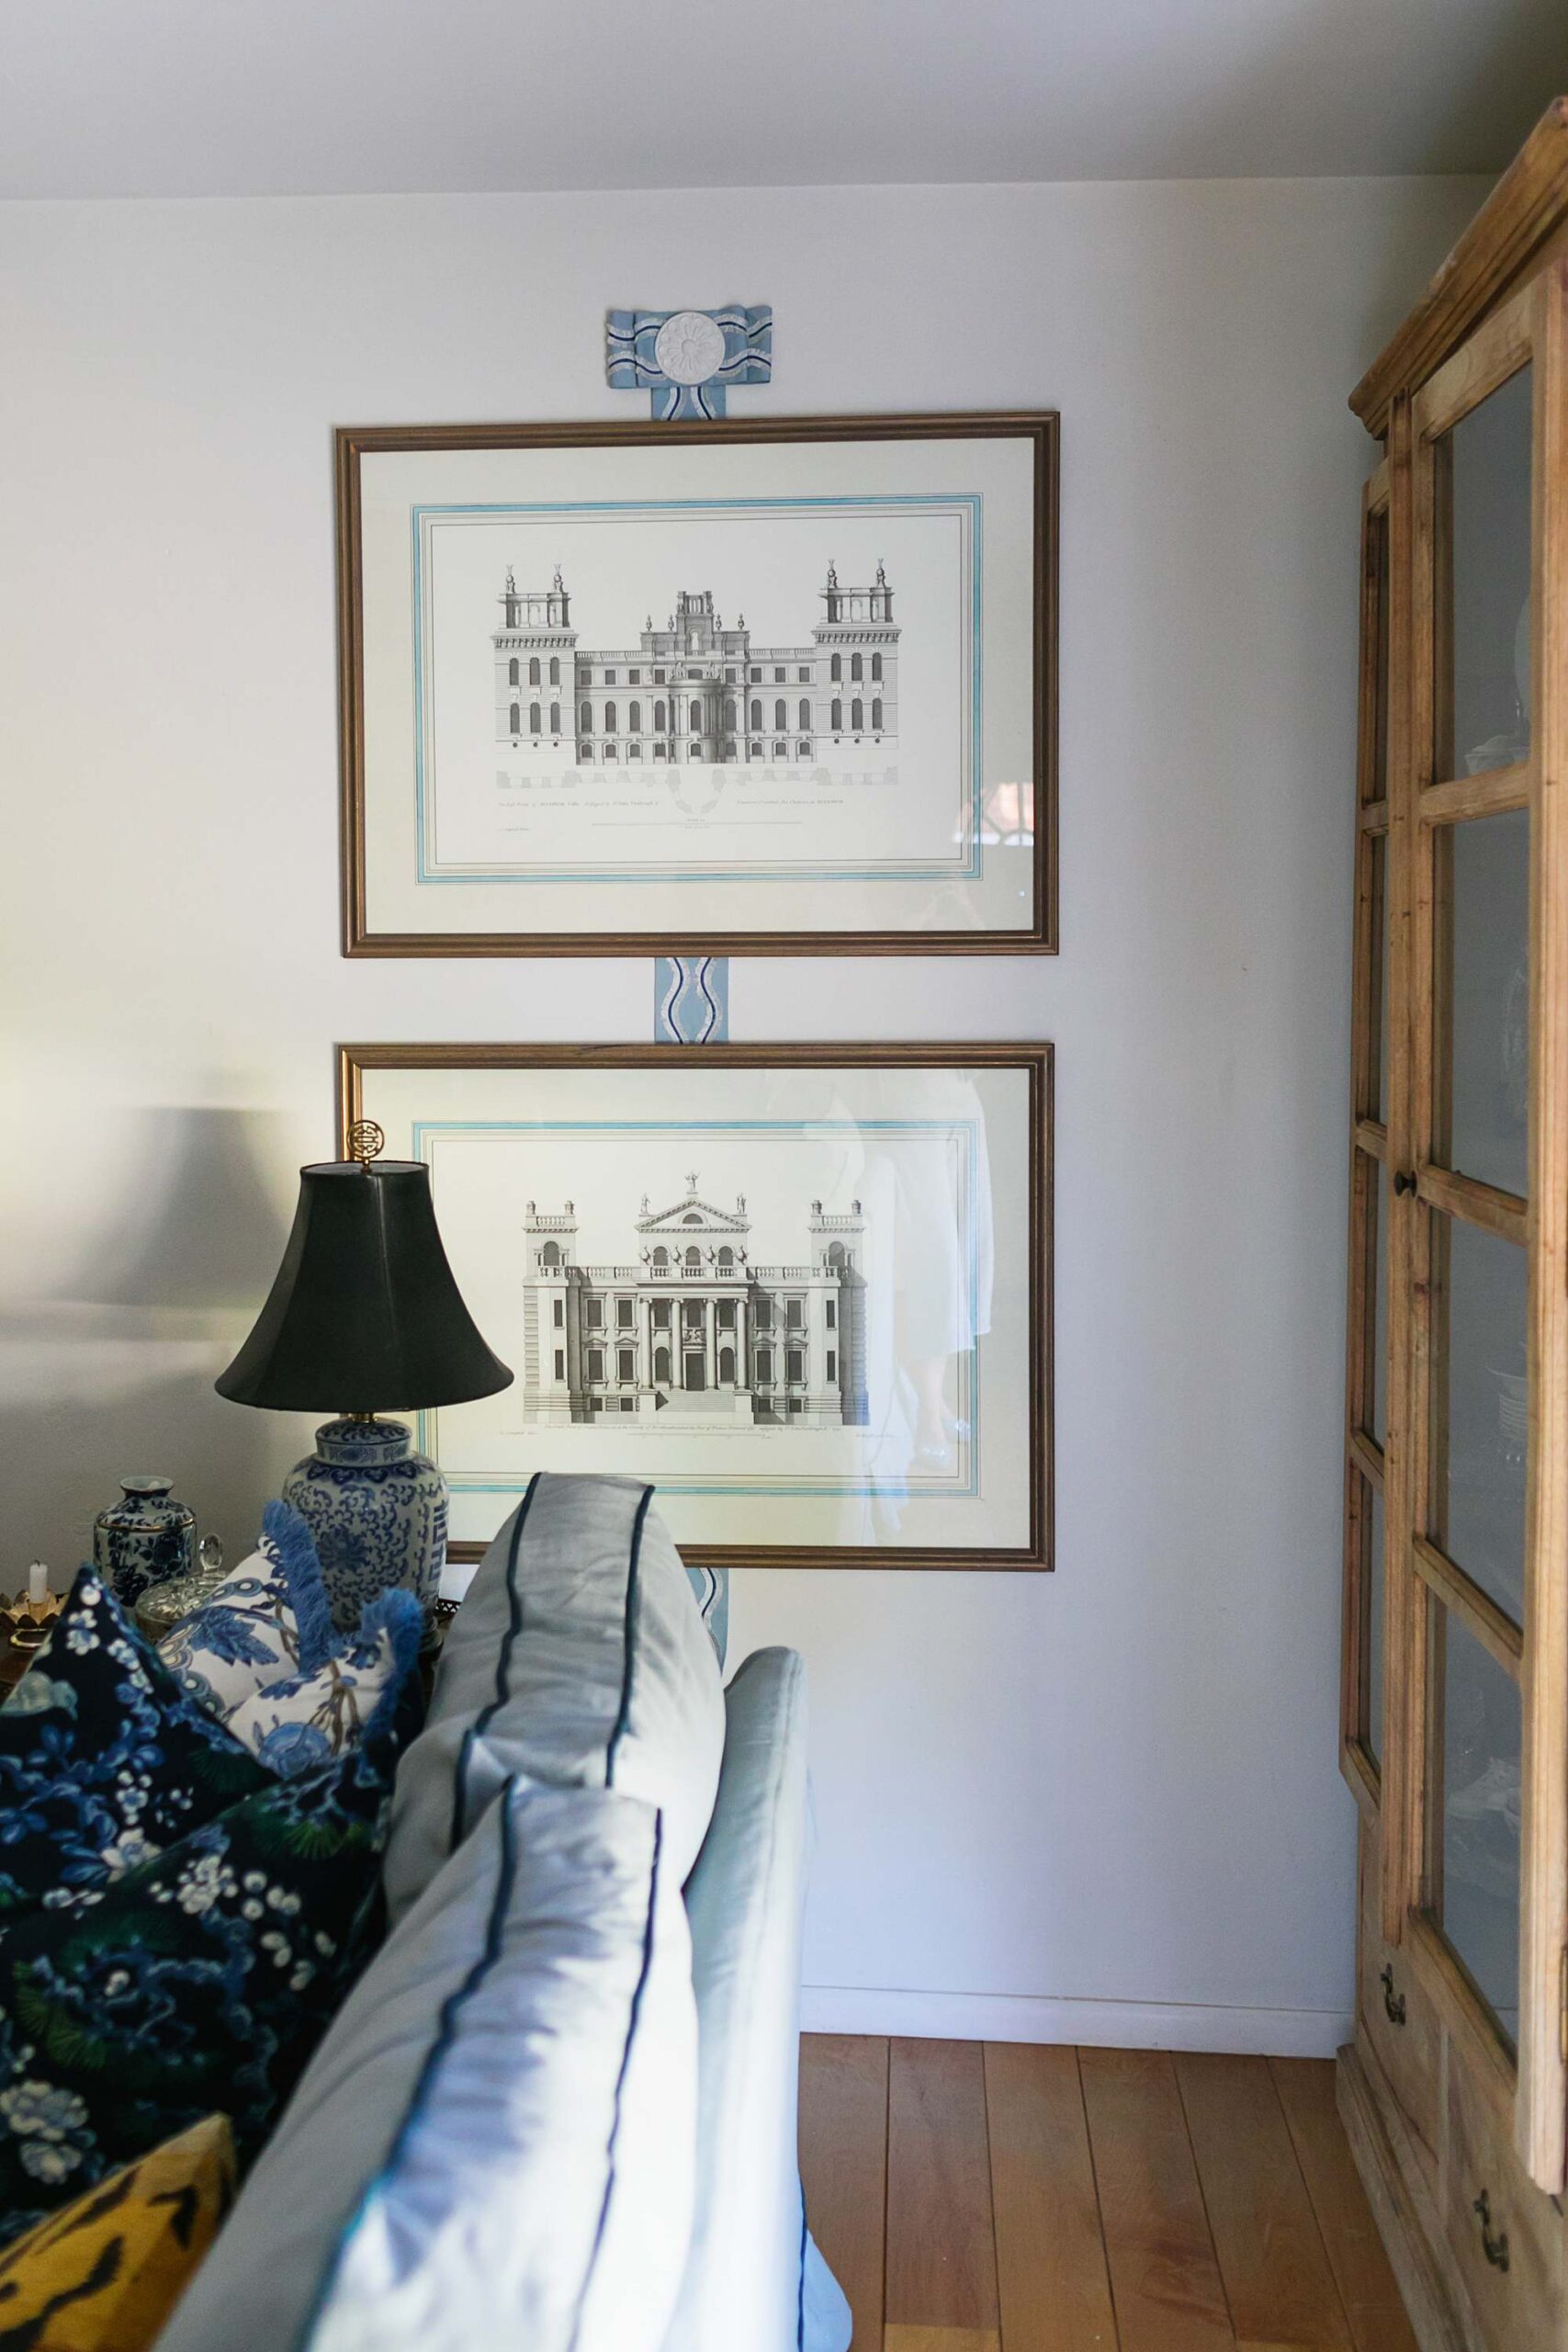
Crown Molding is going up as we speak…

It’s true, I’m sitting in my office while Luke of Artisan Custom Cabinets is installing our dental crown molding. We’ve worked with Luke before his older brother owned Hill Farm Design but moved. They did our master closet dressing room and open air garage.

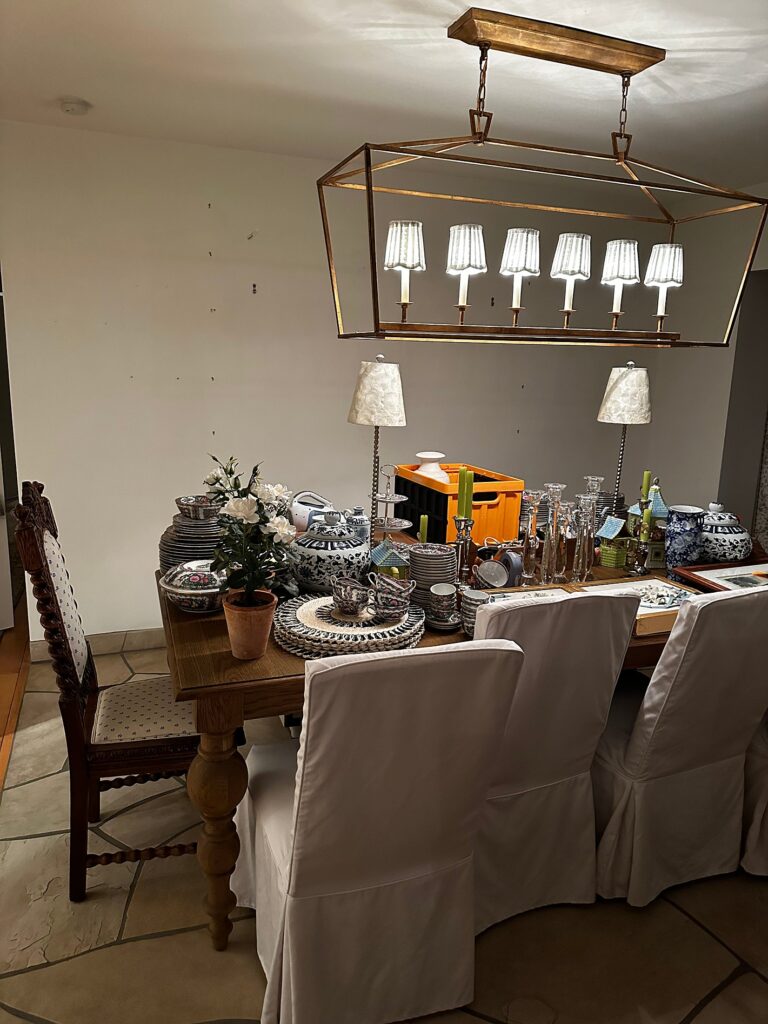
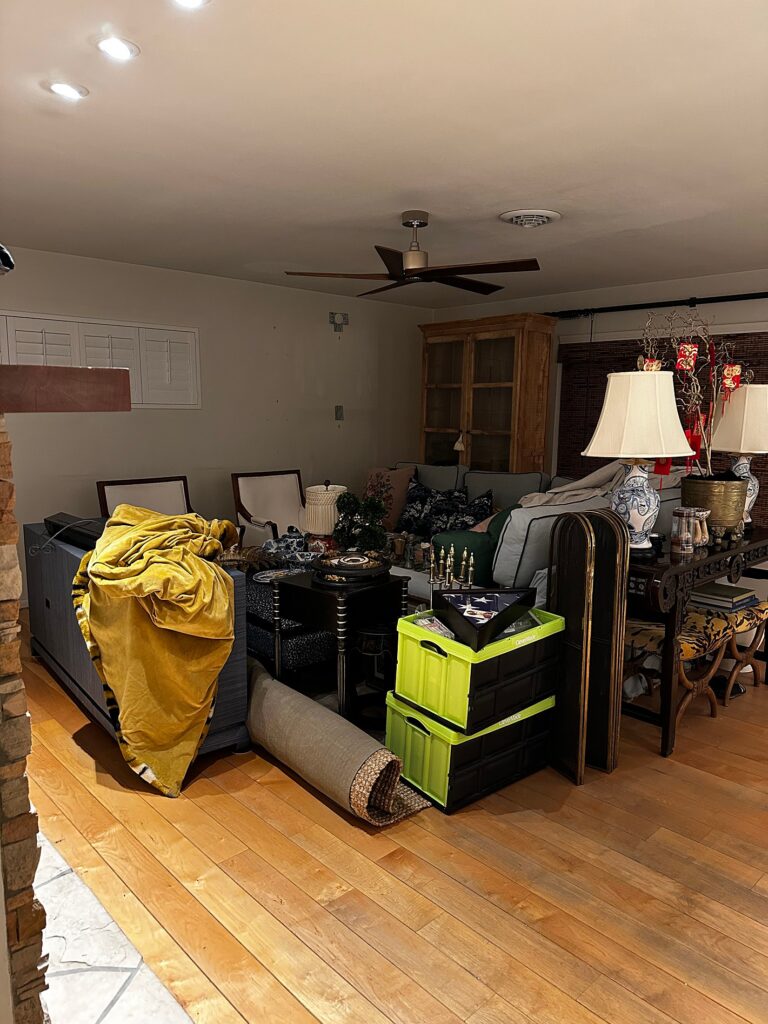
Saturday we took down everything and moved the furniture. Luke requested 3′ from the walls, we did it!

It looks like we are moving and it echos in the living and dining room. It feels surreal, like I don’t think I will ever see this house empty like this, but one day some people will…

So it’s time to enjoy our home while it’s ours during our lifetime! :) 


Prep tips:

  • Start the detailed molding (if yours is detailed like dentil) at the focal point – like a fireplace so it’s even.
  • I put post-its on everything so I know which order they go back on the wall because some things aren’t perfectly the same on the back like hanging plates or shelves! The nails stay in the walls of course.
  • Now’s the time to fill in little holes in your wall. this “putty stick” from Amazon is just white and if you have white walls like me you just fill it and forget about it. 

I thought I’d share what molding we went with! I wanted a rim with a dentil or an egg and dart, so I’m pretty traditional. I didn’t just want the normal crown molding, I’m not sure why I just needed something with more detail because I’m extra. One molding guy came over to give a quote and told me they don’t make dentil molding anymore and laughed at me. 

Then when he left I laughed at him because no one tells me no and seriously what was he talking about?

But I knew Luke would never tell me no because that’s not a word I will listen to, it can happen! He made it happen and researched and found me some options, dropped off samples and I picked one. 

Our Crown Molding

This is our dentil crown molding from White River that is going up now. It is CM8852. 

It’s small in height, 2 5/8″ and perfect for our 8′ ceilings in the living and dining room. I used to be against crown molding thinking it would make the place shorter but you know what, it is what it is, forget trying to trick the eye, just make it beautiful and no one cares about the size of the room or ceiling height.

Be aware: If you go with this, caulk the seam between the dentil and the top molding before you prime and paint. It cracked and separated on mine that our painter is going to have to caulk it and paint over it. Use a paintable caulk that expands and contracts too.

HUGE TIP with a molding with detail like dentil:

If there’s anything you need to read, please read this!!

If you have something detailed like a dentil, start where a focal point in the room is. That would be our fireplace. I want to make sure the dentil lined up perfectly even on both sides, then he could continue the rest of the room from either side from there. He agreed that was good thinking.

Know where you want the molding to MEET/end. Only important if you have a dentil molding detail or something similar that should like up like we do. Is it a corner? Which corner is least looked at? This is similar to if you wallpapered an entire room, you would end it behind the door corner. In this case, you would pick a least favorite corner of the room, or maybe where you enter so you wouldn’t look back. I discussed this with Luke and I won’t tell you where we decided to end it until the reveal. There were two corners and one was because a cabinet would be blocking it, but I still wasn’t sure if that was ideal incase I got rid of the cabinet and hang something there so we decided on a different corner! 

The new baseboards

4 1/4" height traditional baseboard molding

This our new baseboard molding. It only goes in the living room since the rest of the entertaining spaces have a flagstone baseboard. Different I know, but that’s our house!

It is 4 1/4″ height to match the current flagstone height we have in other rooms. We are not going to do it down the hall right now or in the bedrooms until we get into replacing the carpet, then we will finish it! But for now the entertaining rooms look great and no one will know except us and you reading this blog post. :) 


Additional Molding Style I considered

^^ This is not what we went with, but it was a contender. CR882 is the top basic small crown, and the flat dentil is CR 67. I had to stack them and it cost a lot more so I decided it wasn’t worth it. It’s still beautiful though, and there are the numbers if you want to research how much it would cost for your project.

I liked how it was smaller on top and flat on the wall making it appear taller, but…again, price. And stacking two moldings would probably be more labor intensive.

And this is my current view siting from my computer as I work…I’m trying not to be a creeper but I can’t help but run out of my office whenever Luke cuts the next piece. Haha! I can’t wait to get everything back up on the walls, but first, we still need to get to the baseboards and get our painter back in! I’ll keep you updated on the progress!

Header for dining room to garden room

7 1/4" height header lightweight to use inside or outside

I was trying to find a photo of the opening which is pretty much the expansion we did from the dining room to the garden room but I don’t have any probably because I try to avoid that basic opening.

I finally decided to add a header to it. I ordered 4″ preprinted boards from The Home Depot to frame the sides and I have an electric saw so I will cut it and install it myself to save money. I ordered two so it will be on both sides.

This was a custom order from a Wayfair vendor and I had measured it to a specific size. Fingers crossed it works out when it arrives!

Diana Elizabeth is an author, photographer, and obsessive thrift shopper. You can typically find her in the garden wrist deep in dirt, at a local estate sale or planning her next creative themed party. She continues to blog weekly.

POST COMMENT

Your email address will not be published. Required fields are marked *