

Fiebings, Edge Kote in Brown, $8 on Amazon / Fiebrings Edge Kote in Black, $11 on Amazon
Get both to mix for the right color
Even if you spent a lot of money on a designer bag or wallet, wear and tear happens, and a little DIY to fix your worn handbag strap or leather wallet will work with these affordable products from Amazon I tried myself.
There were a few options my girlfriend told me, go to a leather repairs shop (but leave my precious there?) or do it the “trashy way” she calls it, and use nail polish, haha! Hey whatever works, however how many of us have brown or black polish? And well, it’s not as flexible as leather edge paint.
But, let’s actually use a color-coating leather edge paint, it’s so inexpensive anyway!
Here’s what I used –
- Fiebings, Edge Kote in Brown, $8 on Amazon
- Fiebrings Edge Kote in Black, $11 on Amazon (prices fluctuate)
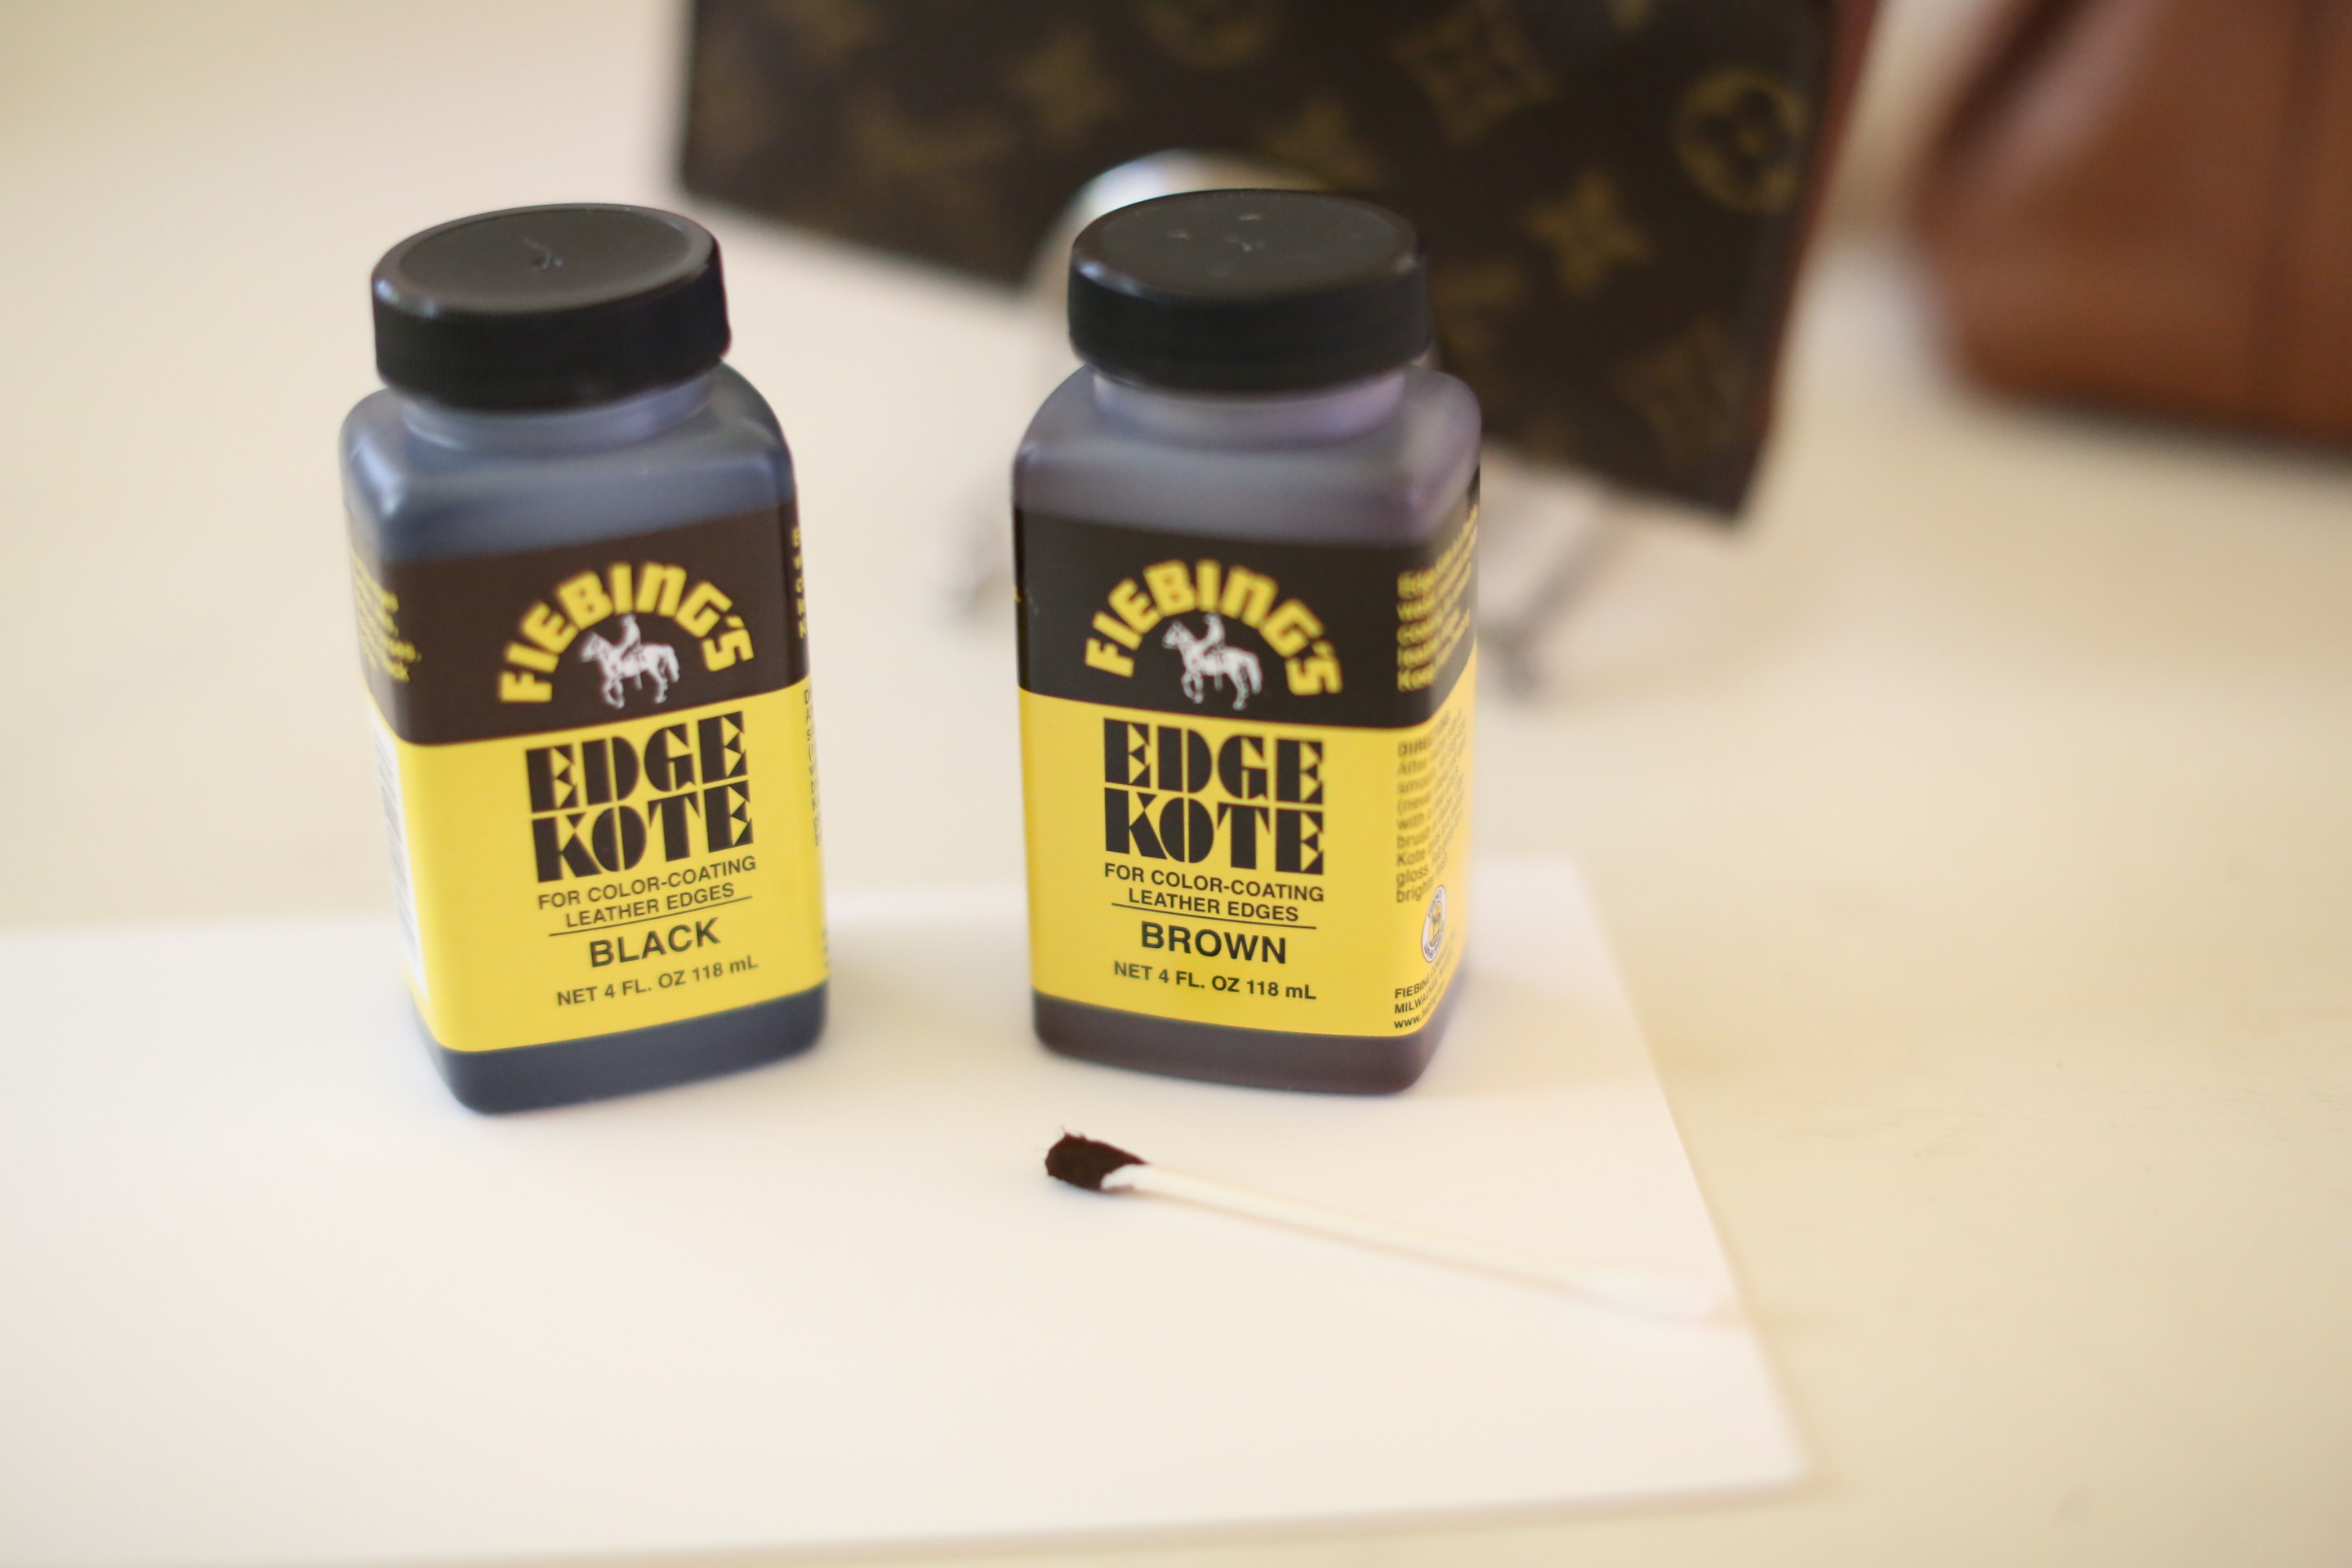 Fiebings, Edge Kote in Brown, $8 on Amazon / Fiebrings Edge Kote in Black, $11 on Amazon
Get both to mix for the right color
I bought both because I had a feeling the brown wasn’t dark enough and I wanted even the tiniest drop to make it a bit darker, just in case. Worth it! Buy both – it’s so cheap and much cheaper than going to a leather repair shop. You can do this yourself in minutes and save these products knowing you can spruce up your handbags and wallets in the future.
You could also use this technique to fix a leather belt, canvas like Louis Vuitton small wallet or purse strap.
How to Make Leather Handbag Straps Look
- You can do both sides of a strap if you want, just lay/rest the strap on a box close to hold it up while it dries.
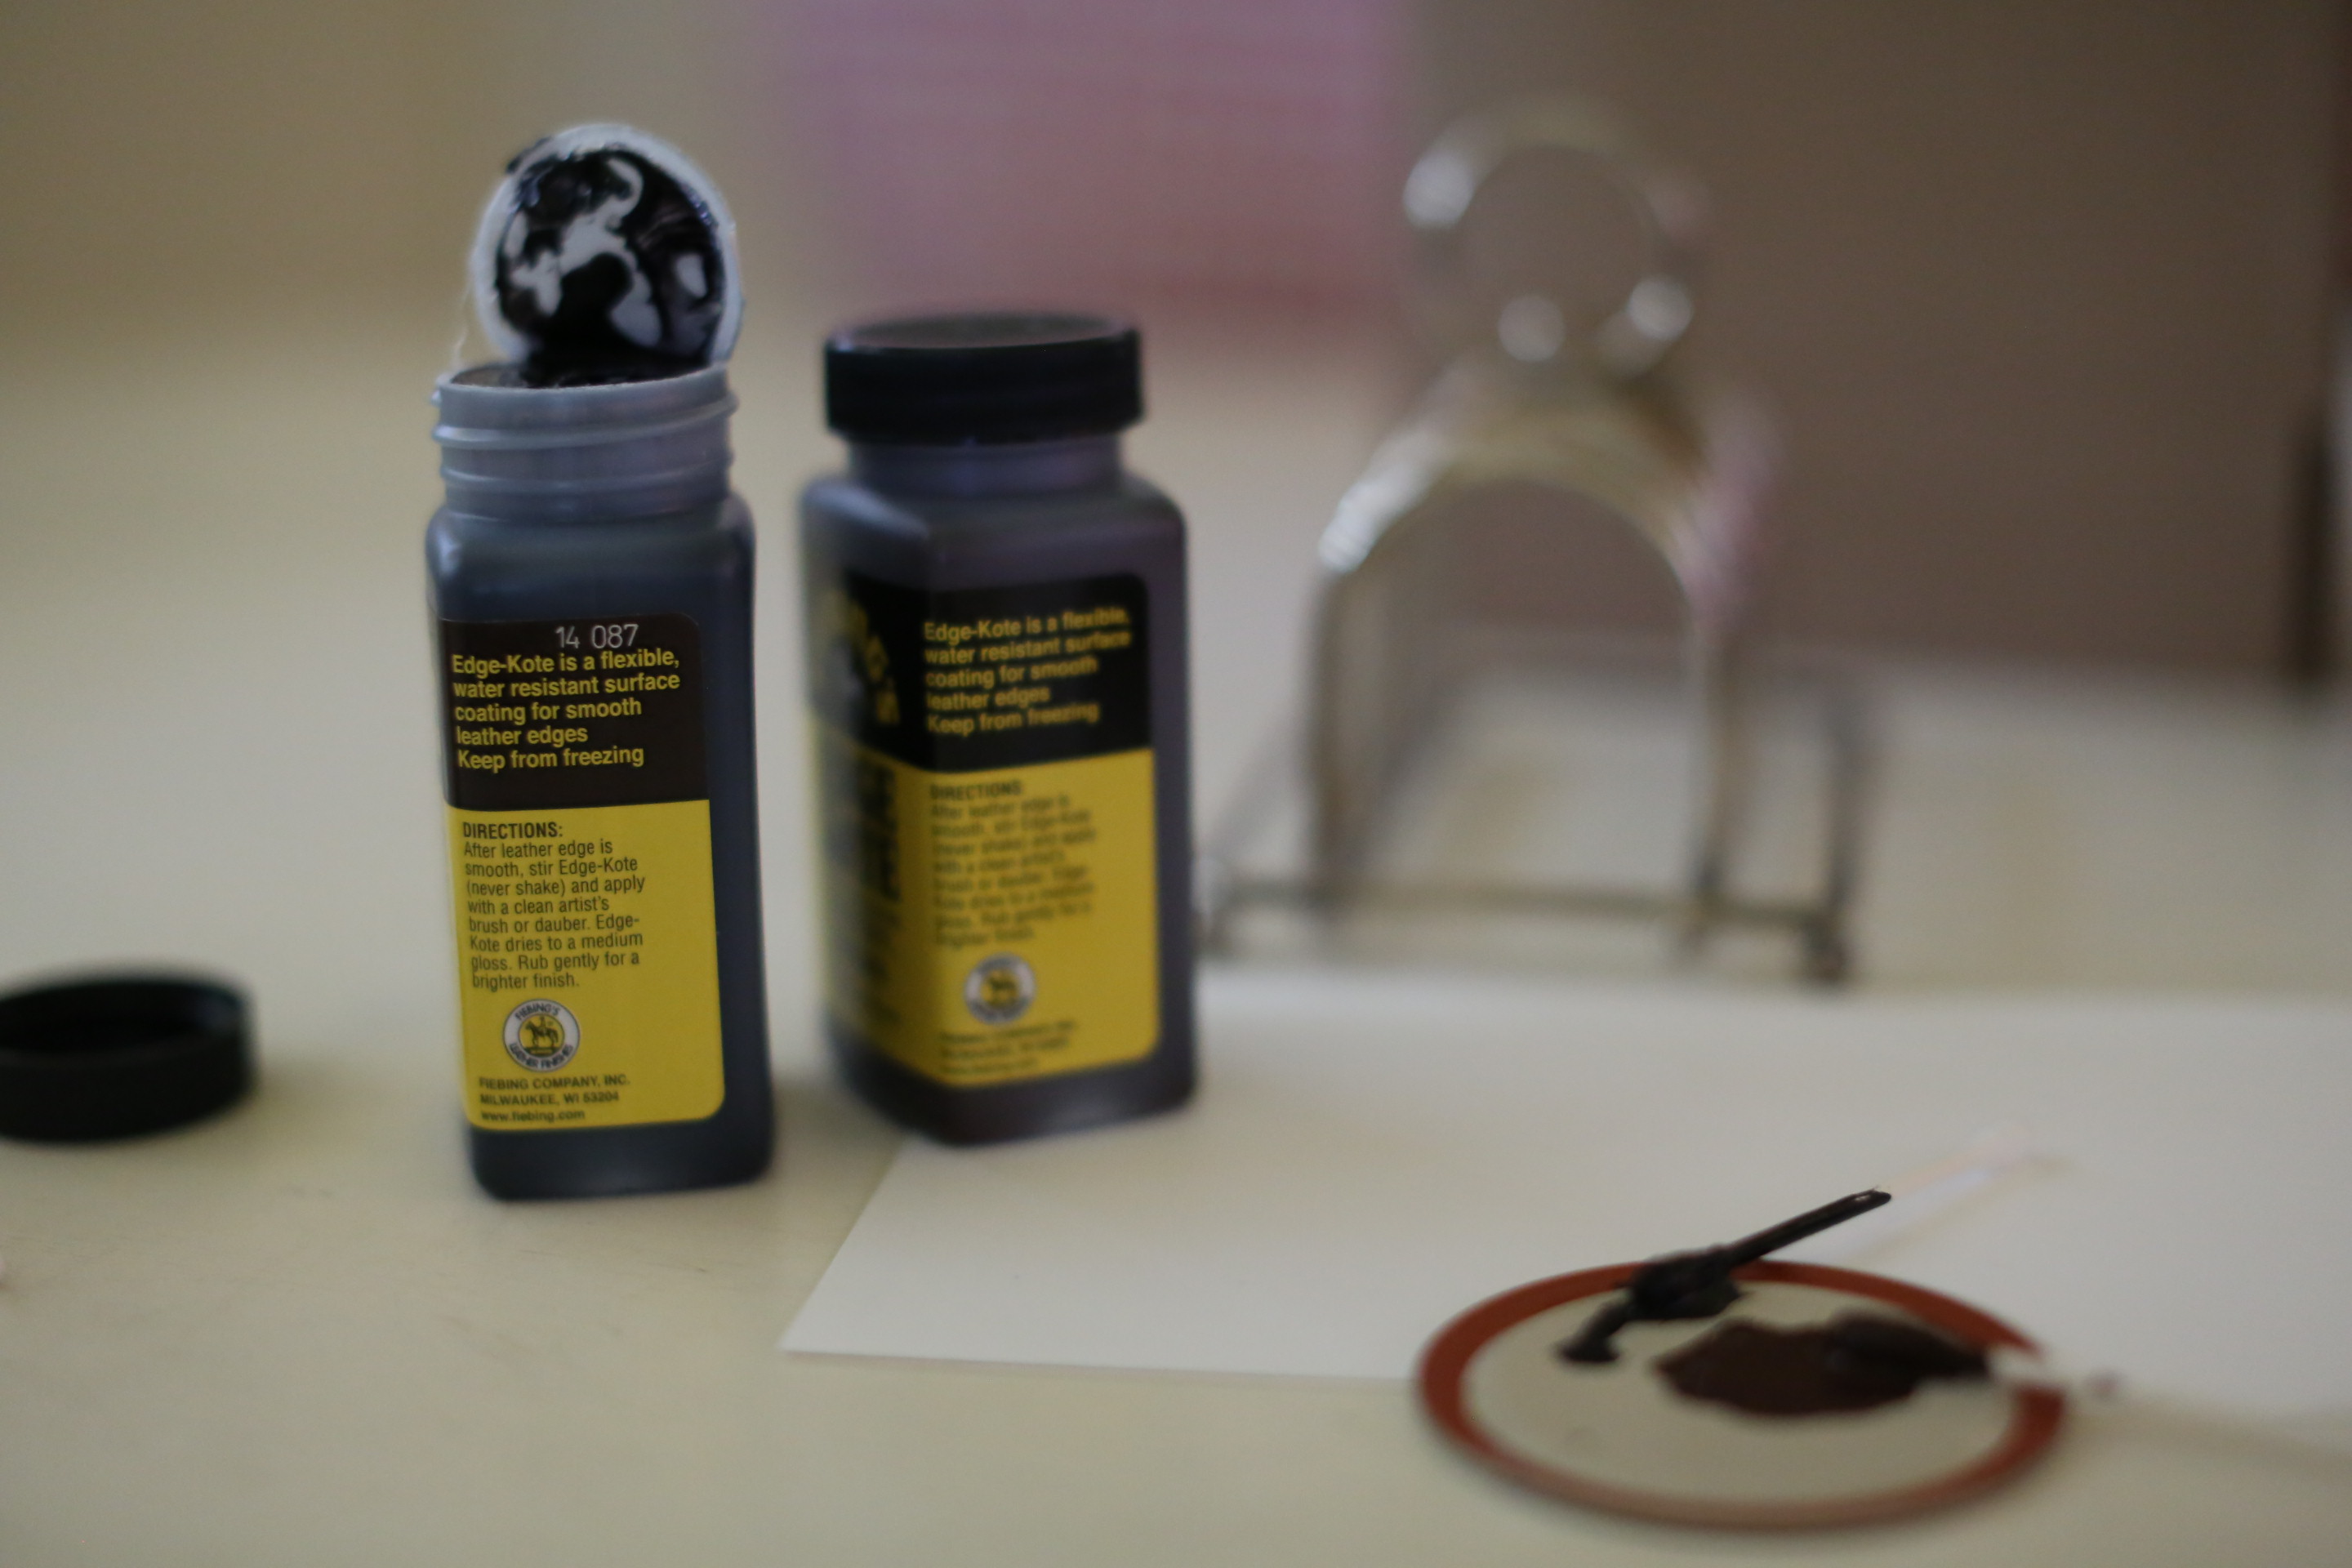
- Use a Q-tip – get a new one if it looks over saturated which may cause it to bleed over the edge
- A few coats might be needed to get it to match the rest of the thickness.
- Let dry at least 10 minutes
- Mix colors on a waxy magazine or something plastic. I used the top of a canning jar lid.
I rested my straps on a box.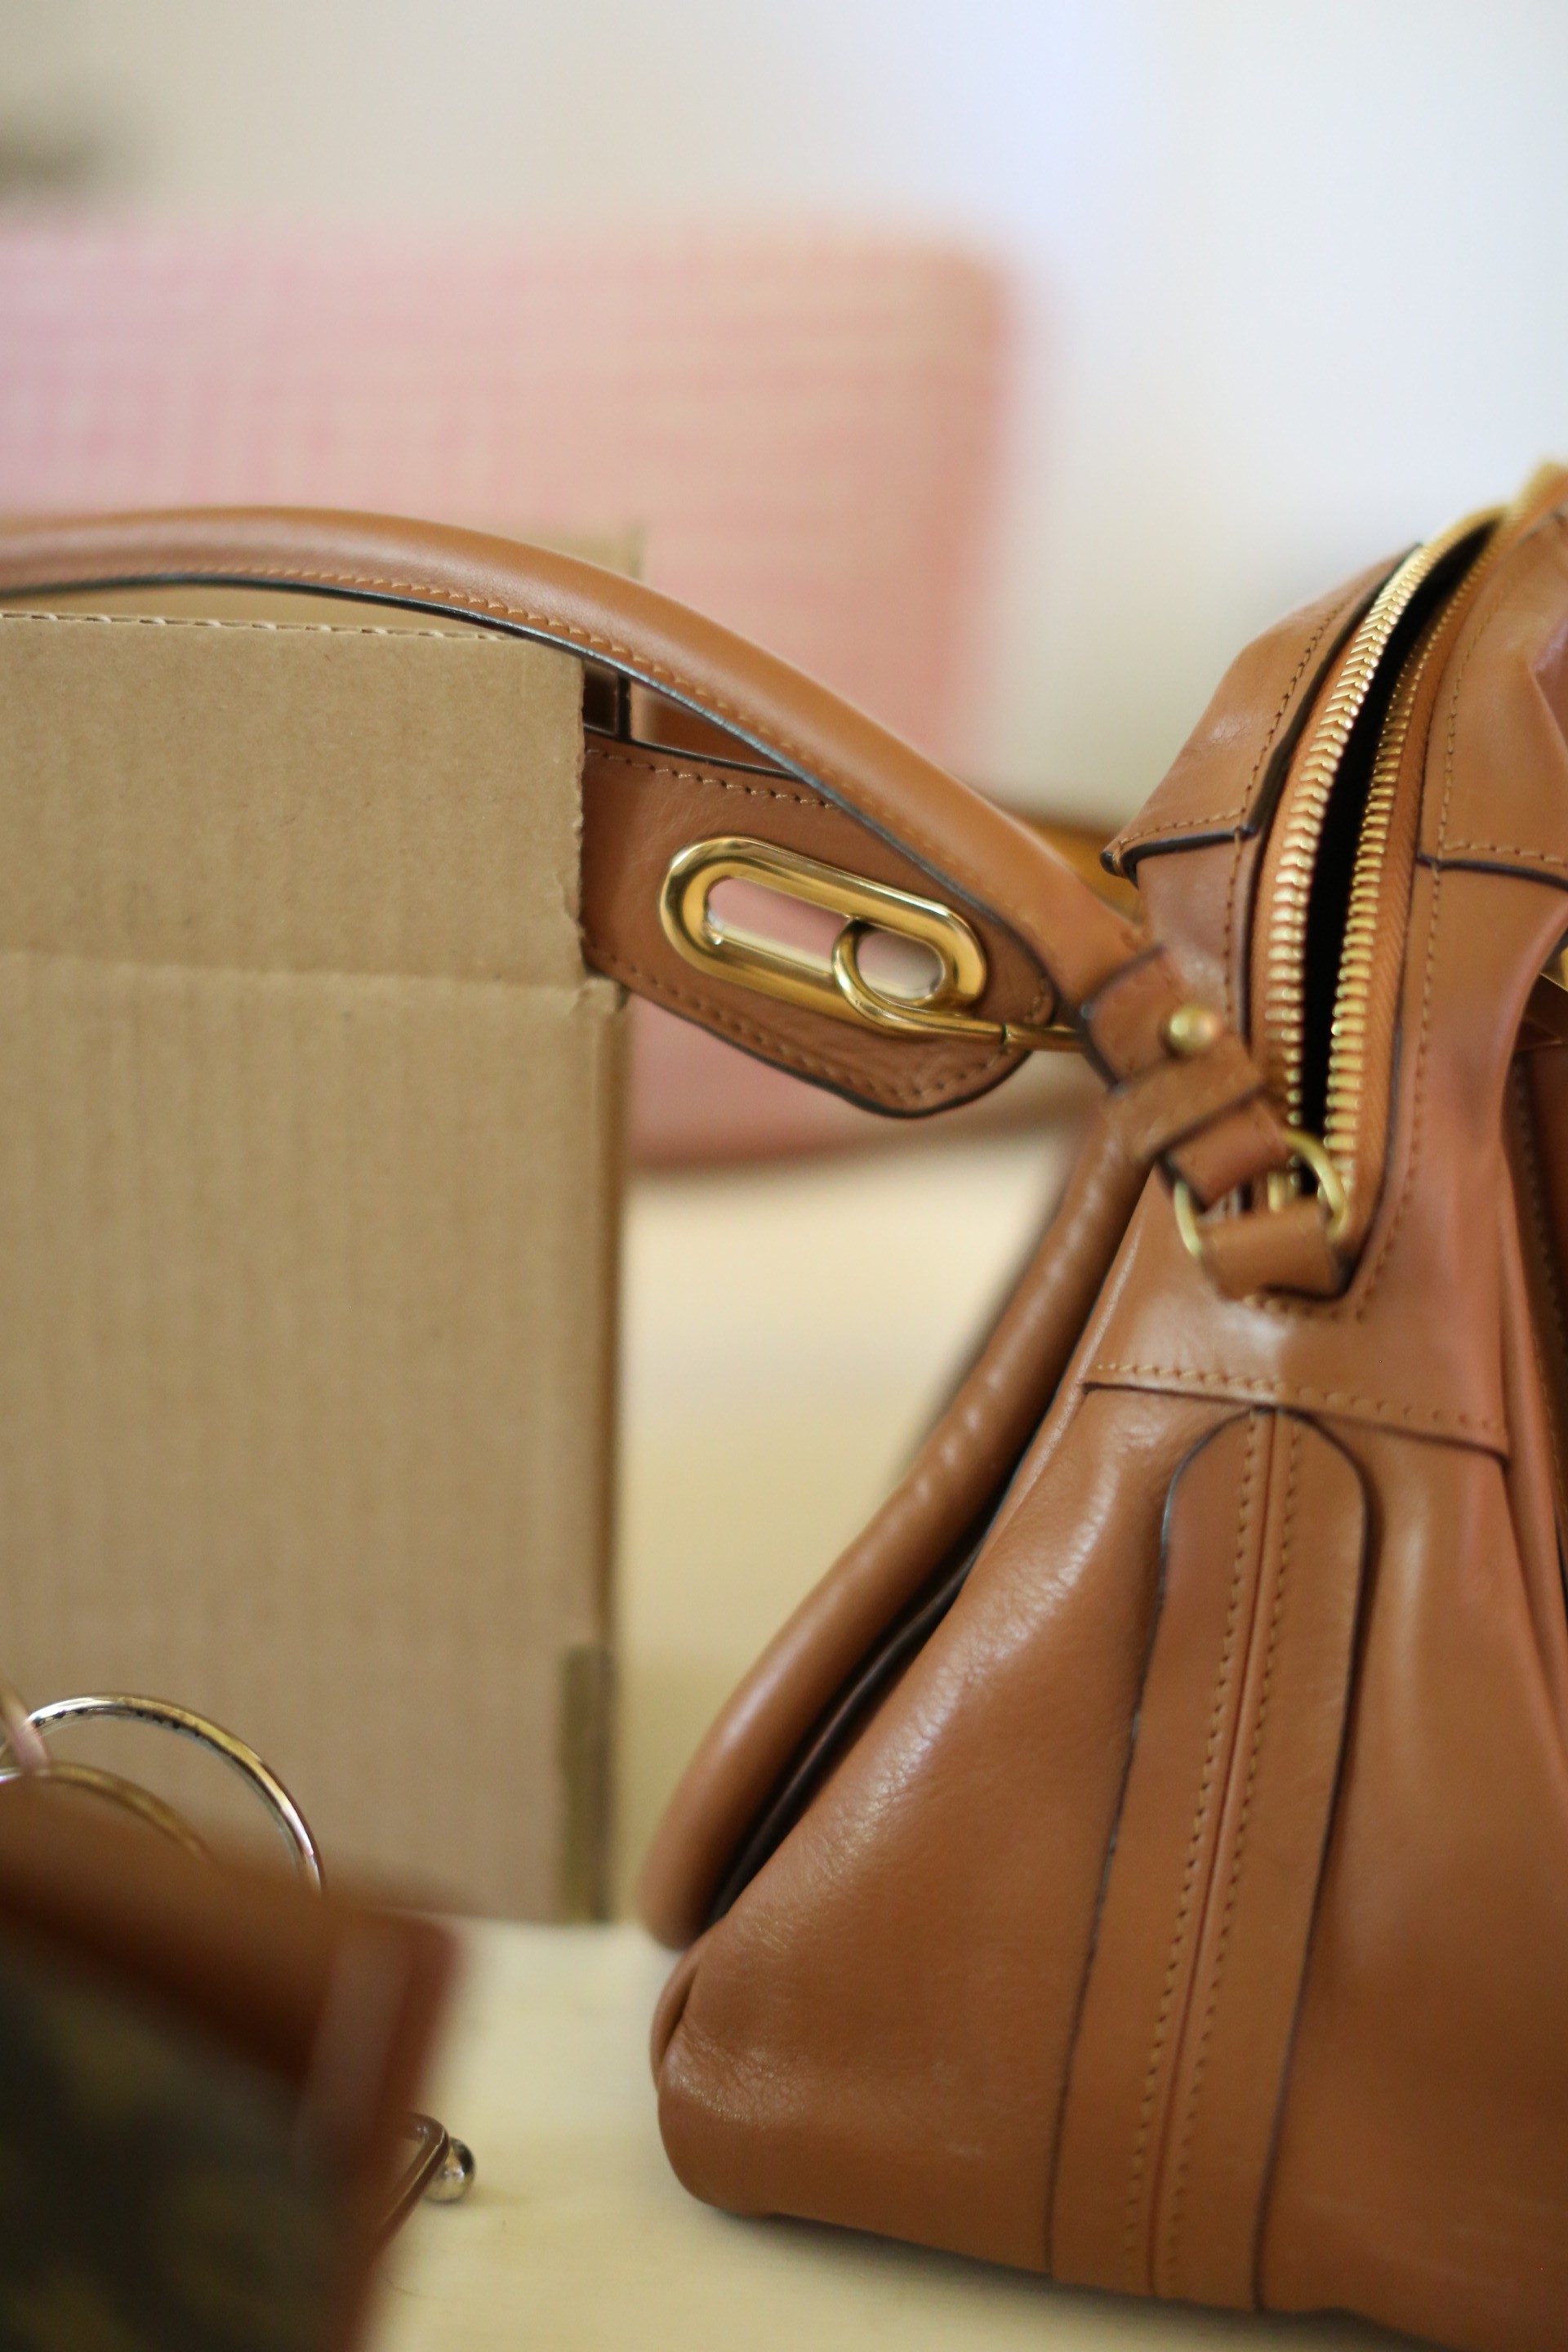
For my wallet to dry, I wedged it in my English toast rack – no it is not used for letters! However, I will use it sometimes when I do calligraphy for them to dry. I know, ridiculous American.
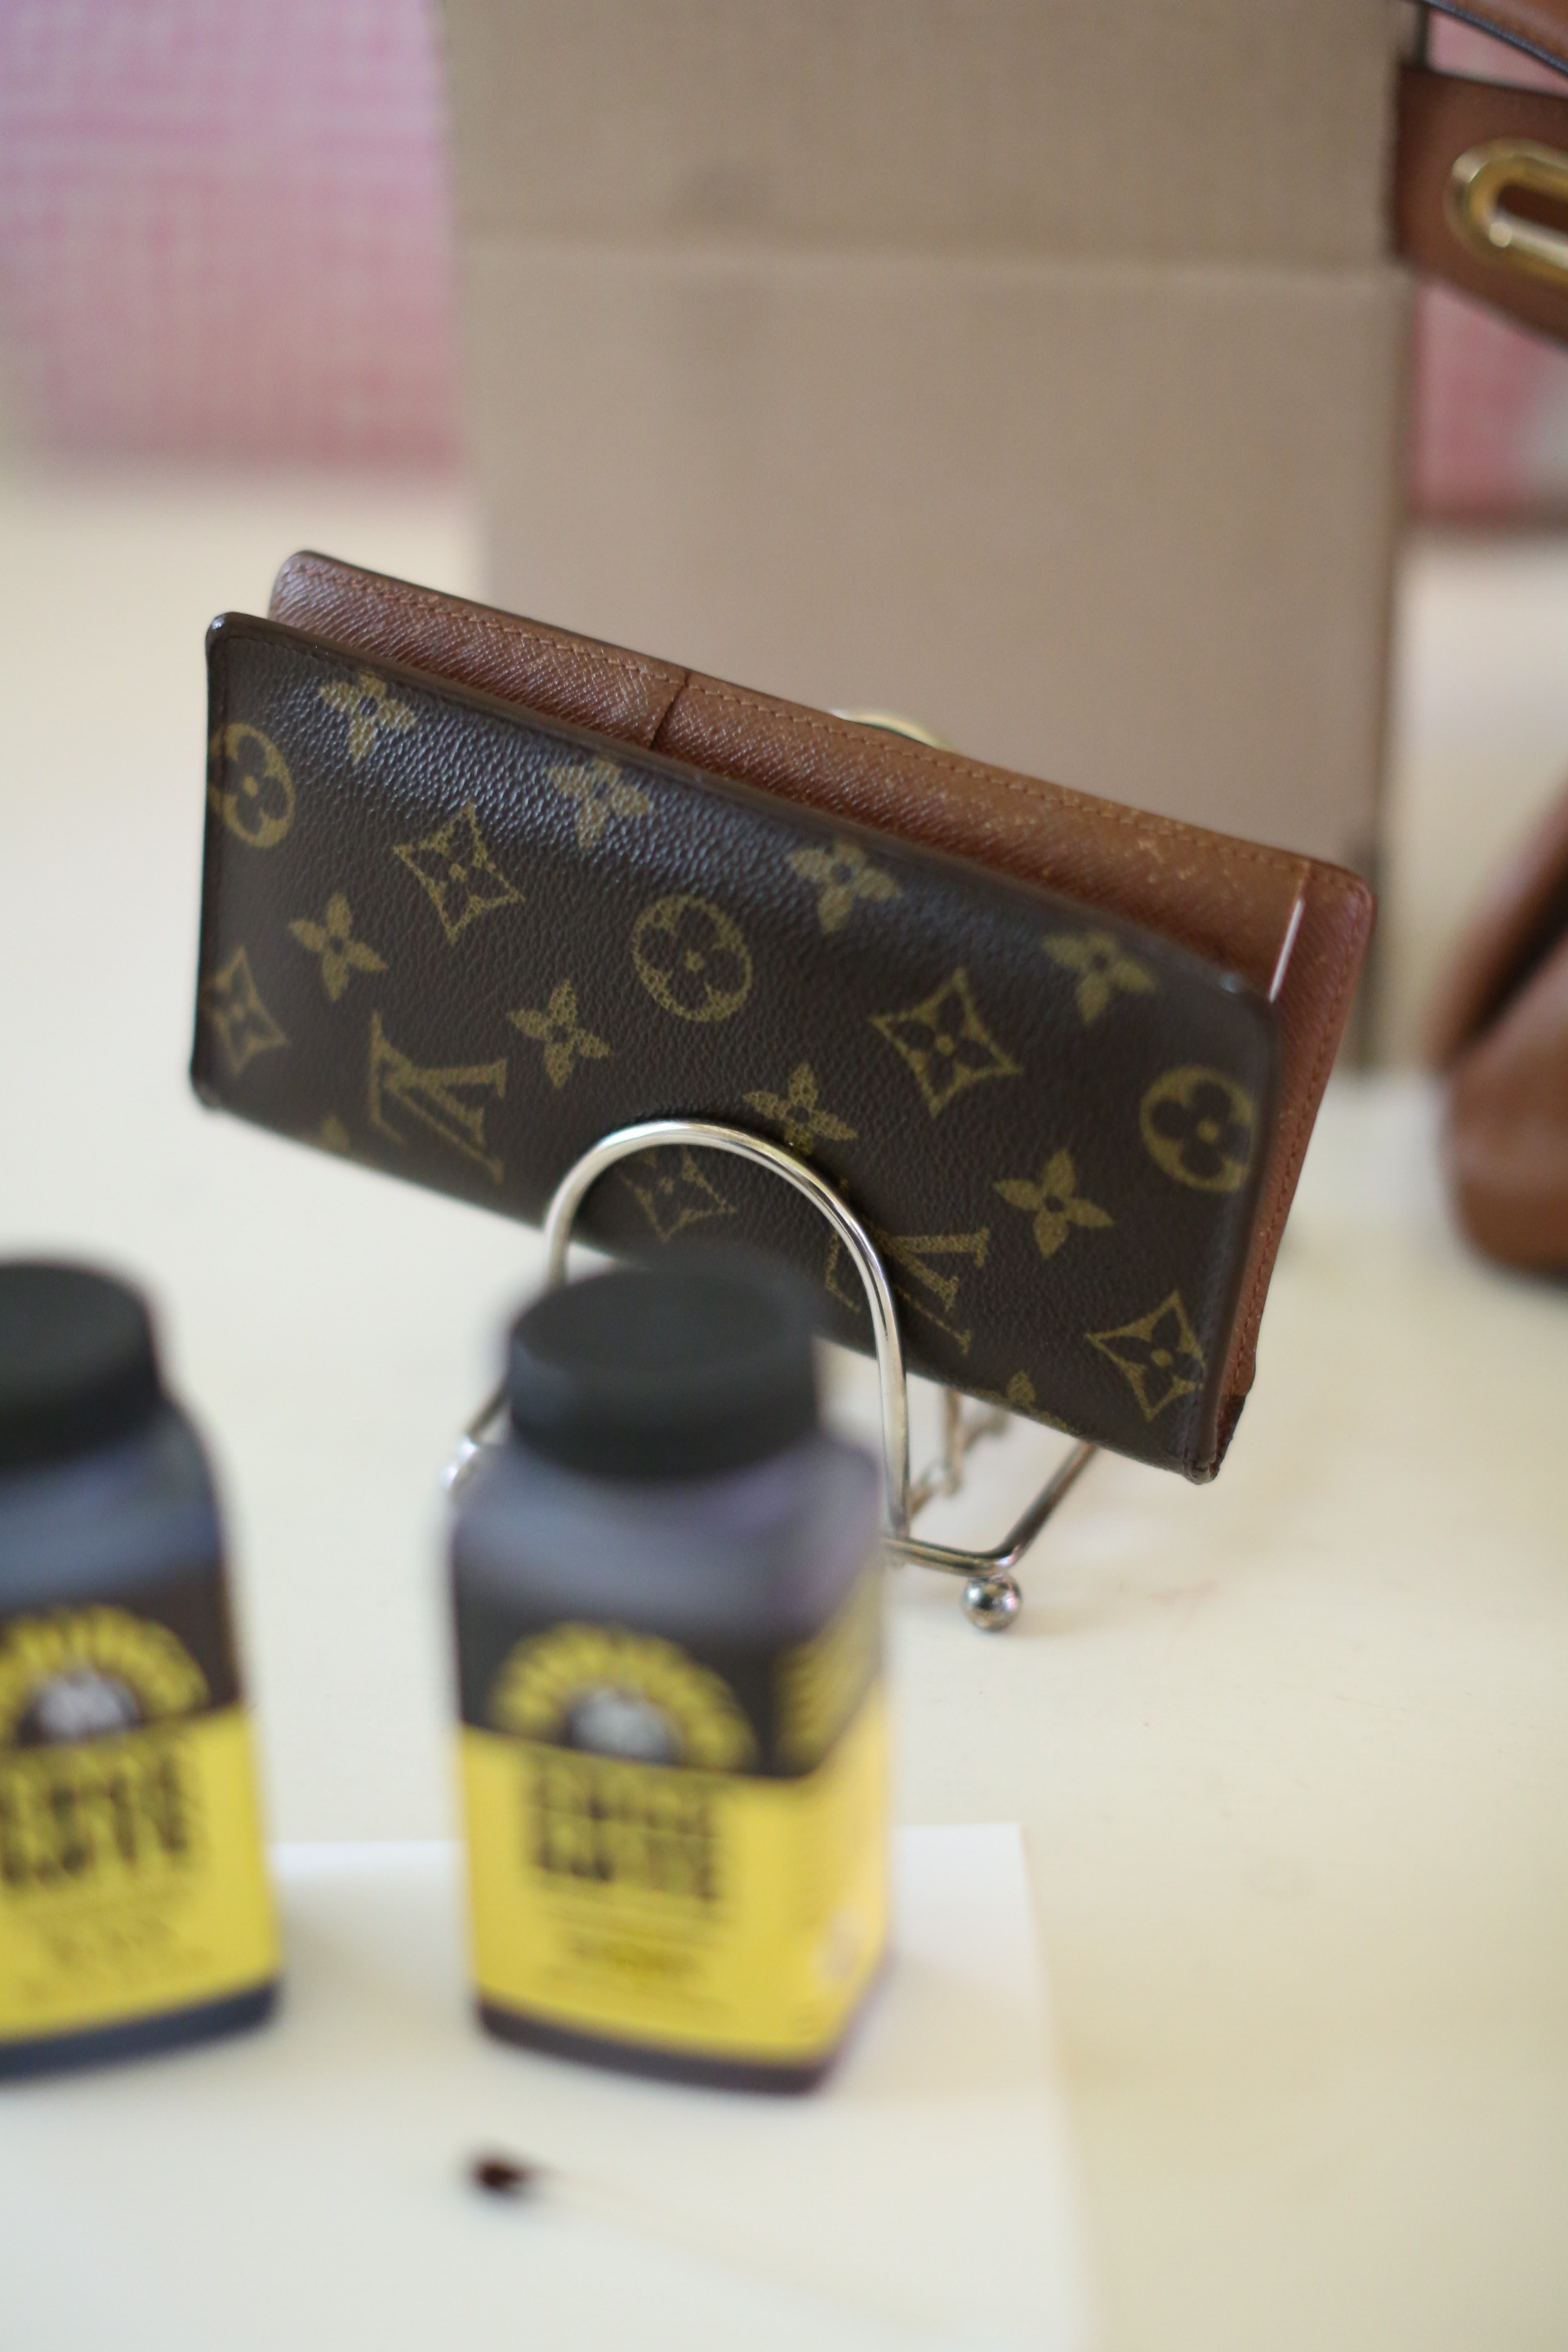
If you need to glue or repair a strap or product that’s fraying or open, I used the glue in a vinyl repair kit, which can also repair ripped canvas and leather I heard. I used it at the corners of my LV wallet that had frayed apart. I also heard this under $5 fabric glue works as well being a flexible adhesive but since I haven’t tried it, I would recommend doing a test area then put the kote on to make sure it’ll adhere to it.
It’s a temporary fix if you want to do it yourself, otherwise I’d also suggest going to a shoe repair place – they usually also fix purses and they will be able to help as well.
Doing this every so often really refreshes you tired purse edges so I suggest doing this and also before you list to sell any of your handbags it really makes it look new.
Happy purse repair!
Product Reference on Amazon:
- Fiebings, Edge Kote in Brown, $8 on Amazon
- Fiebrings Edge Kote in Black, $11 on Amazon
Get both to mix for the right color - Vinyl repair kit
- Glue
Leave a Reply