No products in the cart.
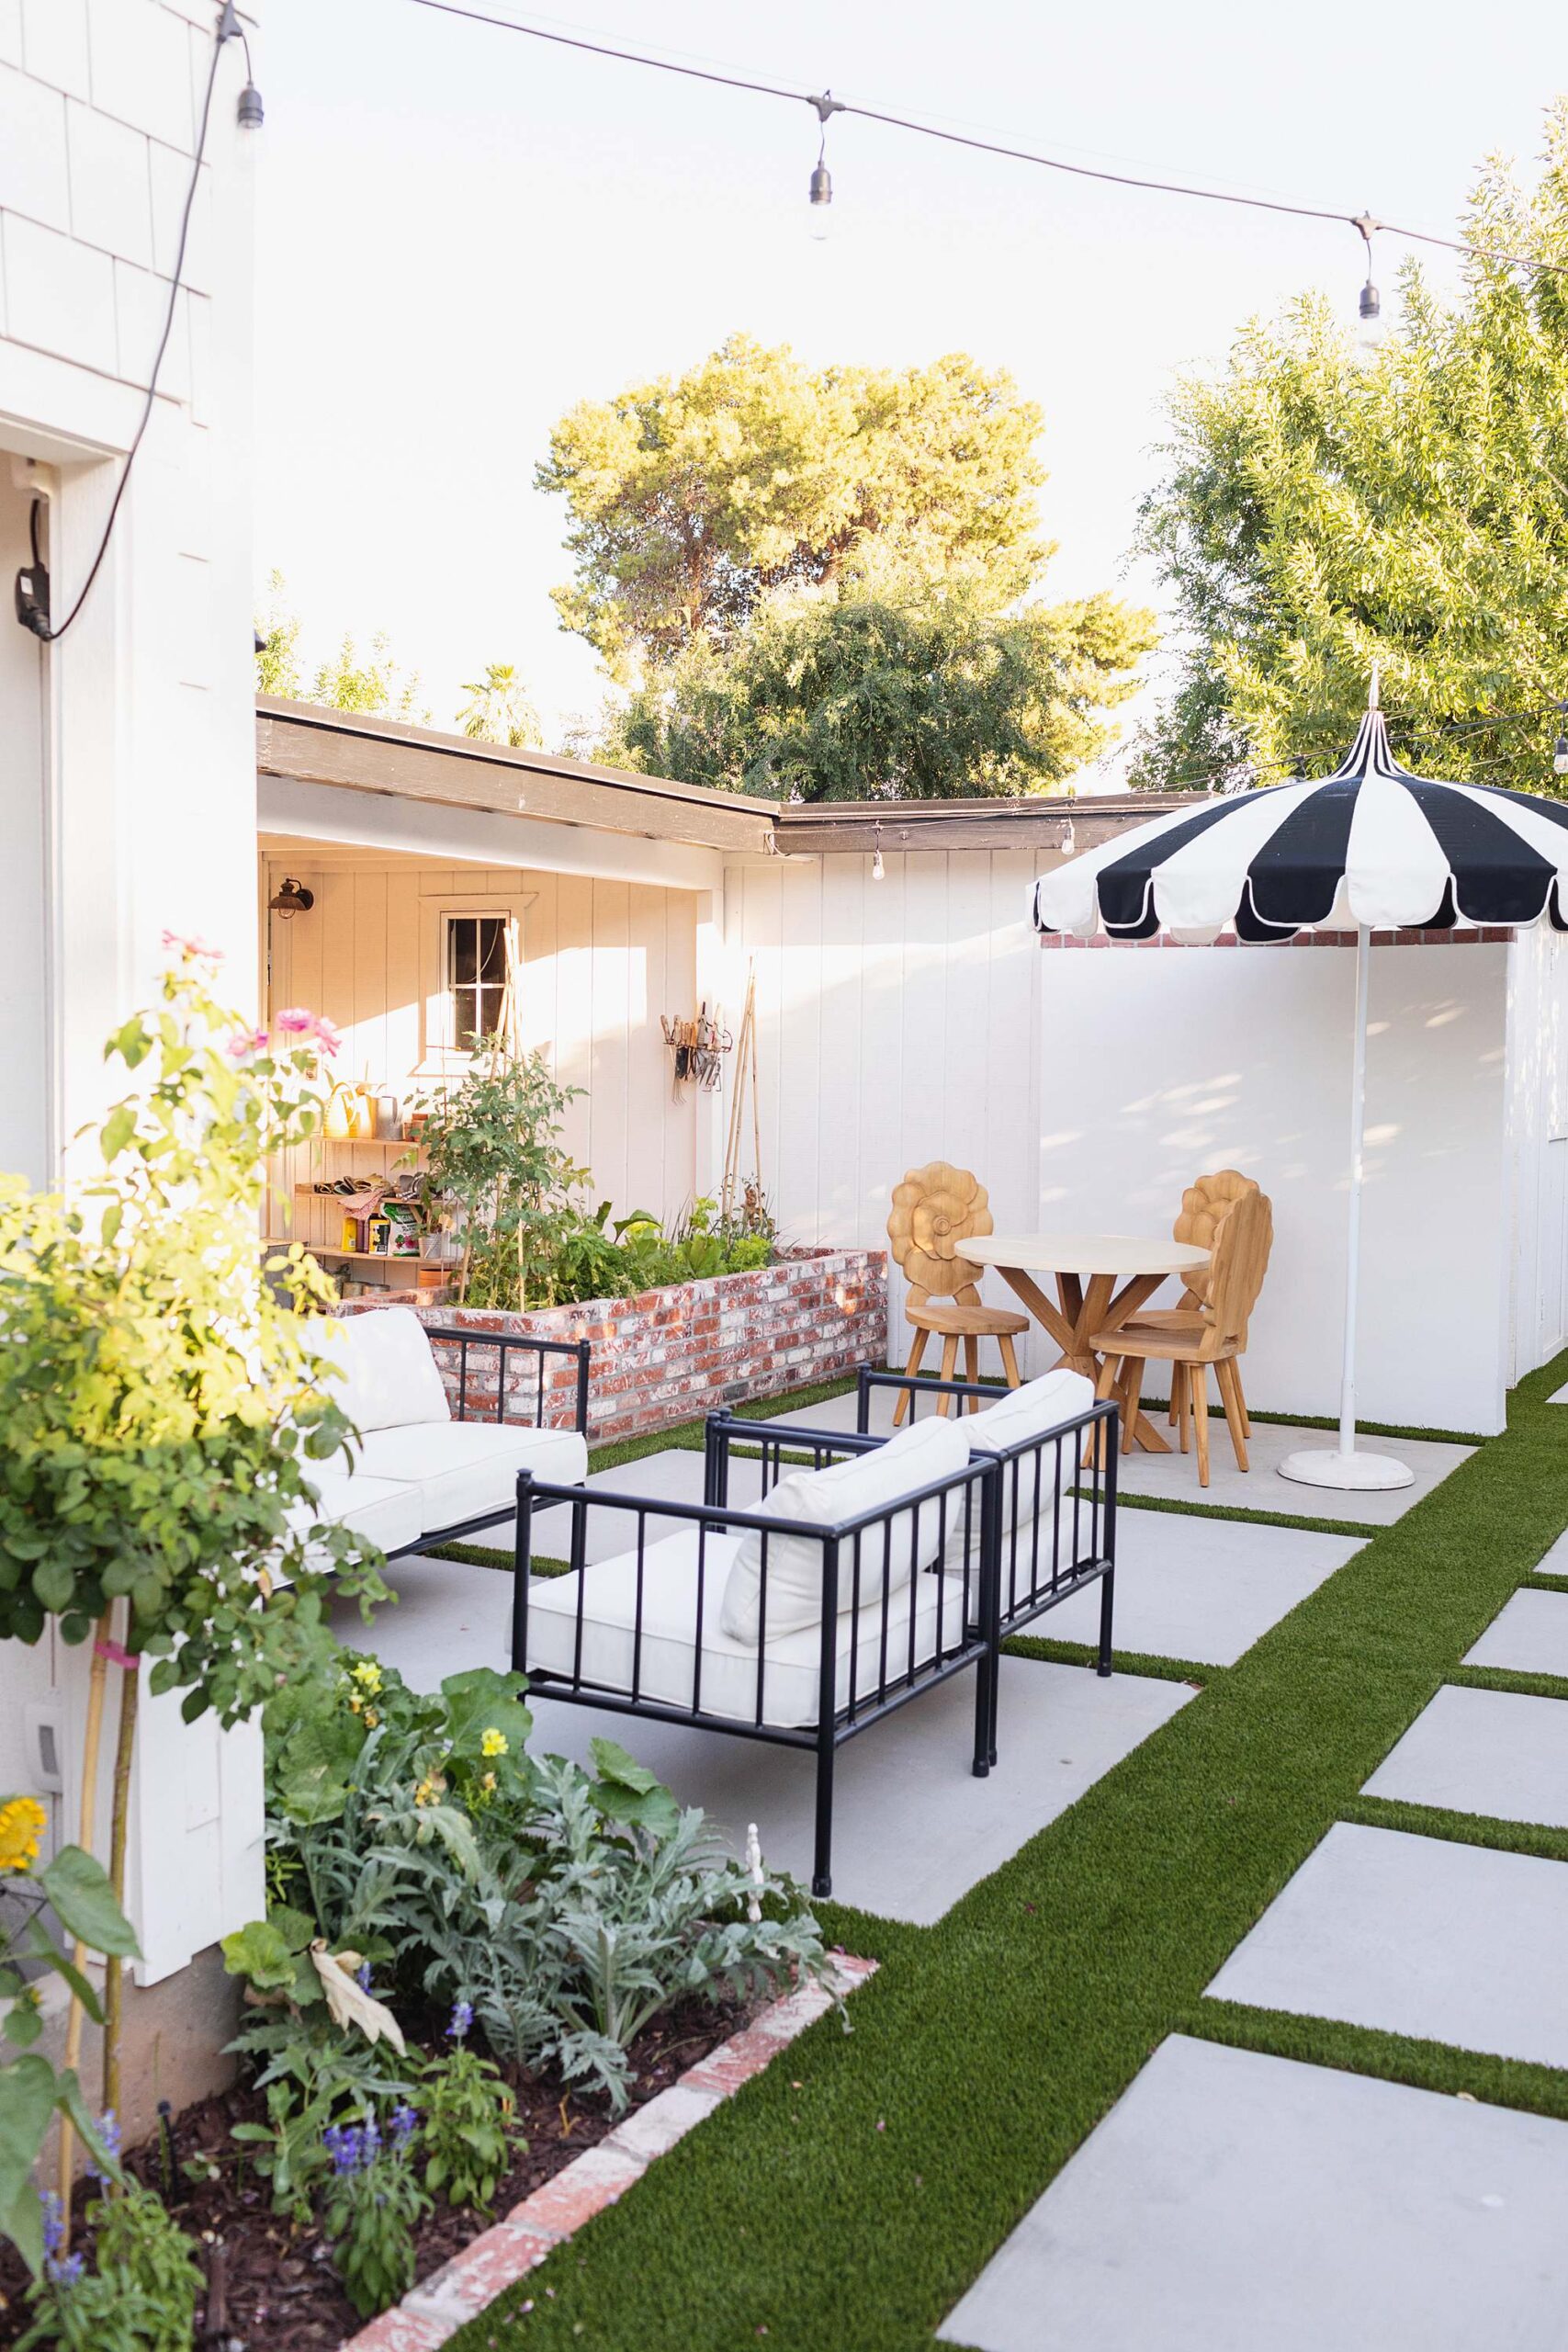
Kitchen Garden Reveal: Before and After Photos
It’s been unreal to have this unused front area put to use – the idea belonging to my father-in-law years ago to enclose this area with extending the cinderblock so we could enjoy this area as another private living space. Deciding what and when we were going to be able to do this was a long time, like years – because we knew we shouldn’t do it until we built our garage.
There were so many steps to this project – from building a wall, to the beds, there were so many pieces that we had to wait for completion and also decision making which should never be rushed. We have technically been under construction since the end of October when we started with the garage, then rolled into front landscaping and kitchen garden which I am going to show you now.
Let’s start with some photos to remind you what it looked like since the blog post showing the progression photos of our new garden area.
How much does a kitchen garden cost?
See the breakdown cost post here of this project.
Our New Kitchen Garden Area

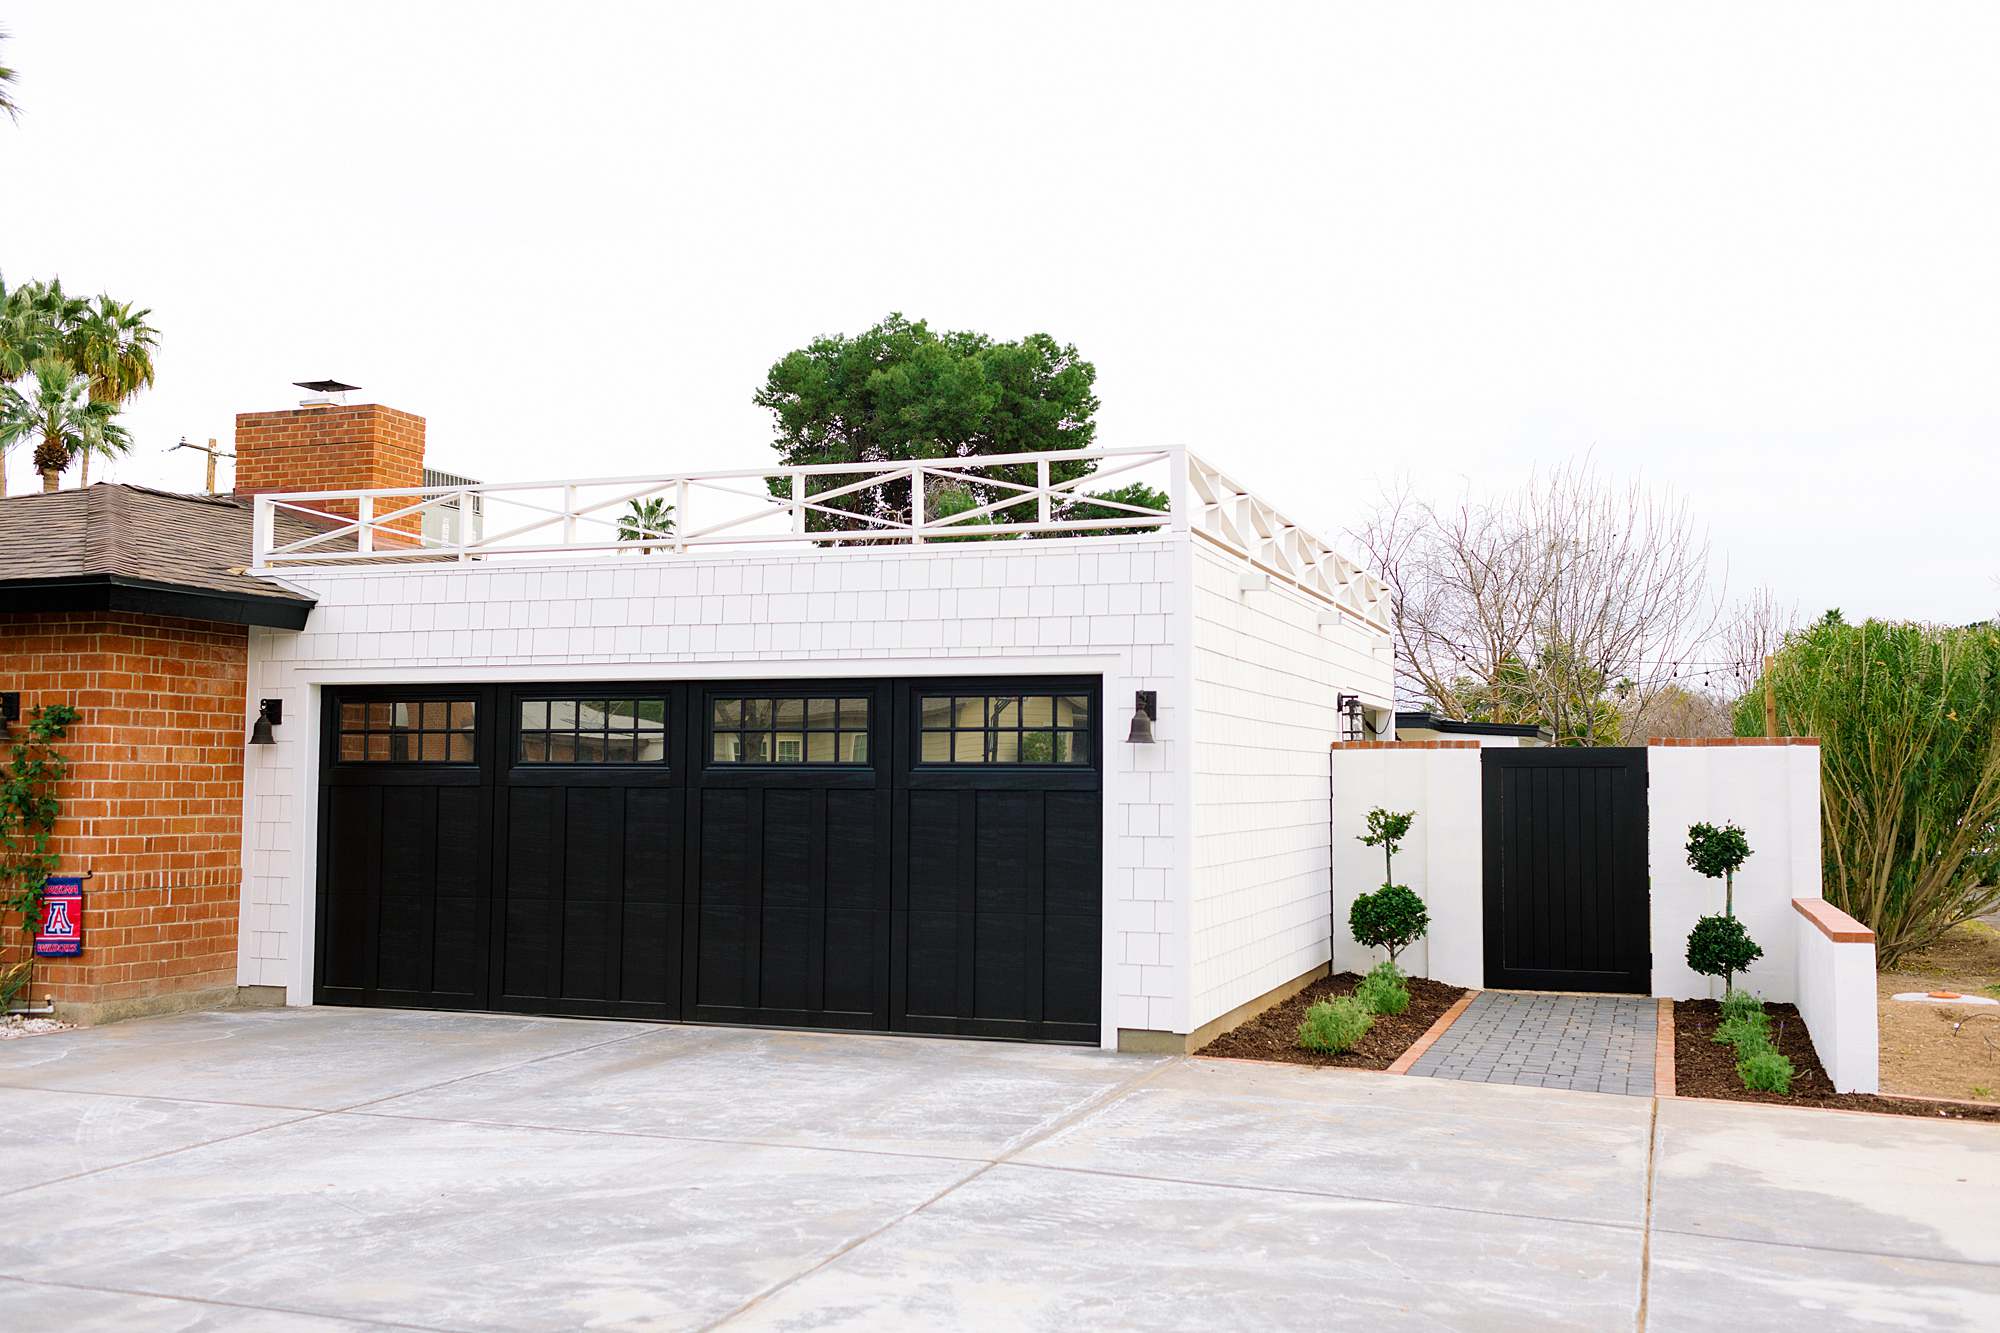
Above is the garage and then you can see the gate that leads to the new garden area. Below is the back of the black gate.
My goodness I love the color green. It’s gotta be one of my favorite colors.
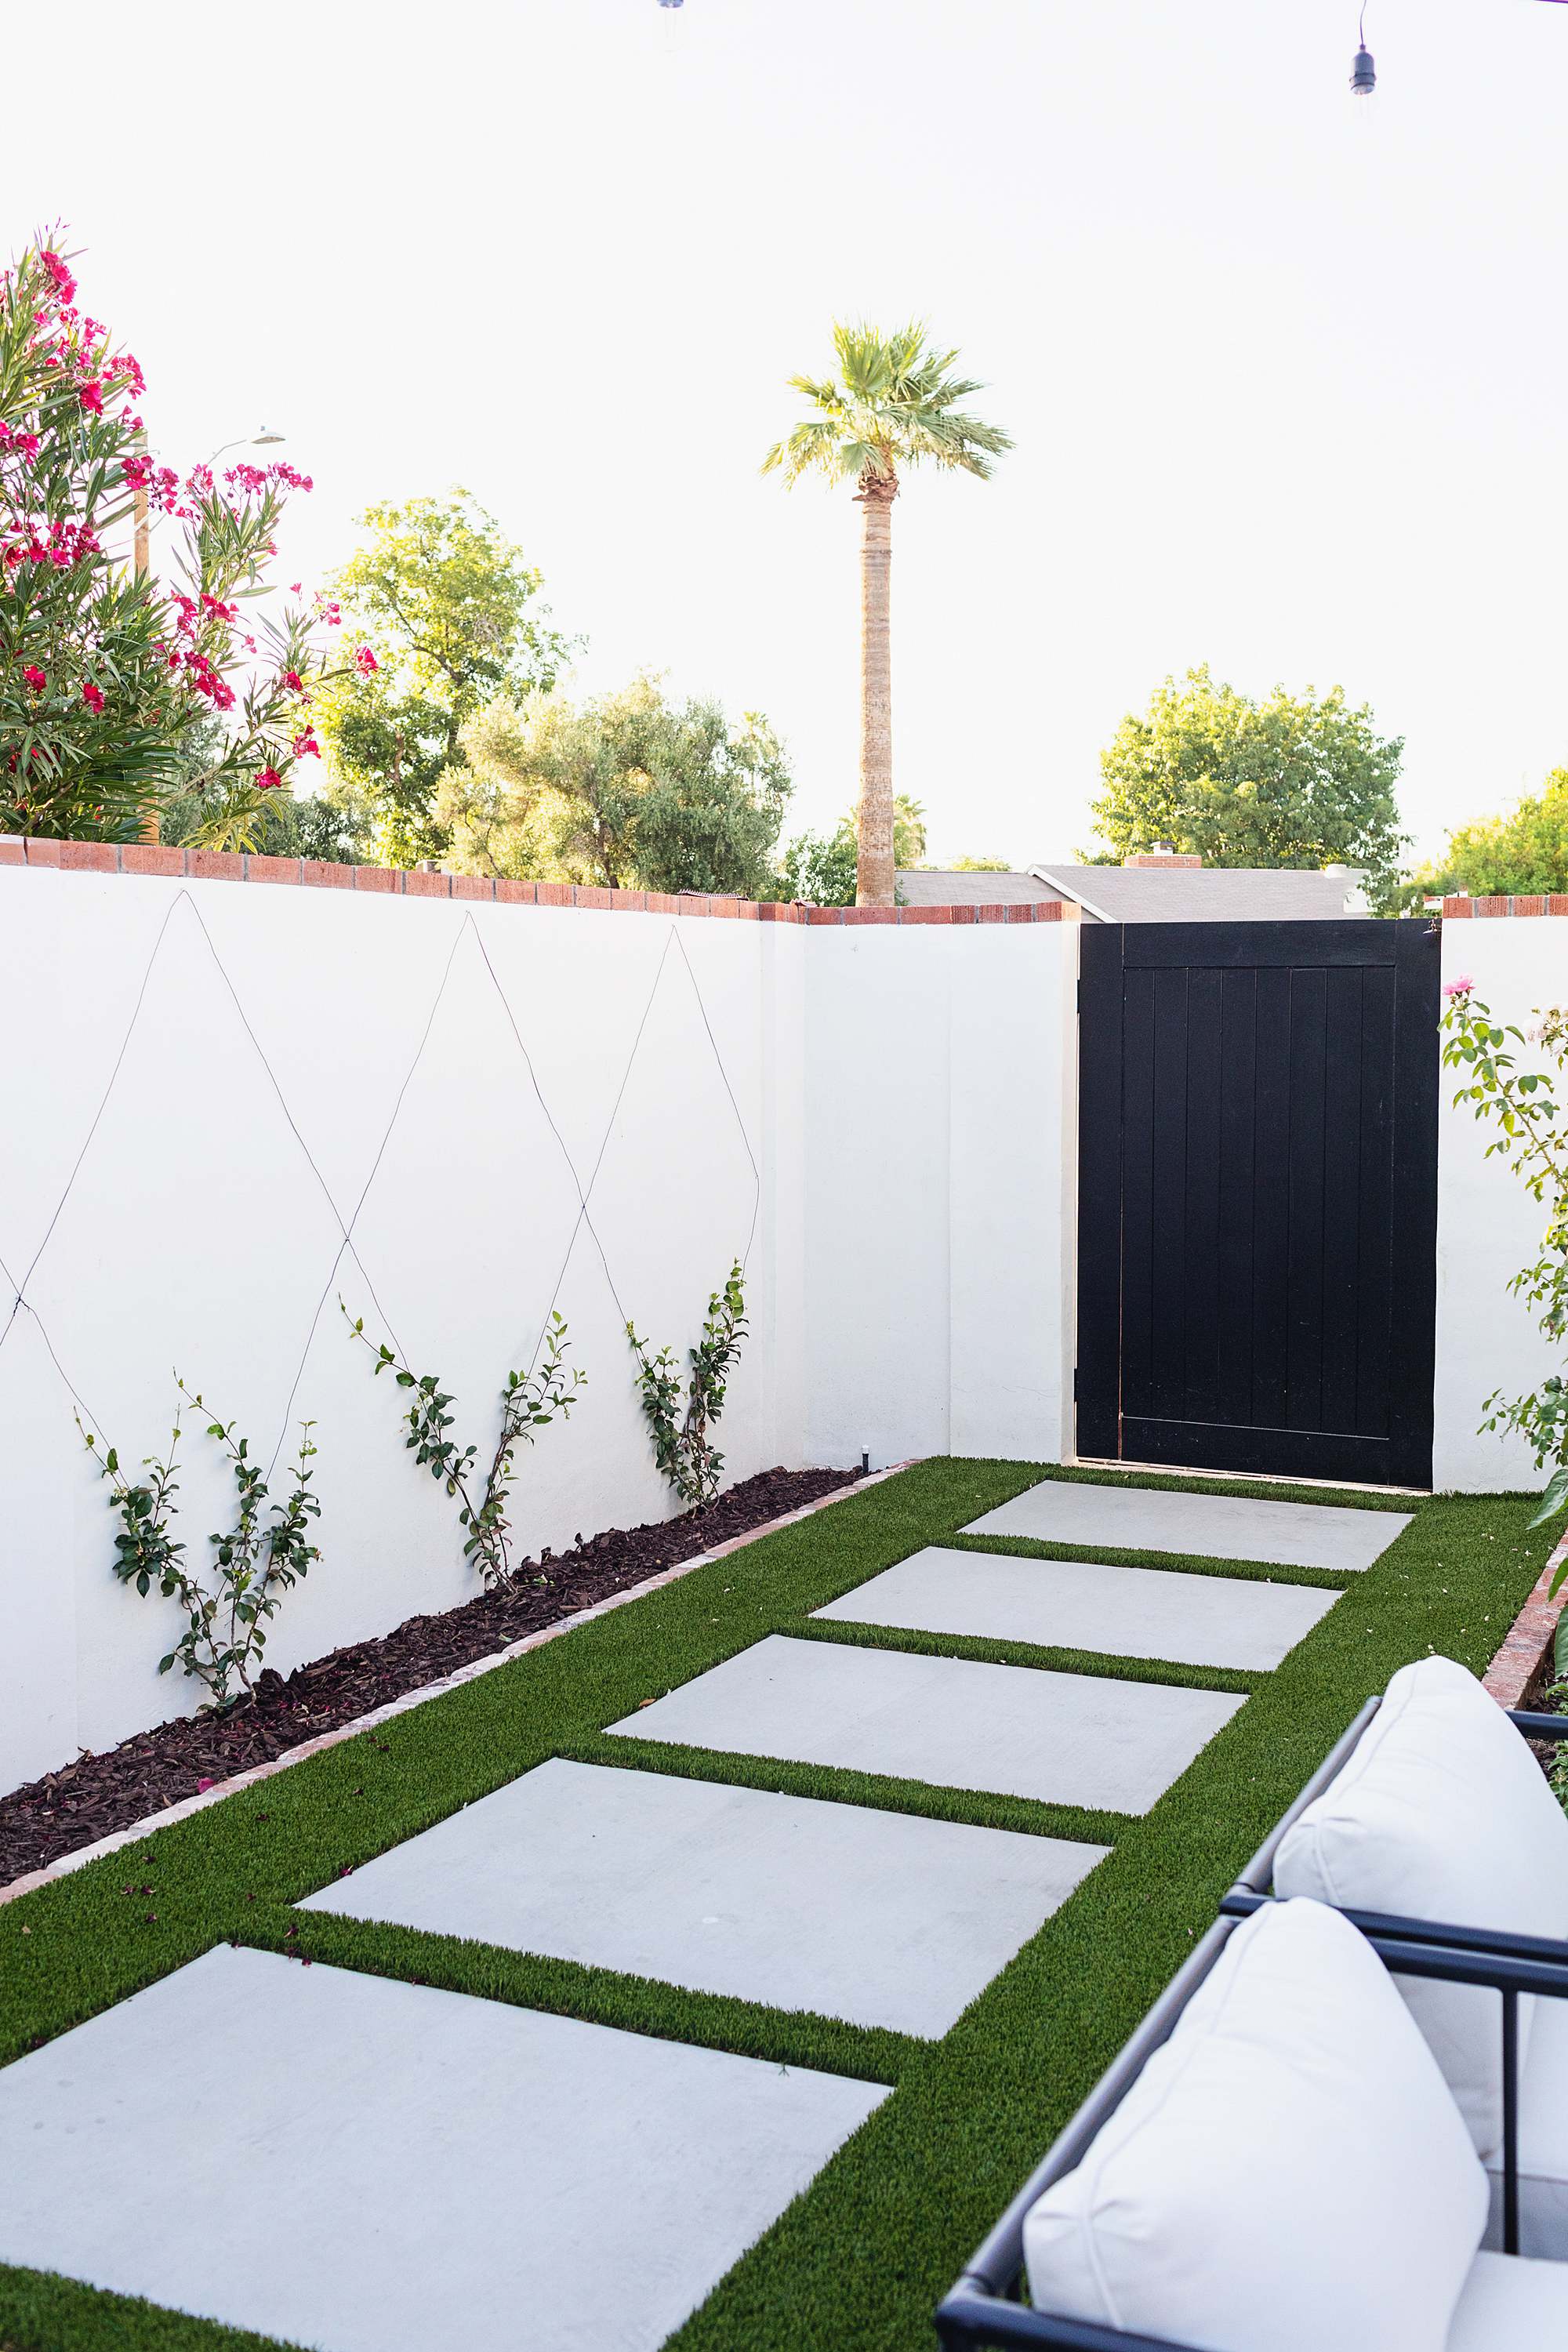
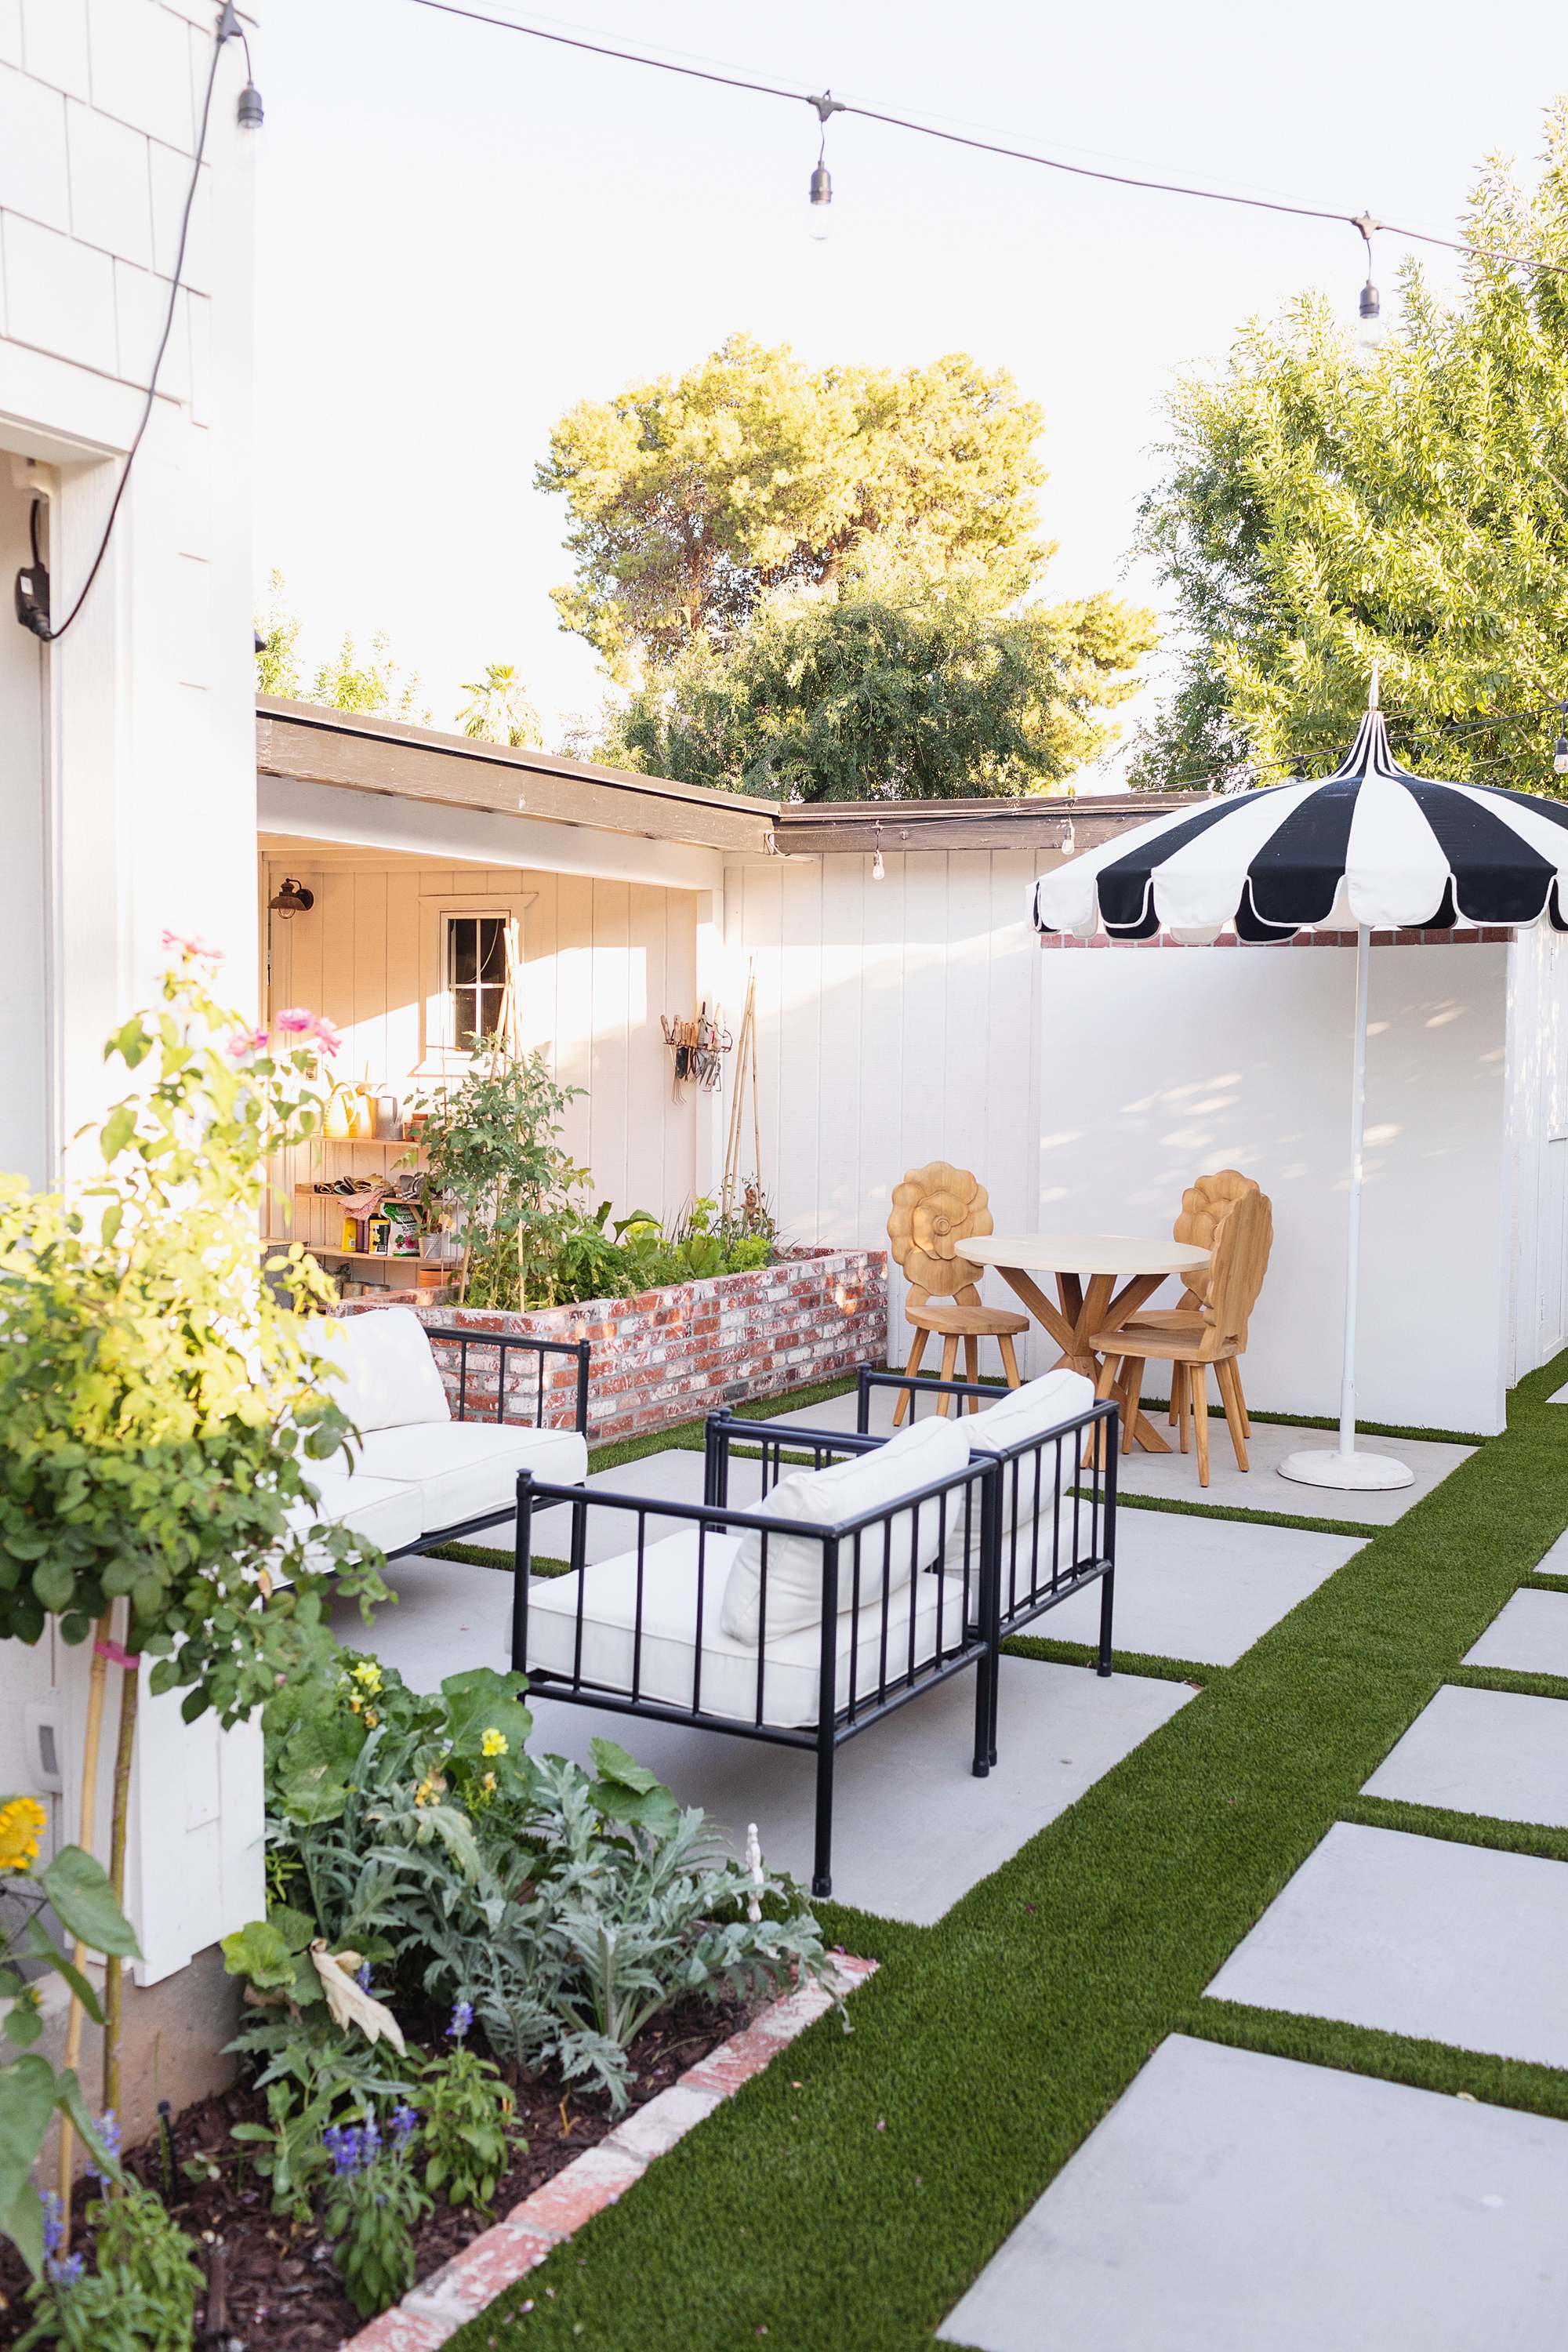
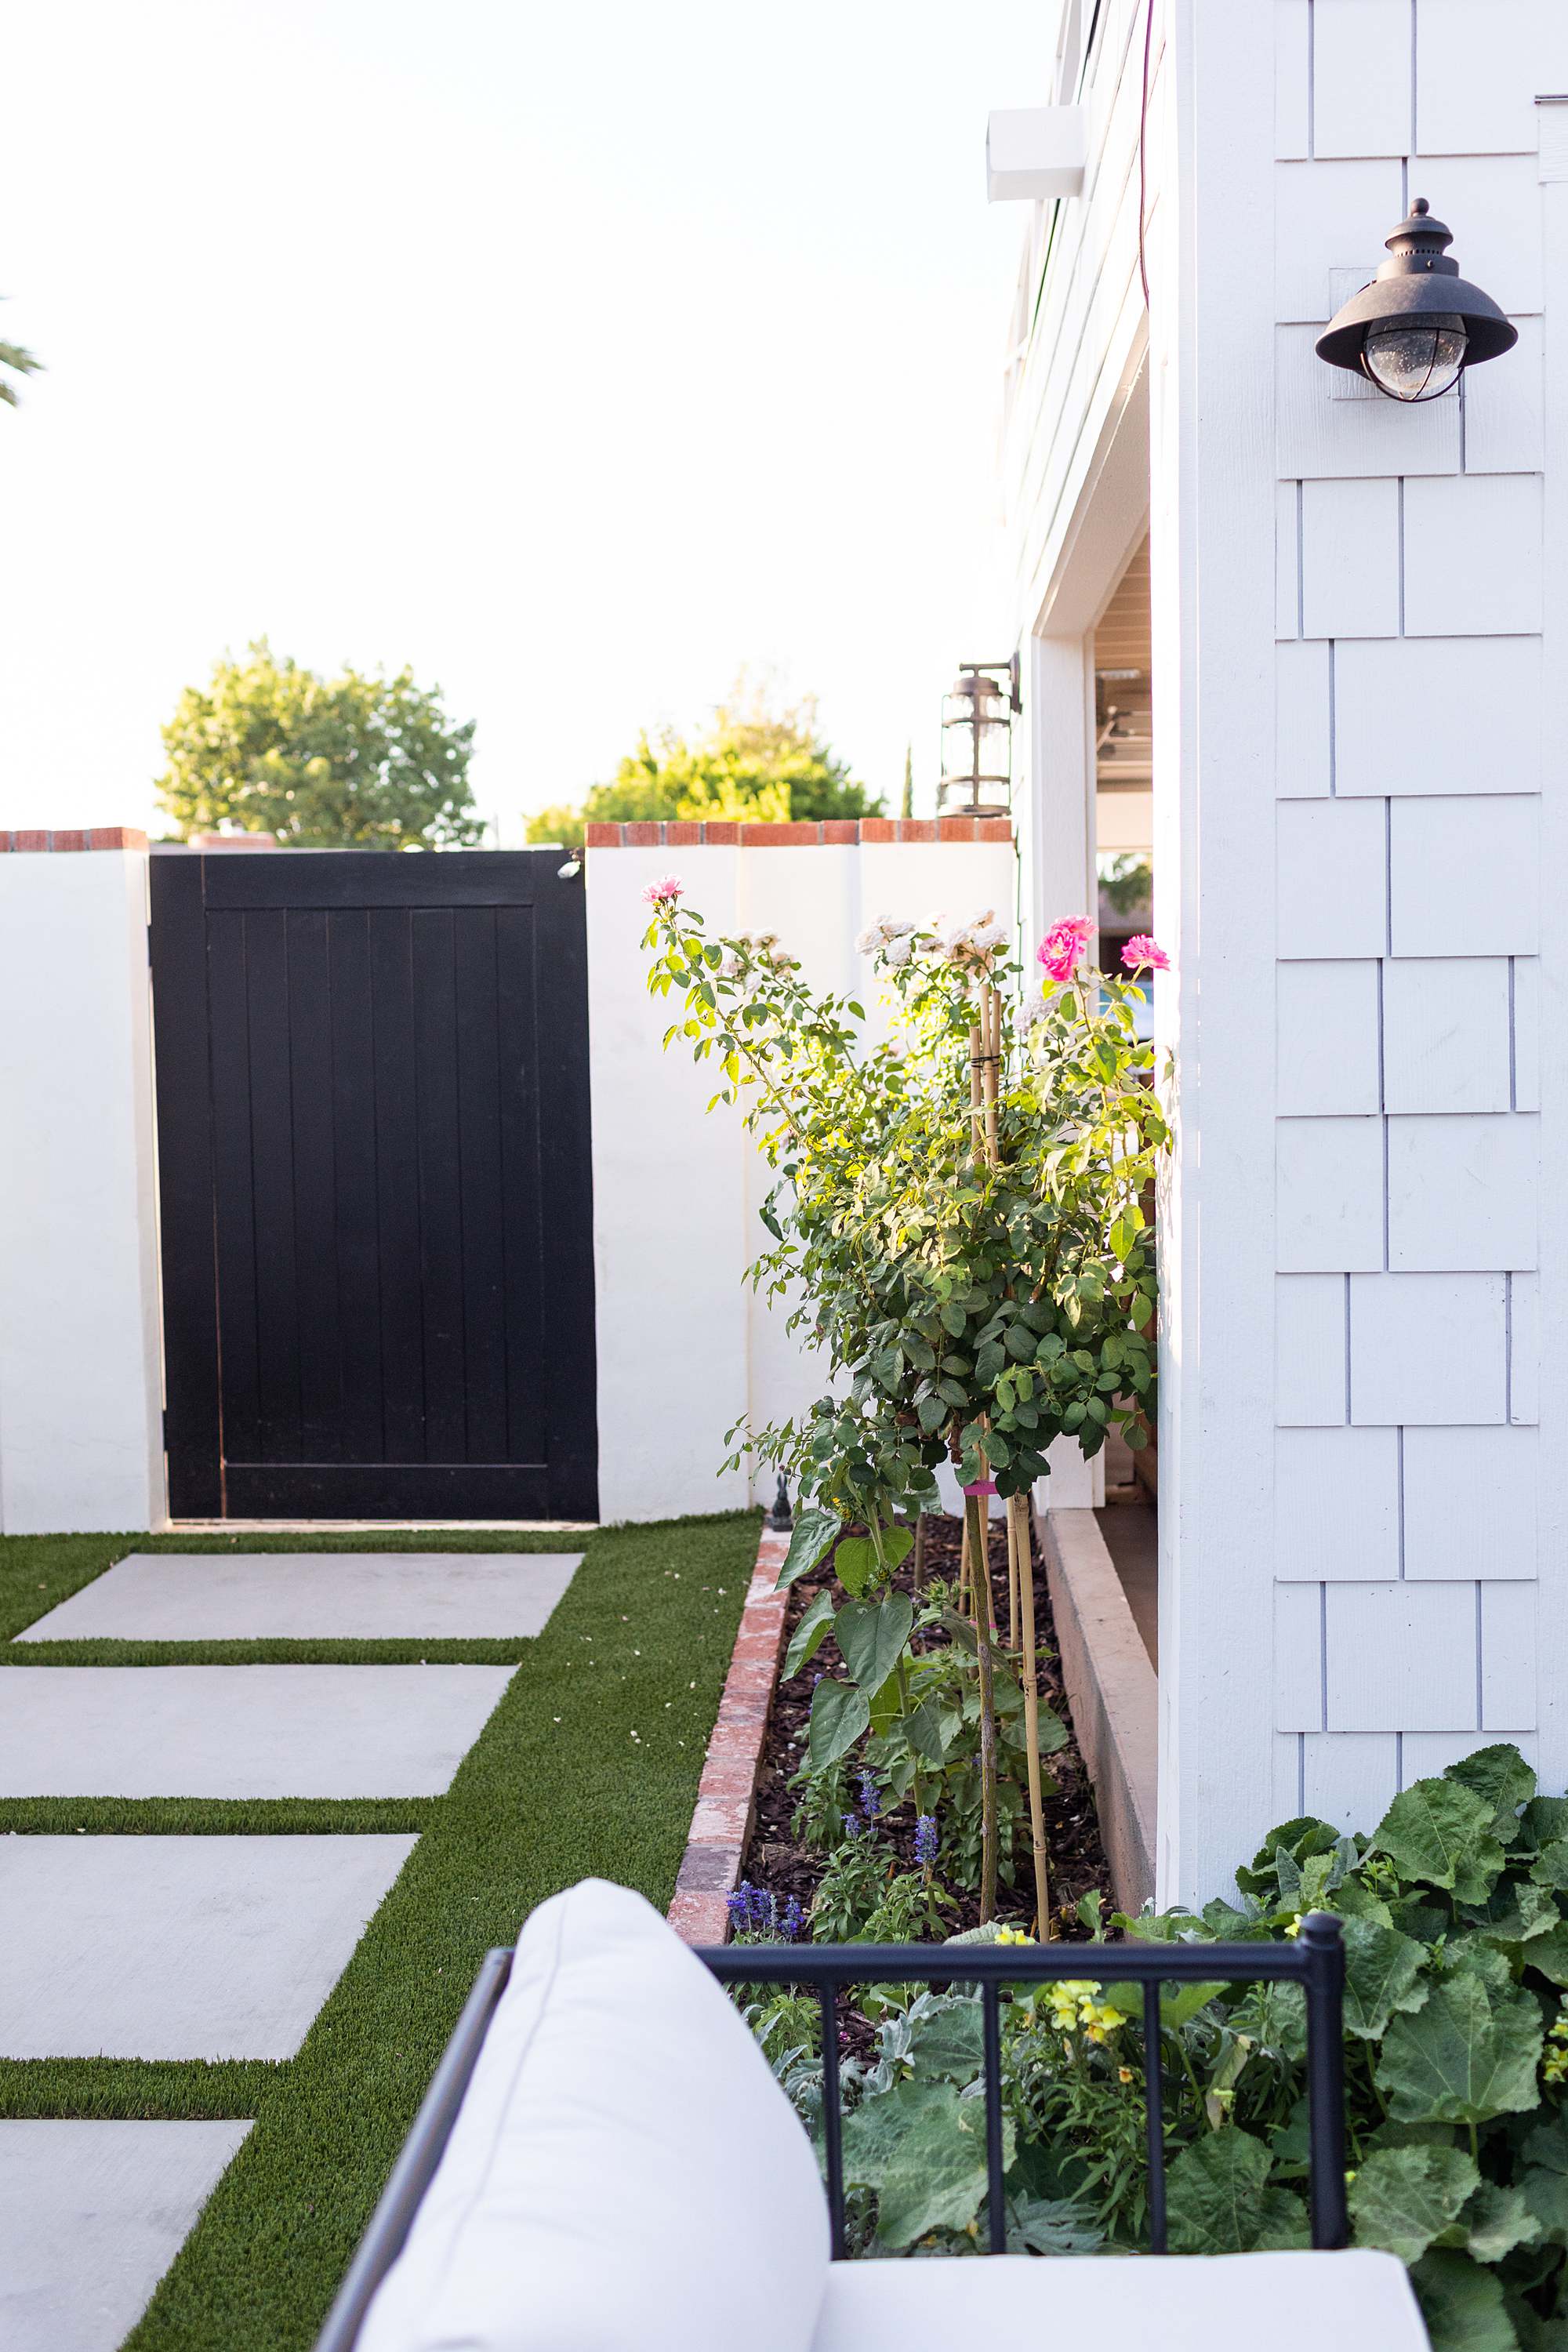
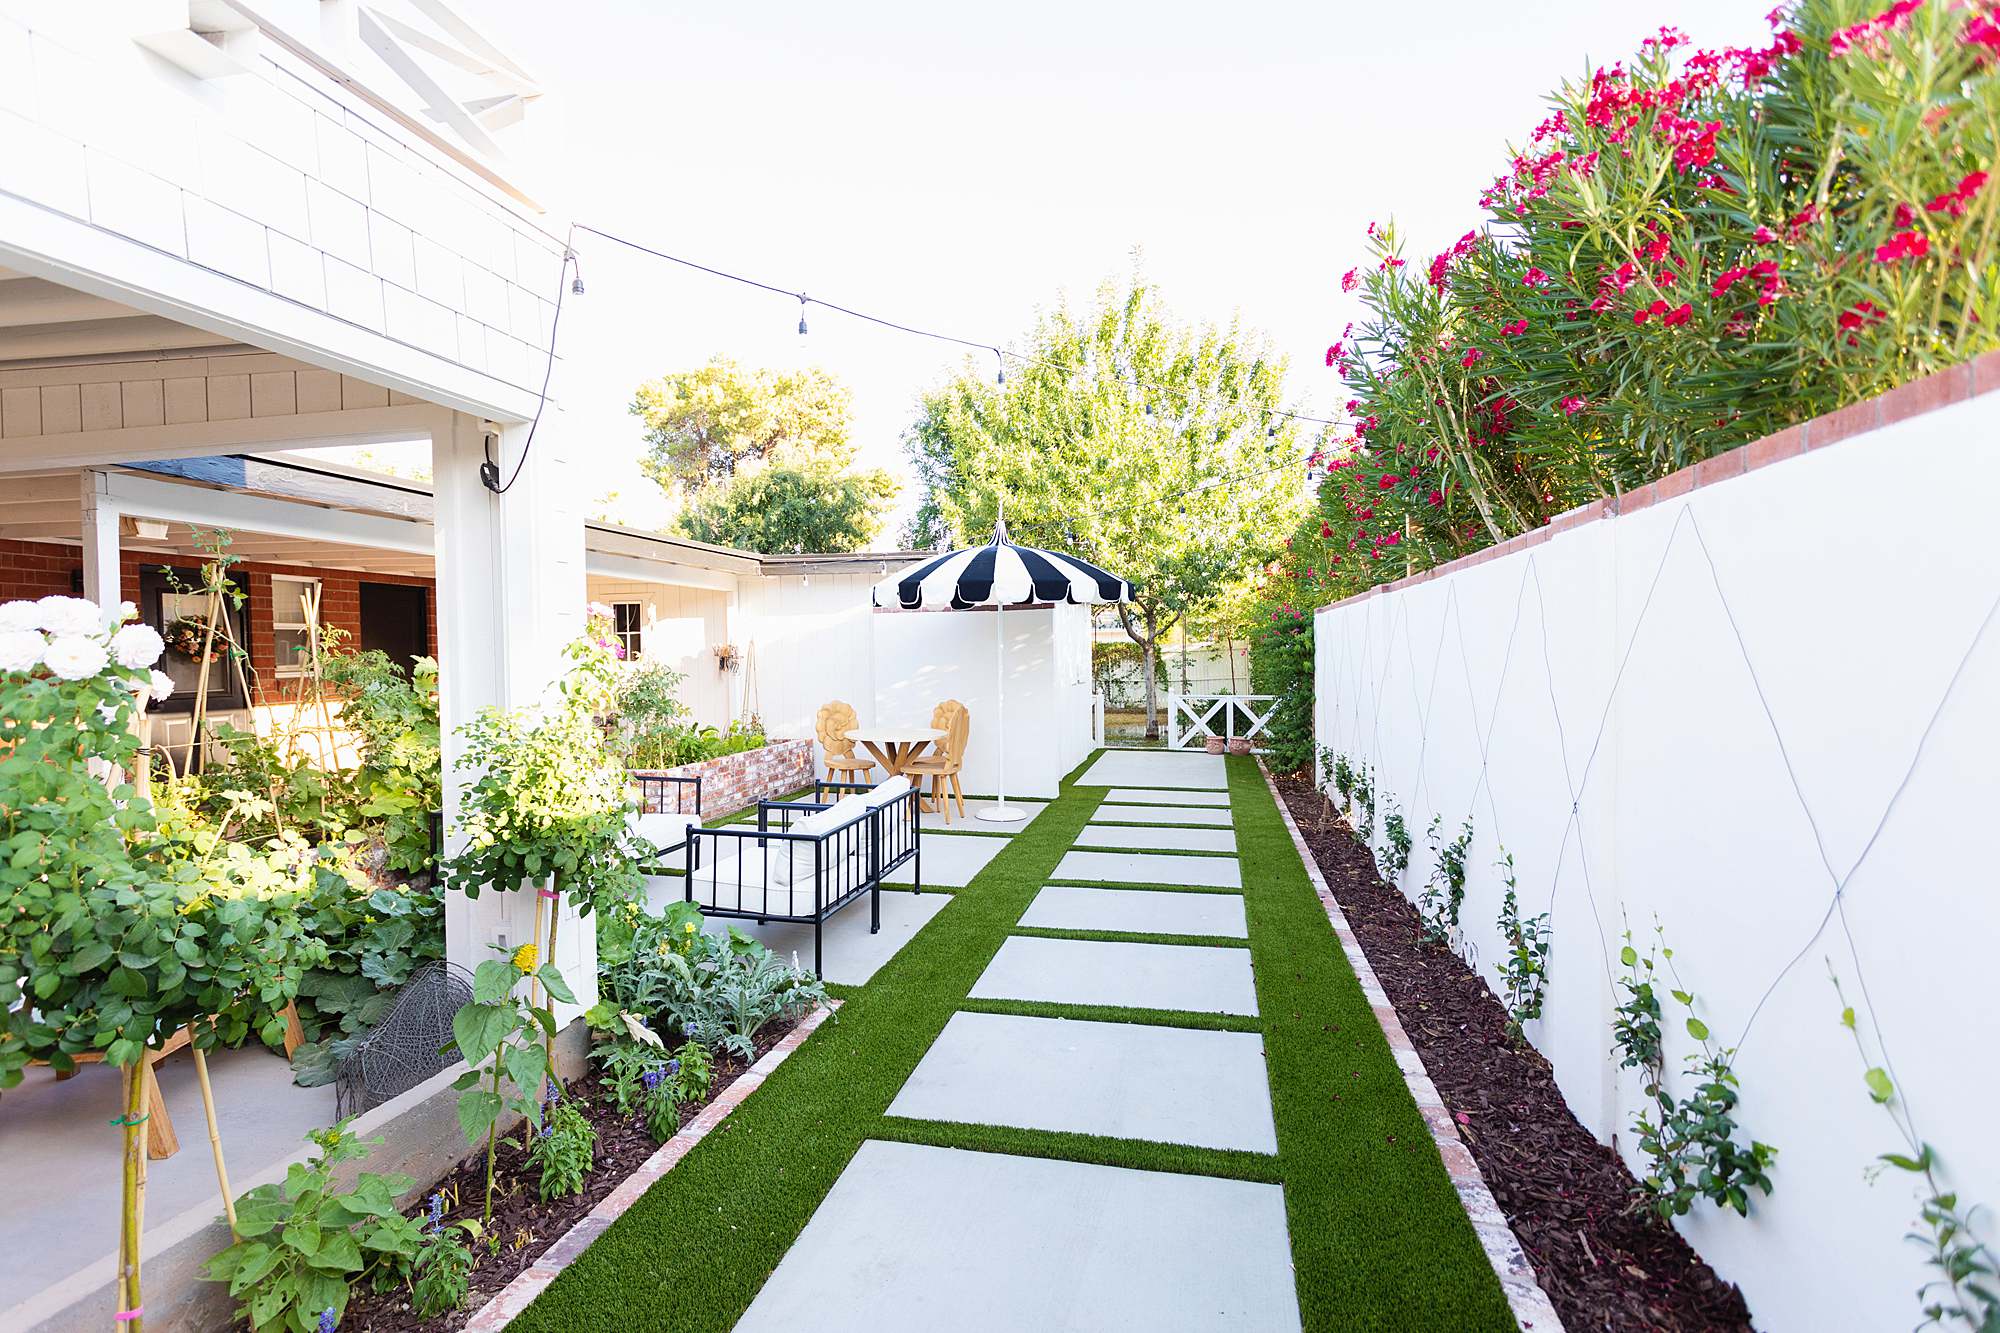
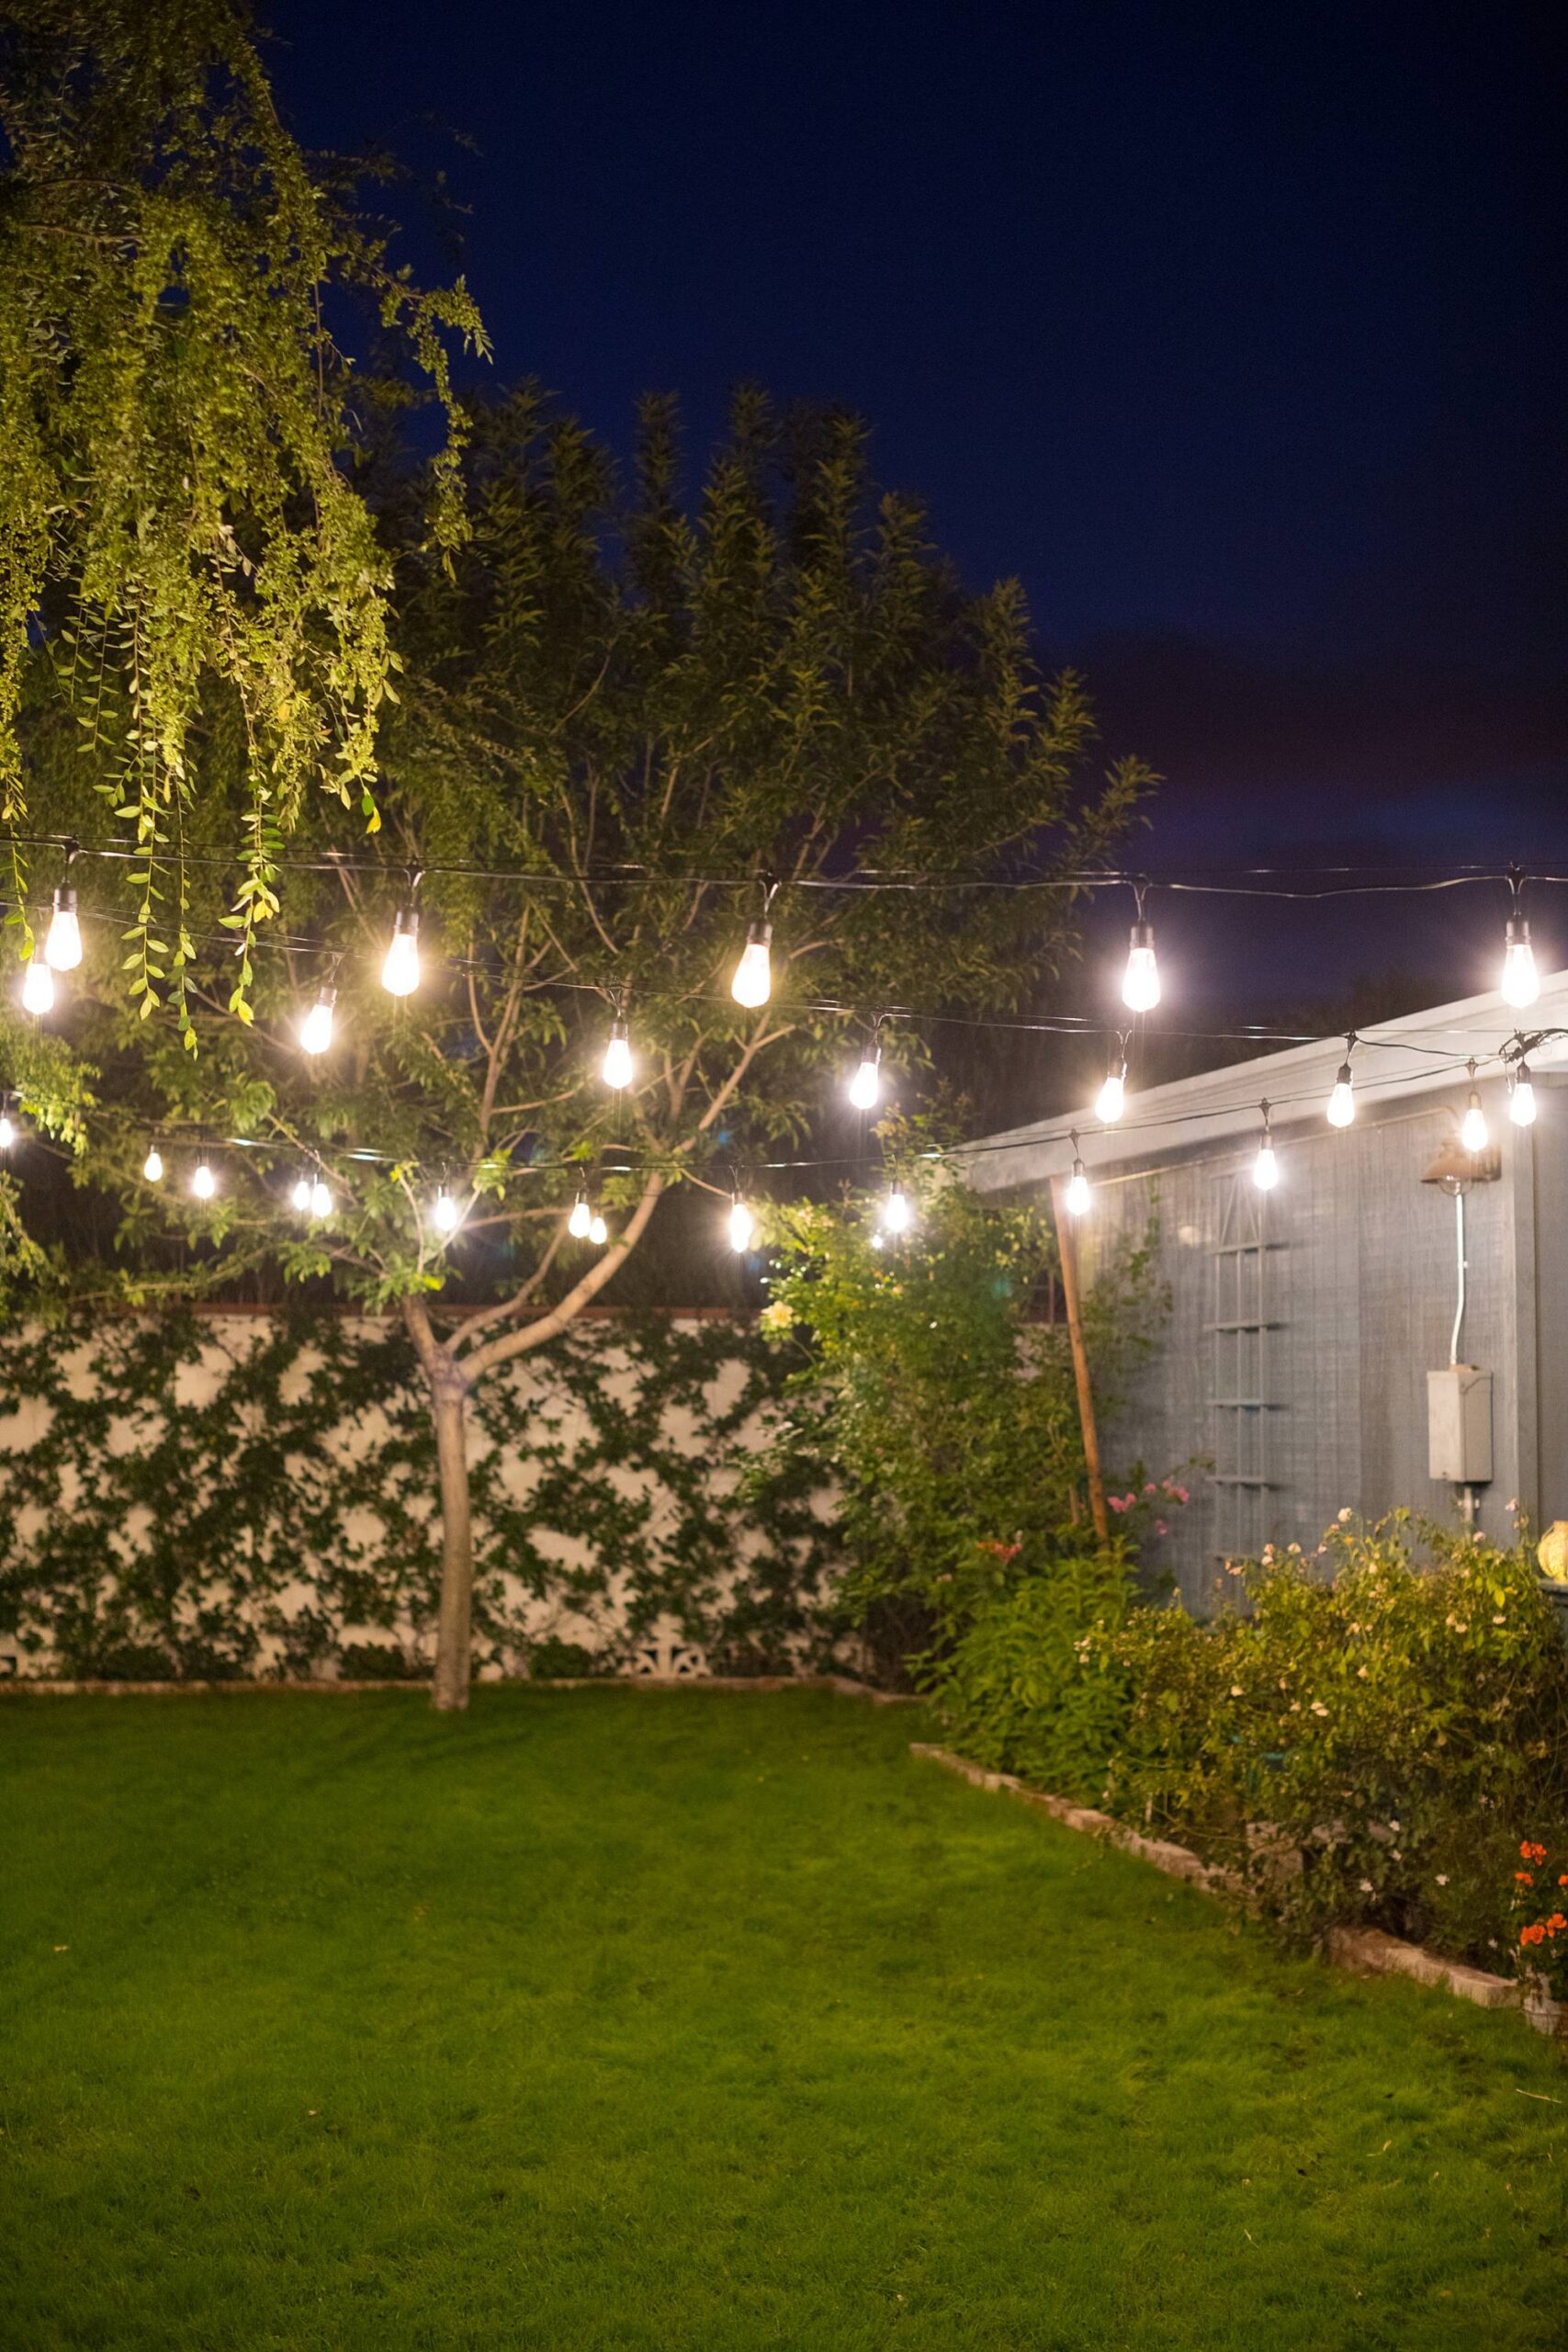
The black and white patio furniture from Target is incredibly comfortable and I purchased it for the front patio but I don’t think we will be moving it out there yet, if at all. It’s a bit too nice for the front and I think we need back Adirondack chairs instead. So, it stays here! And I’ve already had friends on it and it’s been so fun to hang out and chit chat with the string lights on.
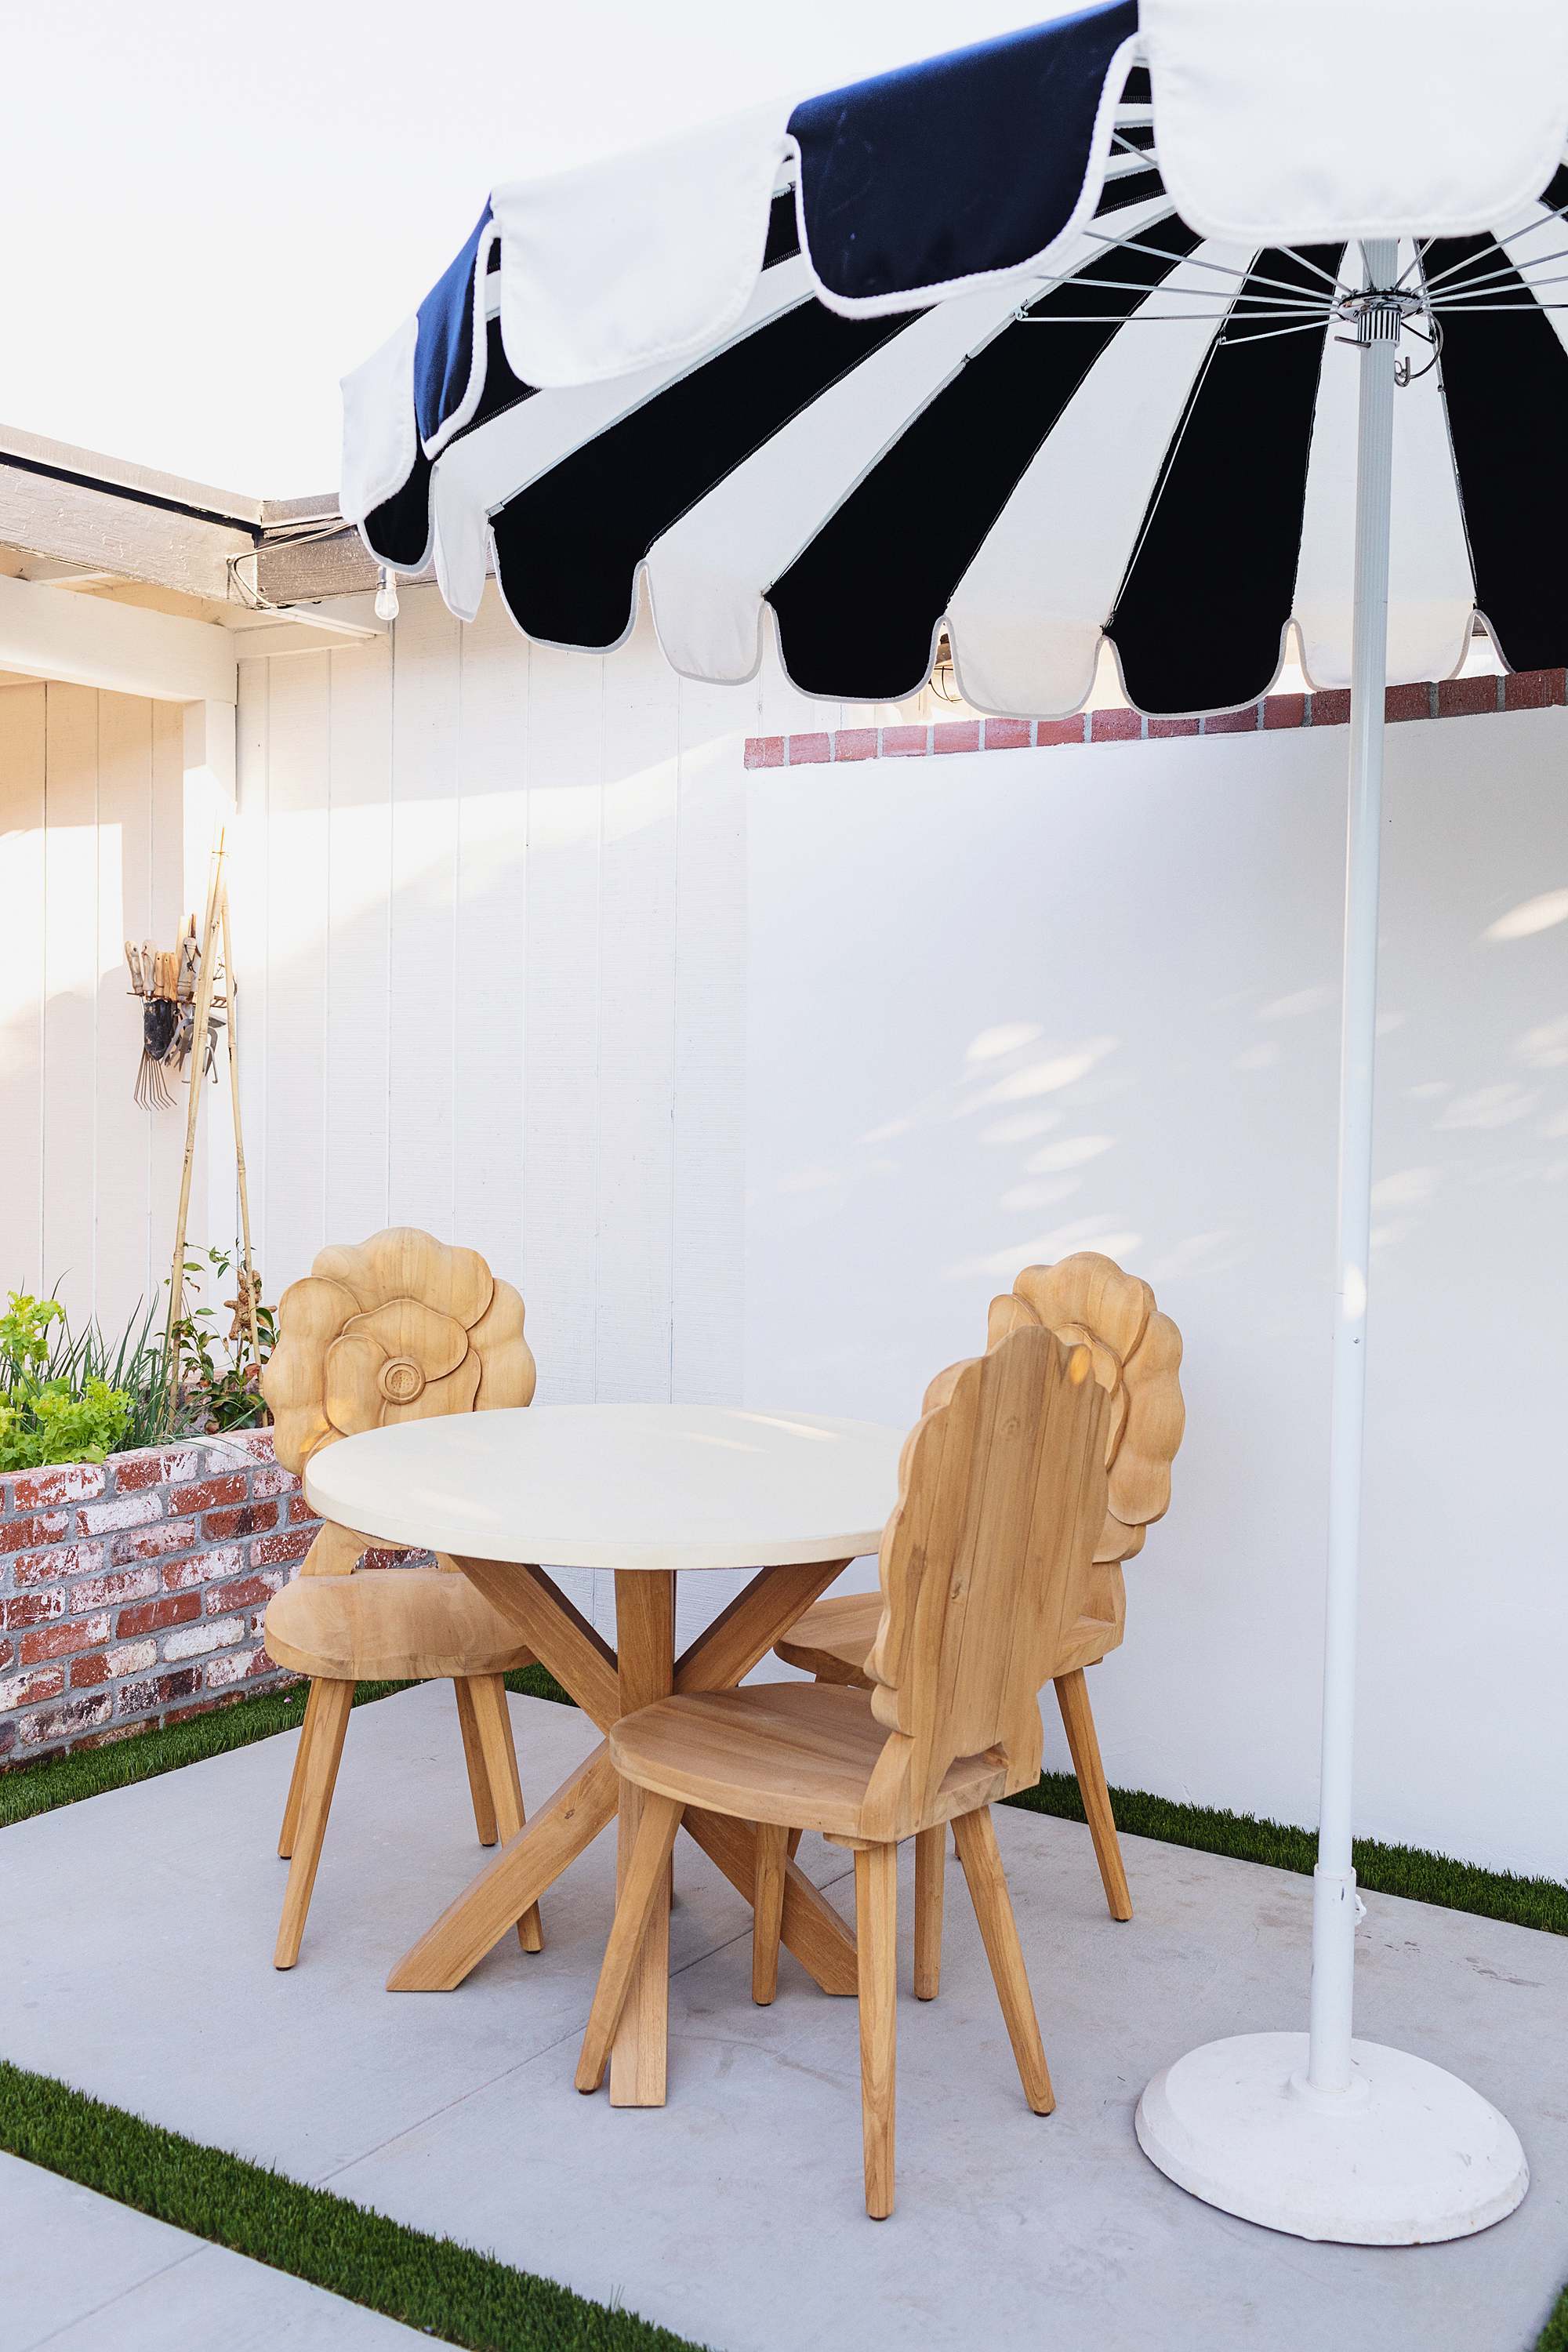
These poppy teak chairs (pictured below) get all the attention. When I saw them they made my heart leap out of my chest. They are what my chair dreams are made of, if I had dreams of chairs. I had originally purchased two but decided I needed three total at least. There is also a floral garden stool, it’s in my cart.
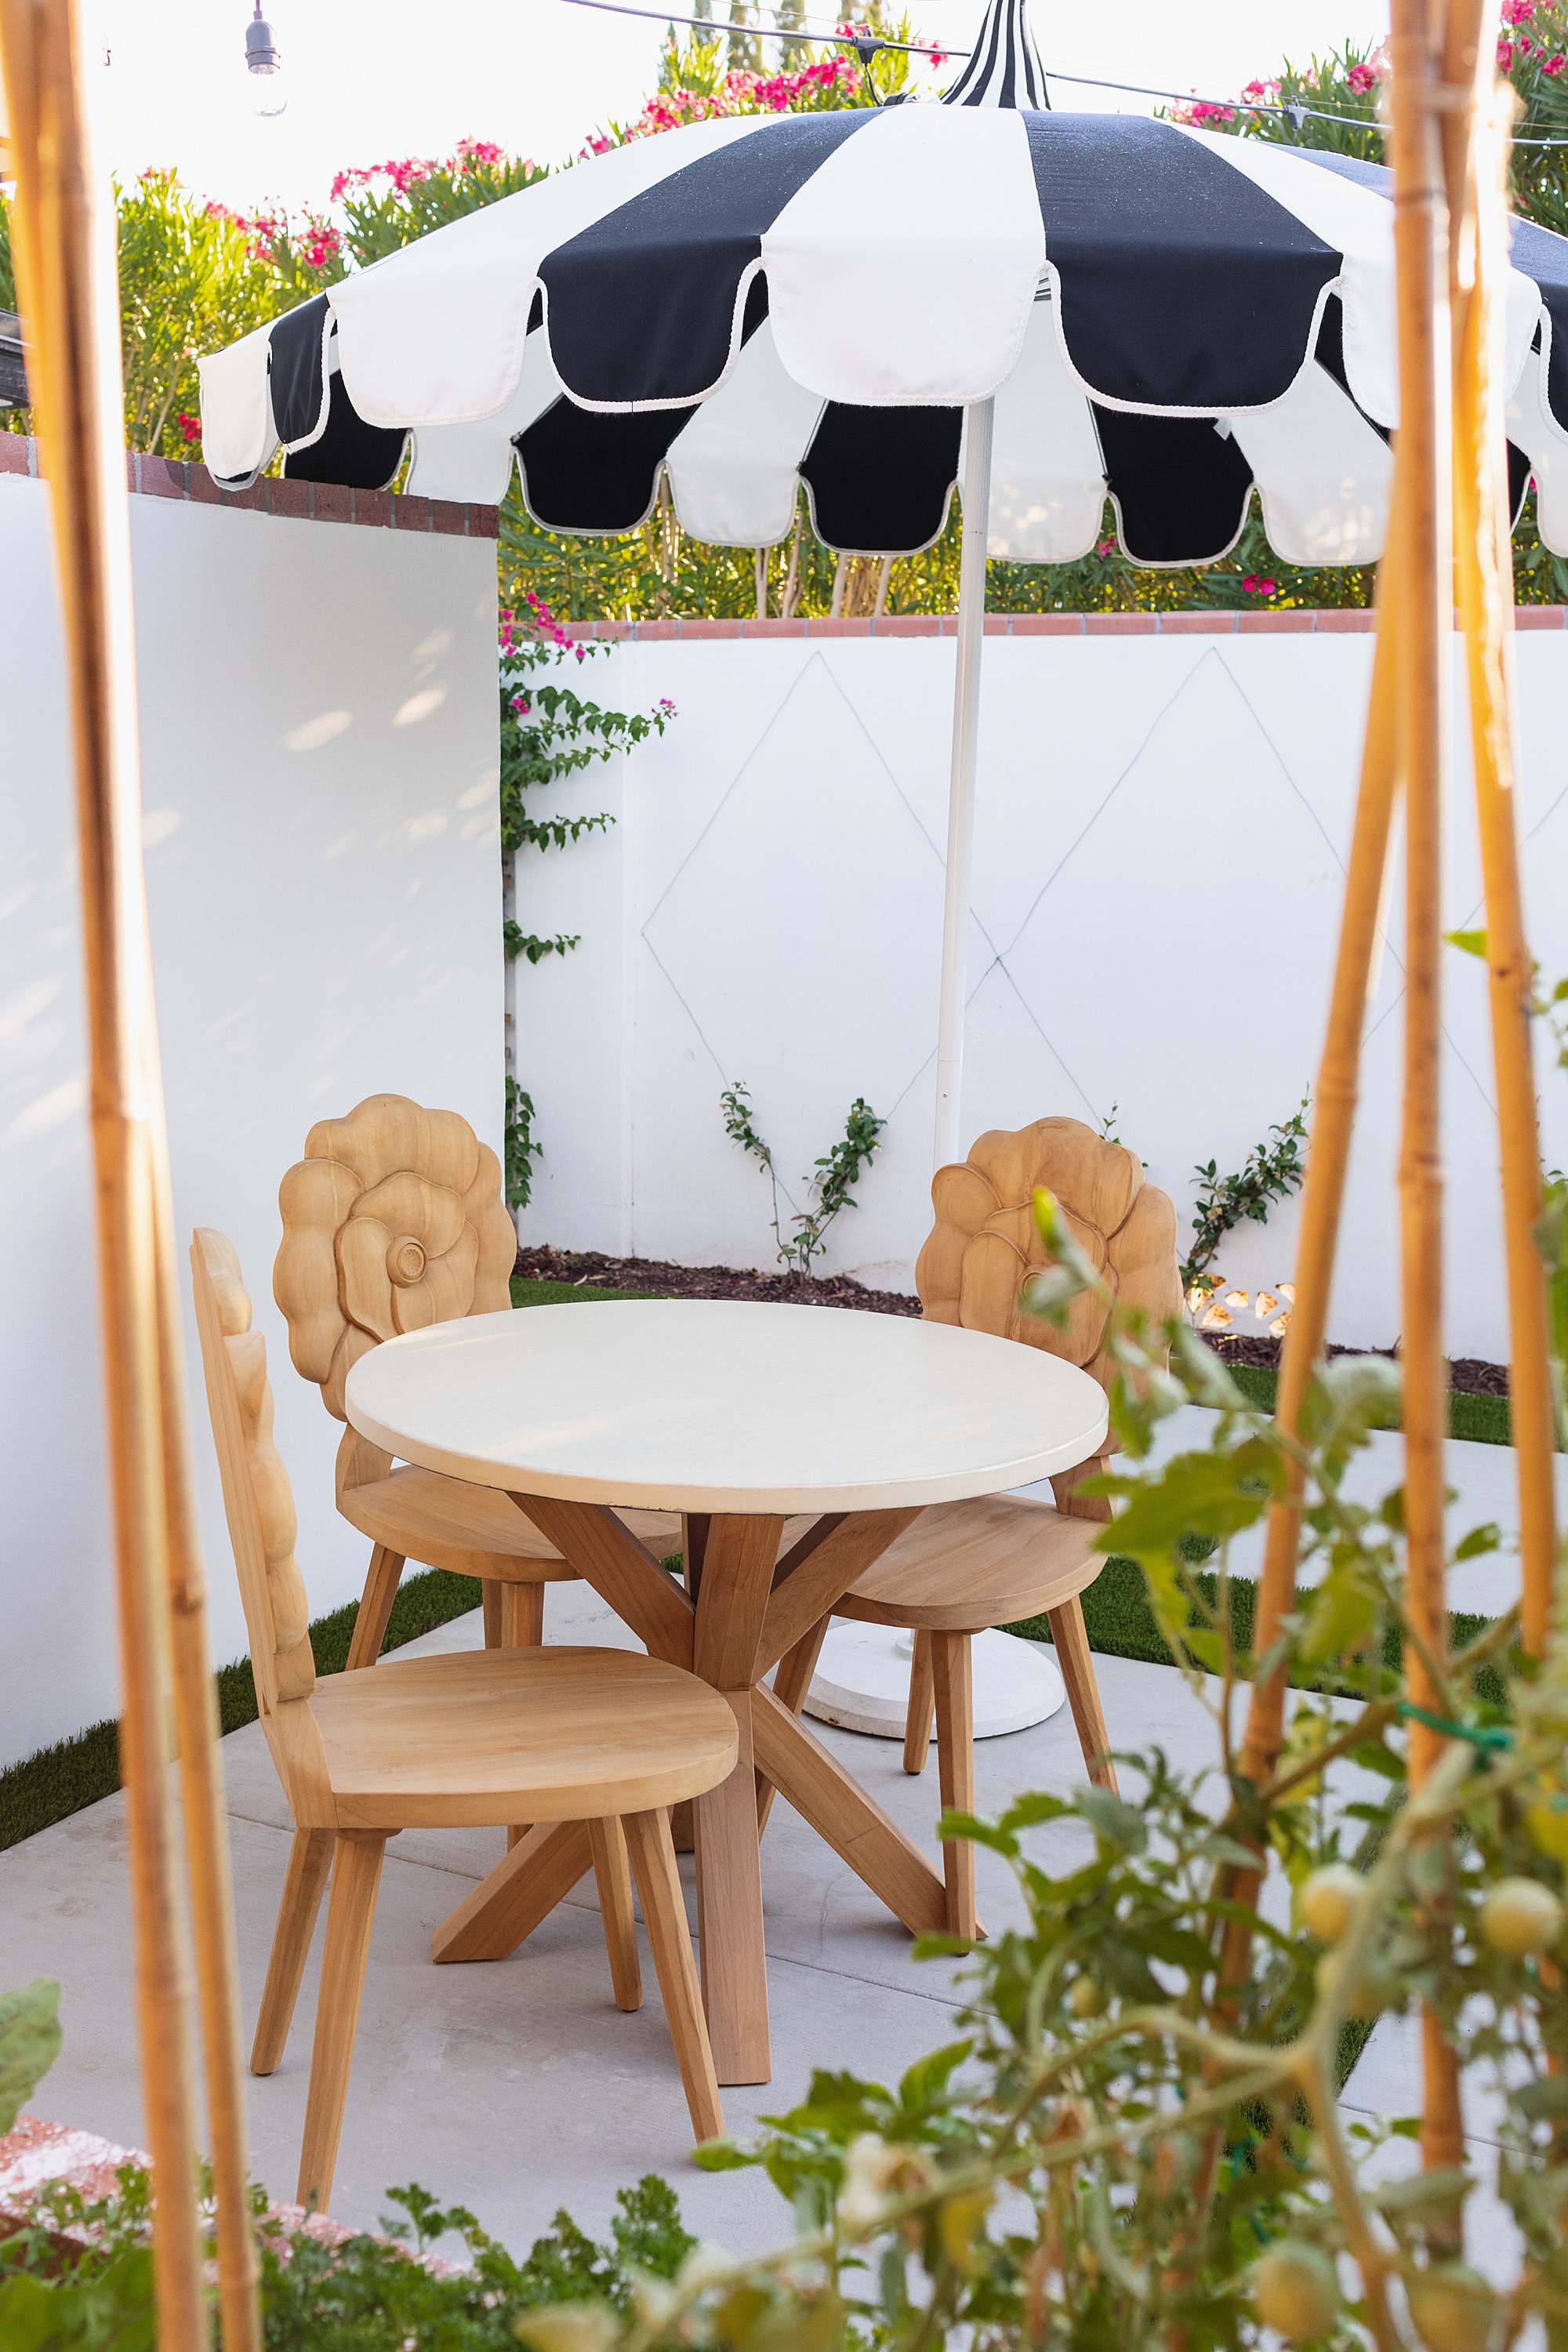
Indra Bistro teak chairs / Teak table (sold out) / Umbrella: Amazon
I know that teak is where it’s at with outdoor furniture especially in harsh weather like Phoenix – if you want furniture to last a lifetime, get teak. The upfront cost is worth it. Teak will change color to a gray if you let it, but if you like it golden you can get some teak cleaner to get it back to this shade. Here’s another teak seating set I have (below) but I don’t know where to put it yet so it stays here. I am swapping out pillow colors too.
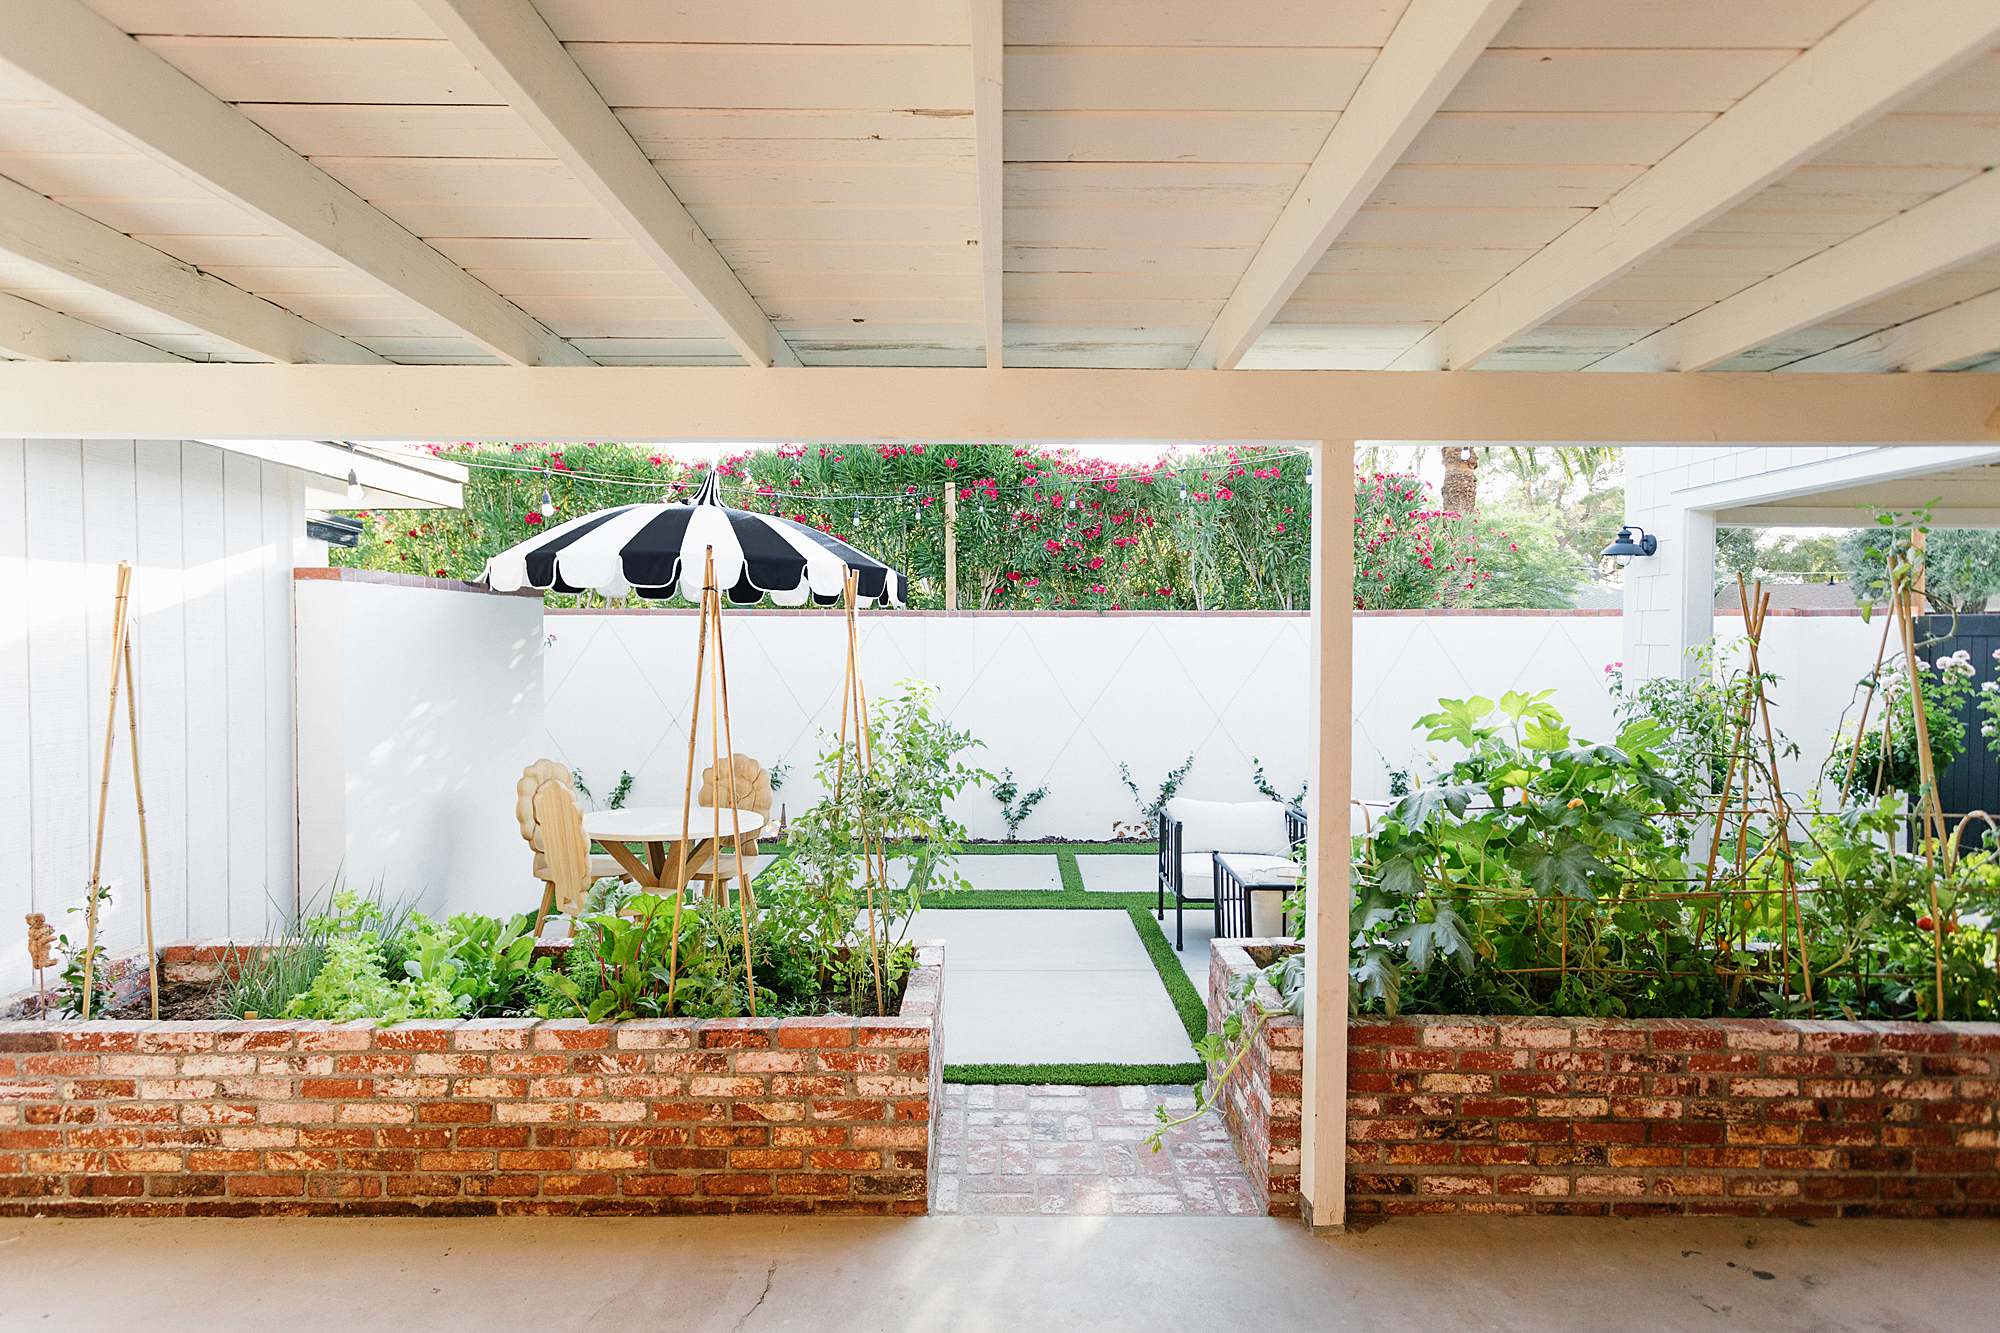
Below I am standing in the open air garage. There’s so much depth to it, lots of space. We left the original car port structure, glad I listened to Benjamin I wanted it gone but I am so glad we left it on! He has great ideas actually I need to give him more credit. Don’t tell him. The other structure you see is my photo studio.
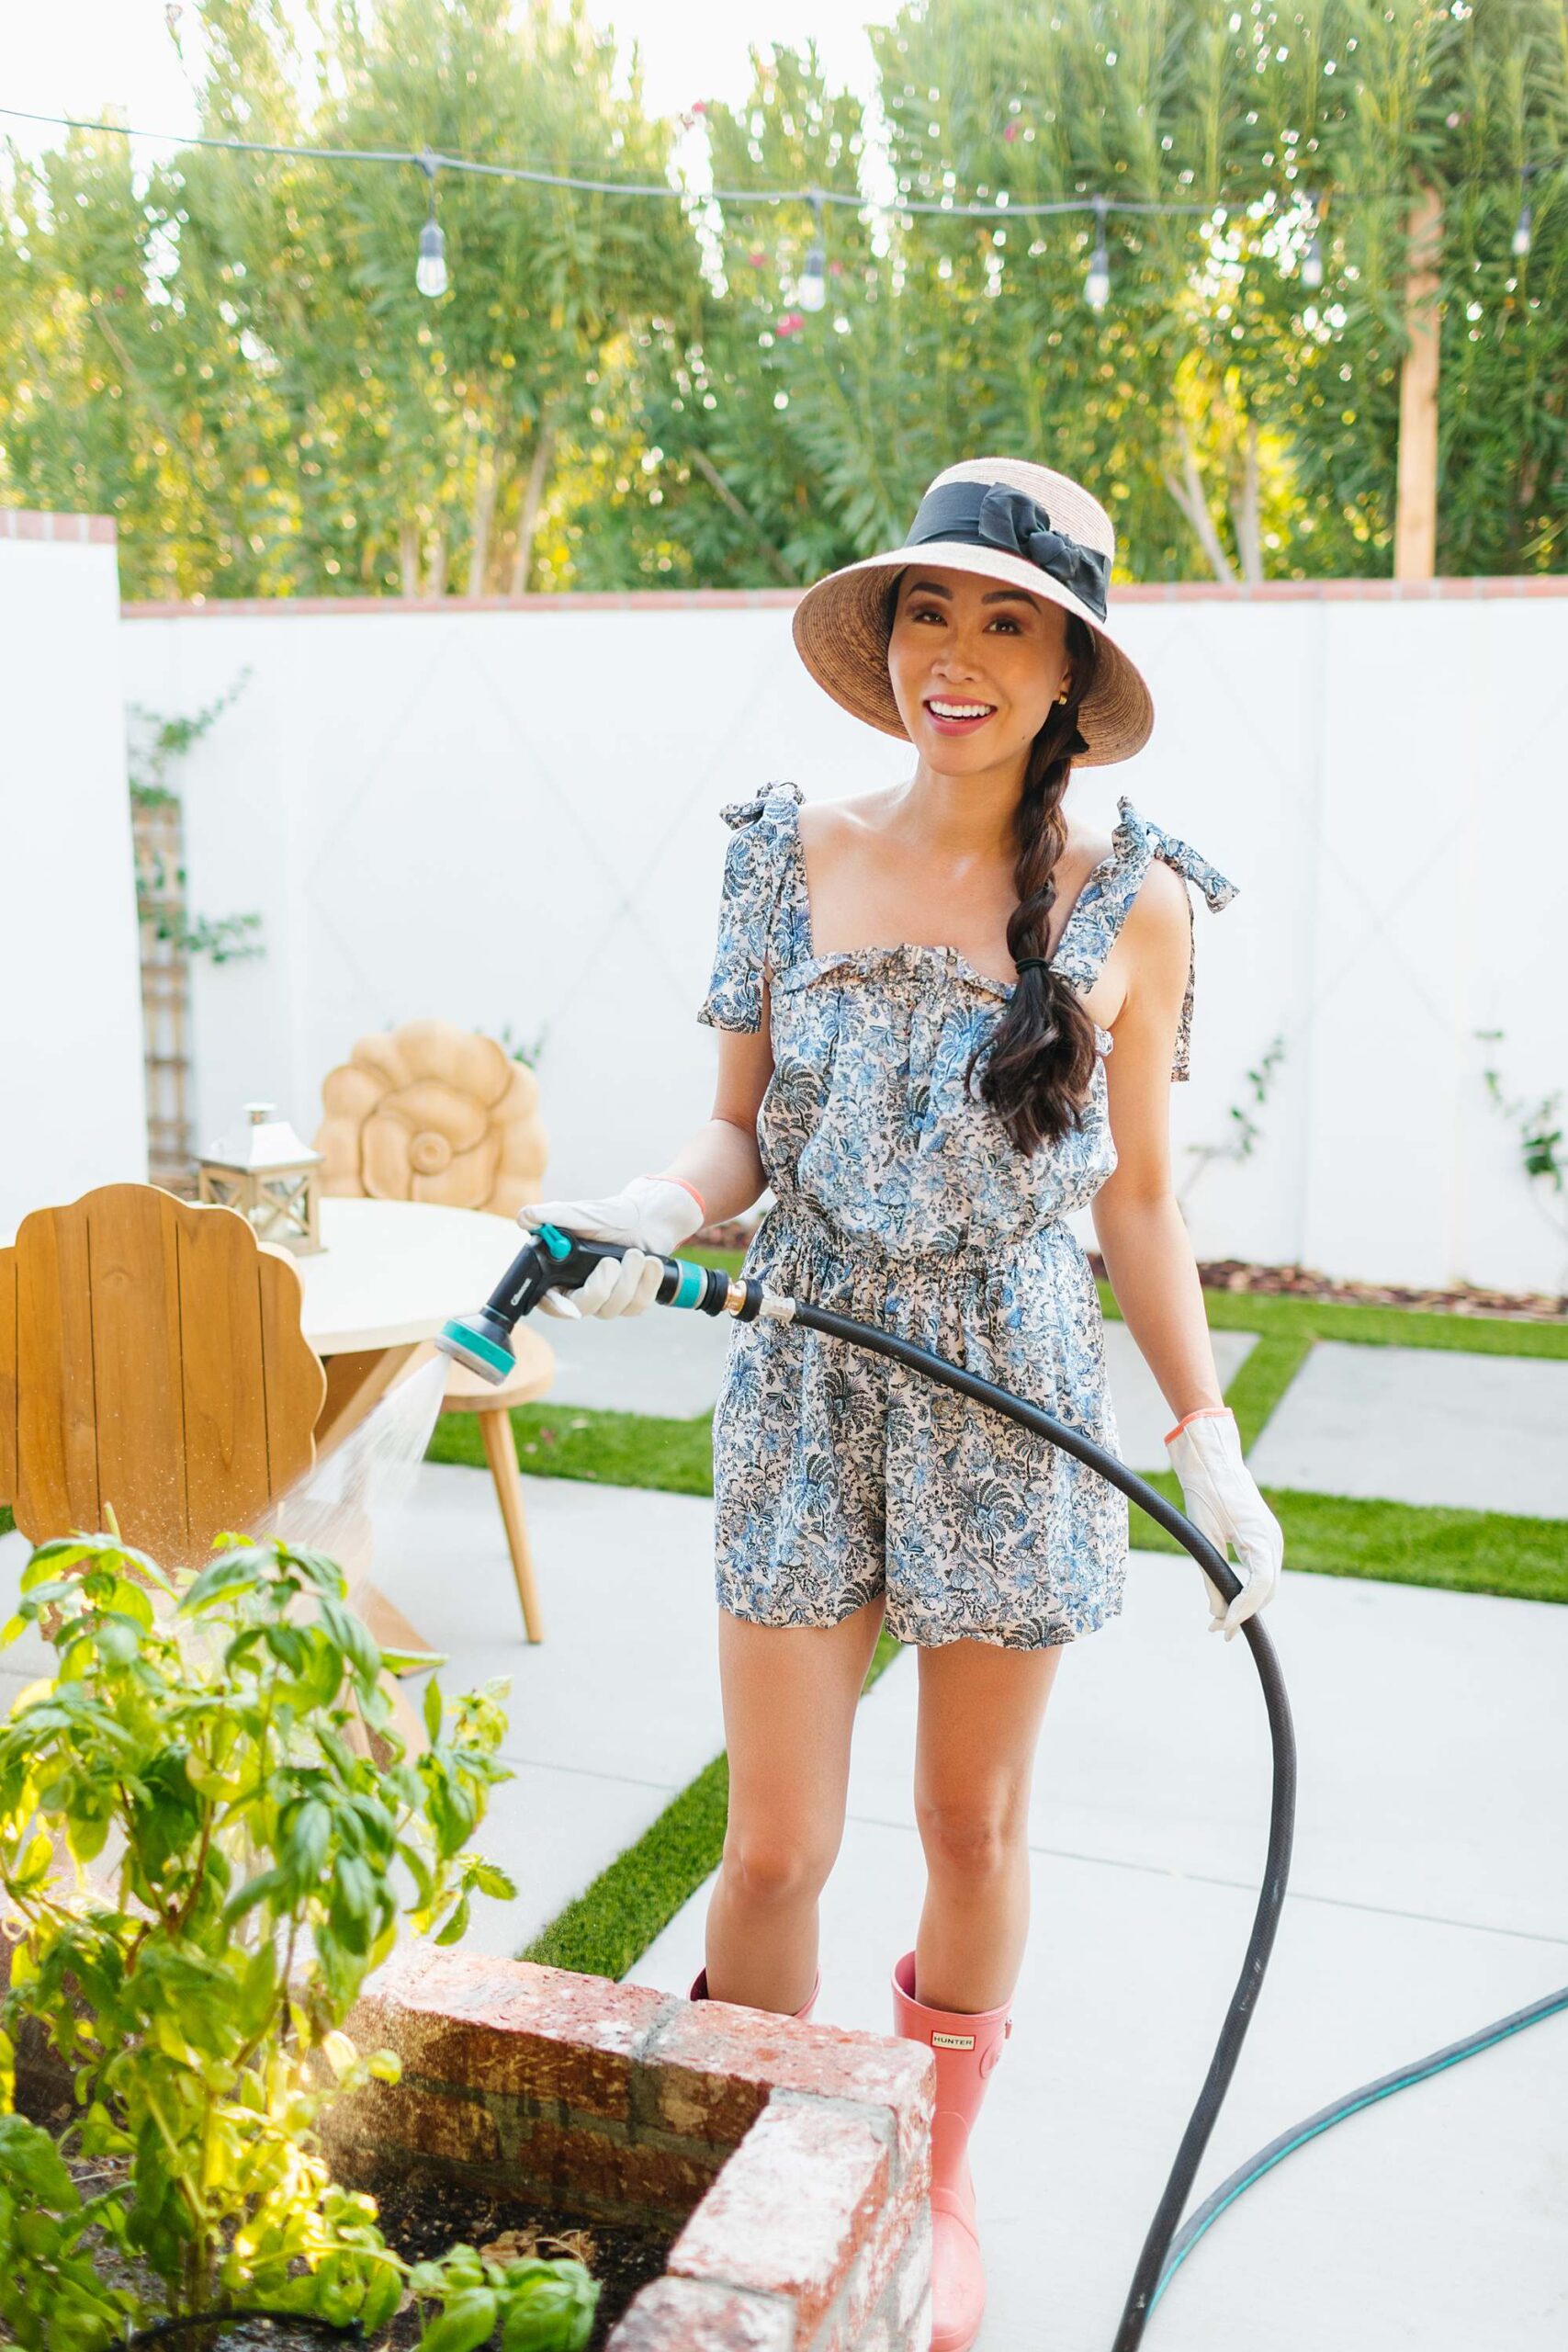
I shot these around 7 pm this summer, this area is on the west side of our property, were on the corner lot so that’s why we have so much property which I feel so blessed and beyond grateful to have this and we hope to bless others with celebrations, gatherings, and get back into hosting small group. Life isn’t what you do, it’s about who you do it with!

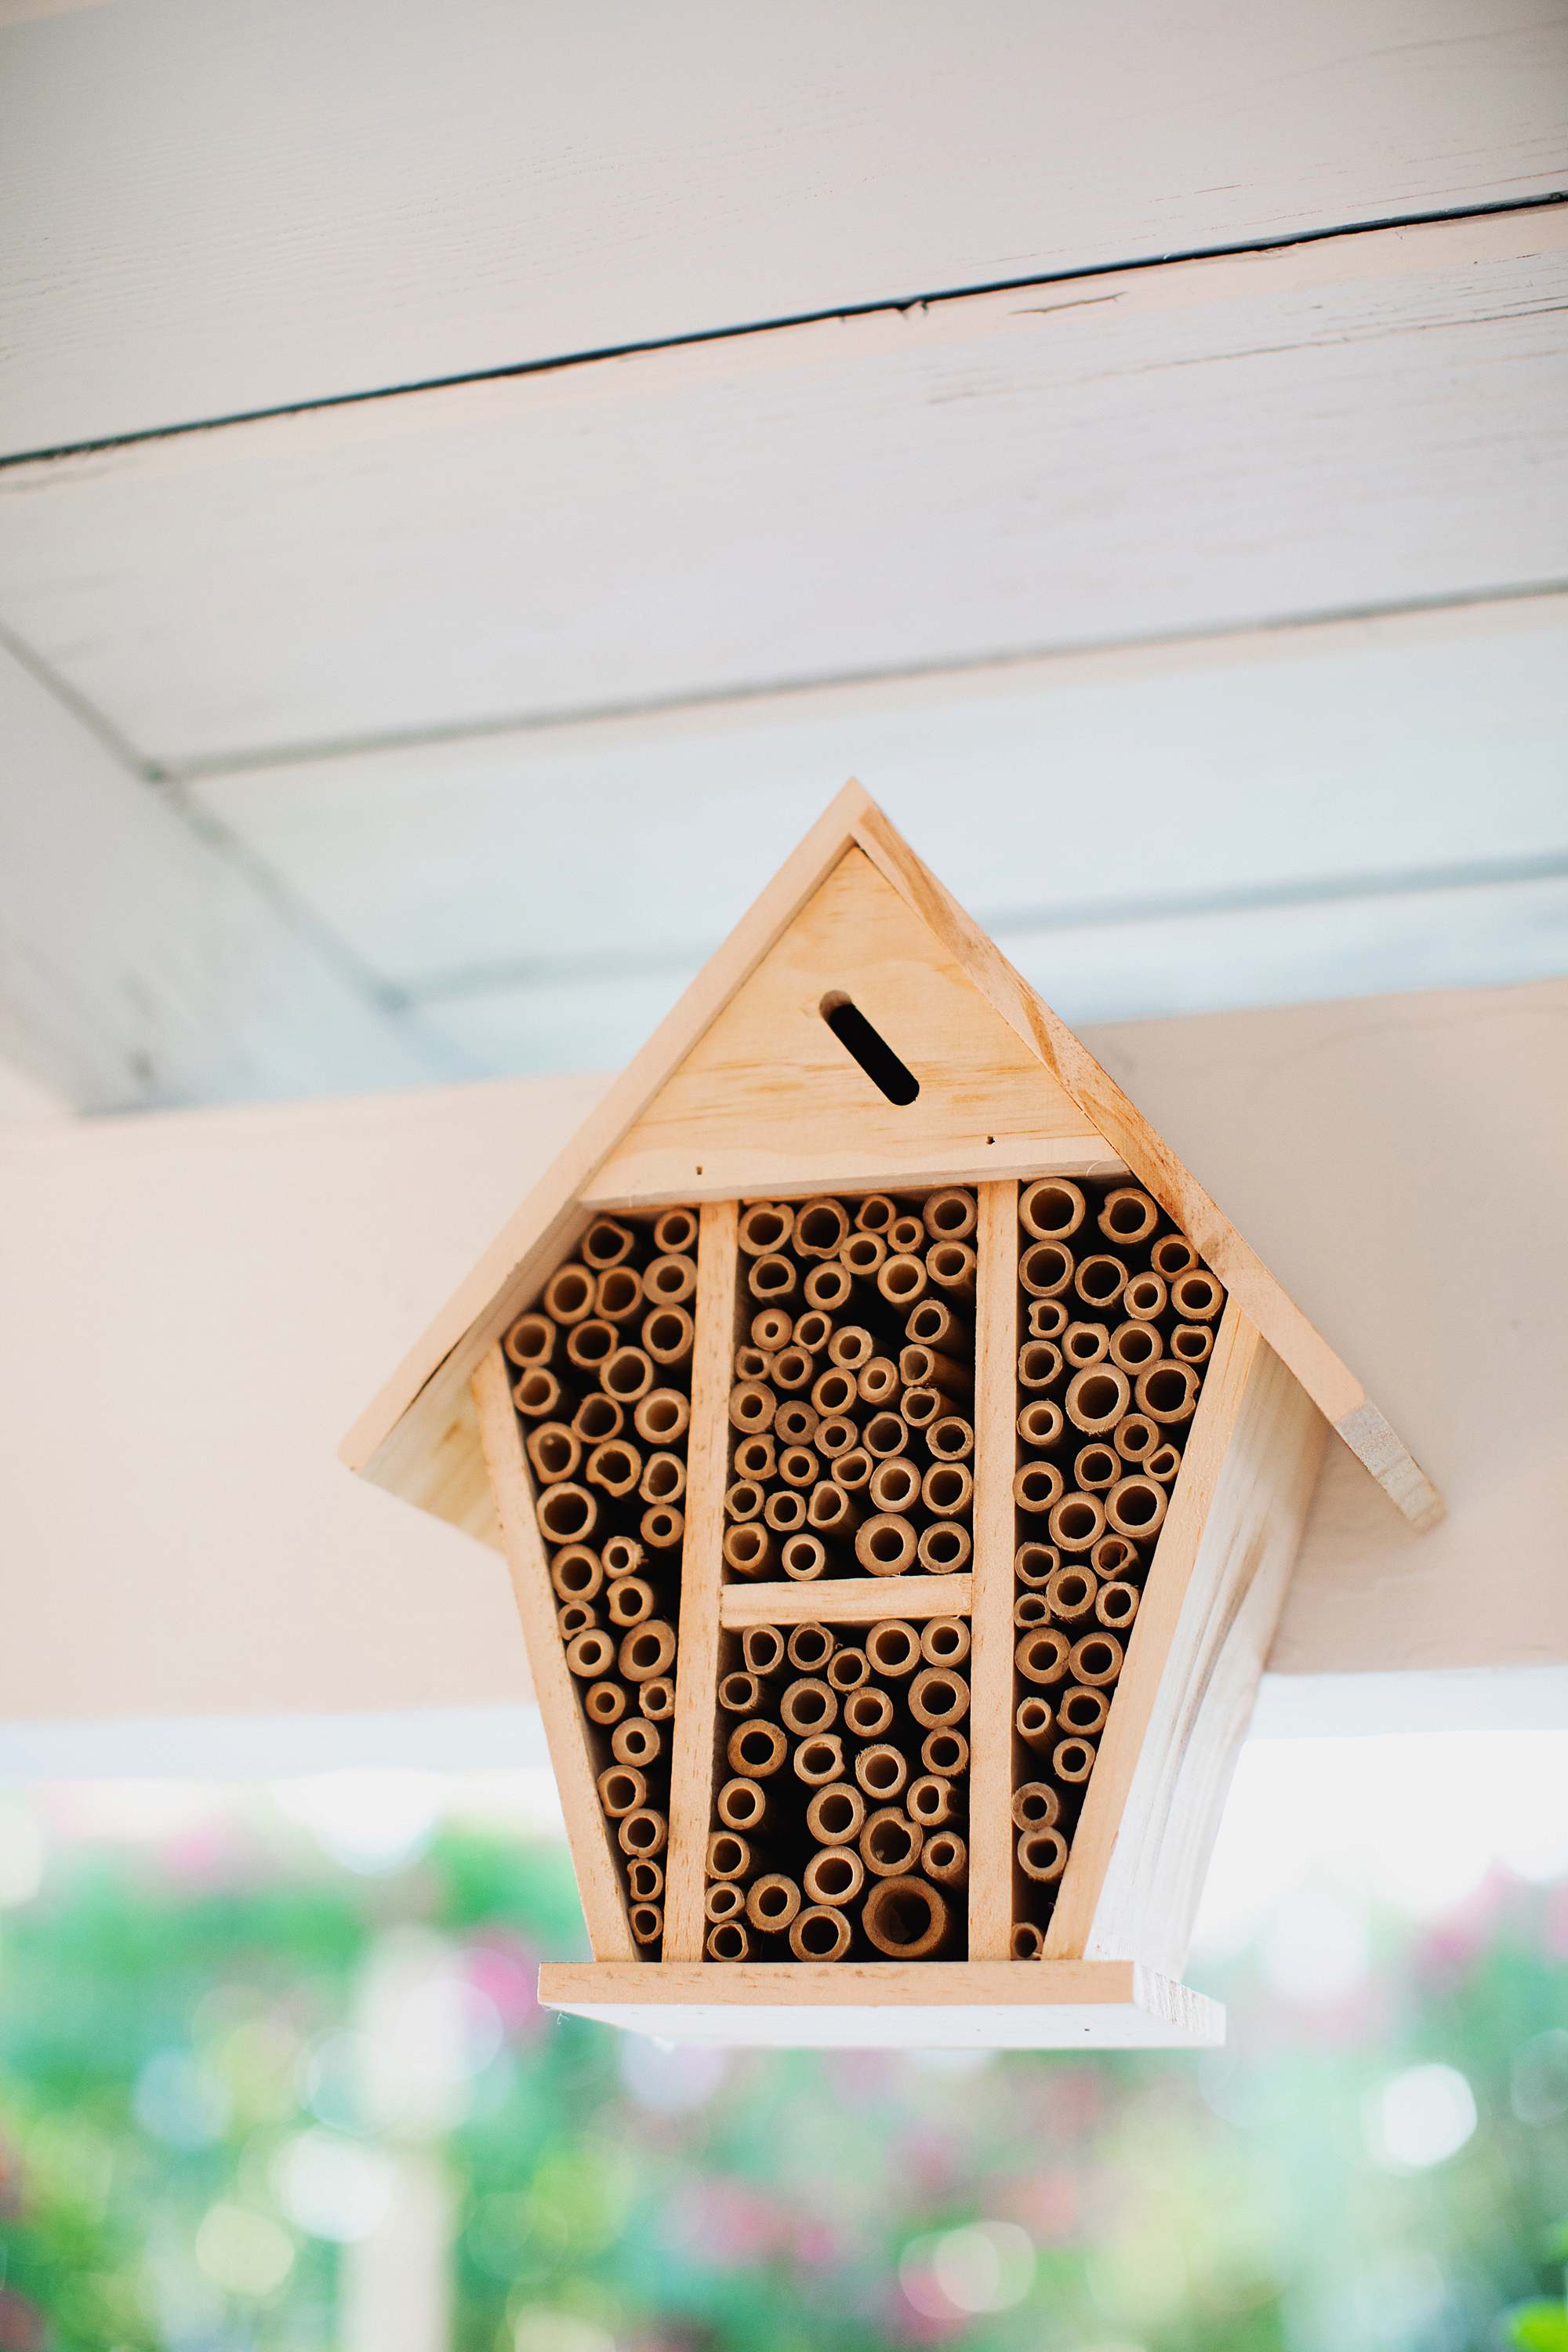
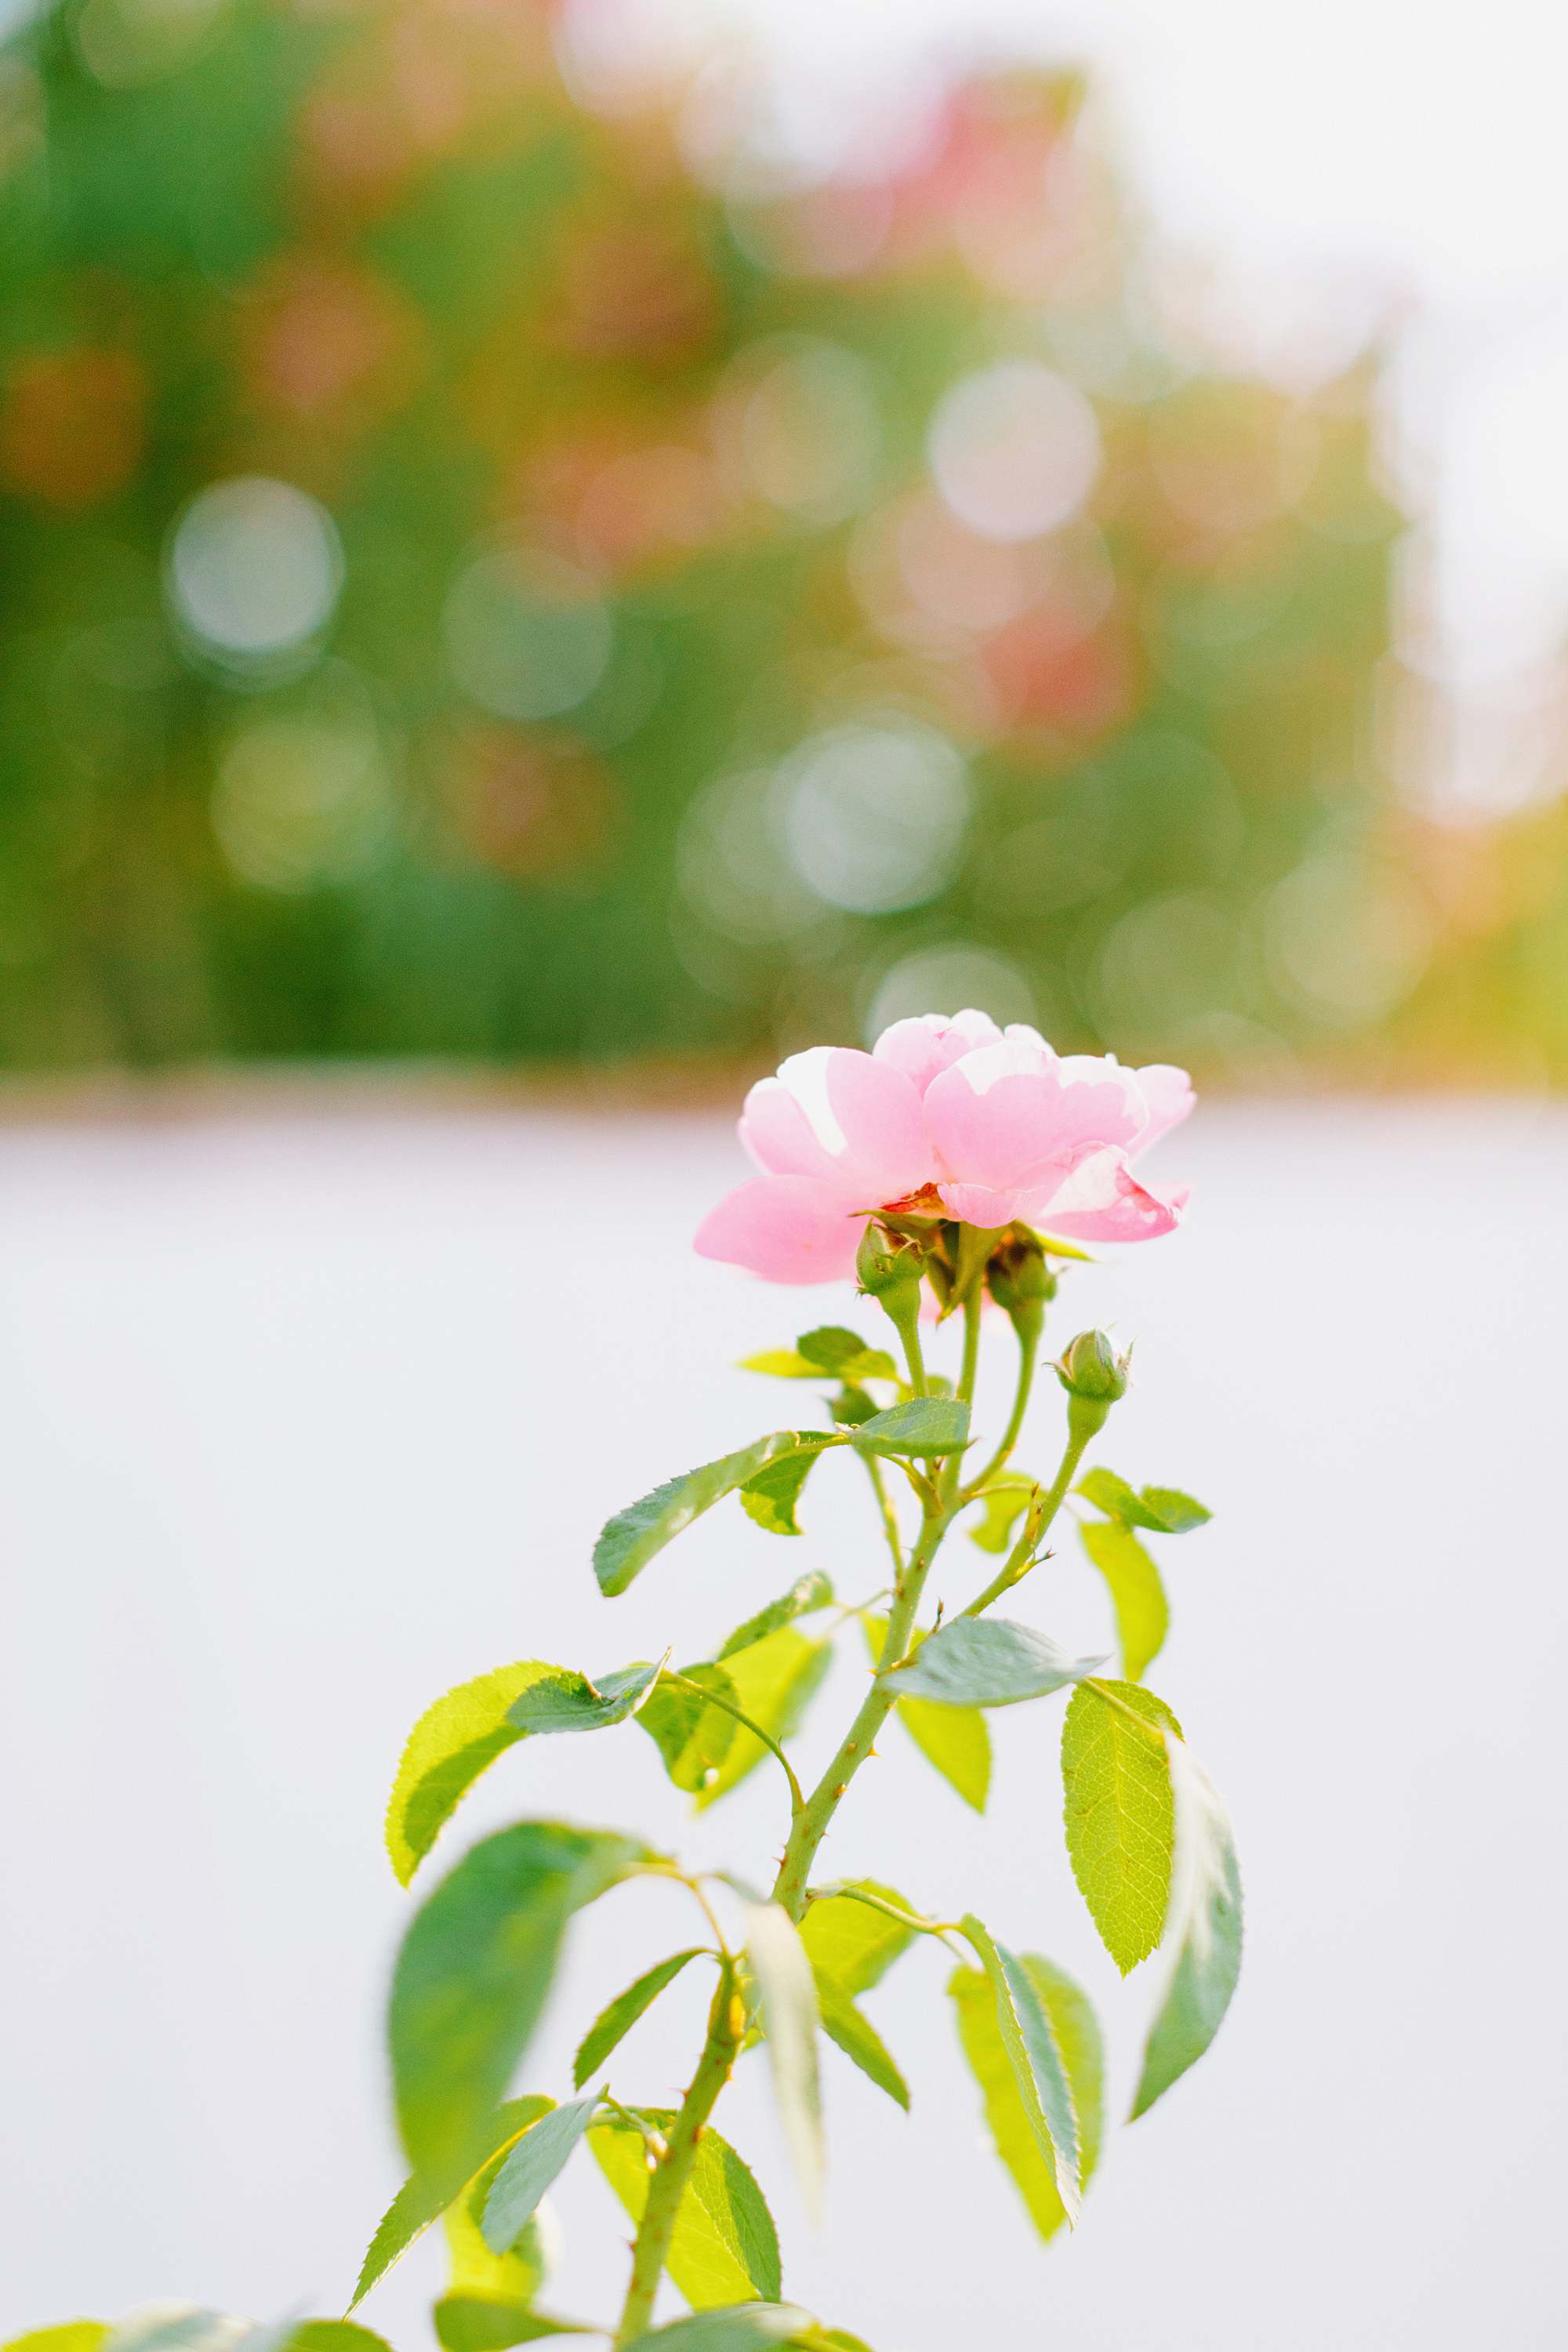
Bee House: Meadow Creek via Home Goods also saw at Marshalls (Amazon, also Amazon, similar here and cute one here)
Is that bee house not the cutest little thing? I might want to get a few more to be honest and give them as gifts – they are at Home Goods and Marshall’s. I love bees – and I’ve never been stung before, how’s that?! The house are for mason bees, they don’t sting, and they are also called bee cutters they go super fast and they are so adorable – they are solitary bees so we won’t be scared about a hive. Bee cutters often cut leafs or flowers to make their nest for babies and to be honest that really made me flippin’ mad seeing my roses all cut up and looking crazy but then after I realized my new garden wasn’t doing so well because the pollinators had no idea I moved my garden, I was like, boy I miss those bees. Where would we be without our precious bees? I am always so devastated when I see a dead bee somewhere wondering if someone is spraying a pesticide *cry* so I try my best to help my bee friends.
I have a funny quick story about the bee house. They are always looking for holes to make their home in, like old holes in our brick walls the we never filled, and I thought I needed to find them a proper home, a bug hotel! We mounted the bug house up high above our garden but we grew impatient and after a few days it didn’t seem like a bee was finding it, we even stuck flowers in it to try to entice them, we’re so desperate LOL. While I was doing the dishes I saw a little guy (well gal, actually) by the window looking to get into the water nozzle hole and I ran outside and took down the bee house and slowly put it by it. The bee landed in one of the holes and I quickly moved it back to where it was hung. It now lives in it! I was so proud of myself.
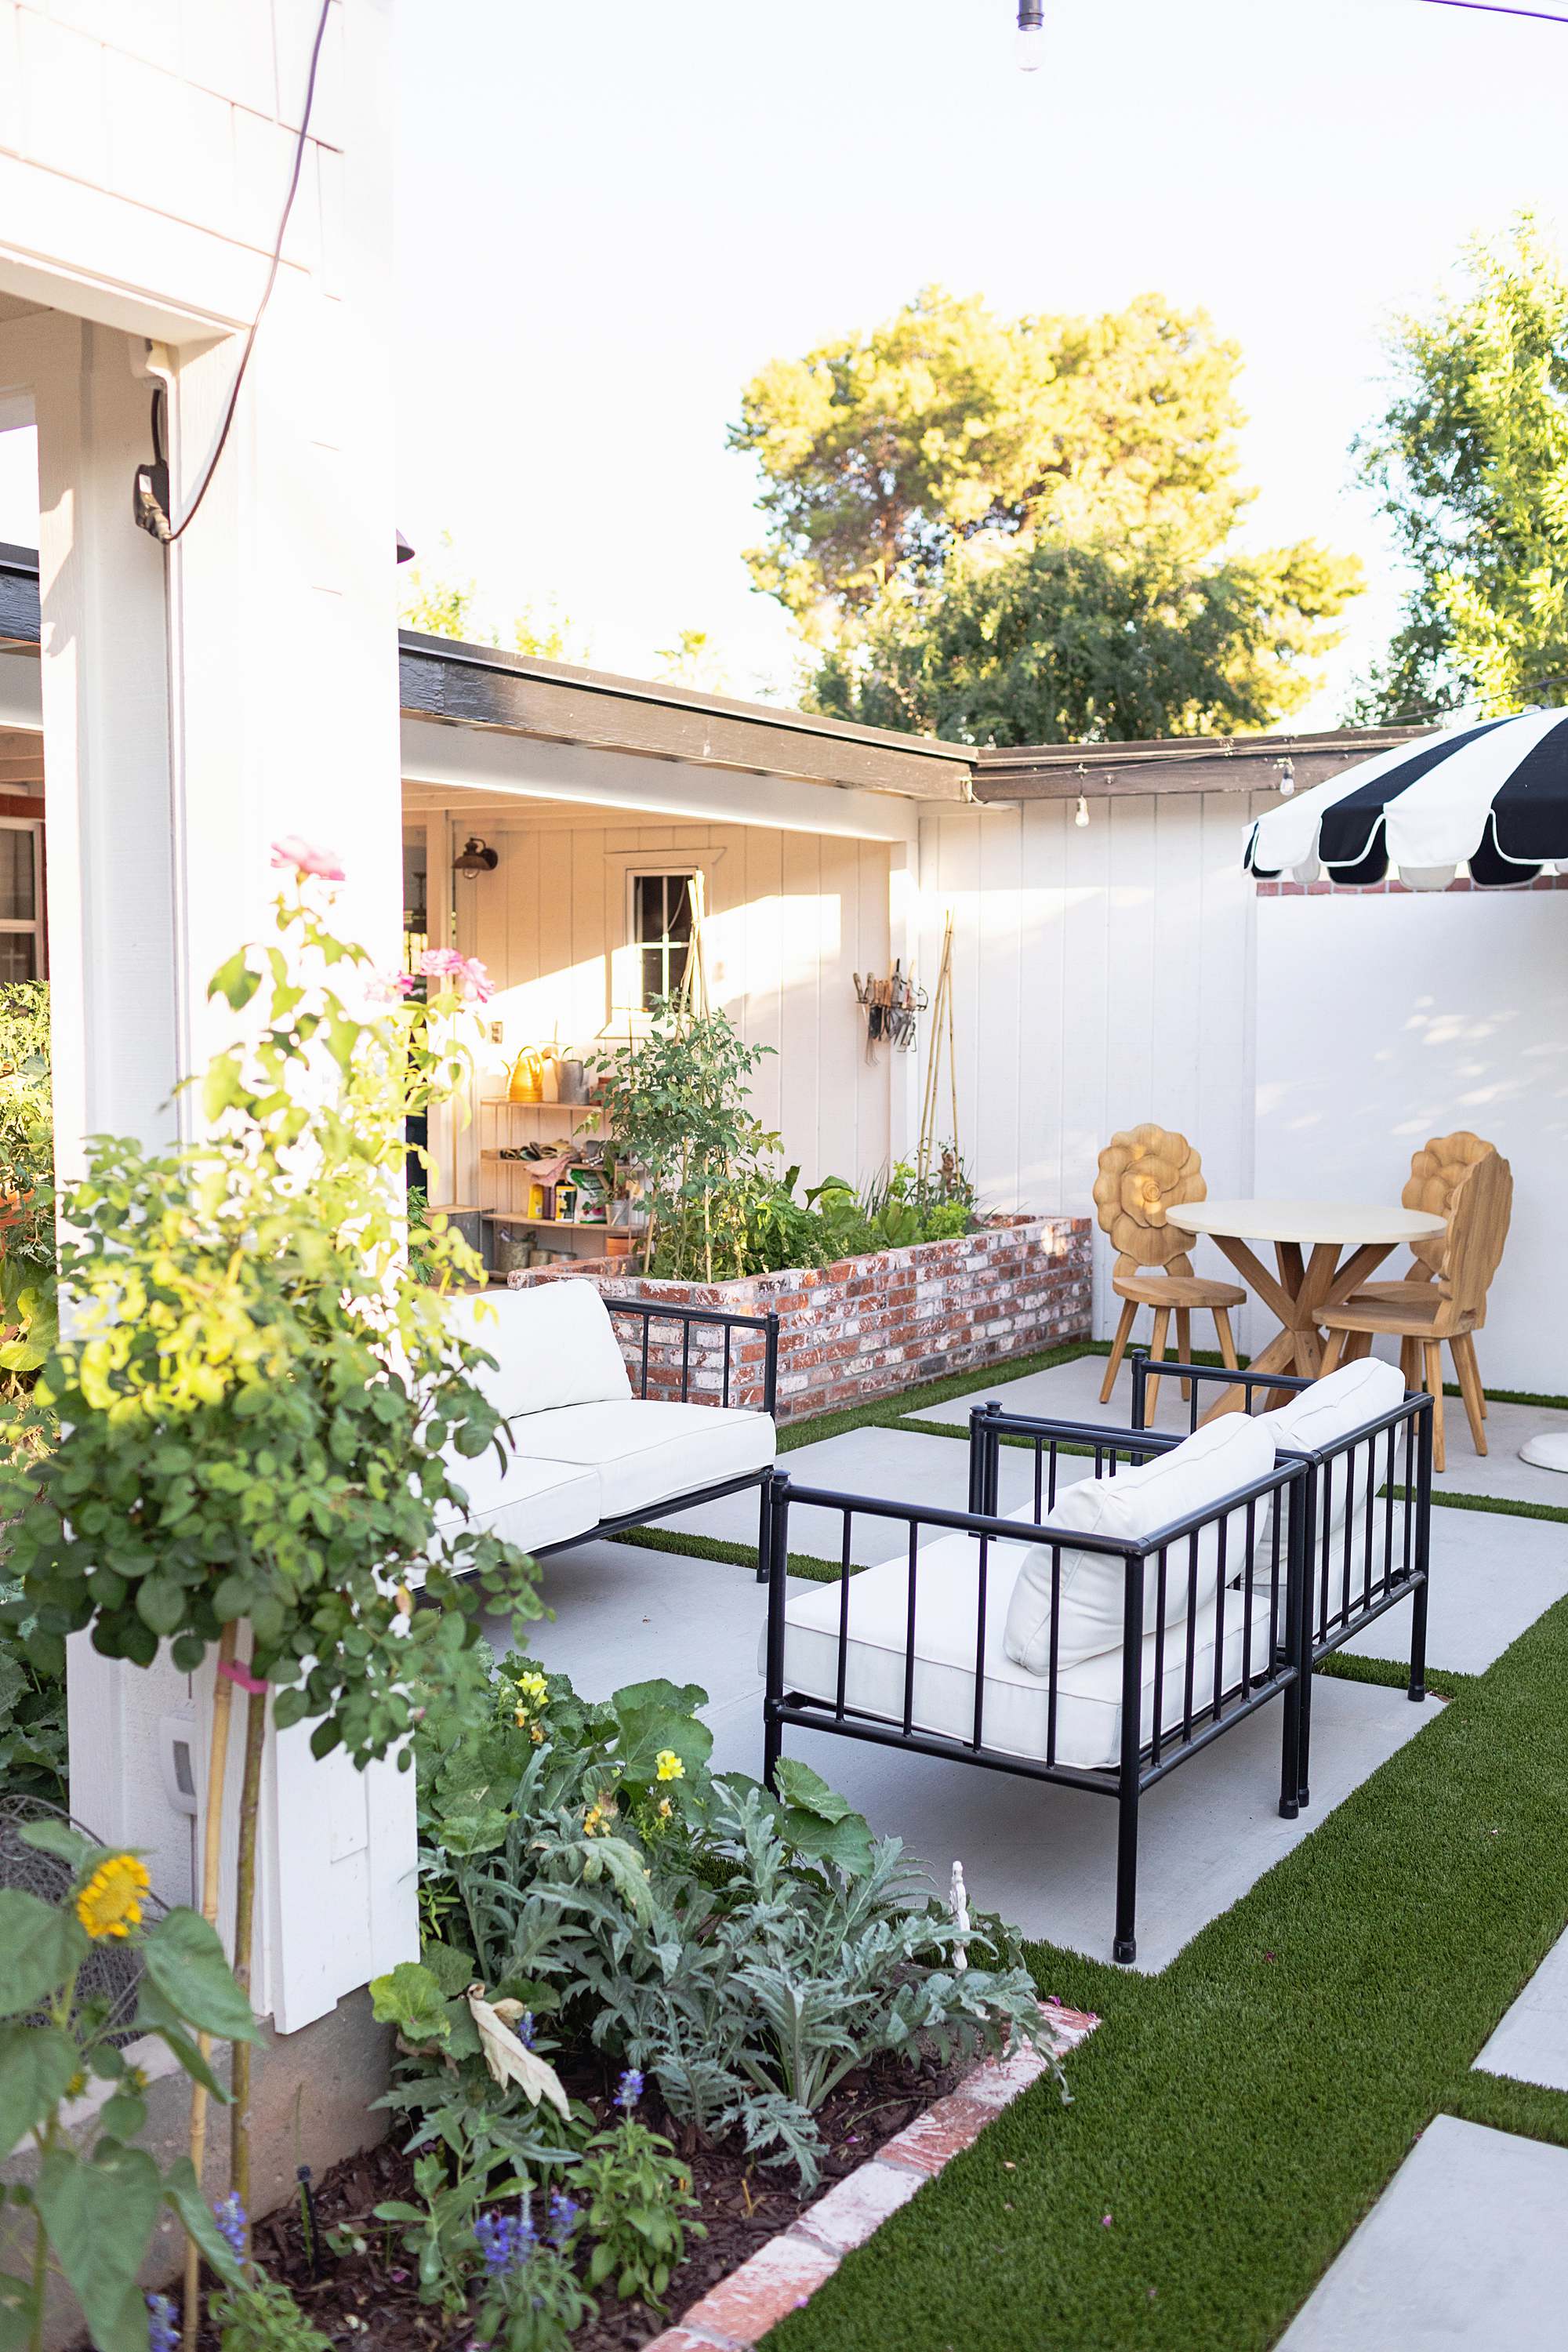
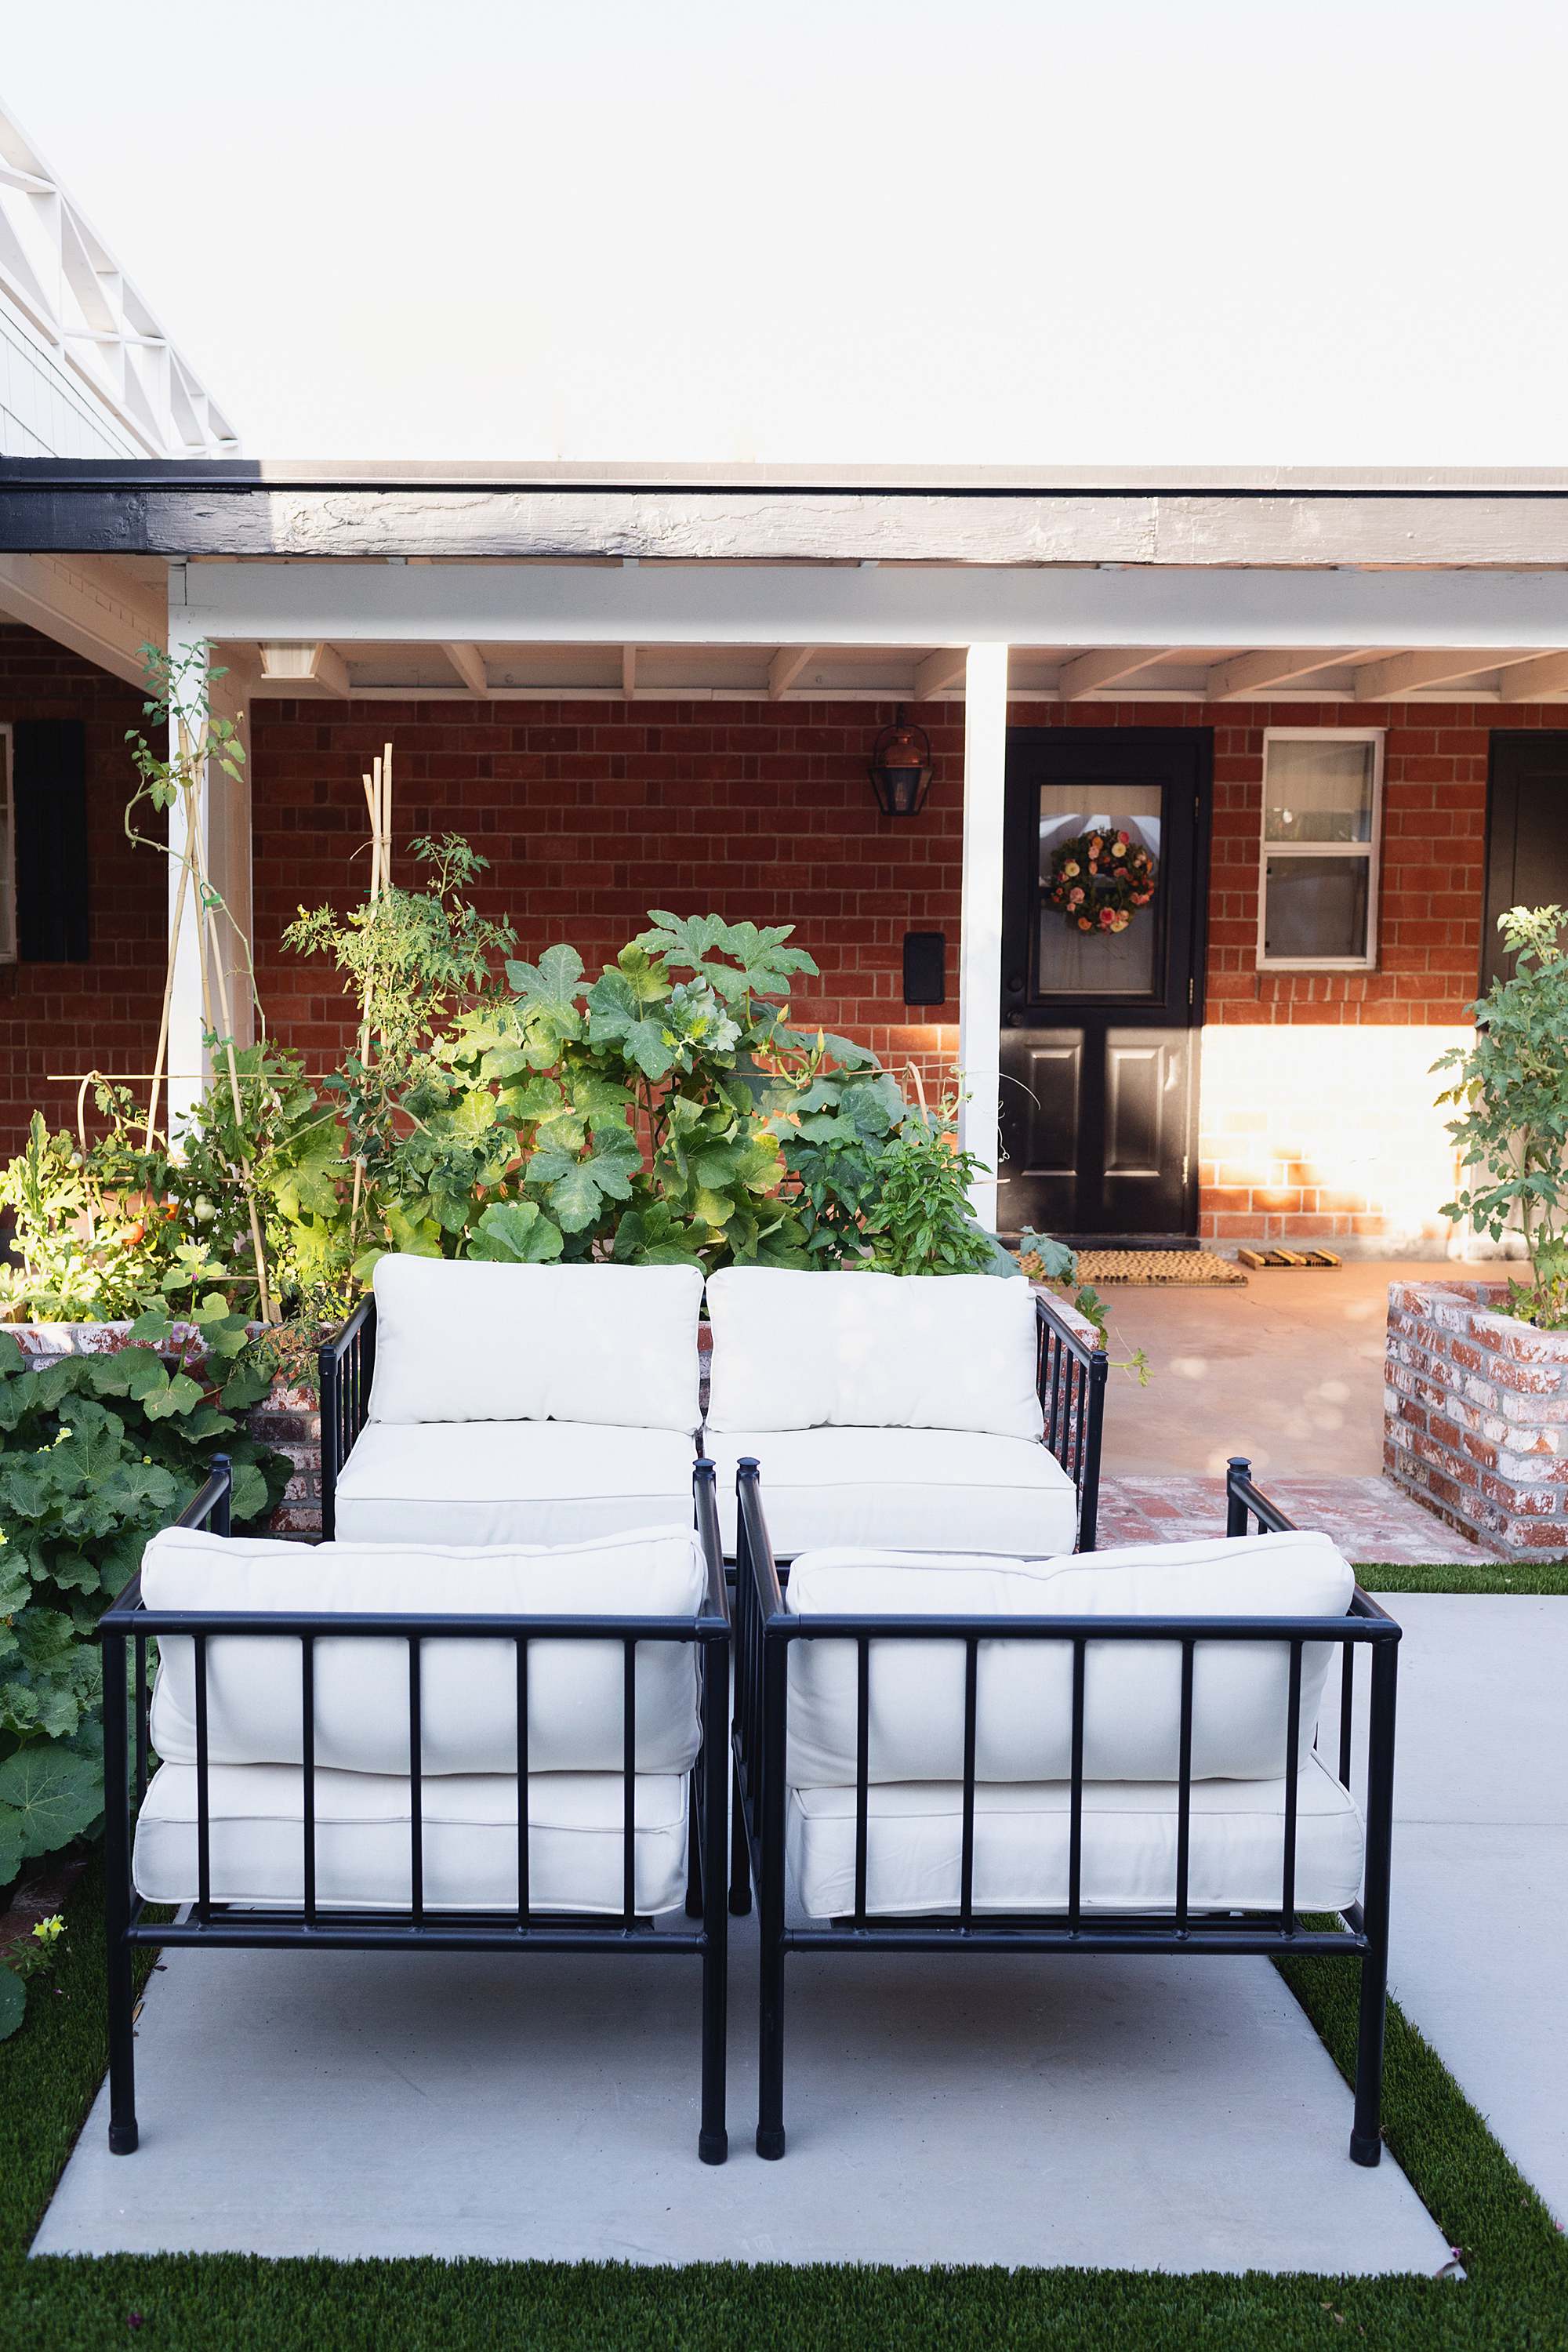
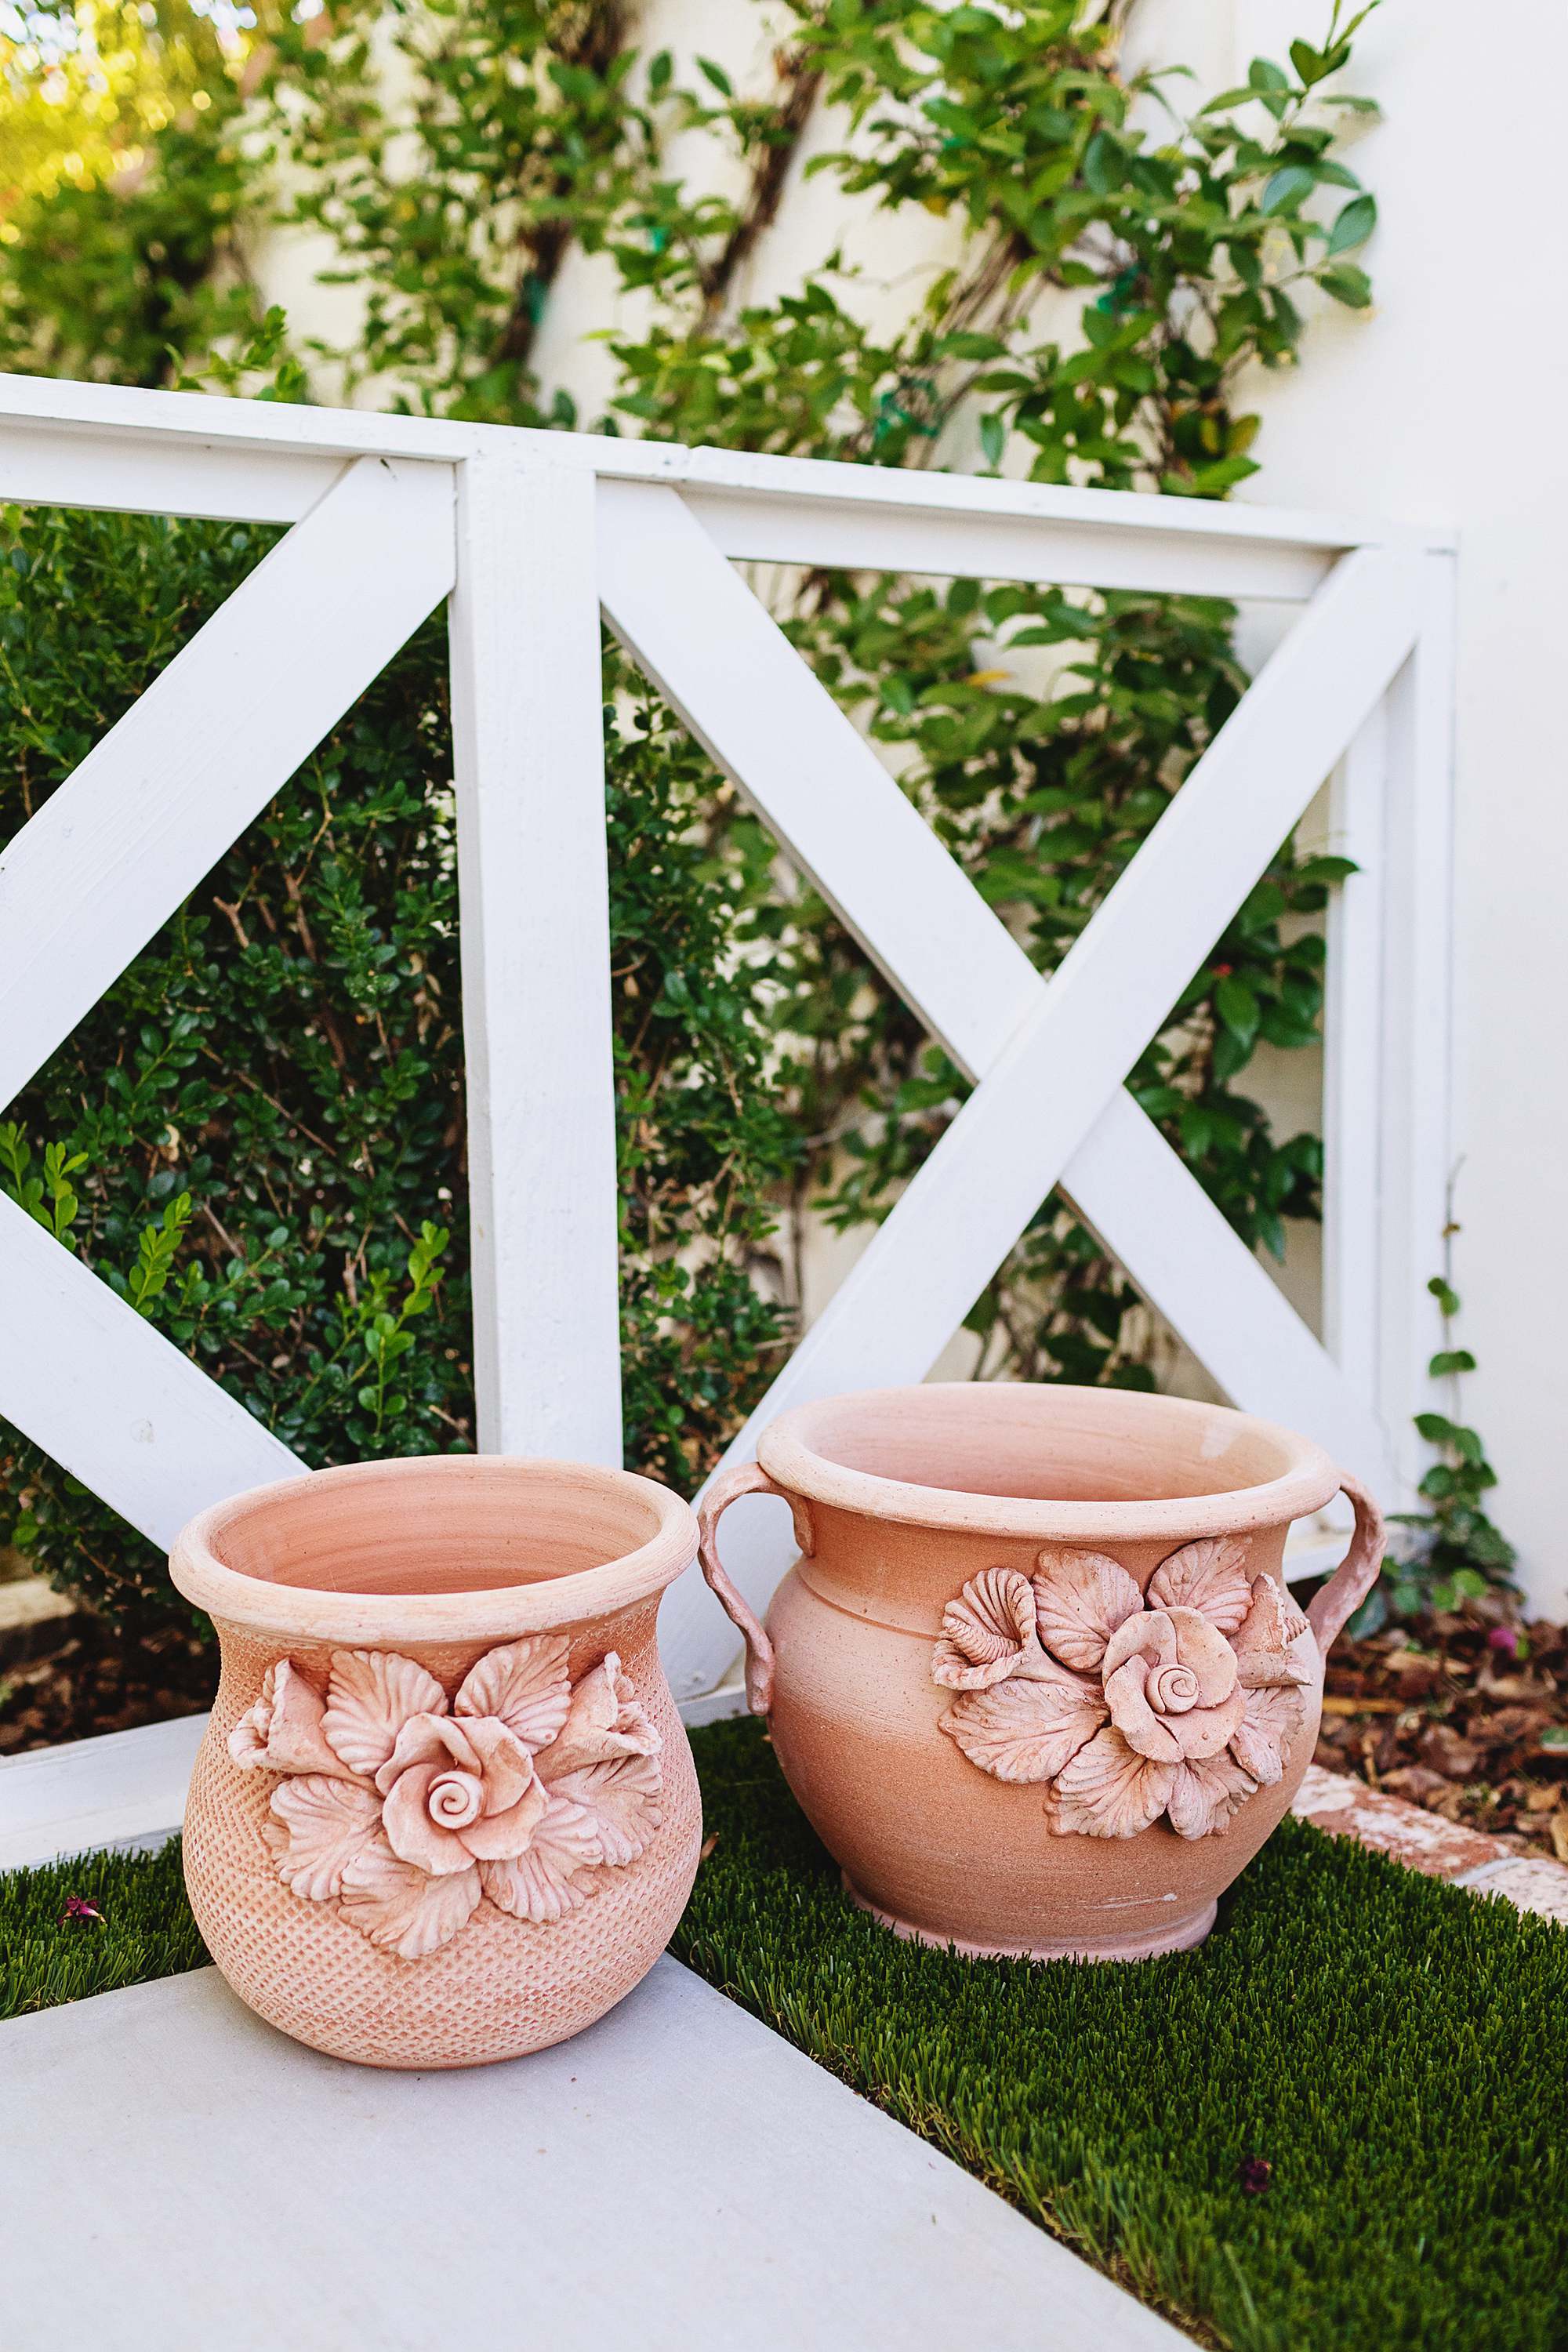
Black and white patio set: (loveseat, club chairs) / Flower Terra cotta Pots: Dima Terrecotte Made in Italy, via Home Goods and Marshalls (citrus, garland style)
By the time I publish this we will already have a new laundry room door, almost the same but 6 pane windows and painted black as well. I just wanted a new wood door. Also the thing on the floor by the animal print door mat (size large) is a boot scraper since we’re wearing our garden boots all the time we have mud so we stand on it and it takes the mud off the bottom before we kick them off in our mud room.
I think I’m just going to love everything with a flower on it, really. So the terra cotta pots, I just about died when I saw the one with the handles, it was left on the shelf all alone at Home Goods (they had just recently opened up and I went at the end of the day). I grabbed it and then I went to Marshall’s a few days later and saw the cousin as Benjamin says (the one with the dots). I just had to have another! I plan on filling it with a flowering plant but it’s very hot right now so I will wait maybe closer to fall to get them, otherwise we’re asking for a struggle.
I thought about putting the pots inside but I don’t have room and I think they just look lovely in this corner. I will look for large saucers for the bottom for drainage.
Let’s back up a little to the end of the gate.
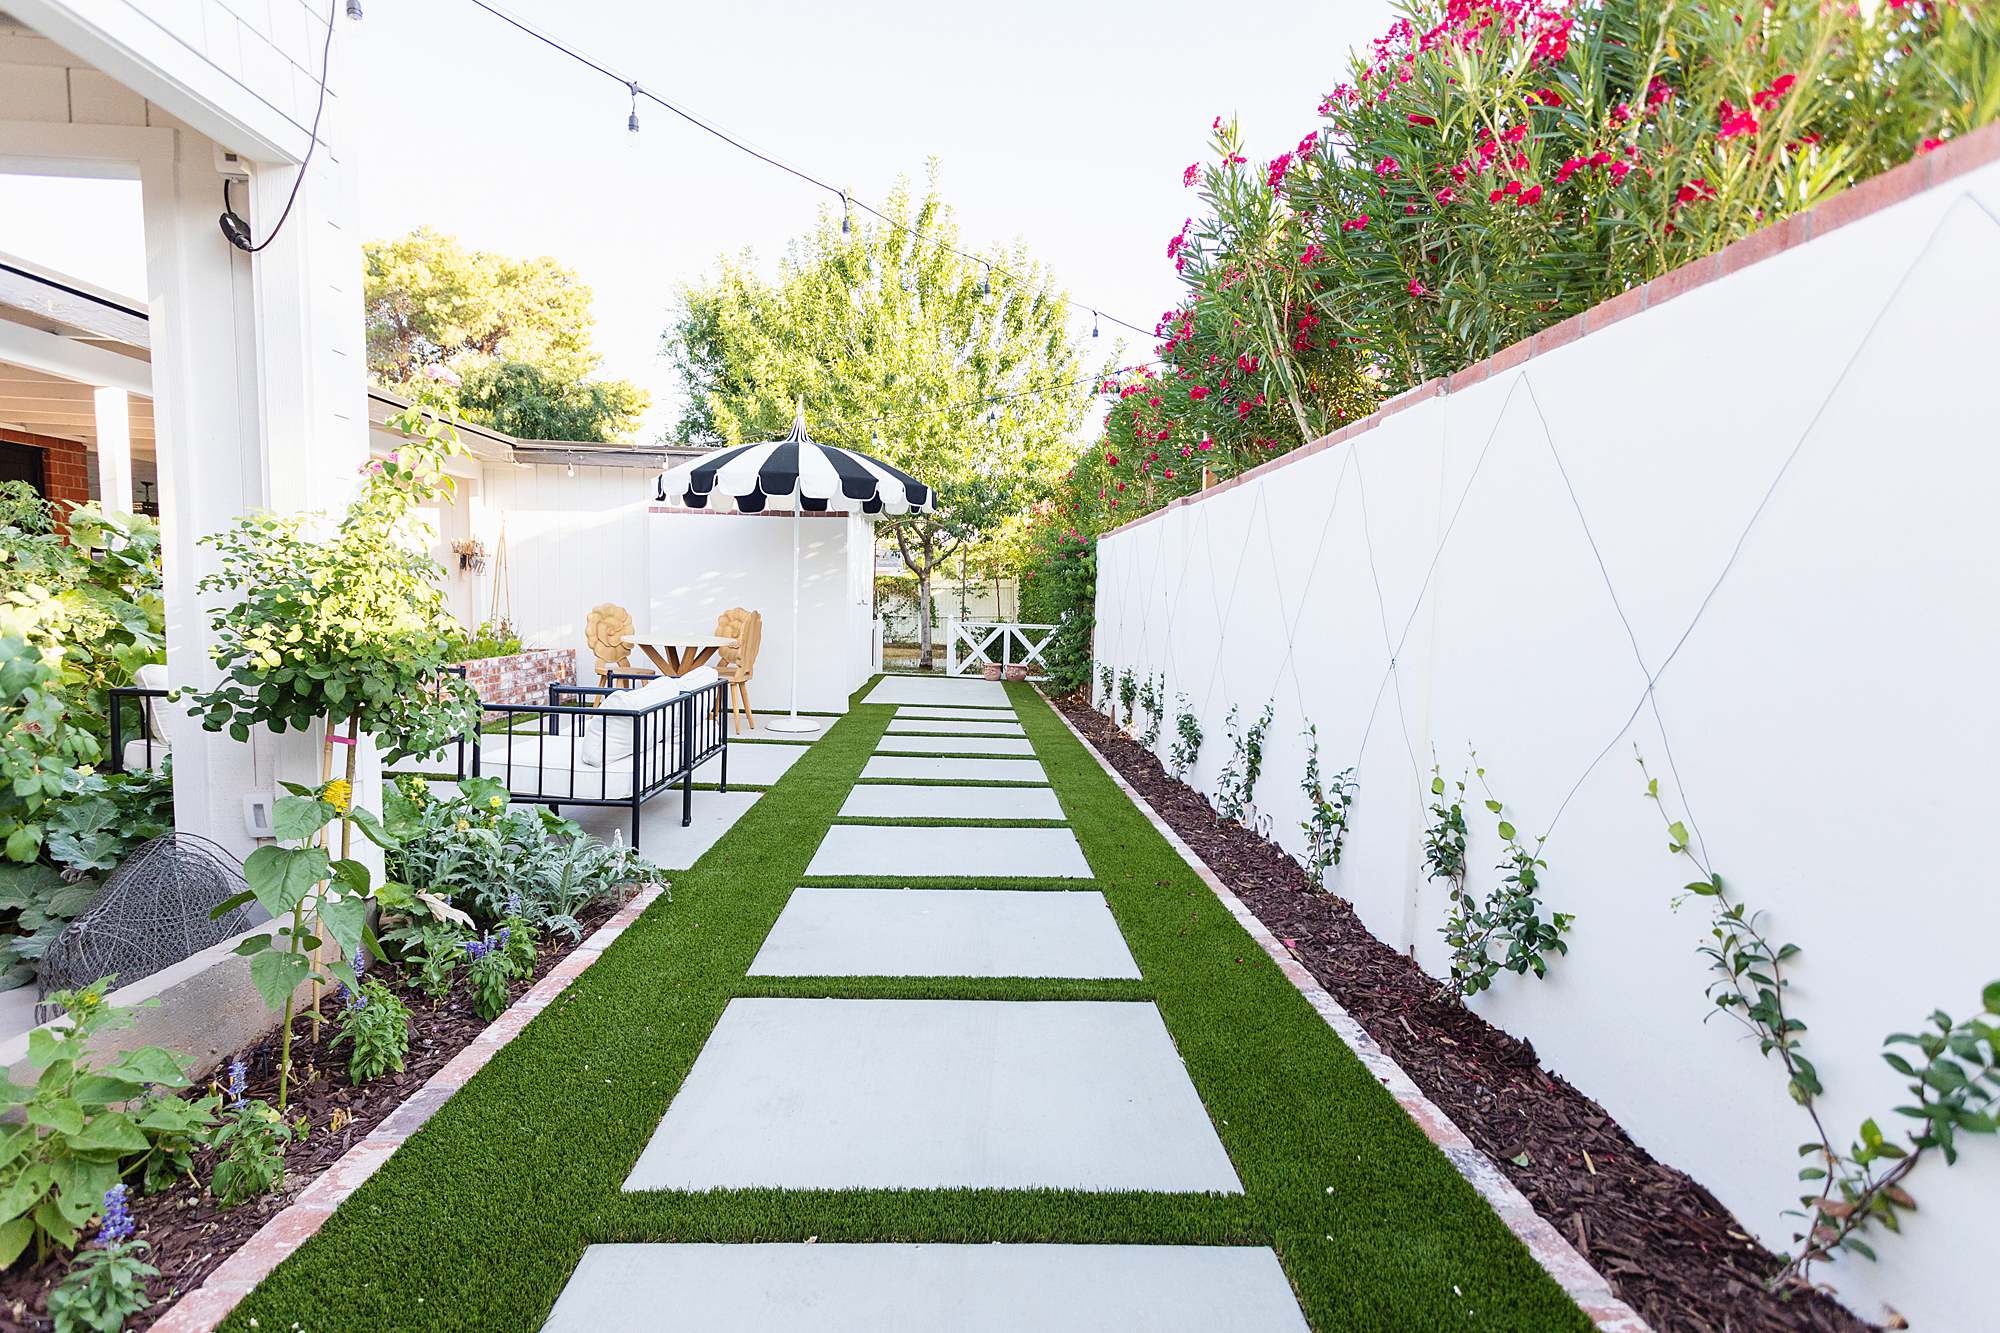
We still have our backyard though that white fence – it was getting flood irrigation when I took the photo. So that cinderblock wall you see under the umbrella is where the white wood fence used to be and separated the front from the back. See how much private living space we have now?!
You probably don’t need to see the rest of the backyard since we haven’t done anything, but if you go back a few posts you’ll see a few shots with Fiskars, and the like to see what it looks – altho not as green as my faux turf right now haha! I just feel like we have SO much outdoor living space and though I spend most of my time in this space now, I need to do something to get myself back to the backyard and the orchard area (where the lime, lemon, kumquat, pink lemon, mandarin orange and peach tree live).
If you have any questions feel free to comment and I’ll answer them. Thanks for being here along for the journey. It’s been fun being able to share the progress with you on Instagram and get your feedback!
Landscape design: Kameron of K Design/ Concrete: Imagine Concrete / Artificial grass by AZ Luxury Lawns
BEFORE
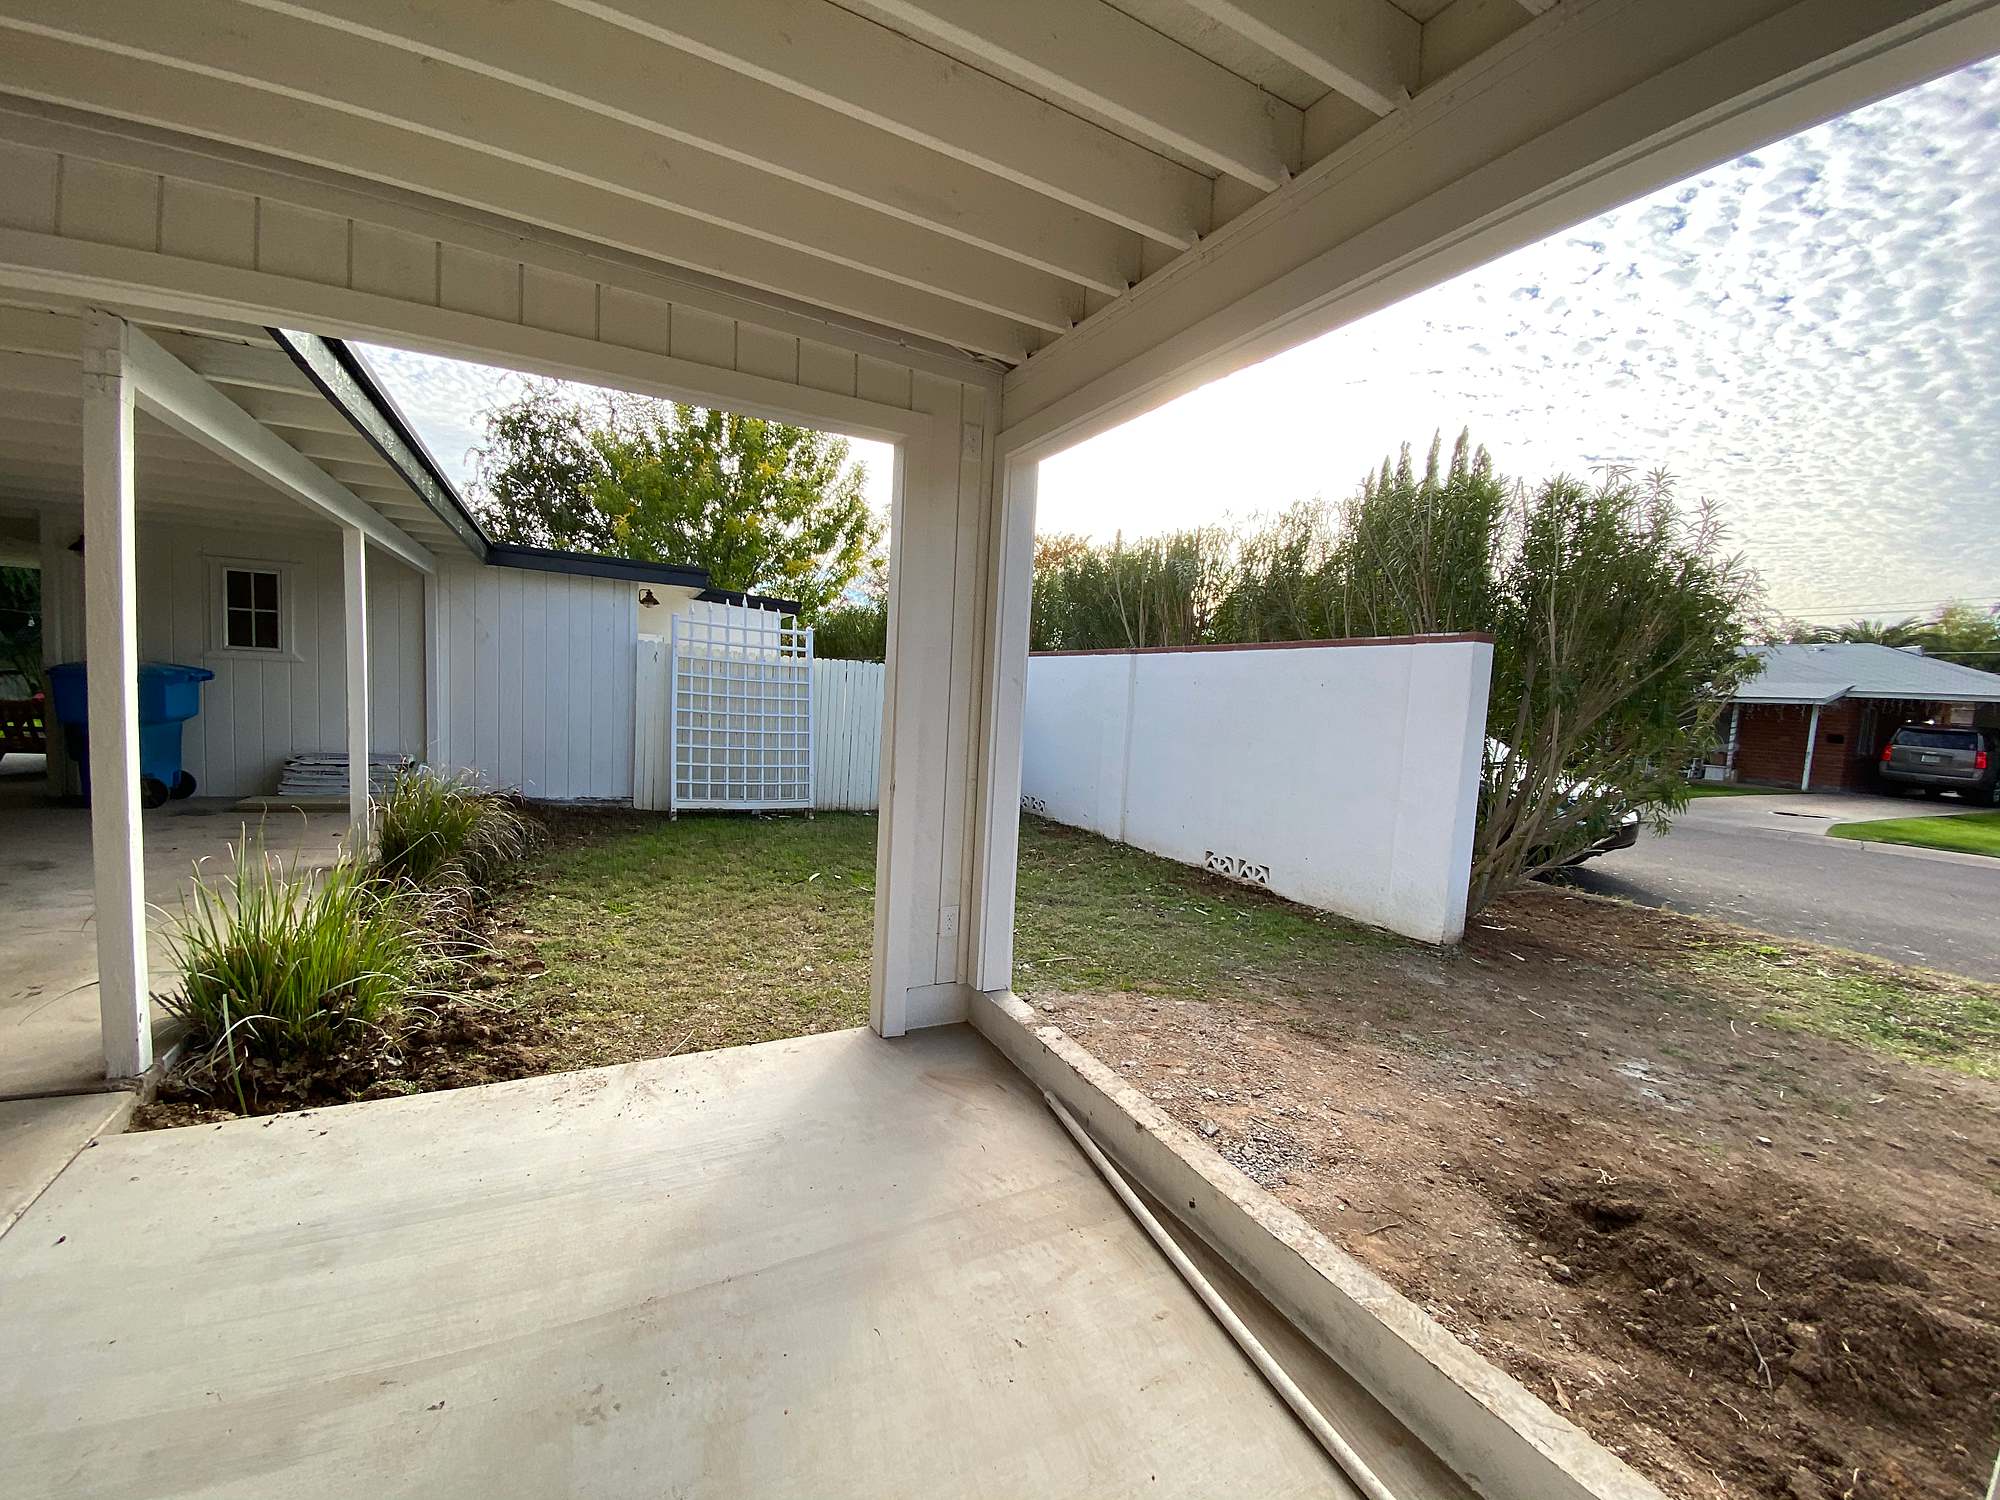
I know you’re going to think, What am I looking at?
Well, the right hand side, by the white fence. See this entire area was just awkward front yard space. We watered, we mowed, but we never did anything here. And that’s OK we knew we’d do something with it eventually, nine years later. We saved until our bank account exploded.
Just kidding. I wish.

This is the the new slab of concrete was poured for the two car garage – (below). The house was blue when we moved in and I had been dying to paint it but we just waited until it was the right time, so we lived with this color for 9 years! I mean it flew by, but can you see how patient I am? Just not patient enough to have children, hahahahaha.
Anyway, this is when we called it phase 2 of our expansion plans (after the garden room). It was all on the same permit which only lasts for two years (just so you know). The structure in the back with the tiny window is my photo studio and the toolshed is to the right.
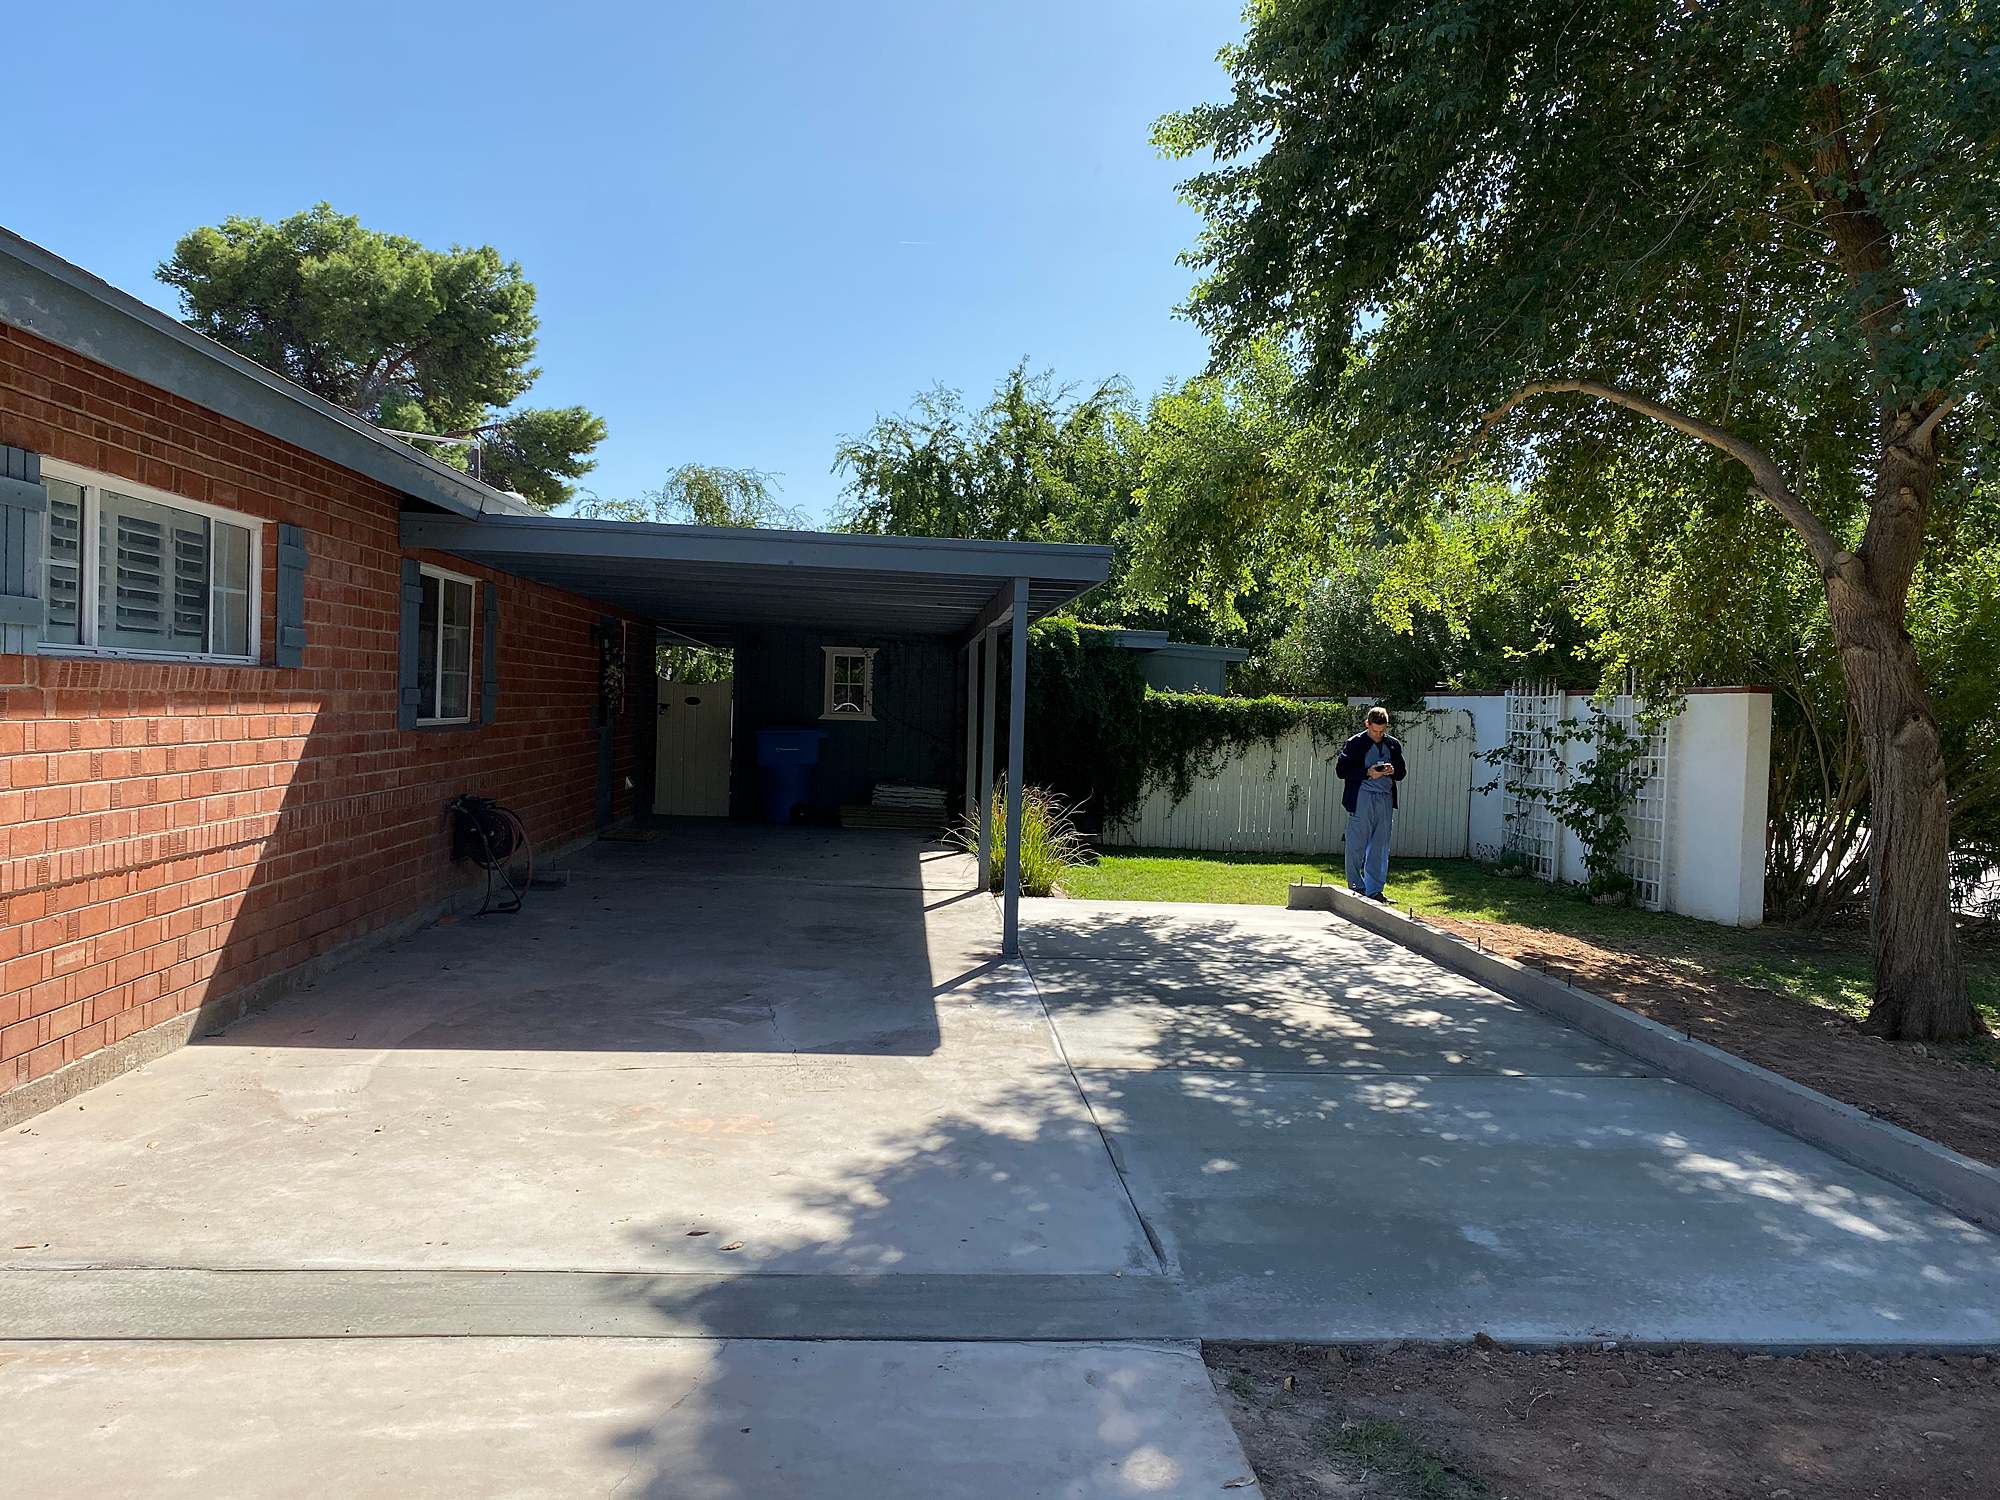
The open-air flat roof garage went up – see this blog post to see the reveal of that. Then we had to tackle the side yard, extend the block wall, and it all had to happen in a lot of stages. You can see all of our home projects under the tag “home projects” or click here. I’m going to share the cost of the garden area next week. Make sure you subscribe to my newsletter so you don’t miss the post!
If you want to see progress photos aka all the before photos, visit this post, then come back and see all the after photos below. Who am I kidding, can you wait? I can’t!
Additional project related posts + project contractor sources in these posts:
- Kitchen Garden Breakdown cost
- Why we went with artificial grass
- Progress Photos: New Garden Area
- Flat Roof Open Air Garage Reveal
- Home Photo Studio
- Diamond Vine Wall How To
- Landscaping and Plant Choices
This post was originally published on June 10, 2020 and revised March 1, 2021.
Diana Elizabeth is ready to enjoy. That was her word for 2020 but it all went down the drain like everyone else’s goals and words this year. Well, she’ll still try her best to enjoy what she has, that’s what the bright side is about, right?


Jenise Gato
What kind of material did you use for the stepping stones? Were they concrete slabs?