No products in the cart.
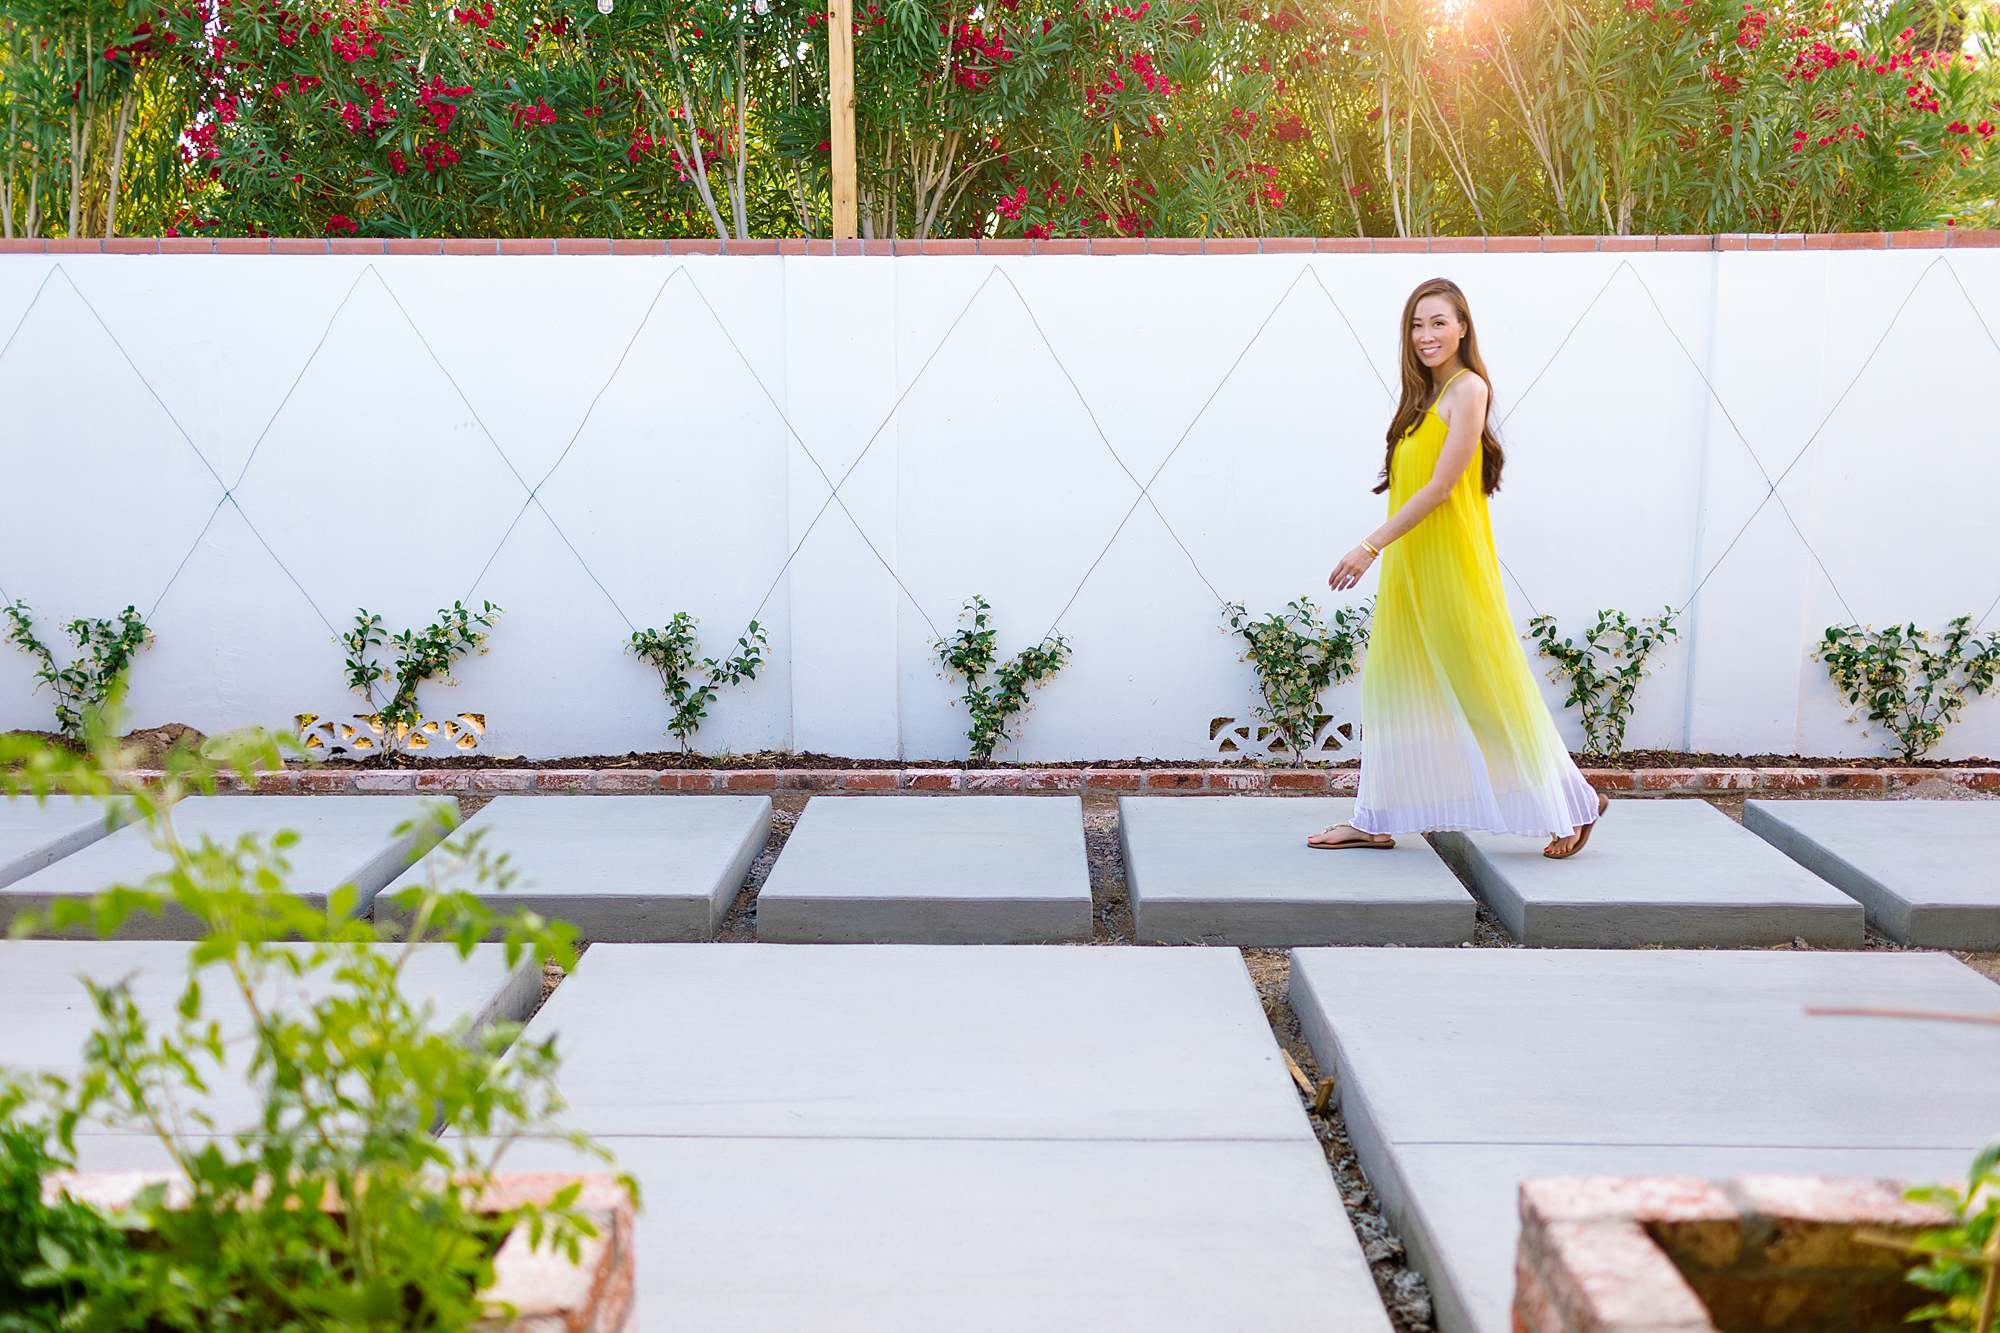
Progress Photos: New Garden Area
It’s been our goal to finish the new garden area, the formerly unused front yard space that is behind the open-air garage. I feel like I need to take more photos now that the plants are more established and the driveway has cured in color about 95% now – also so much more green in the garden yay!
If before and after photos are your thing, this post is for you! It’s ALL the before and before and before photos, haha! No after yet because we’re not done but we’re close! We just need to build a small cinderblock wall to match our walls and add in the turf, both projects scheduled on the calendar.
This BIG phase 2 project that involved the open-air garage, front yard landscape, and the new garden area. Our phase 1 was the garden room expansion we completed last year (see it here).
Before Photos and Progression Photos
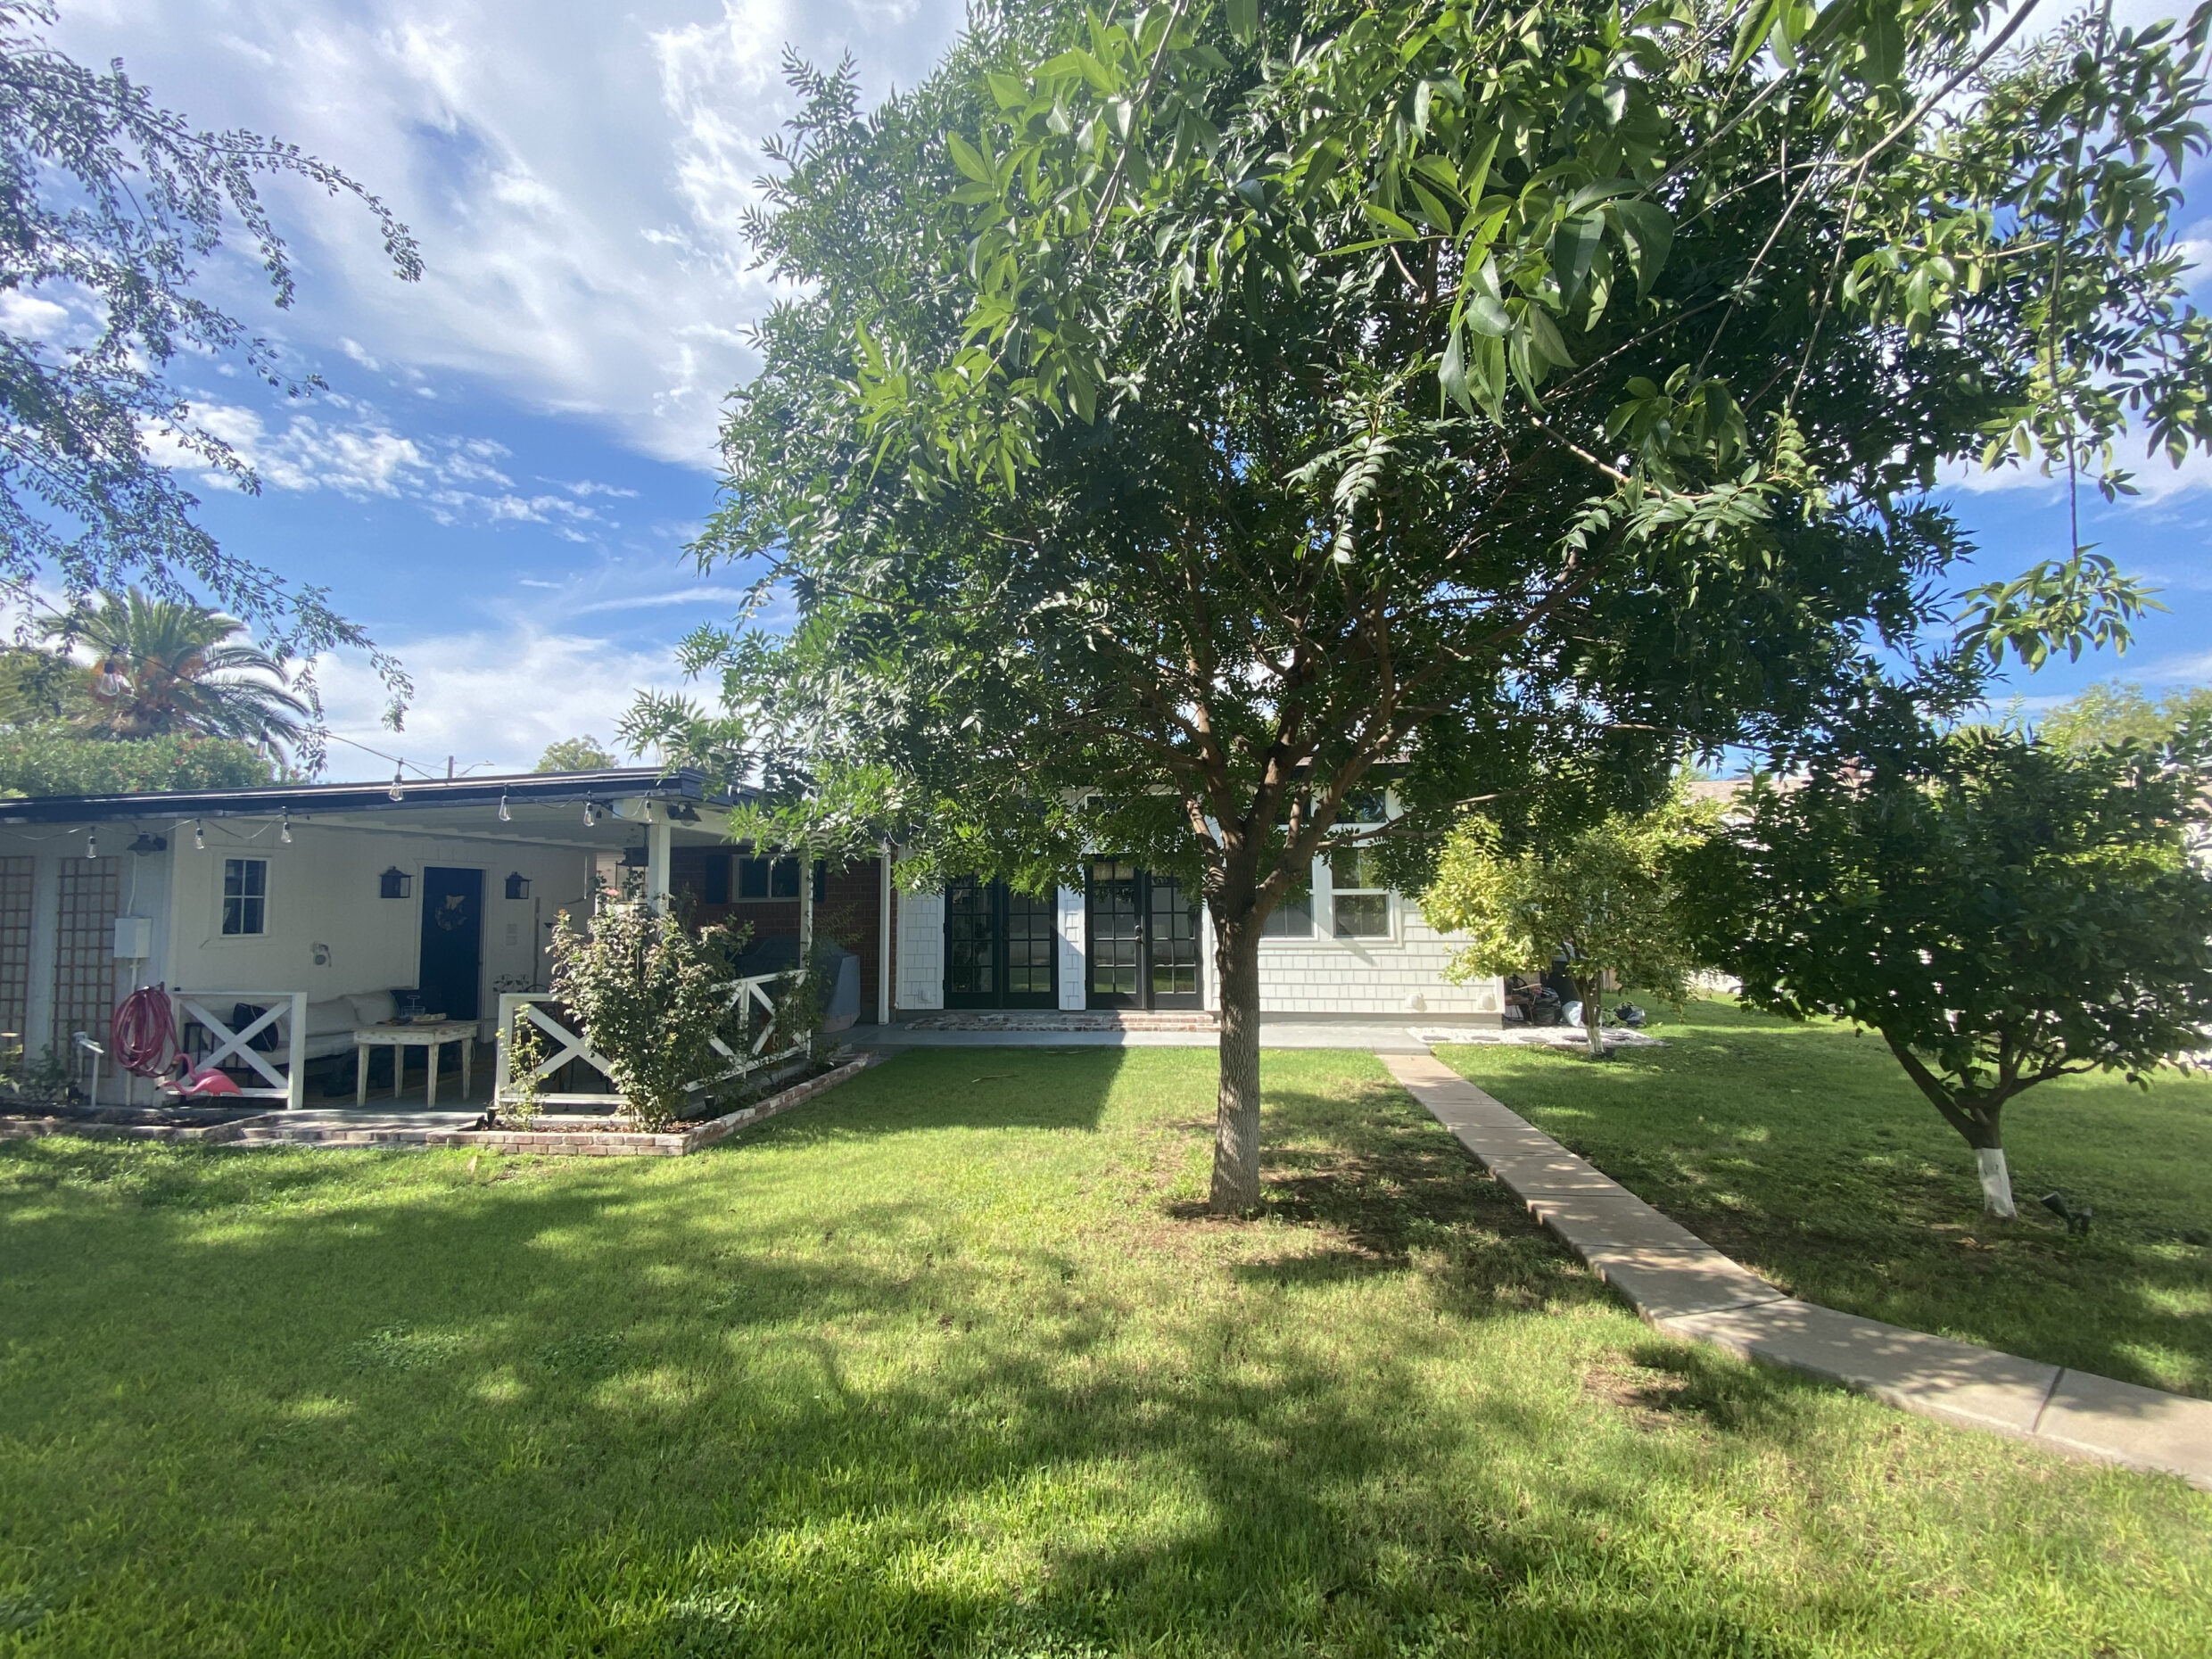
This garden area was unused front yard space. Like just a bunch of grass Benjamin mowed and we never used – it was like just there. We don’t walk there, play on it (not that adults really play on grass) or do much of anything in that corner. We never wanted to touch it knowing we’d one day build a garage so there it sat, being mowed every week.
These are photos taken before the garage went up, so you can see the driveway which also was removed and straightened, and the bushes and additional plants removed (what a waste, I have a post coming up about the mistakes we made with planting over the past 8 years).
Anyway, this is what our front yard sat for 8 years. There was a huge tree that was there we had to remove. Also, lantana, don’t plant it, its annoying.

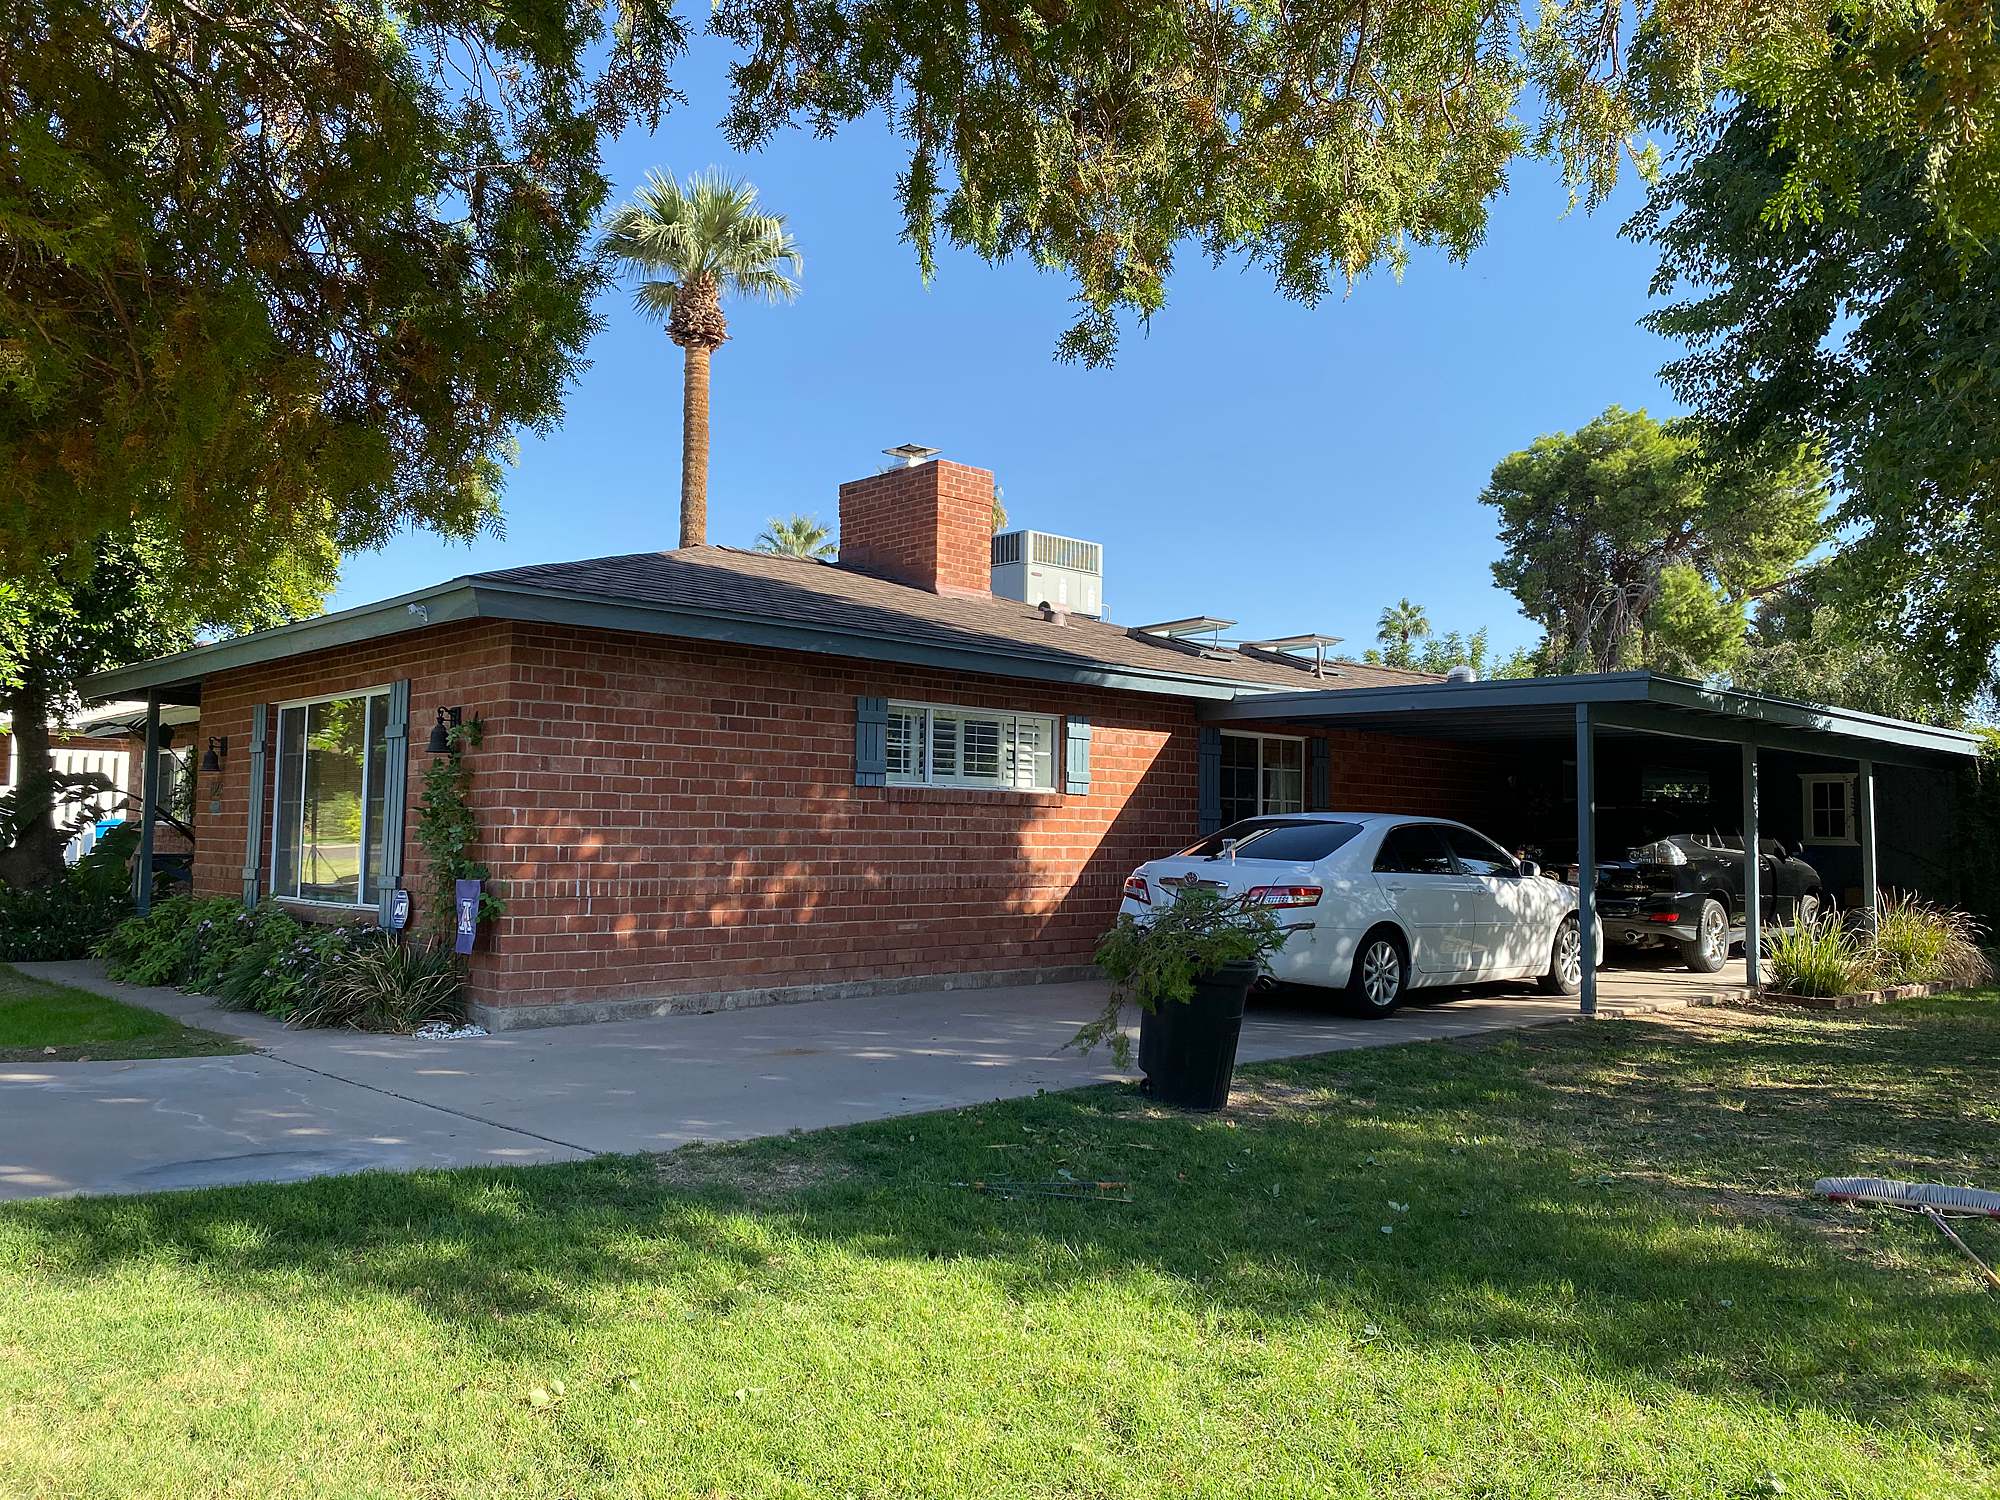
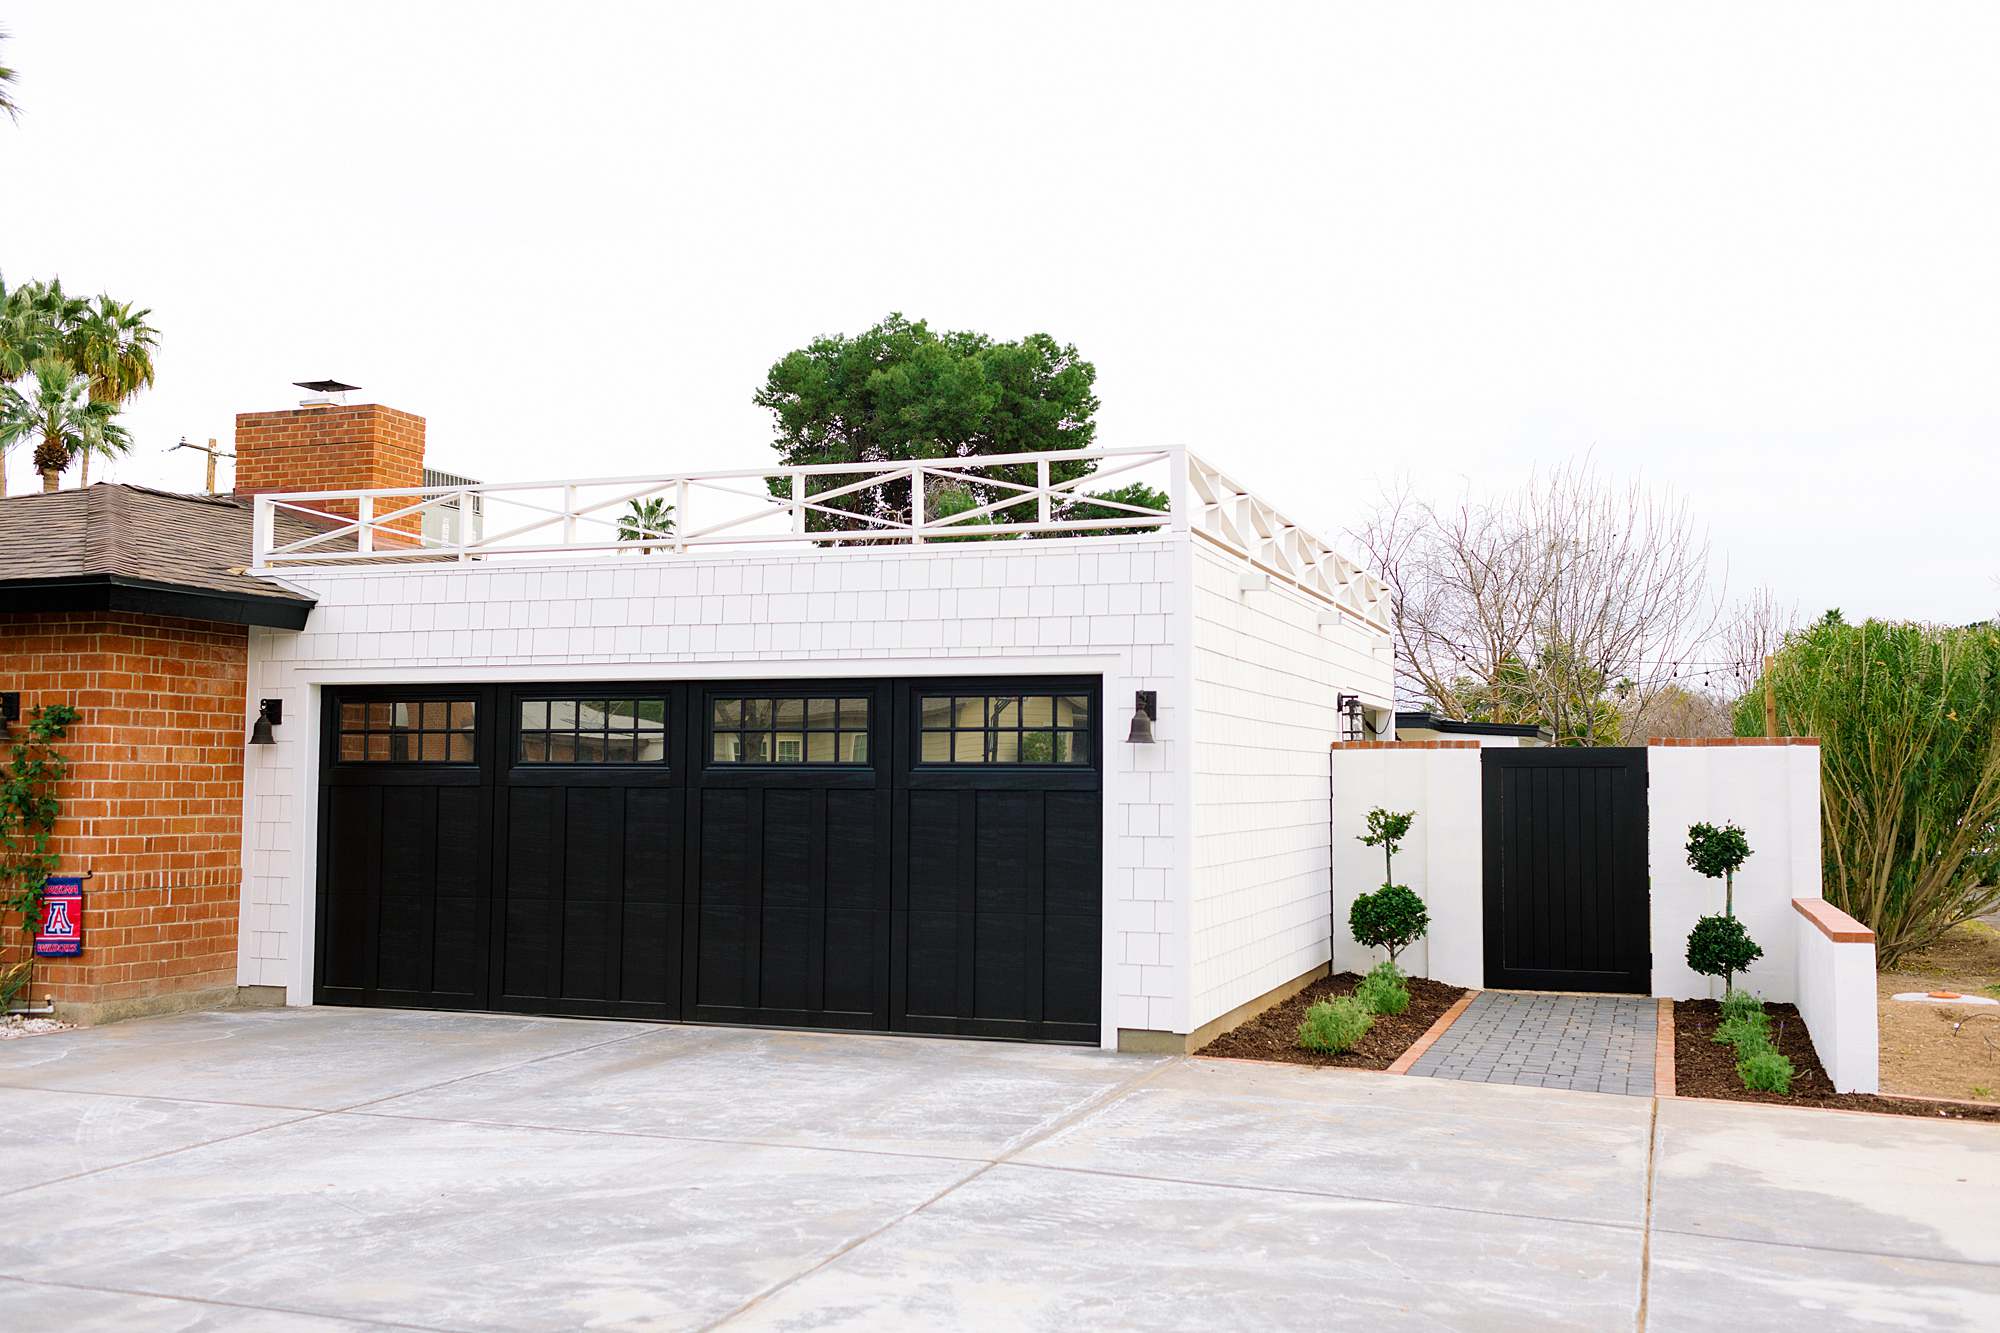
Here’s a closer to look to the wasted front yard space. It sat to the side of our carport. In our neighborhood the 1950s homes didn’t have garages, I think it wasn’t a priority at the time, so any garages now have been add-ons. I wanted to make sure our garage looked unique but also honored our home design. We had to remove some brick planters and the wall trellises.
The garage went up first (see it here). And while I was in France with friends, the house got repainted to black and white!
The garage was built first by Hill Farm Design so I am standing in it when taking this photo and we did a cut out to the right so my view out the kitchen window wasn’t the inside of my garage. A last minute change after a few hours of hyperventilating and realizing I could not live the rest of my life staring at the inside of my garage (as beautiful as our wood upgrades were).
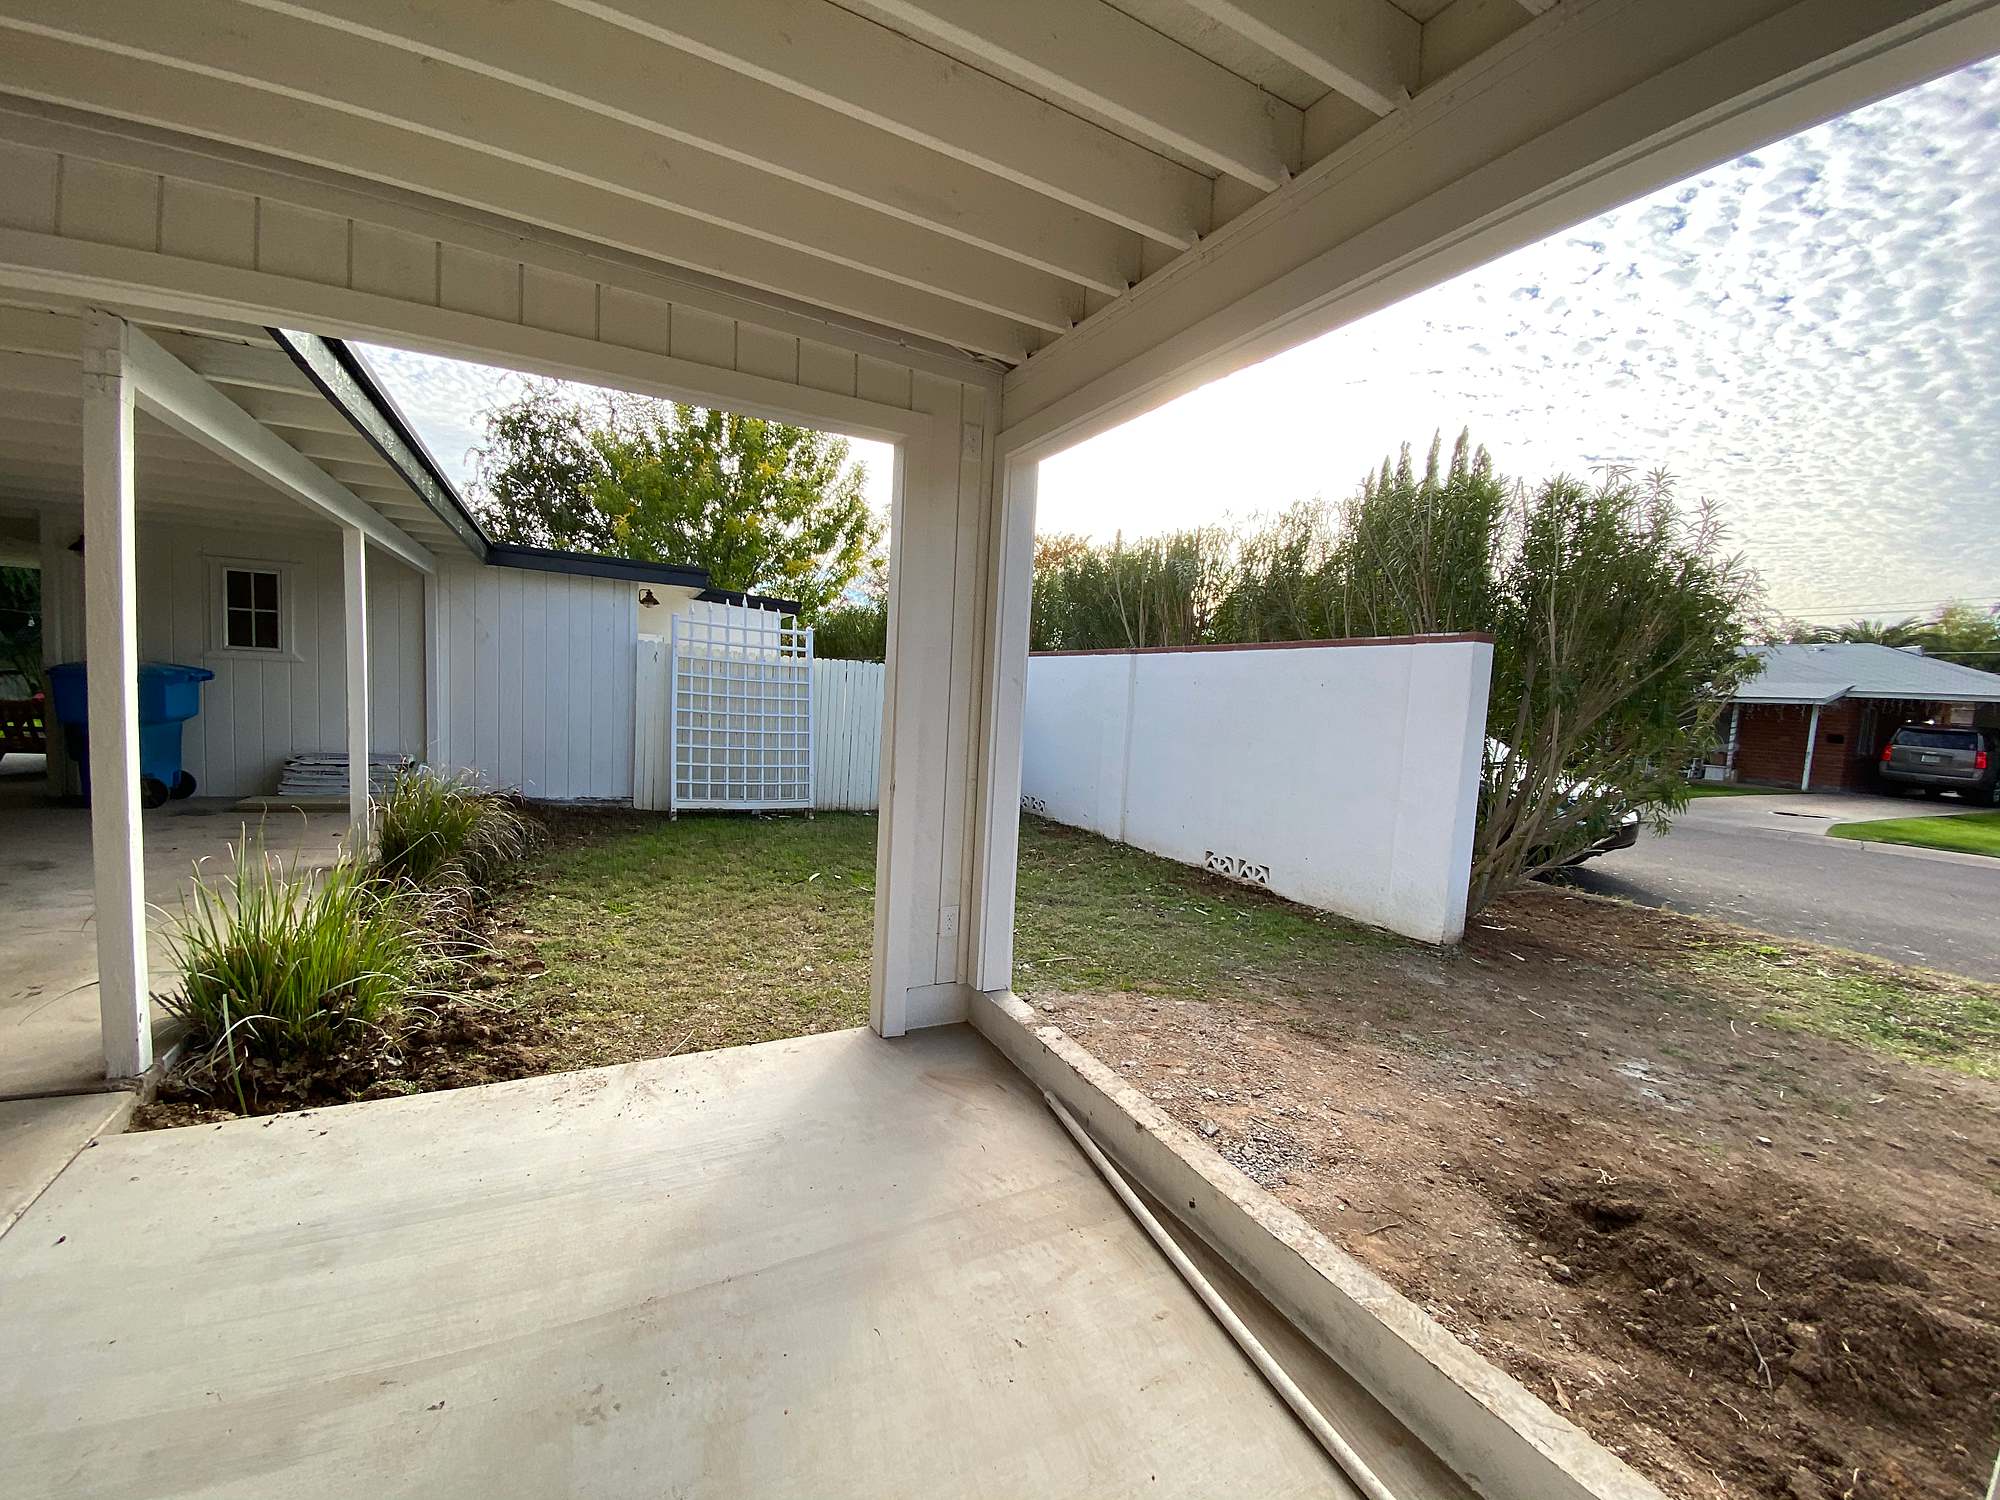
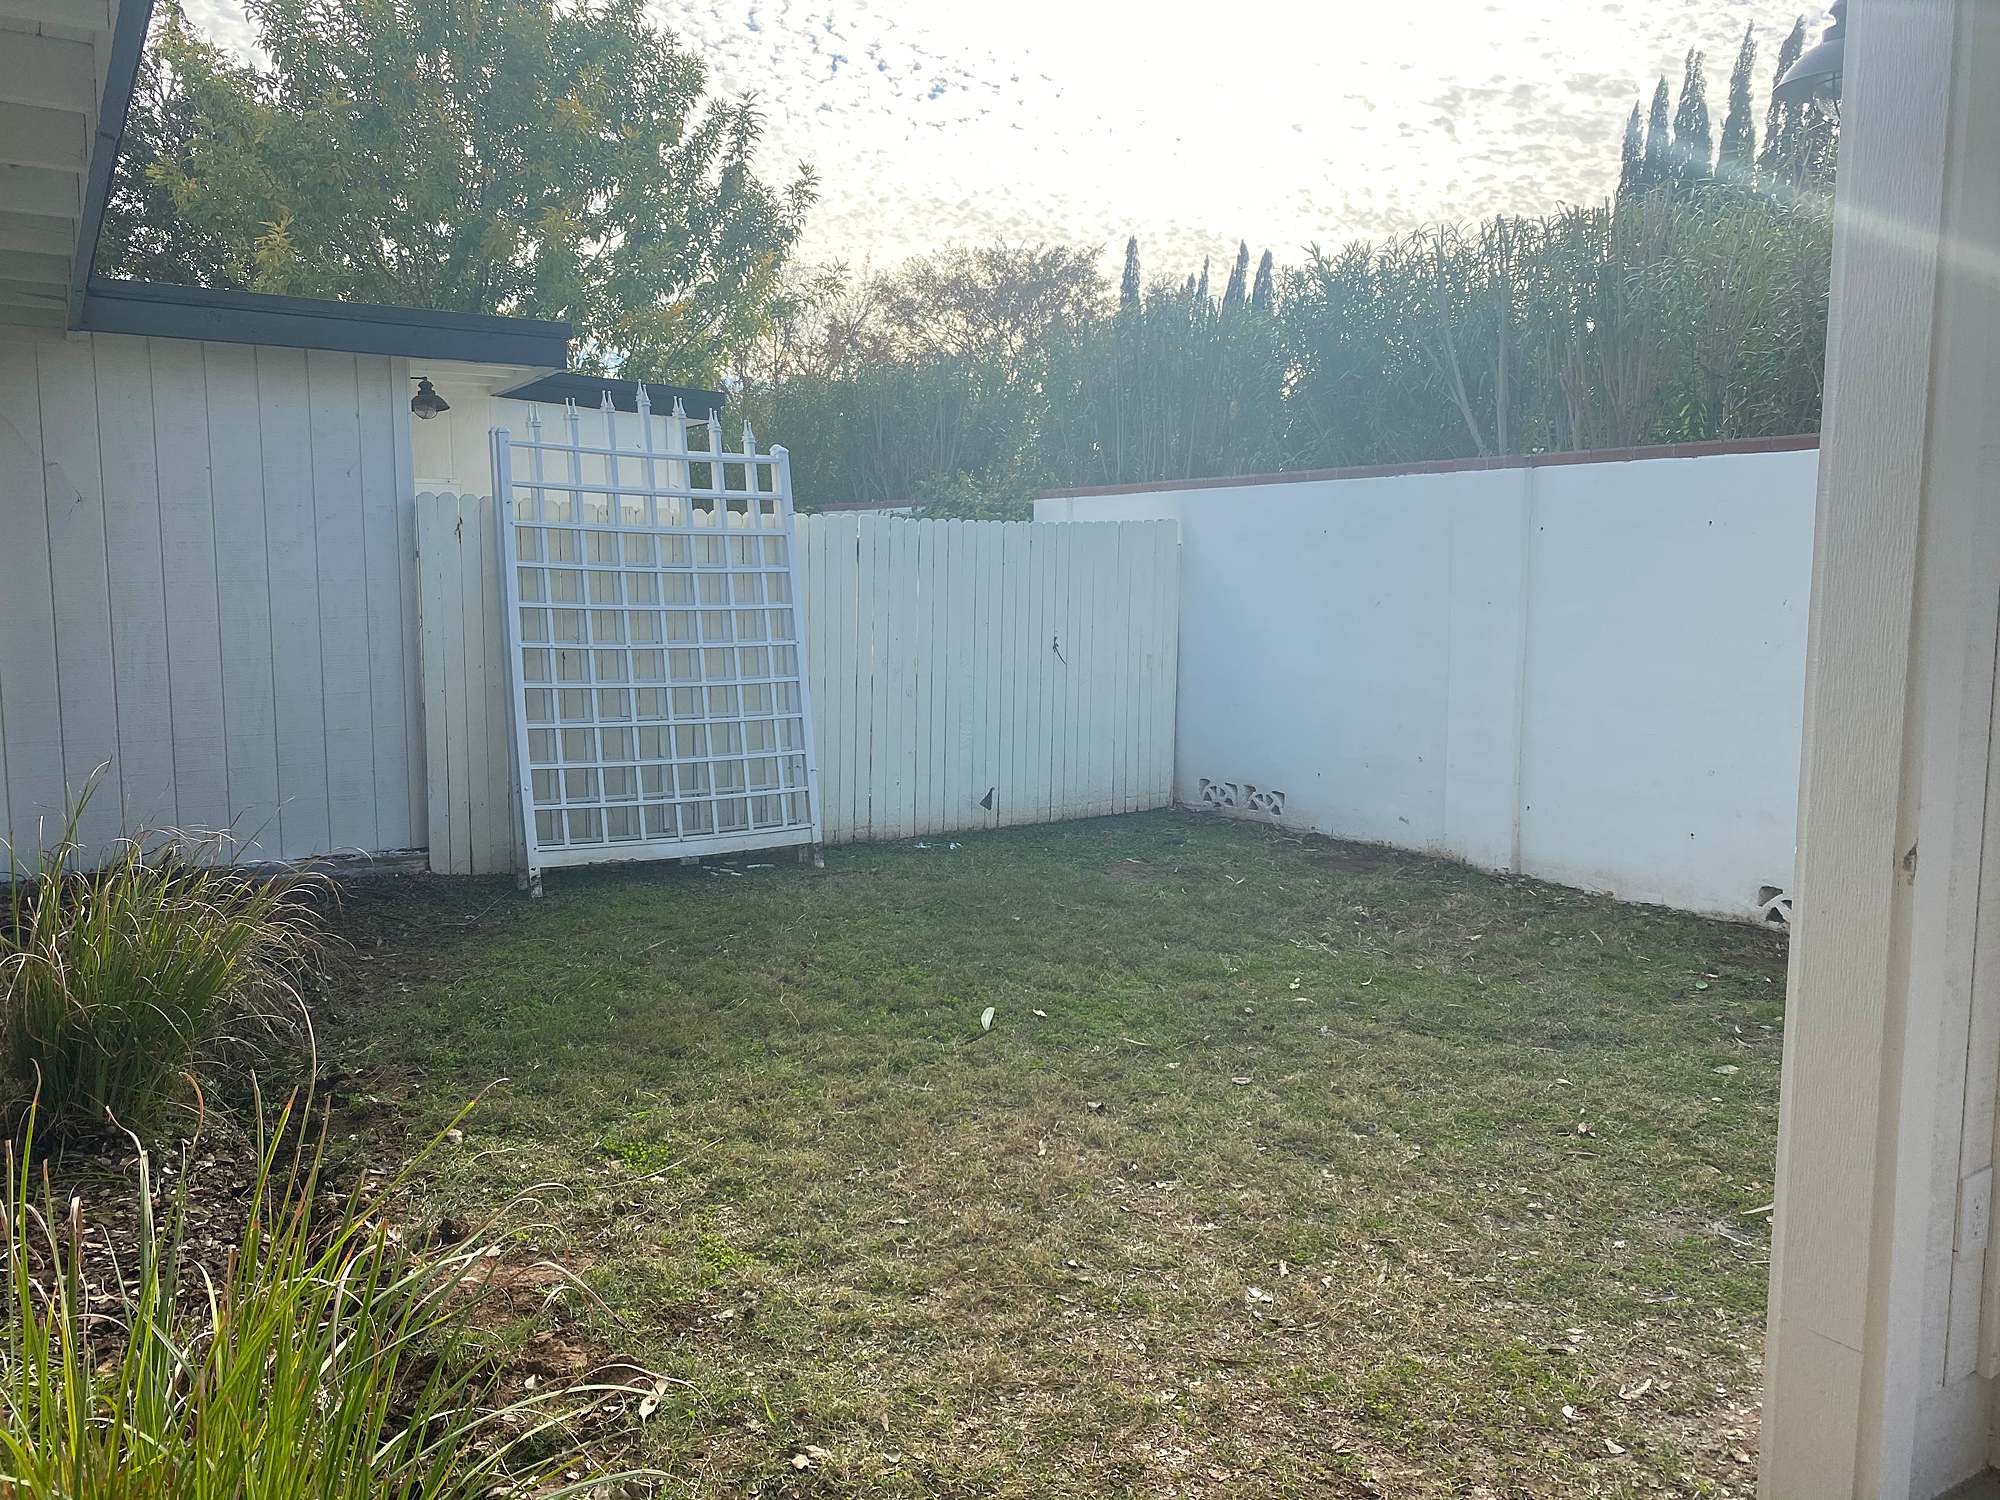
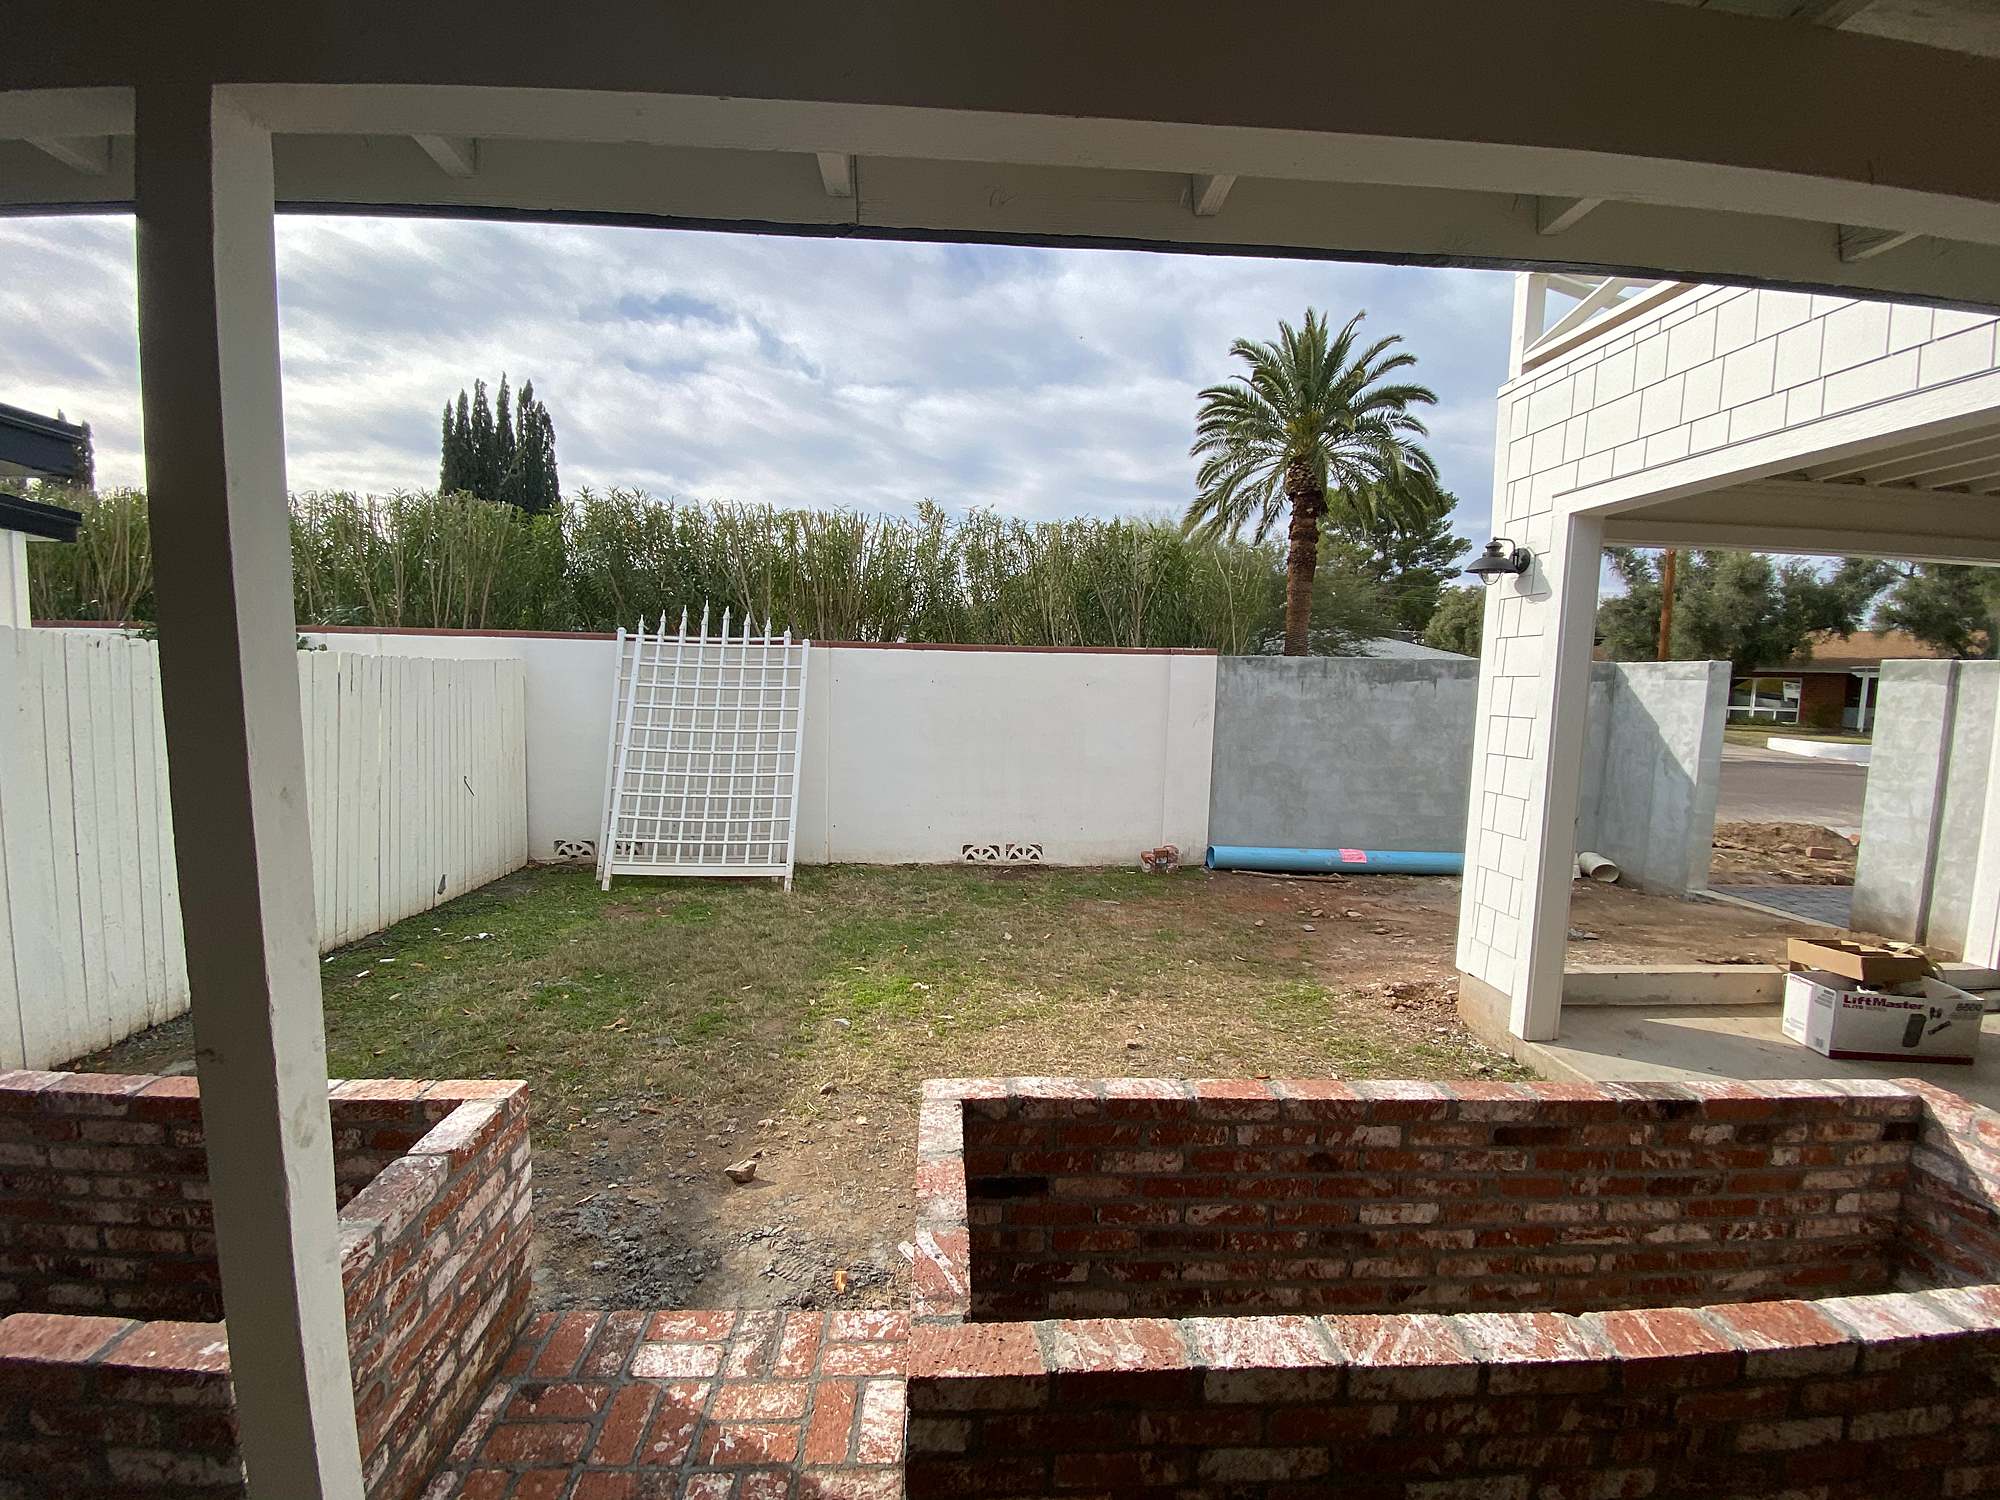
Above is where the garden area is now.
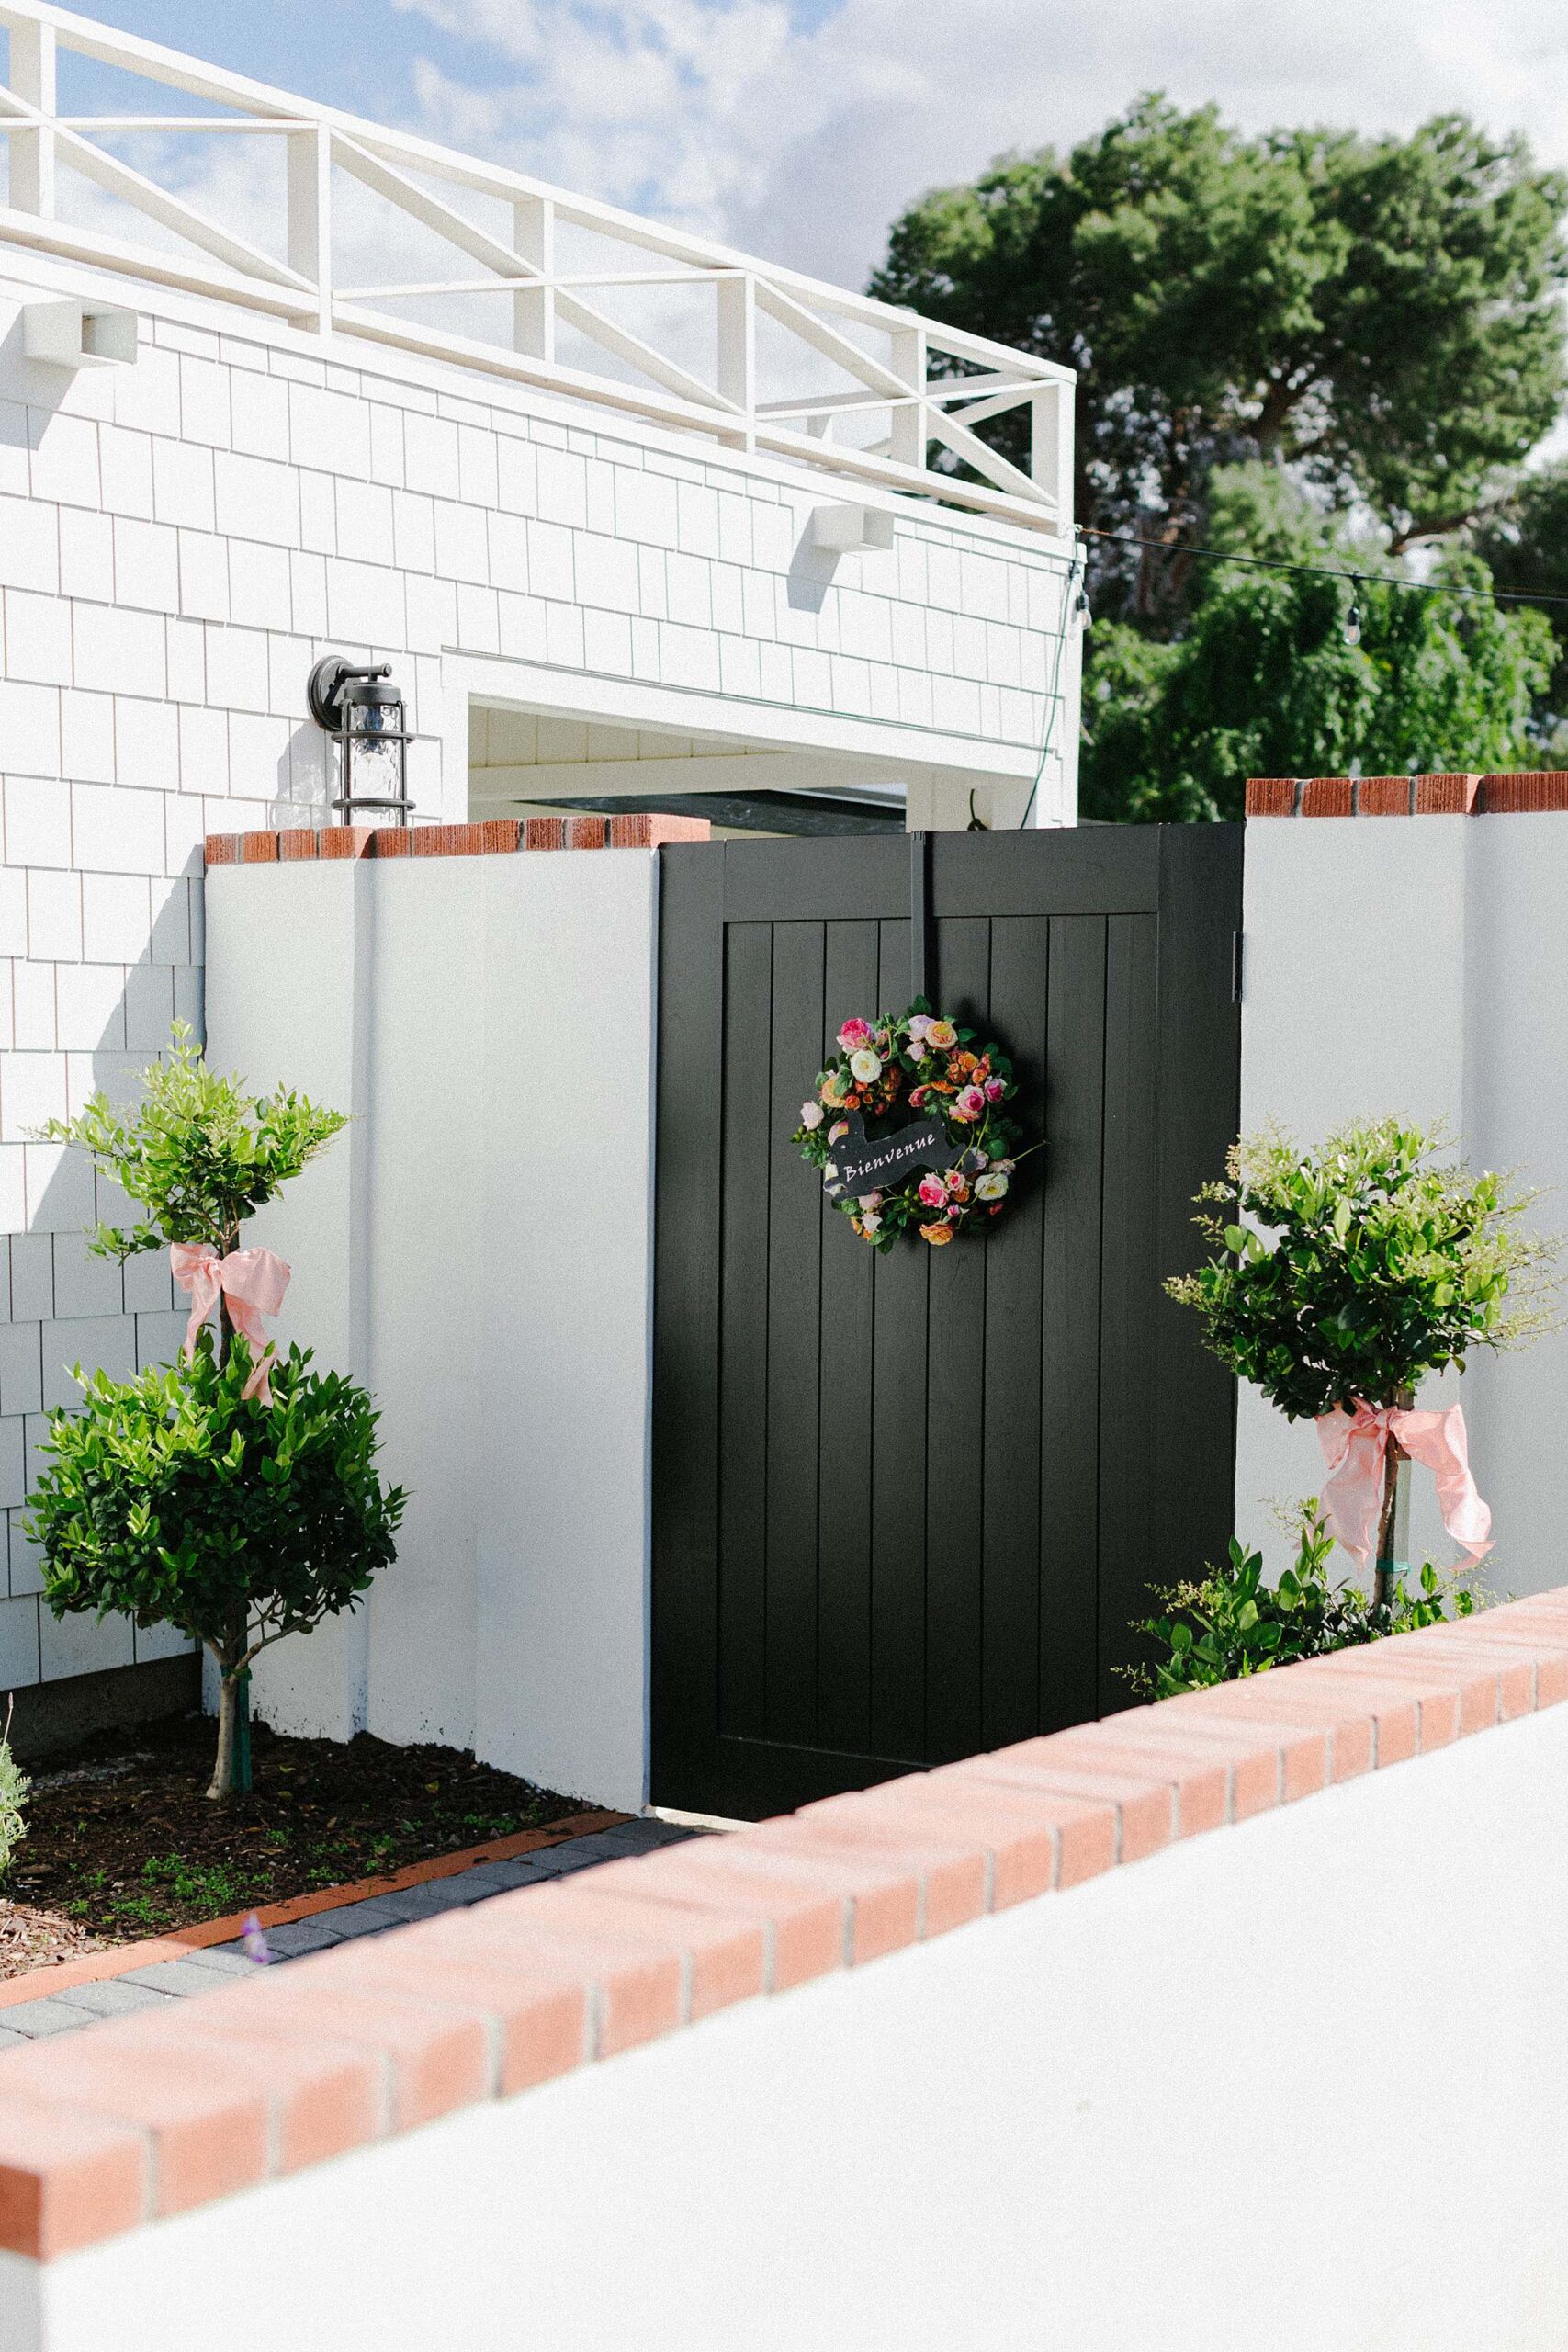
We had to extend the cinderblock wall to the edge to enclose this now private area.
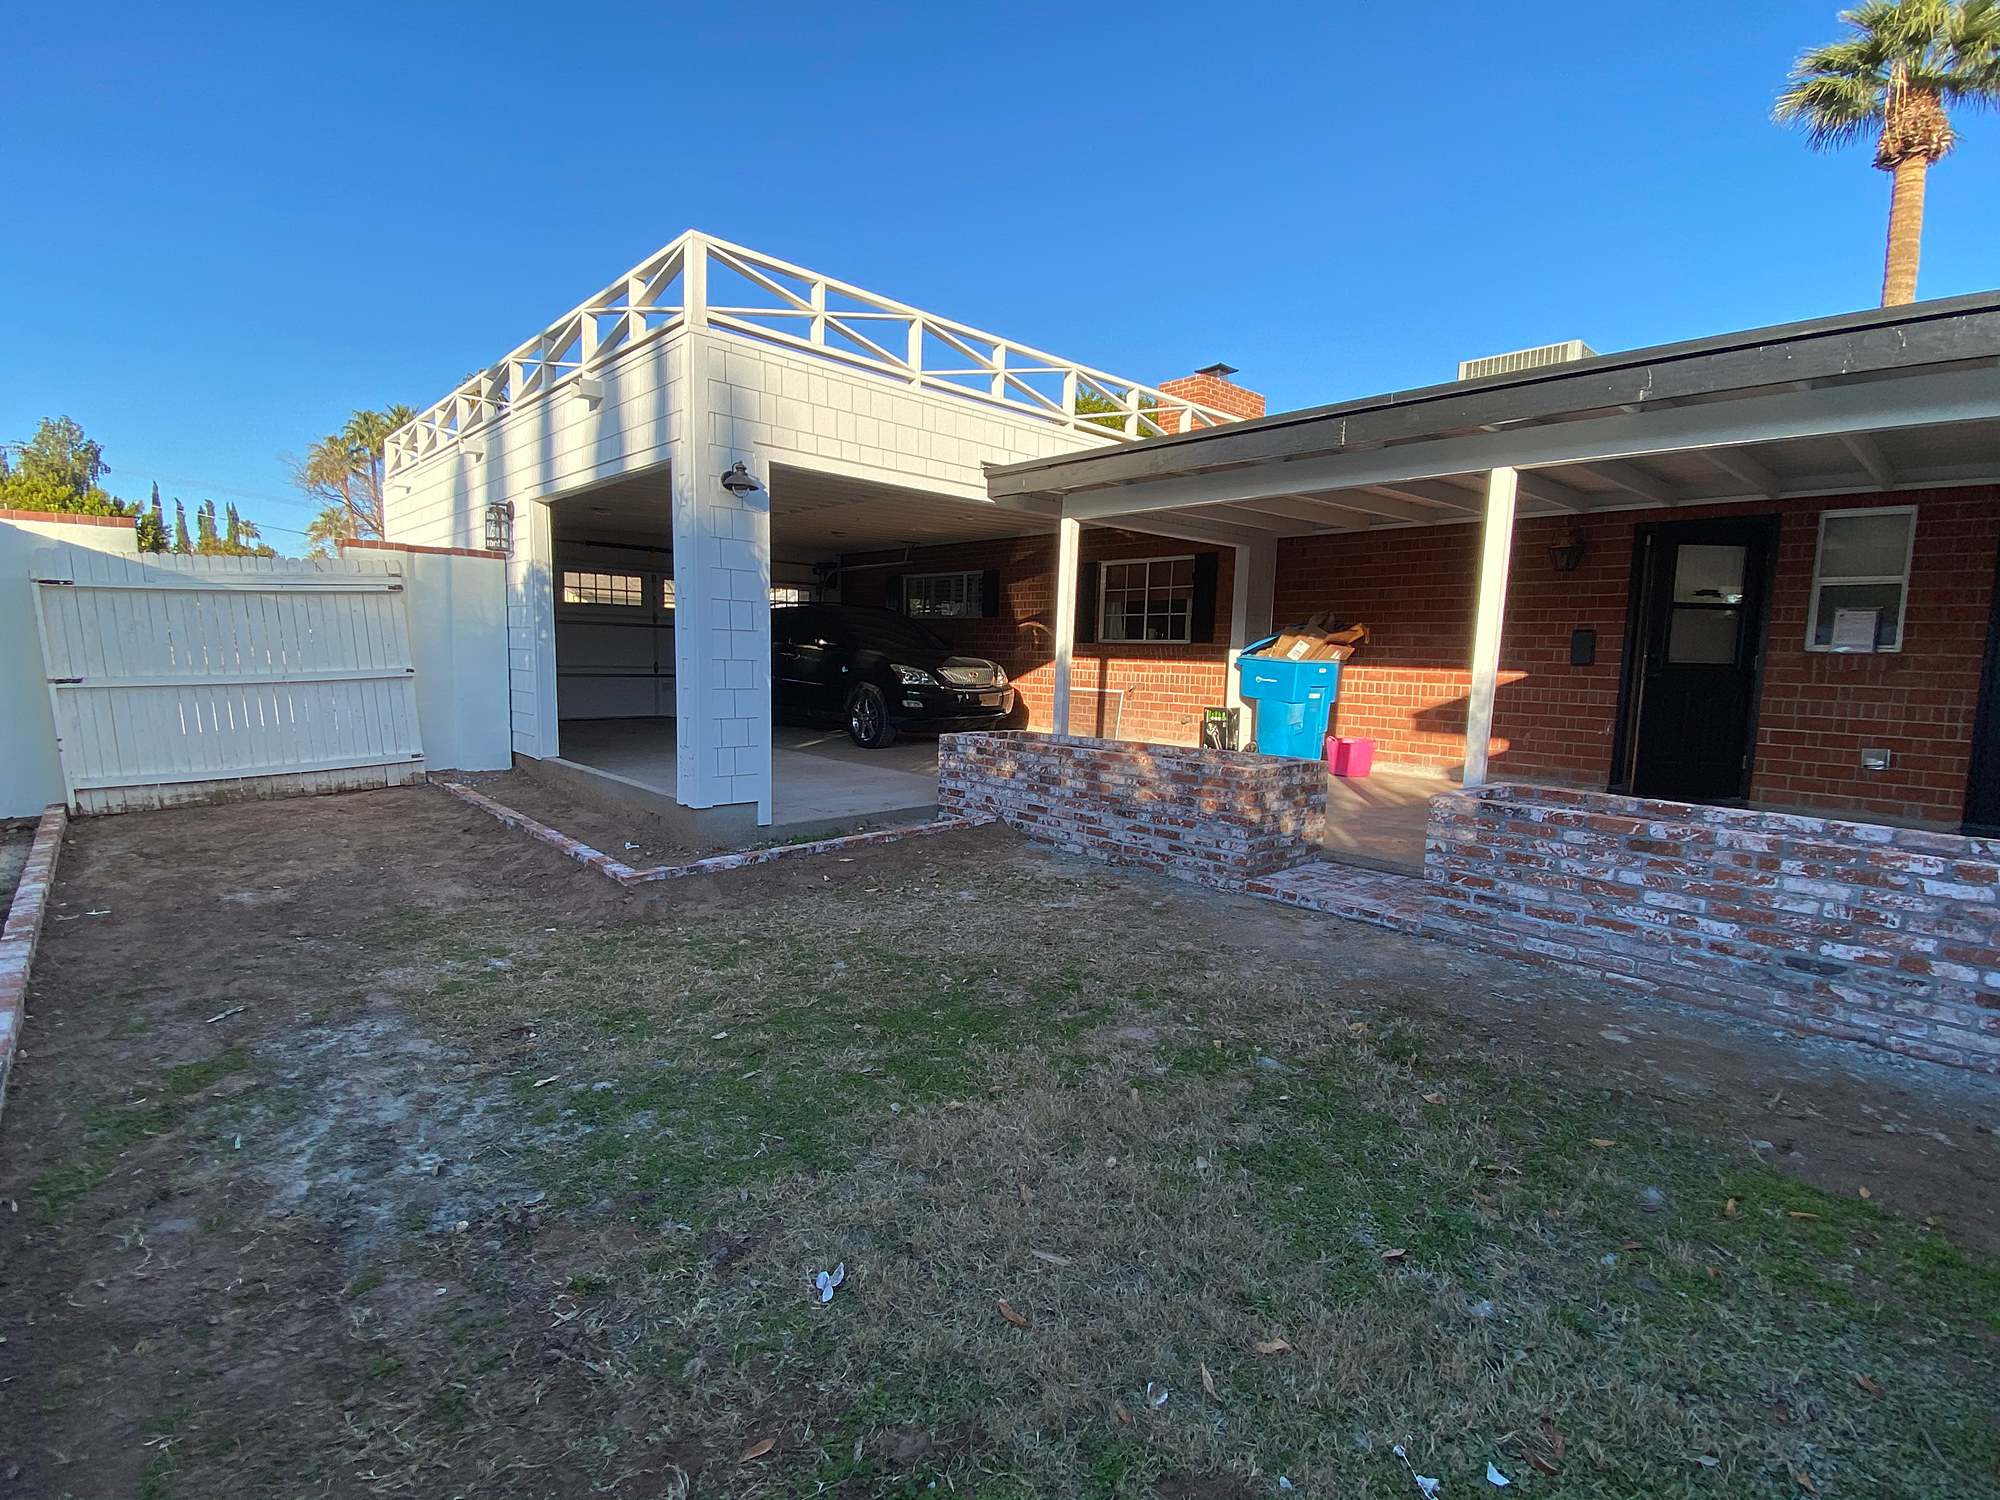
There’s the garage.
We cut the wood fence in half that would eventually be taken down and used it as a temporary privacy gate which didn’t work when a ferrel cat ran and knocked it down in the middle of the night and freaked me out! The beds were then built.
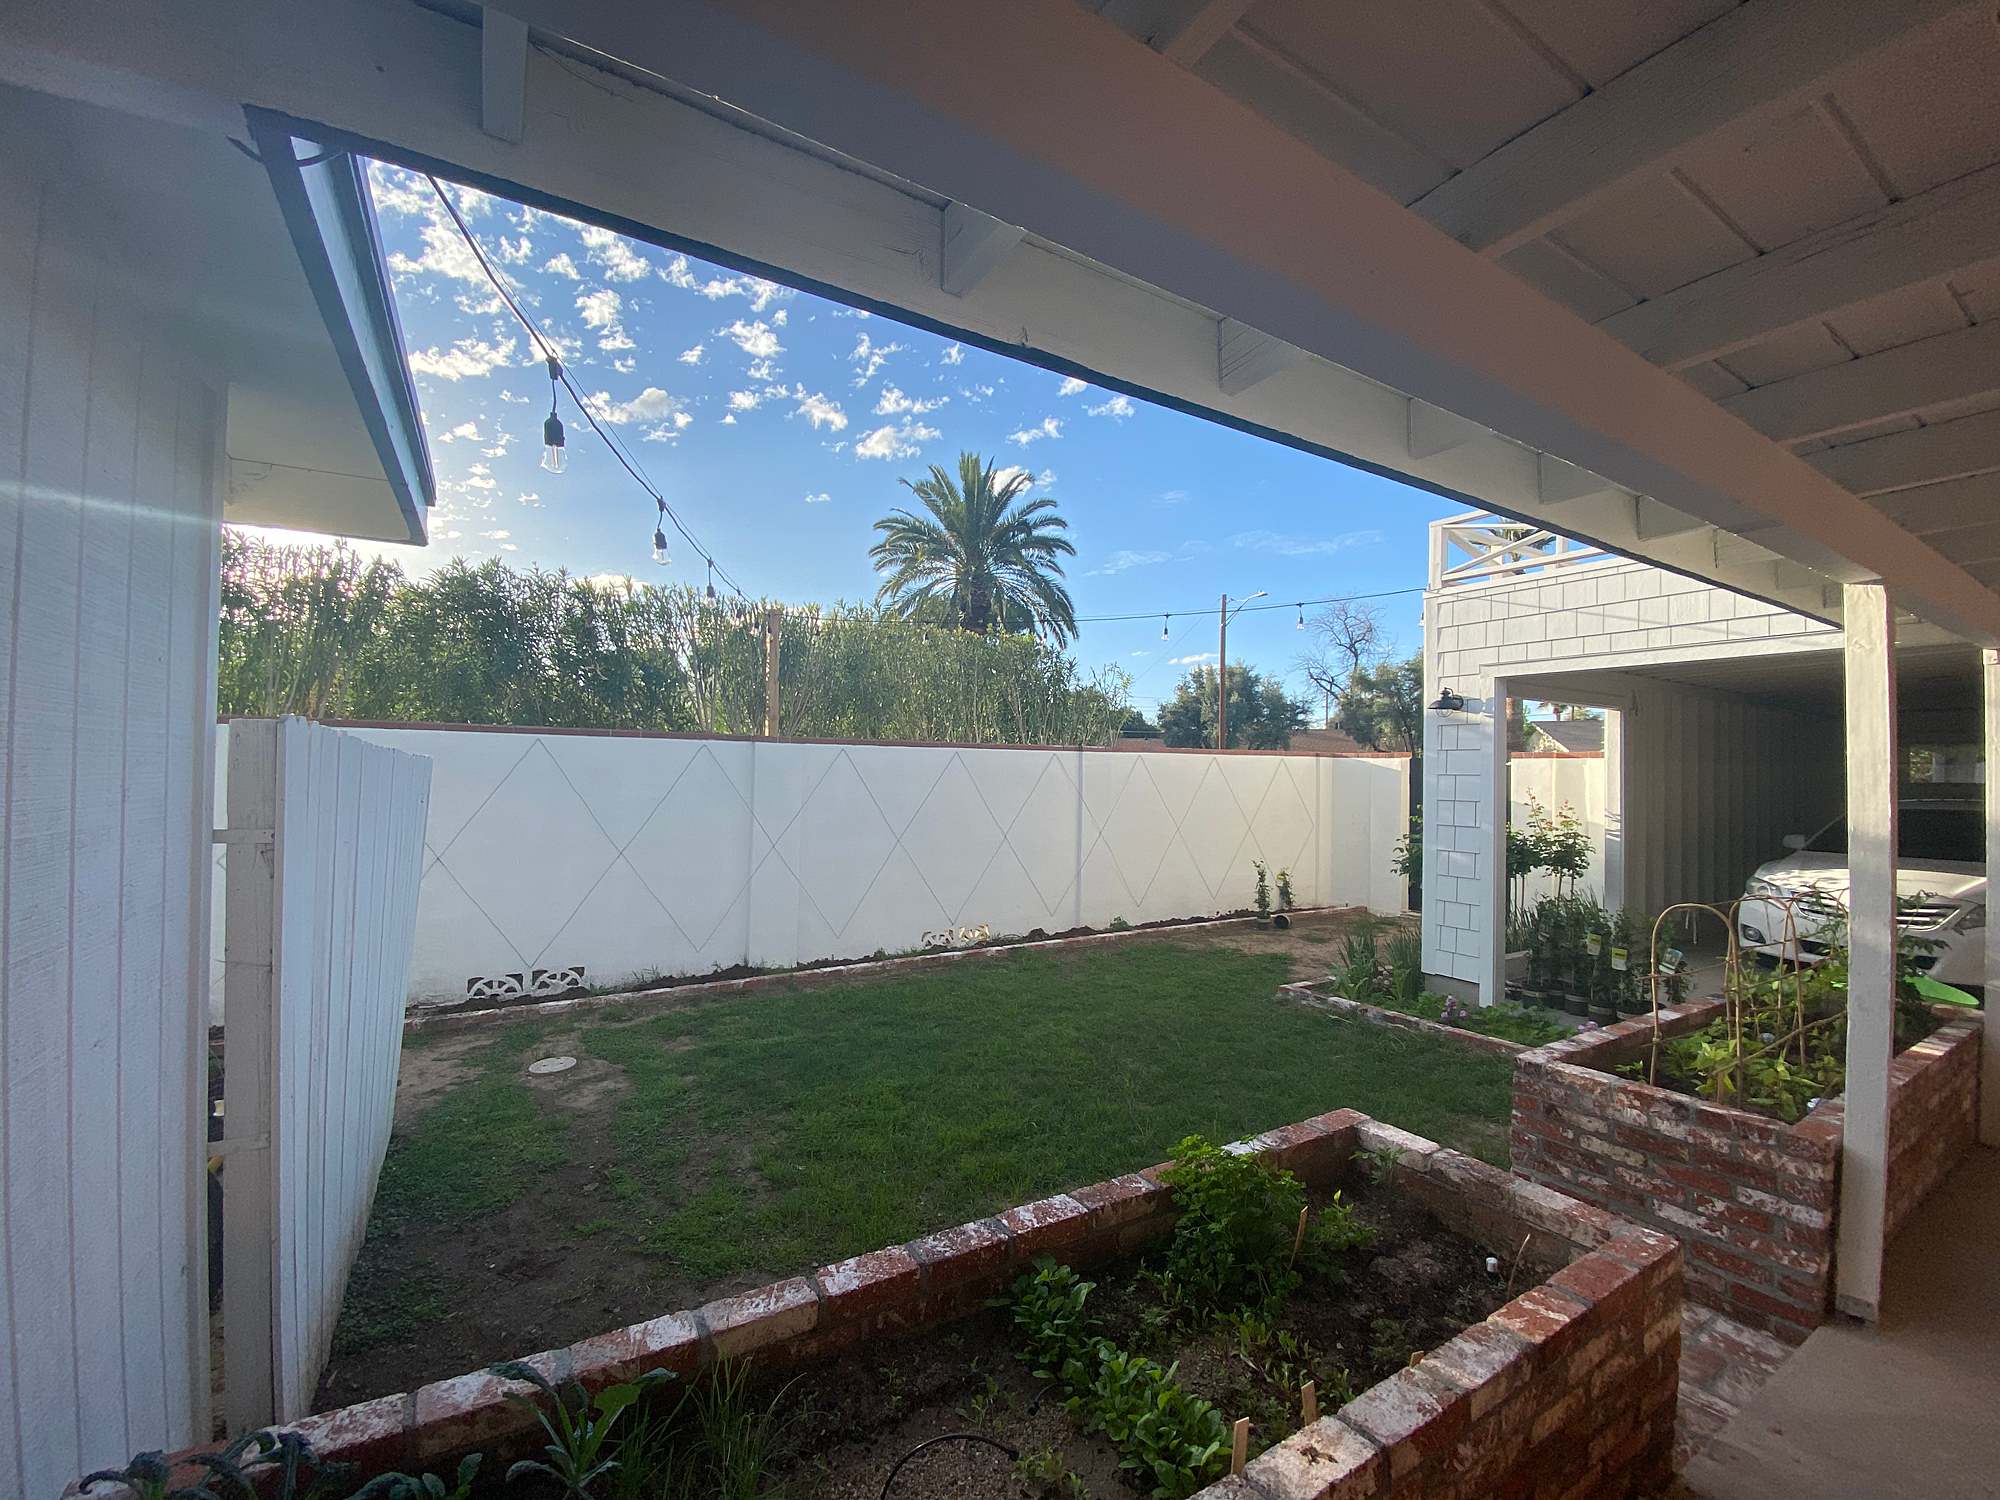
I then added my lovely green things and the diamond vine wall trellis – read how to do it here.
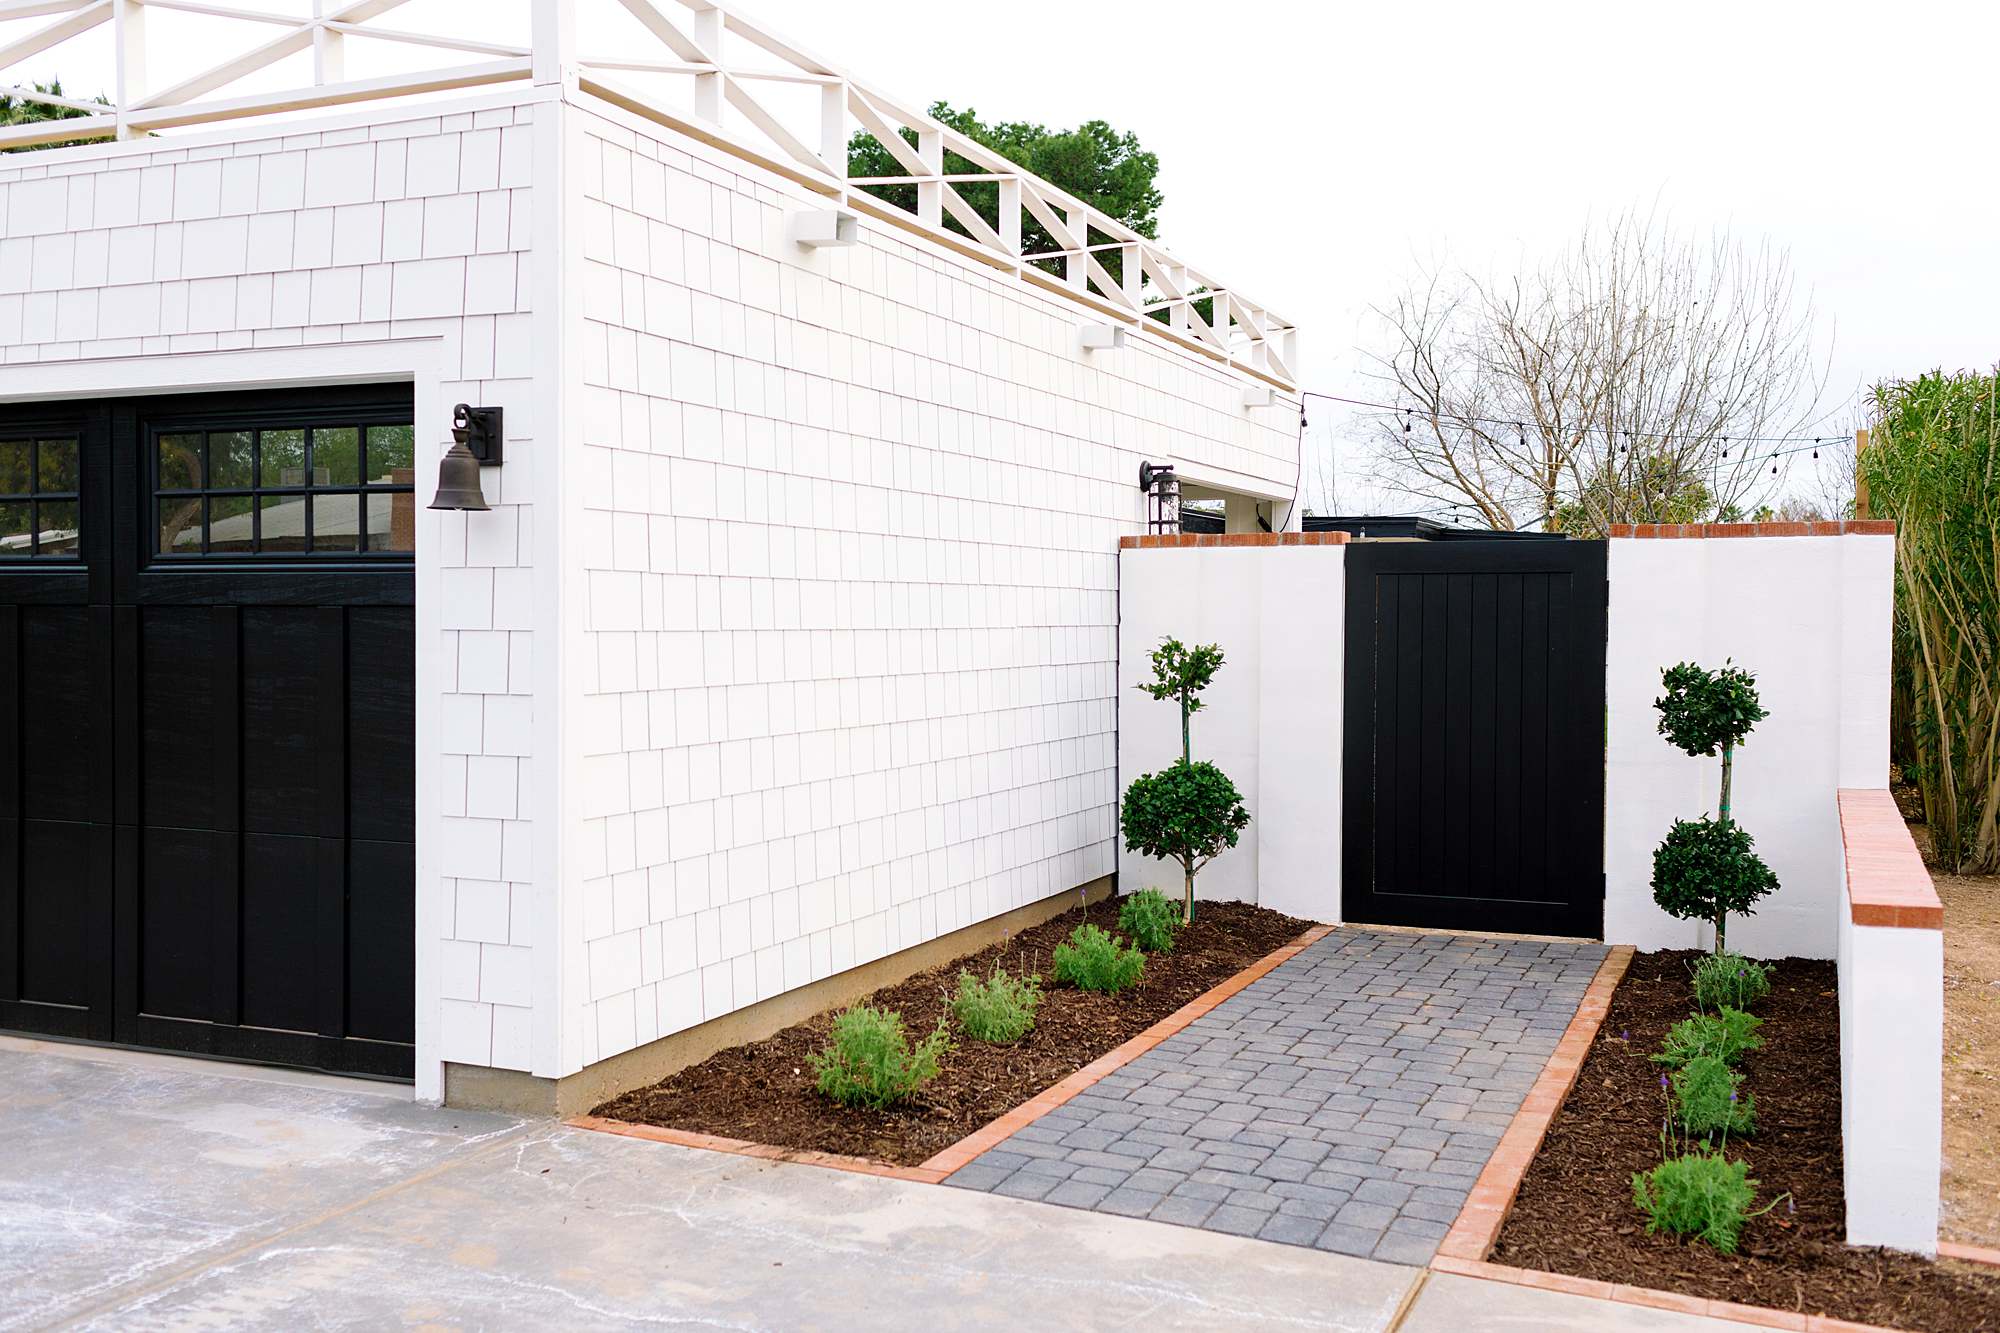
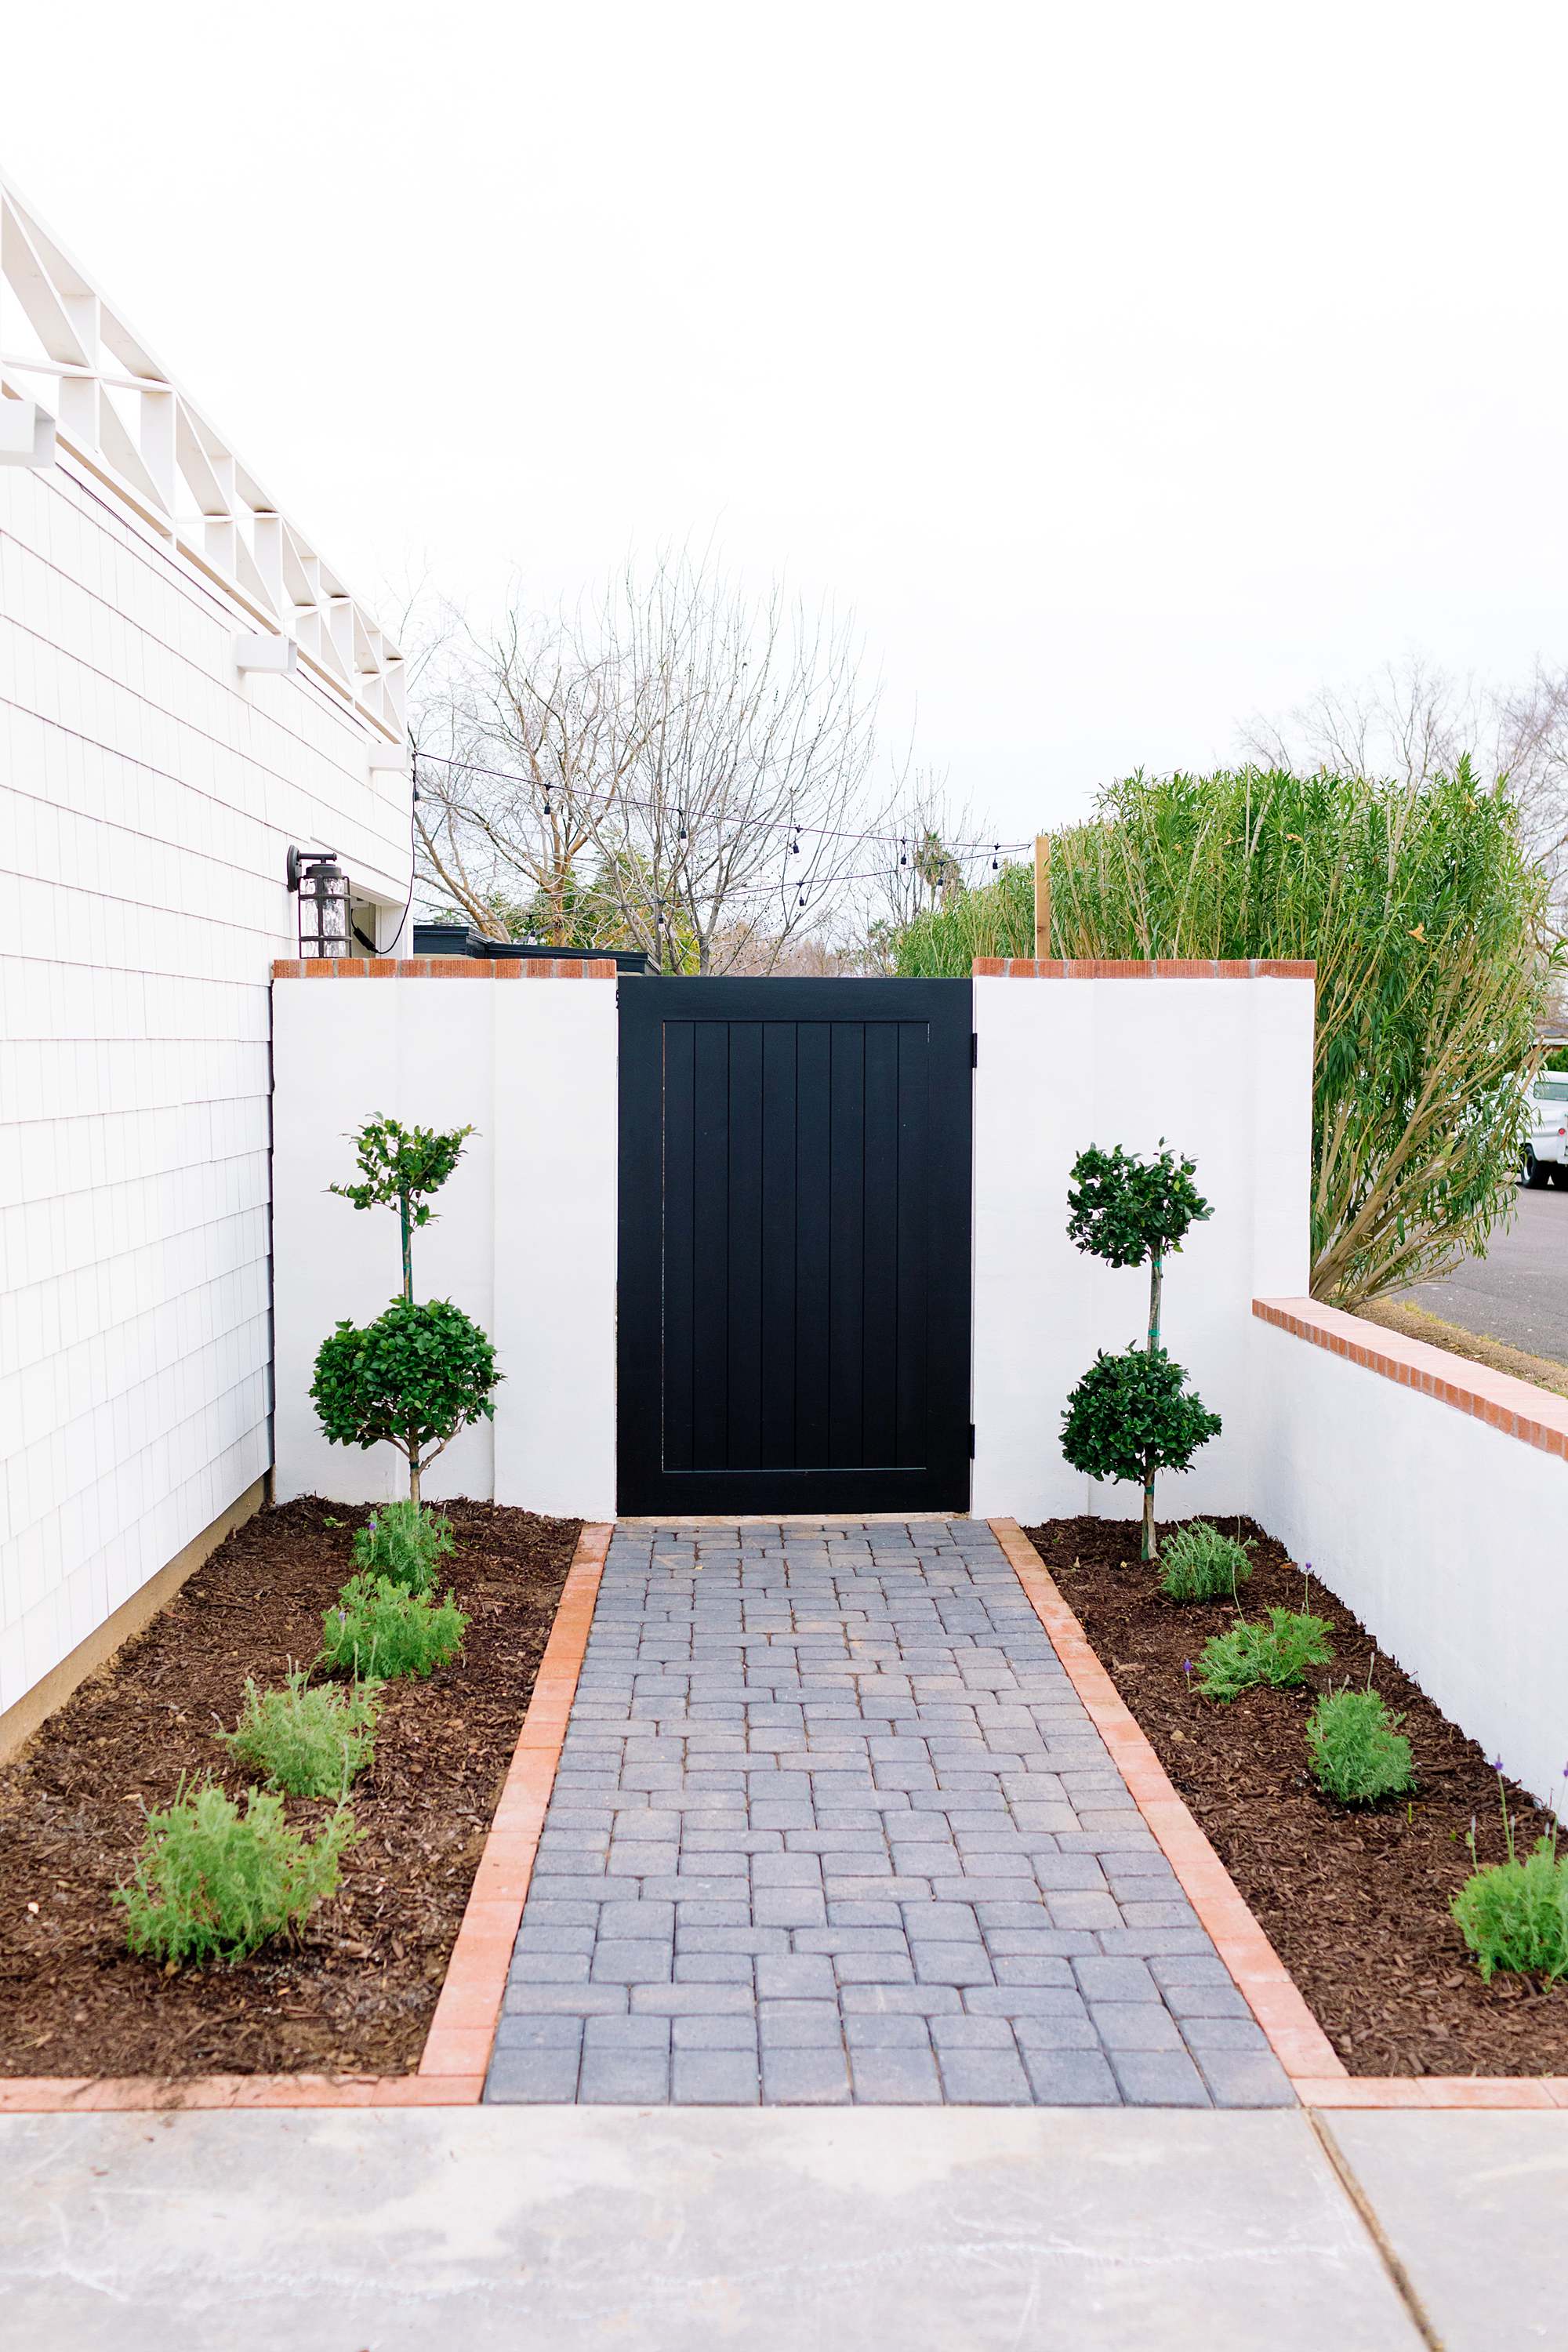
The front of the pathway was the first thing completed –

Above is the rendering by K Design we did a few modifications like making the gate area taller and did different topiaries, but she nailed the overall feeling she was worth every penny. We had to remove the sissoo tree since it wasn’t in the right place an actually blocked out pathway.
Here’s the pathway completed, and the driveway was still curing.
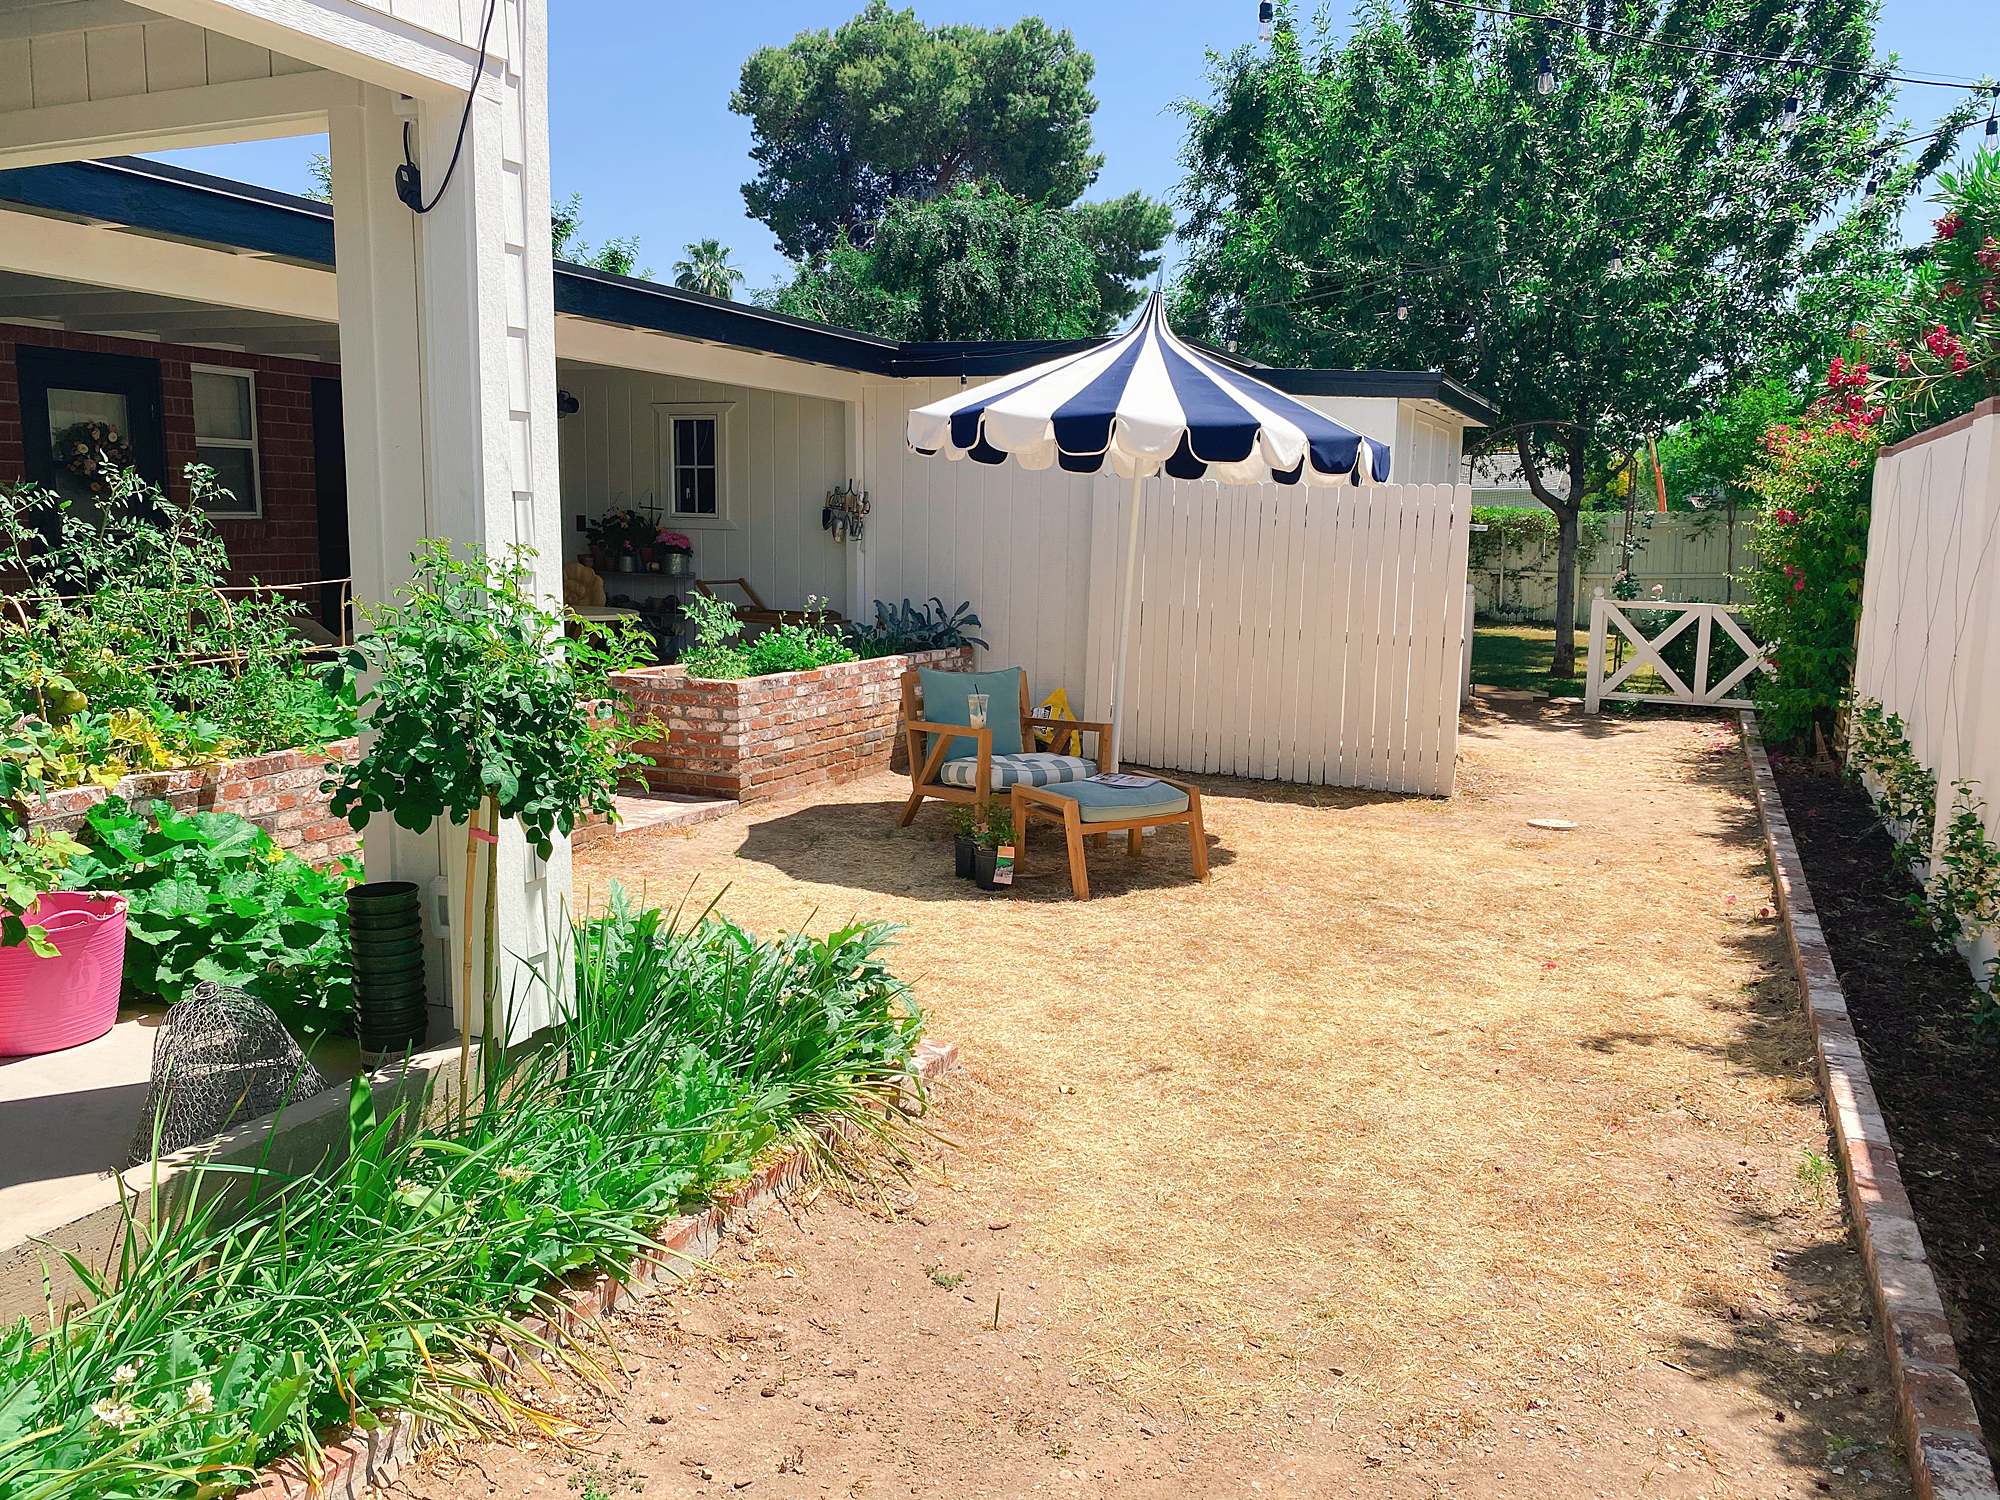
Back on the other side of the gate, we killed the grass. The reason why we don’t want grass here is because we have so much property with grass and every year seeding and mowing it every week has made keeping our landscaping looking good has been quite time consuming. I would have loved grass but I also wanted lawn furniture and have you ever tried to move furniture when you are about to mow? It’s terrible! Benjamin has been begging me to remove some grass and well in marriage, you must compromise. So with some of the front yard removed with the half circle driveway (my idea), I decided to also remove some garden area grass – and we didn’t install a sprinkler system here.
So what was left of the wood fence that separated the front yard space to the private backyard space will come down and a cinderblock wall will go up just to hide the air conditioning unit.
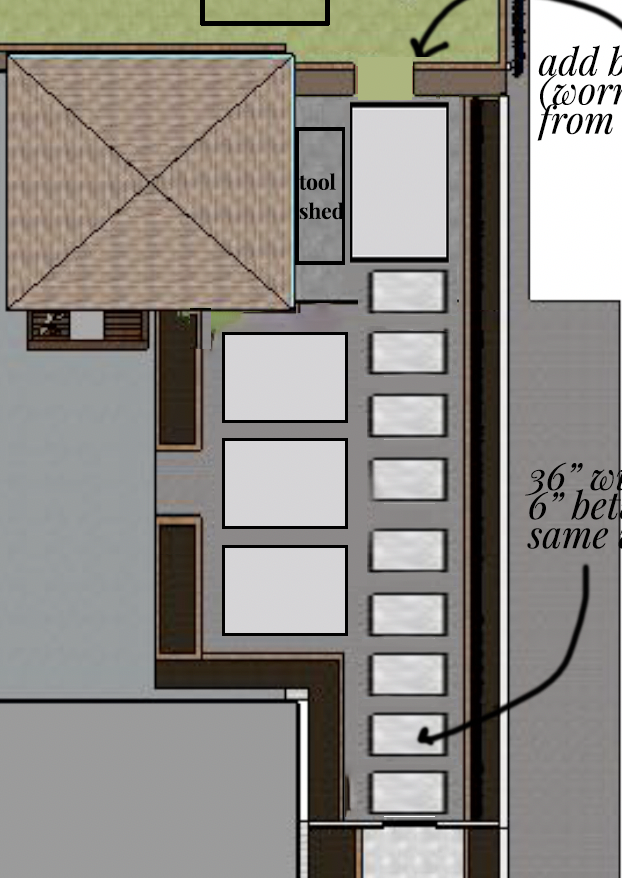
Our home is traditional yet it also has some modern touches and I have always liked cement. I mean I could and would have also loved more brick but that would be a lot of brick in this area and I want a clean look. It’s the perfect balance with what we are going for – and in between will be faux turf.
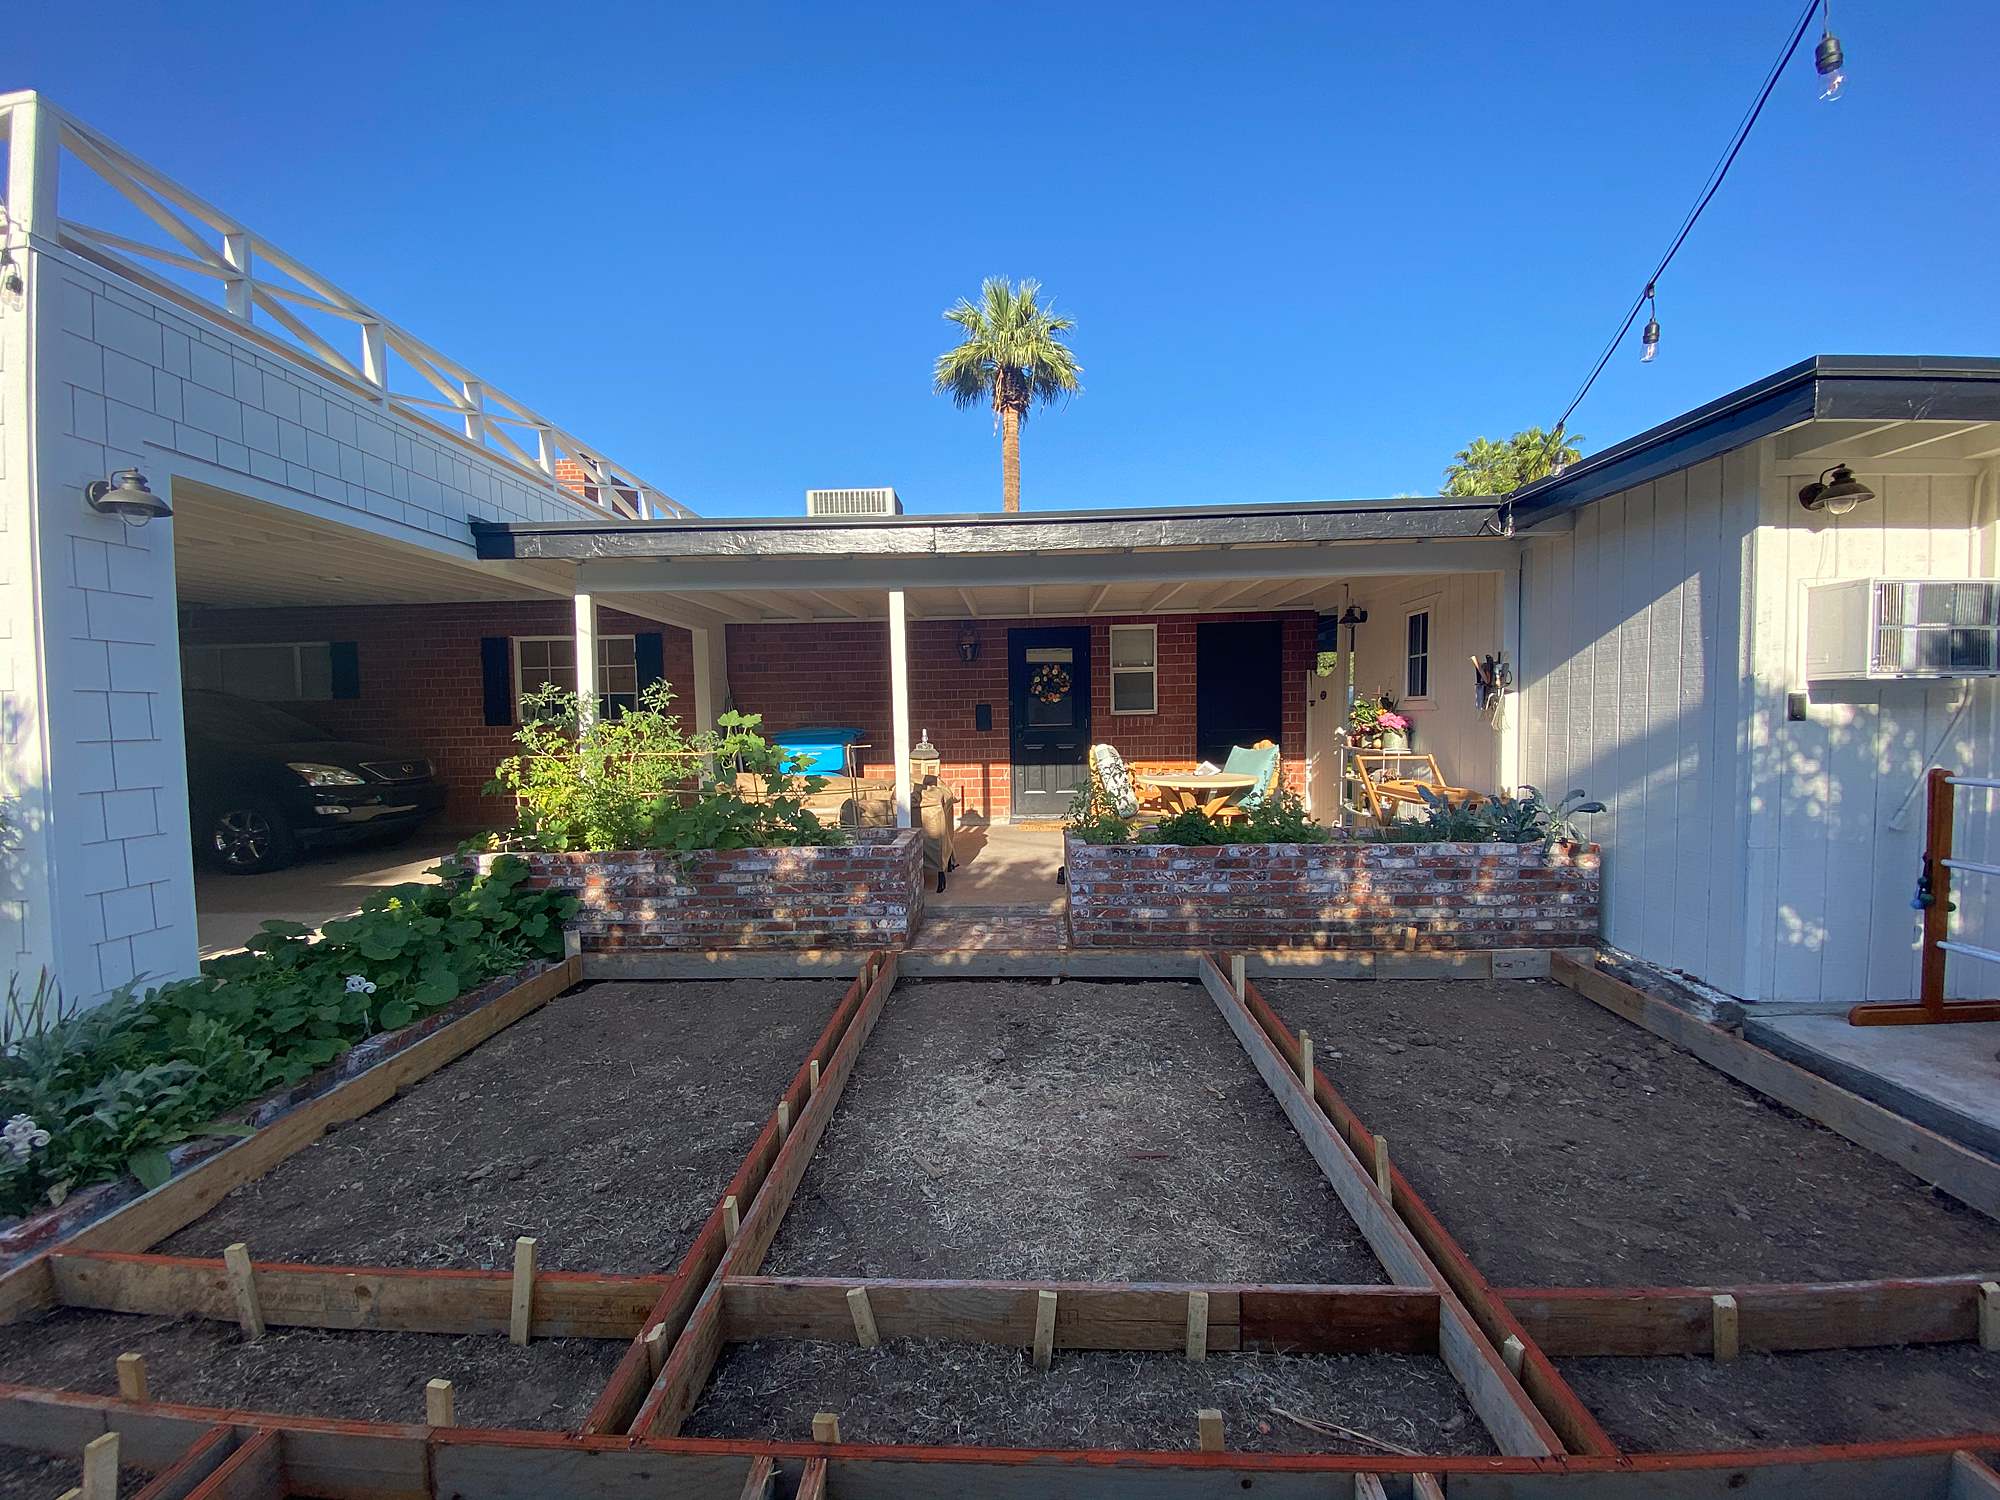
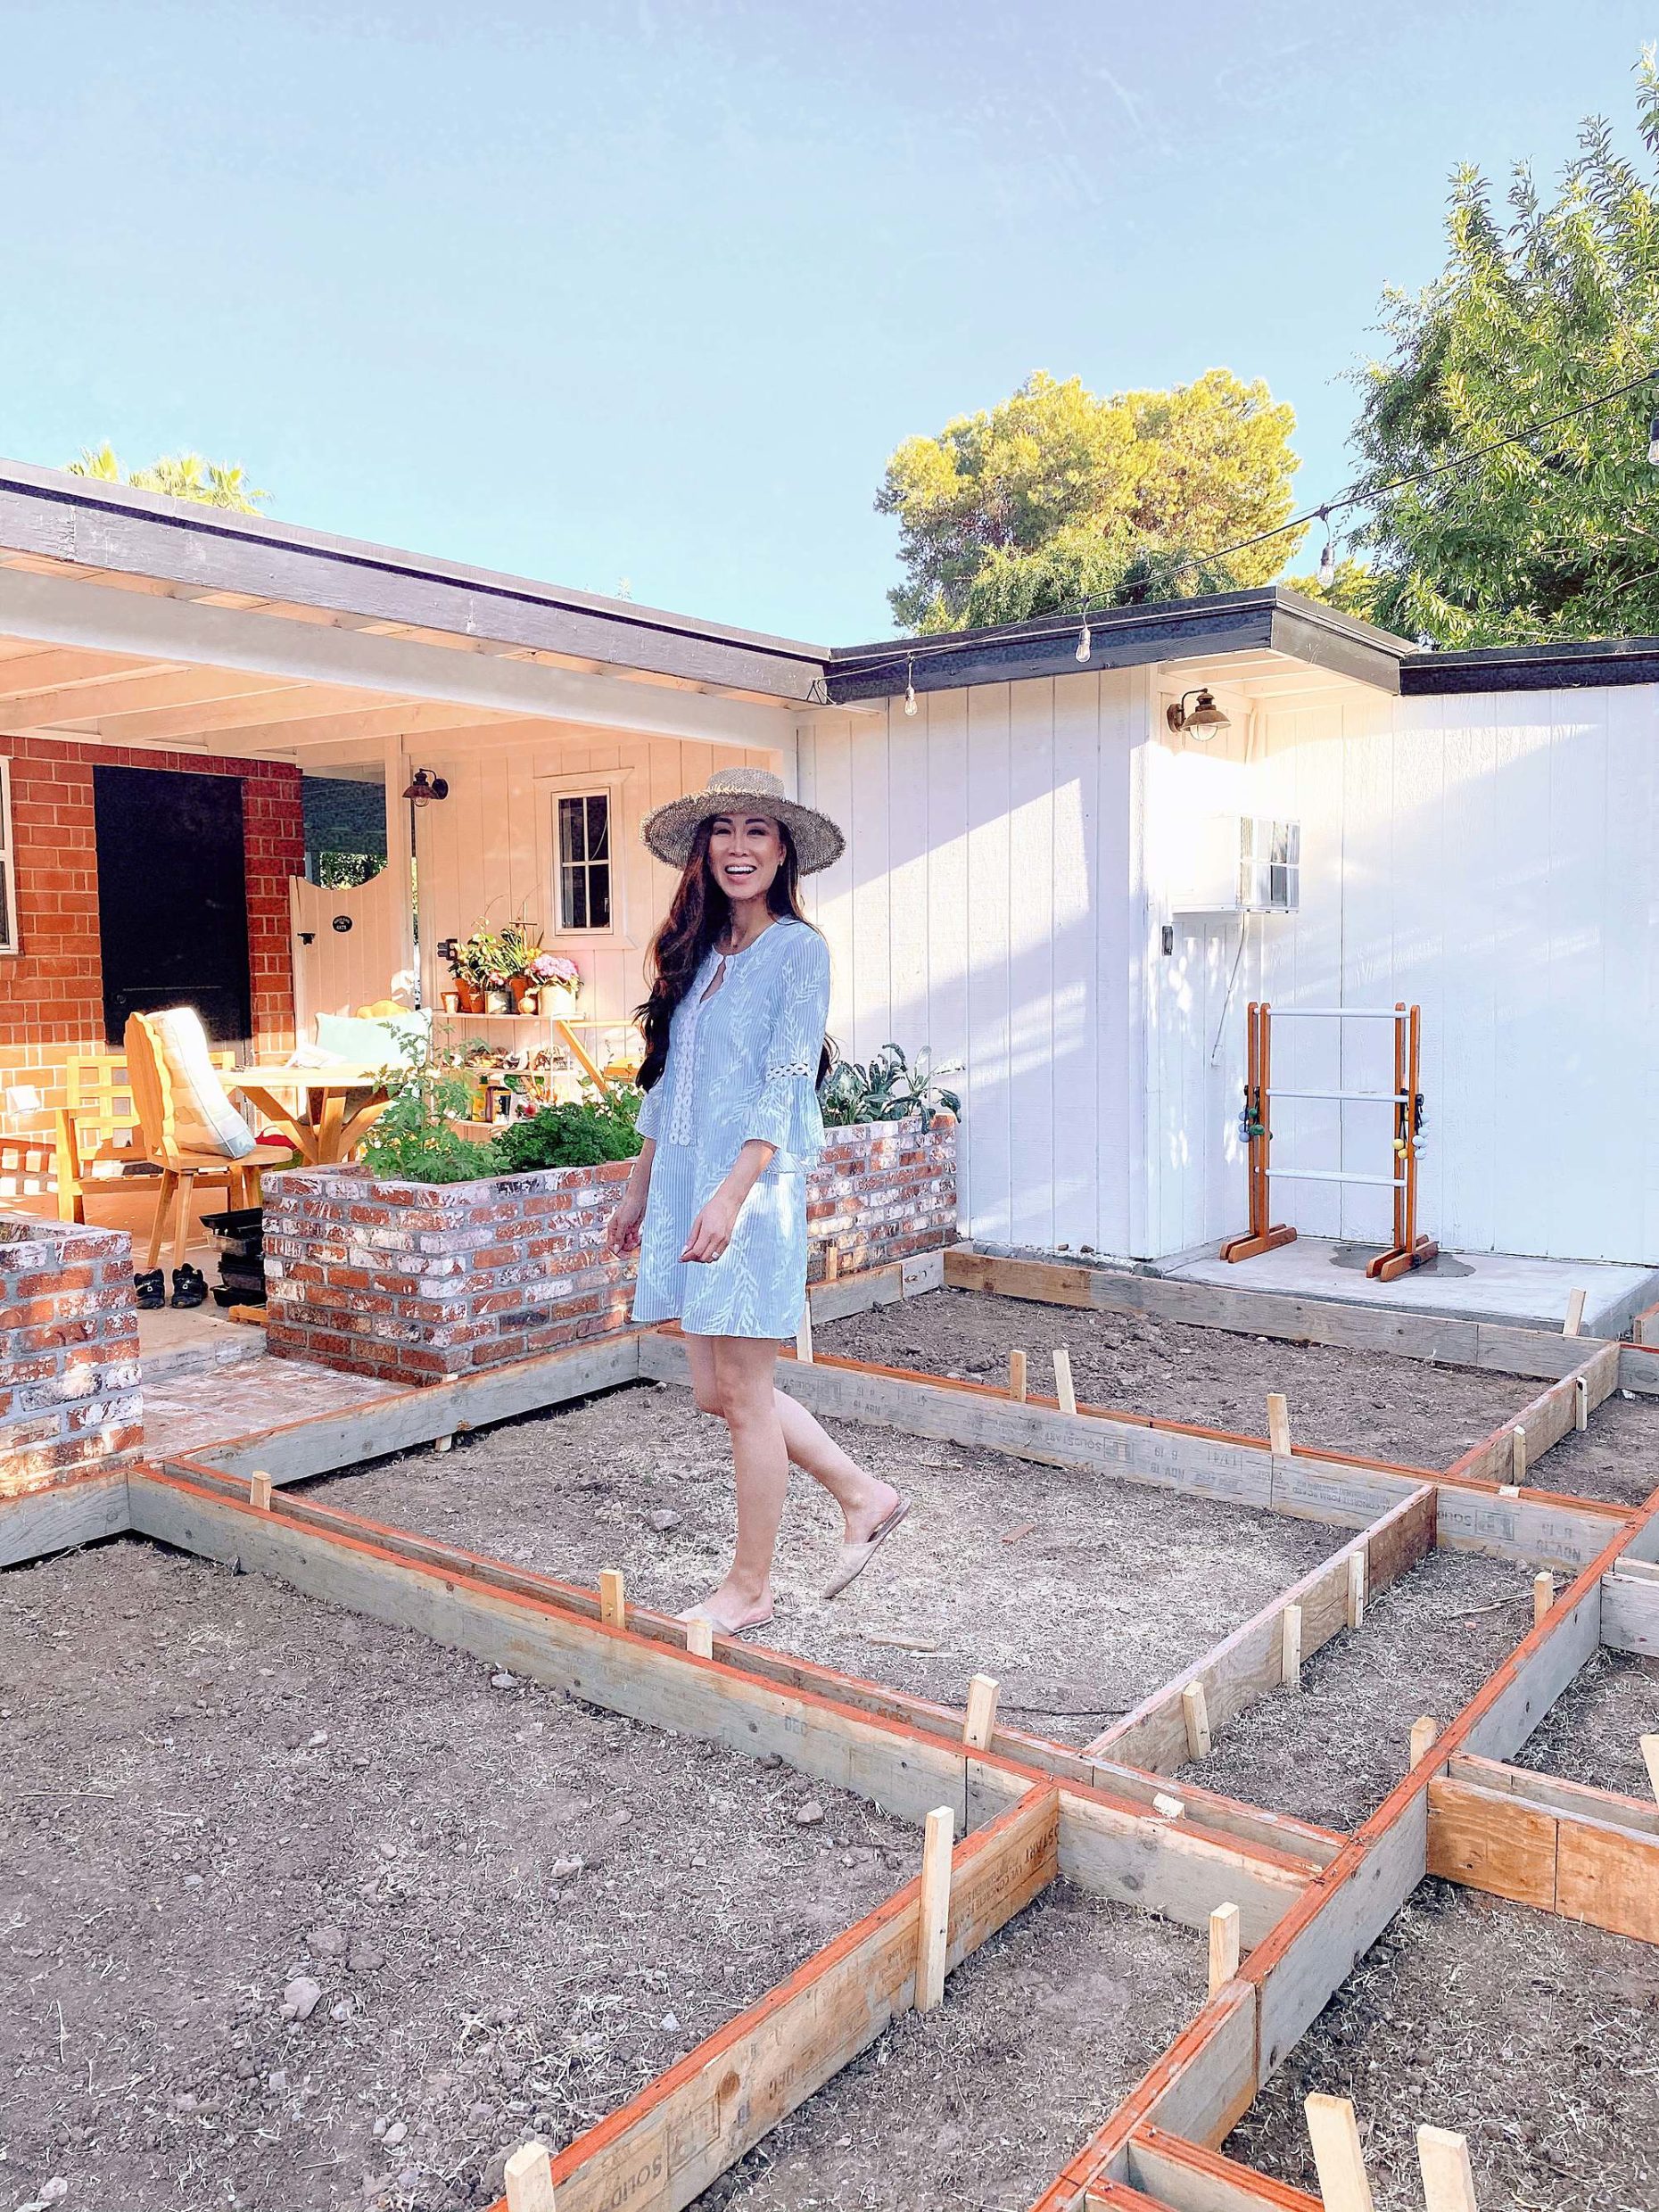
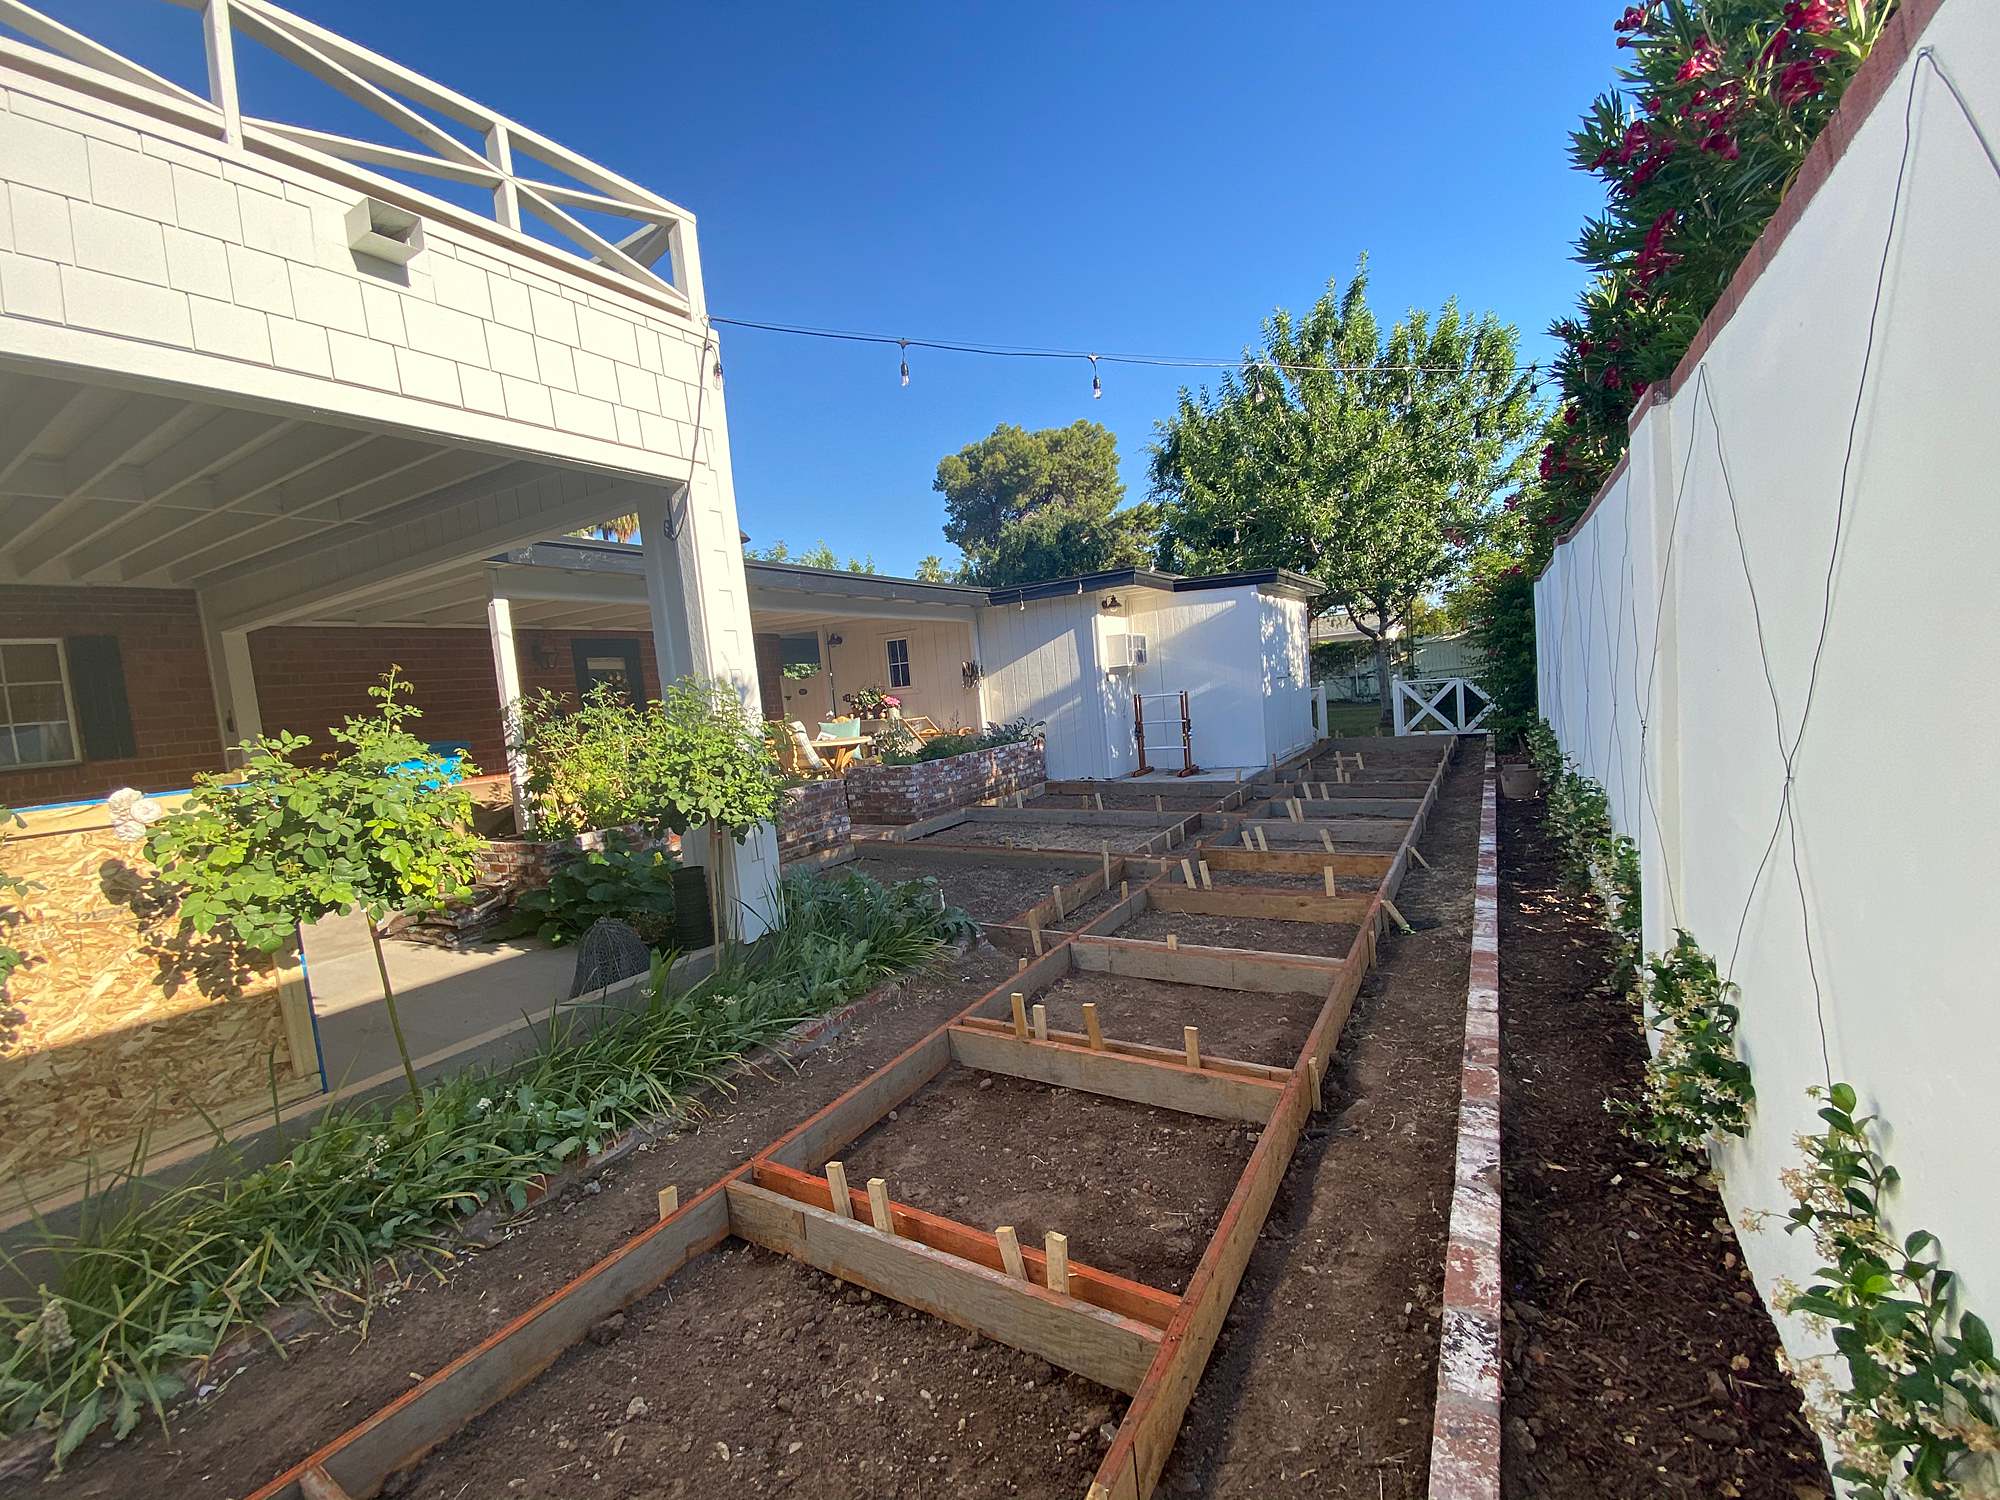
You can see the cement frames for the pathway from the main backyard though the toolshed area to the new garden area which goes out the front gate.
And the next day, the cement was poured by Imagine Concrete who I highly recommend!
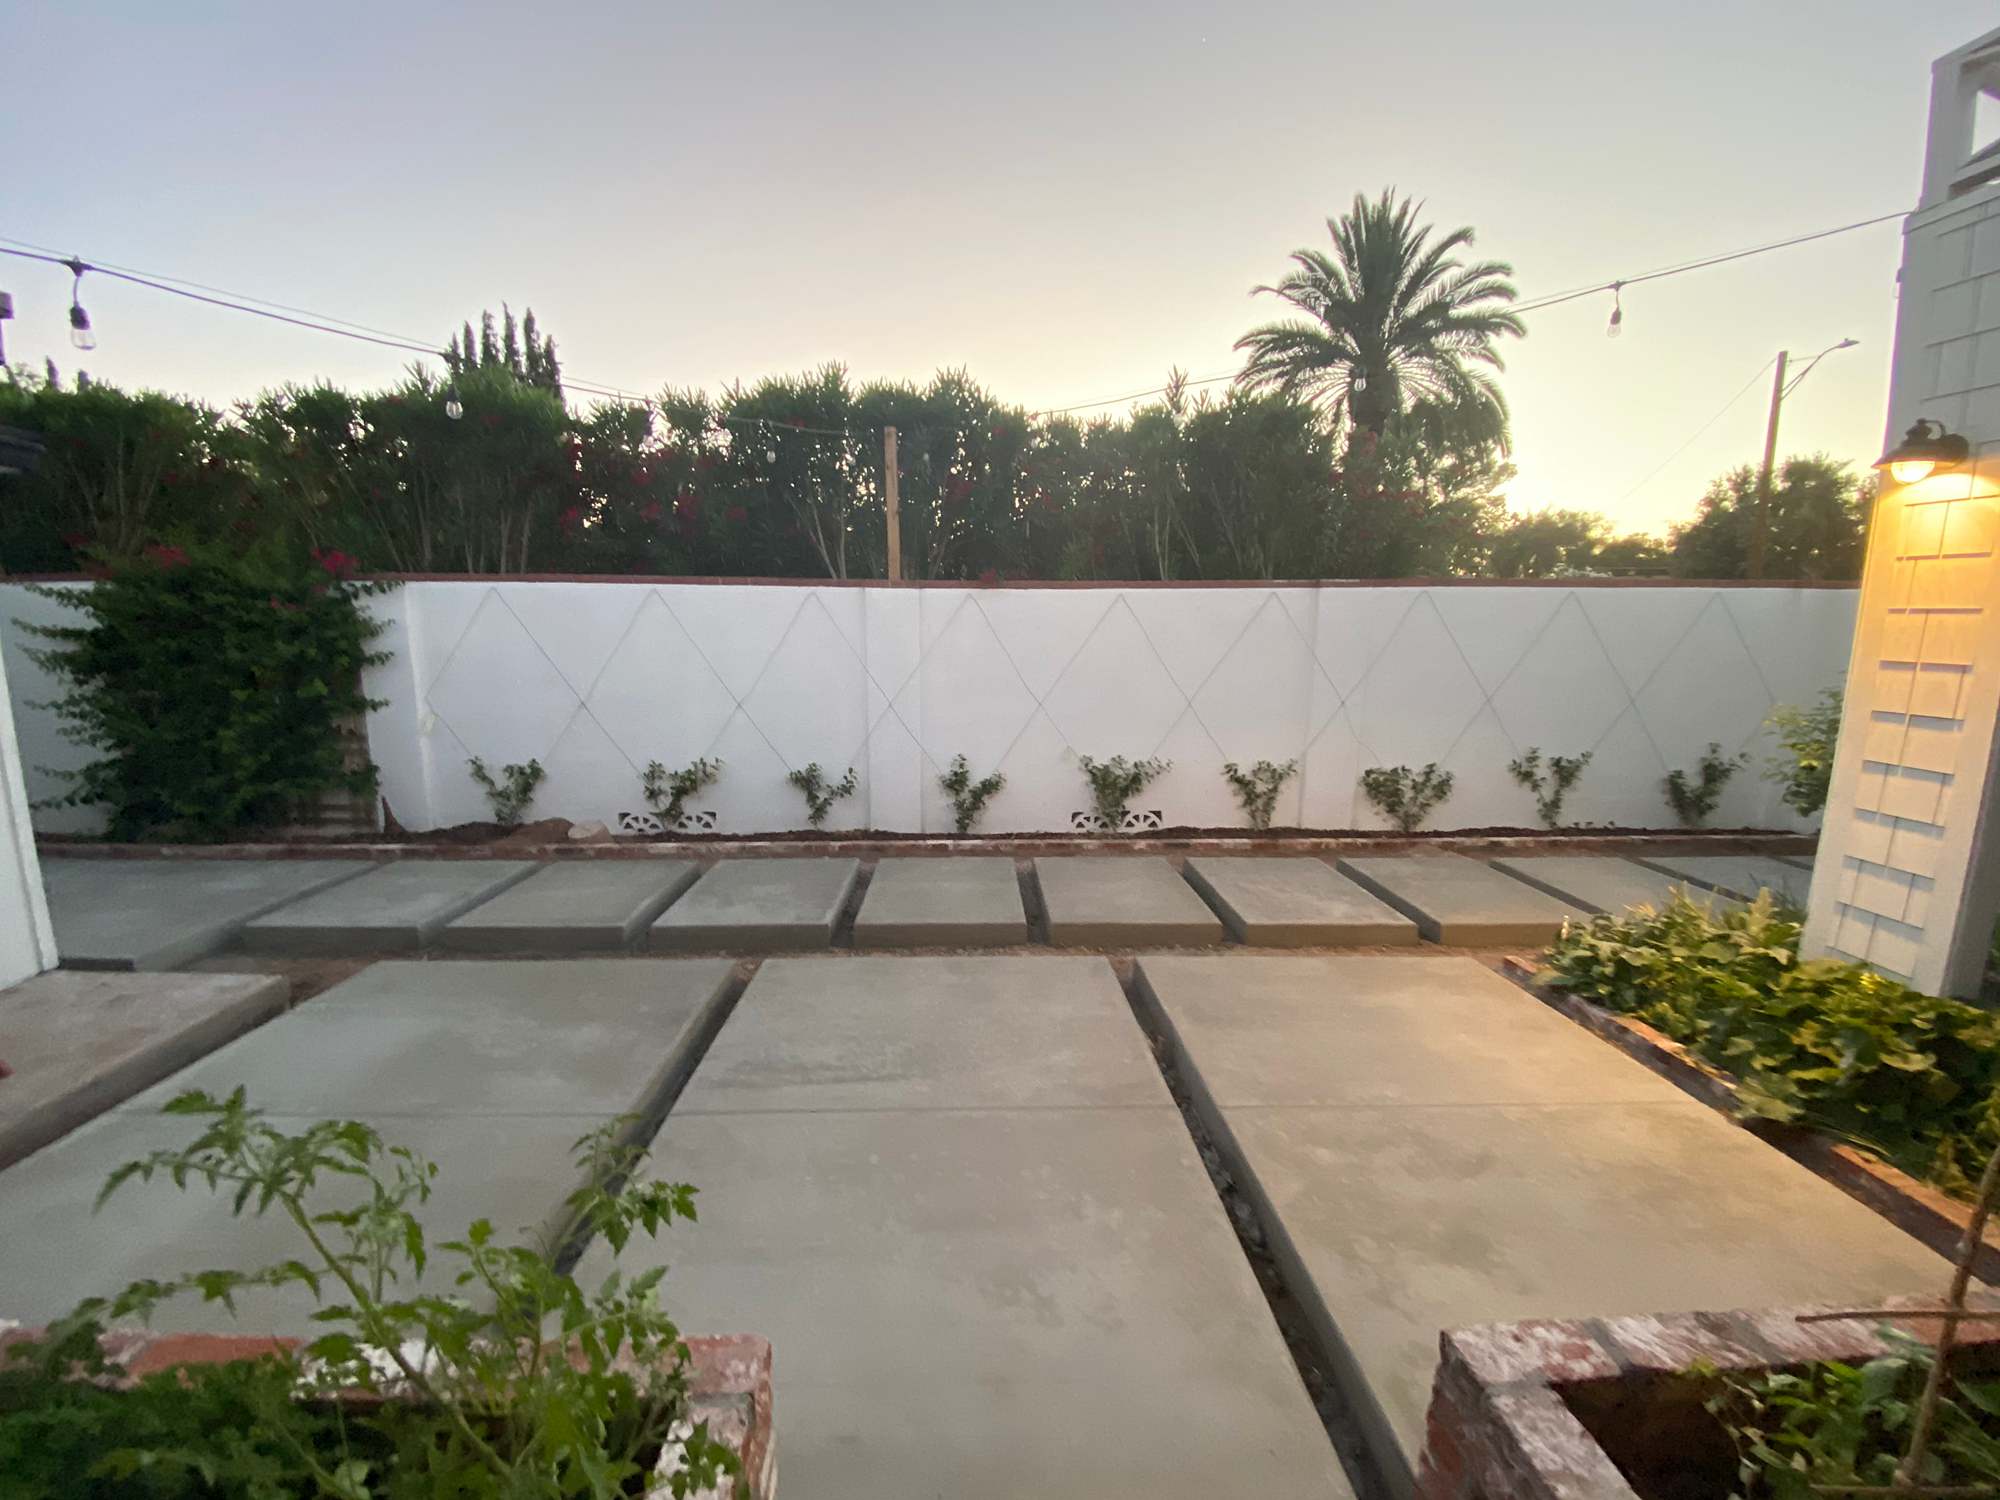
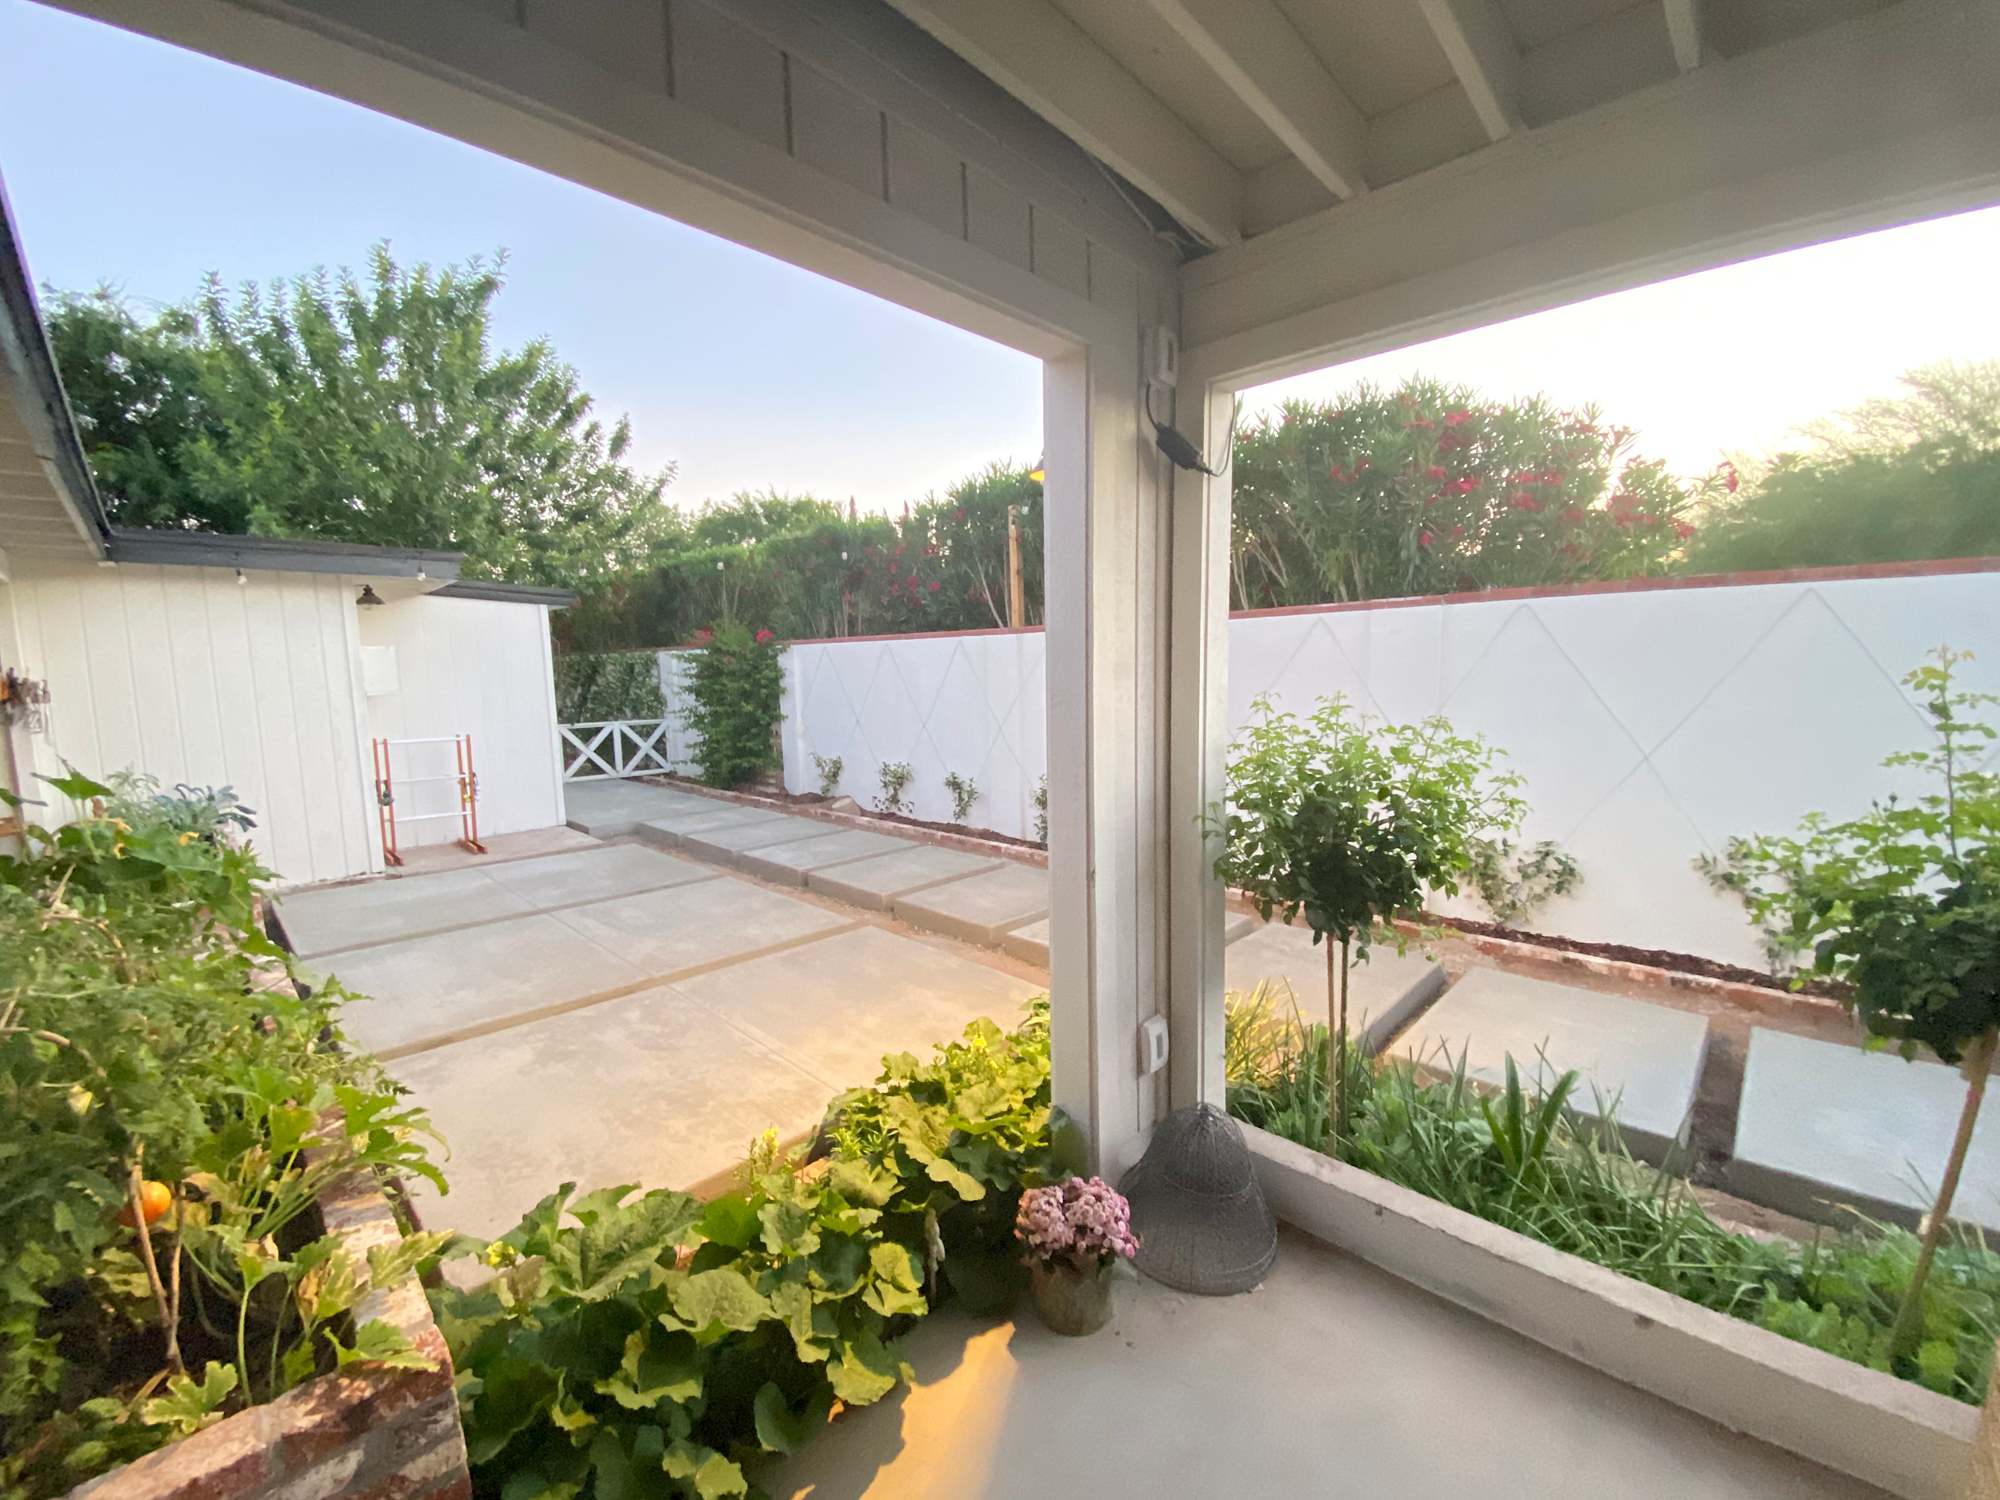
Really can you believe this used to be wasted front yard space? It wasn’t private it was just a strip of green grass we didn’t do anything with. I am glad we left it as is for 8 years to get to where we are today of course. I can’t stress enough the importance of living in your space and then know when you’re ready and have saved up enough to move forward. I can’t imagine if we moved forward with plans any earlier we would be as happy as we are now with all we have done in two years – a garden room expansion, this flat roof garage, a new front landscape, and new garden area.
I also have to give a major shout out to my father-in-law who came up with this layout. We had discussed a garage as soon as we got married and my father-in-law said why not extend this wall and turn it into another living backyard space. It was genius why not utilize every bit of your property to be able to be used? So when we told Kami the idea and she put it to paper it was magical! I am also thankful for Jill, who comes over and helps with our roses and citrus trees for the idea of getting rid of the other garden beds and making it an orchard – I cannot imagine having THAT much garden area to tend to and it felt like I had permission to move it.

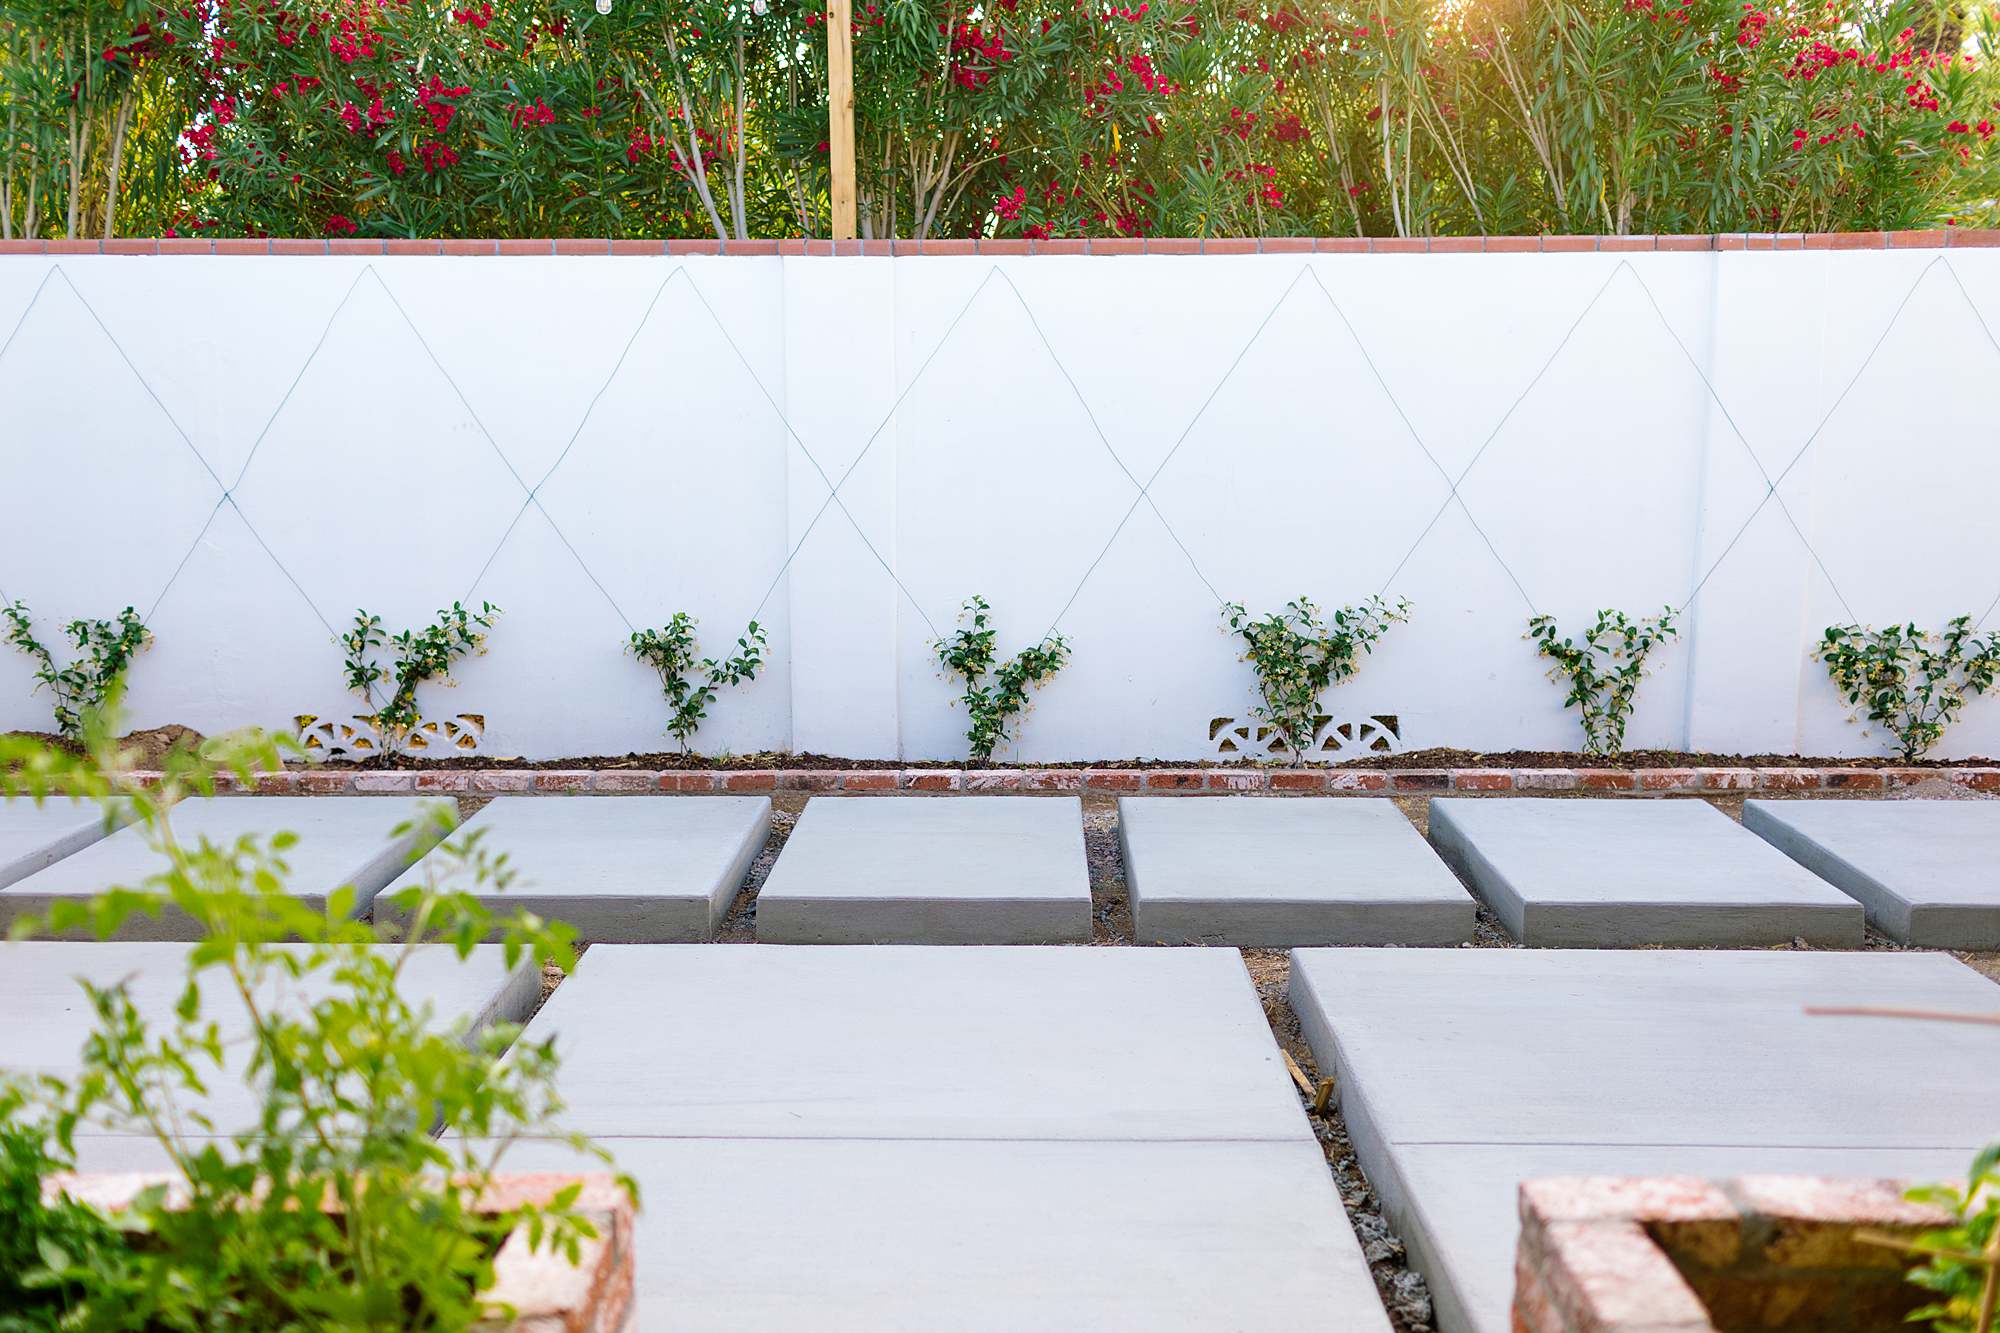
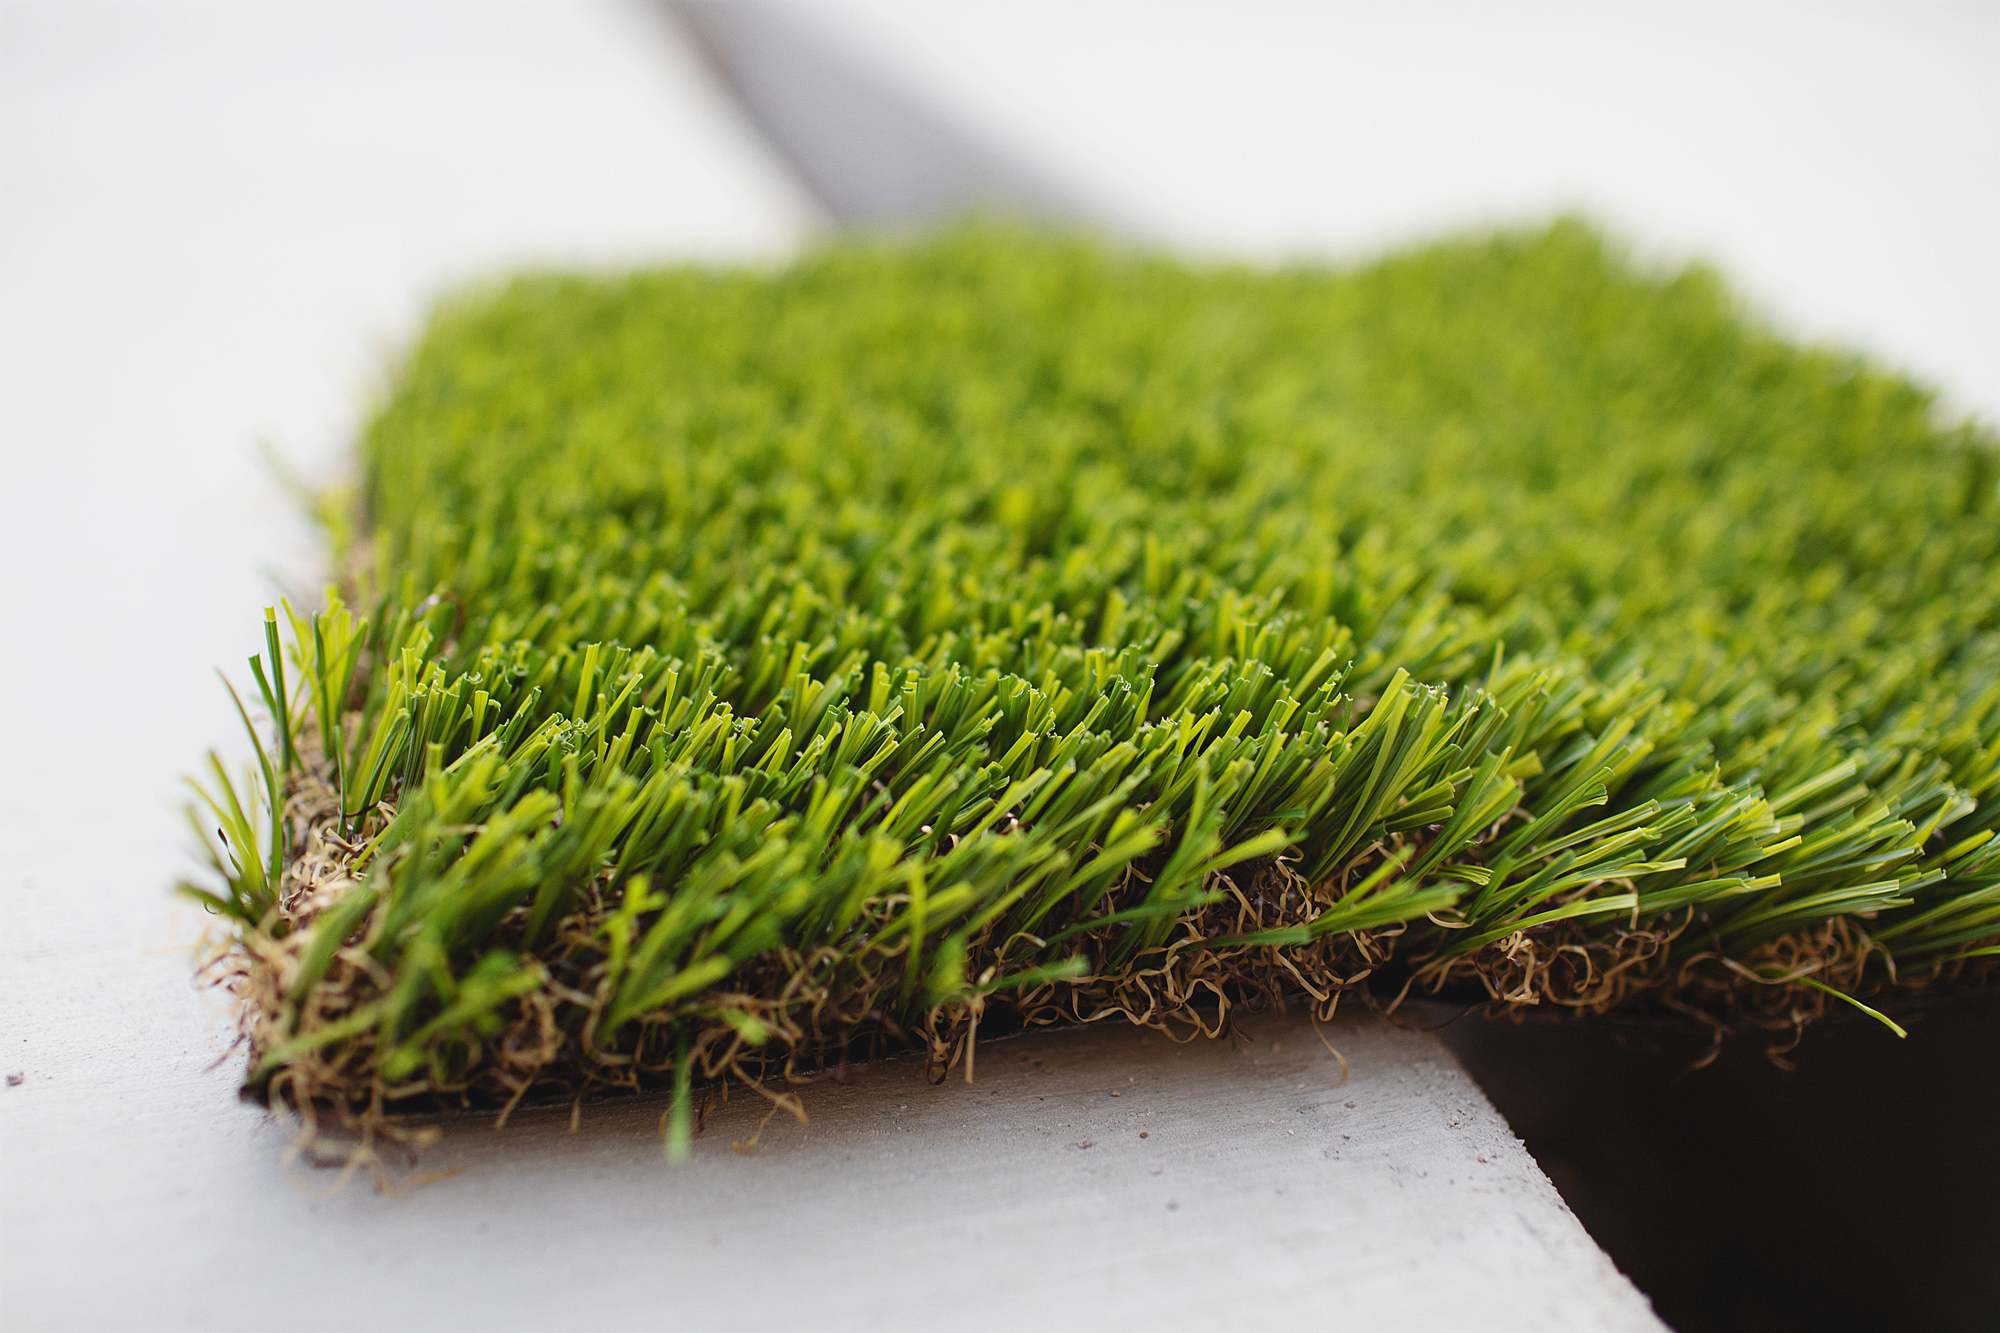
^^ The turf that will be installed end of this month.
During this time being home and loving our space has been more important than ever. I feel so blessed to call this place home and I also cannot wait to have friends and family back over to continue doing life with and making memories.
The rest of what needs to be completed has been scheduled – finishing the cinderblock and installing the turf. I just need to book my painter guy right after which shouldn’t be a problem and hopefully then I can give you the reveal, which won’t be that big of one since you’ve seen the process, but maybe you can just celebrate with me that it’s finally completed!
Thank you for being on this journey with me, providing your feedback and helping me build spaces I love and can share with you. Mi casa es su casa!
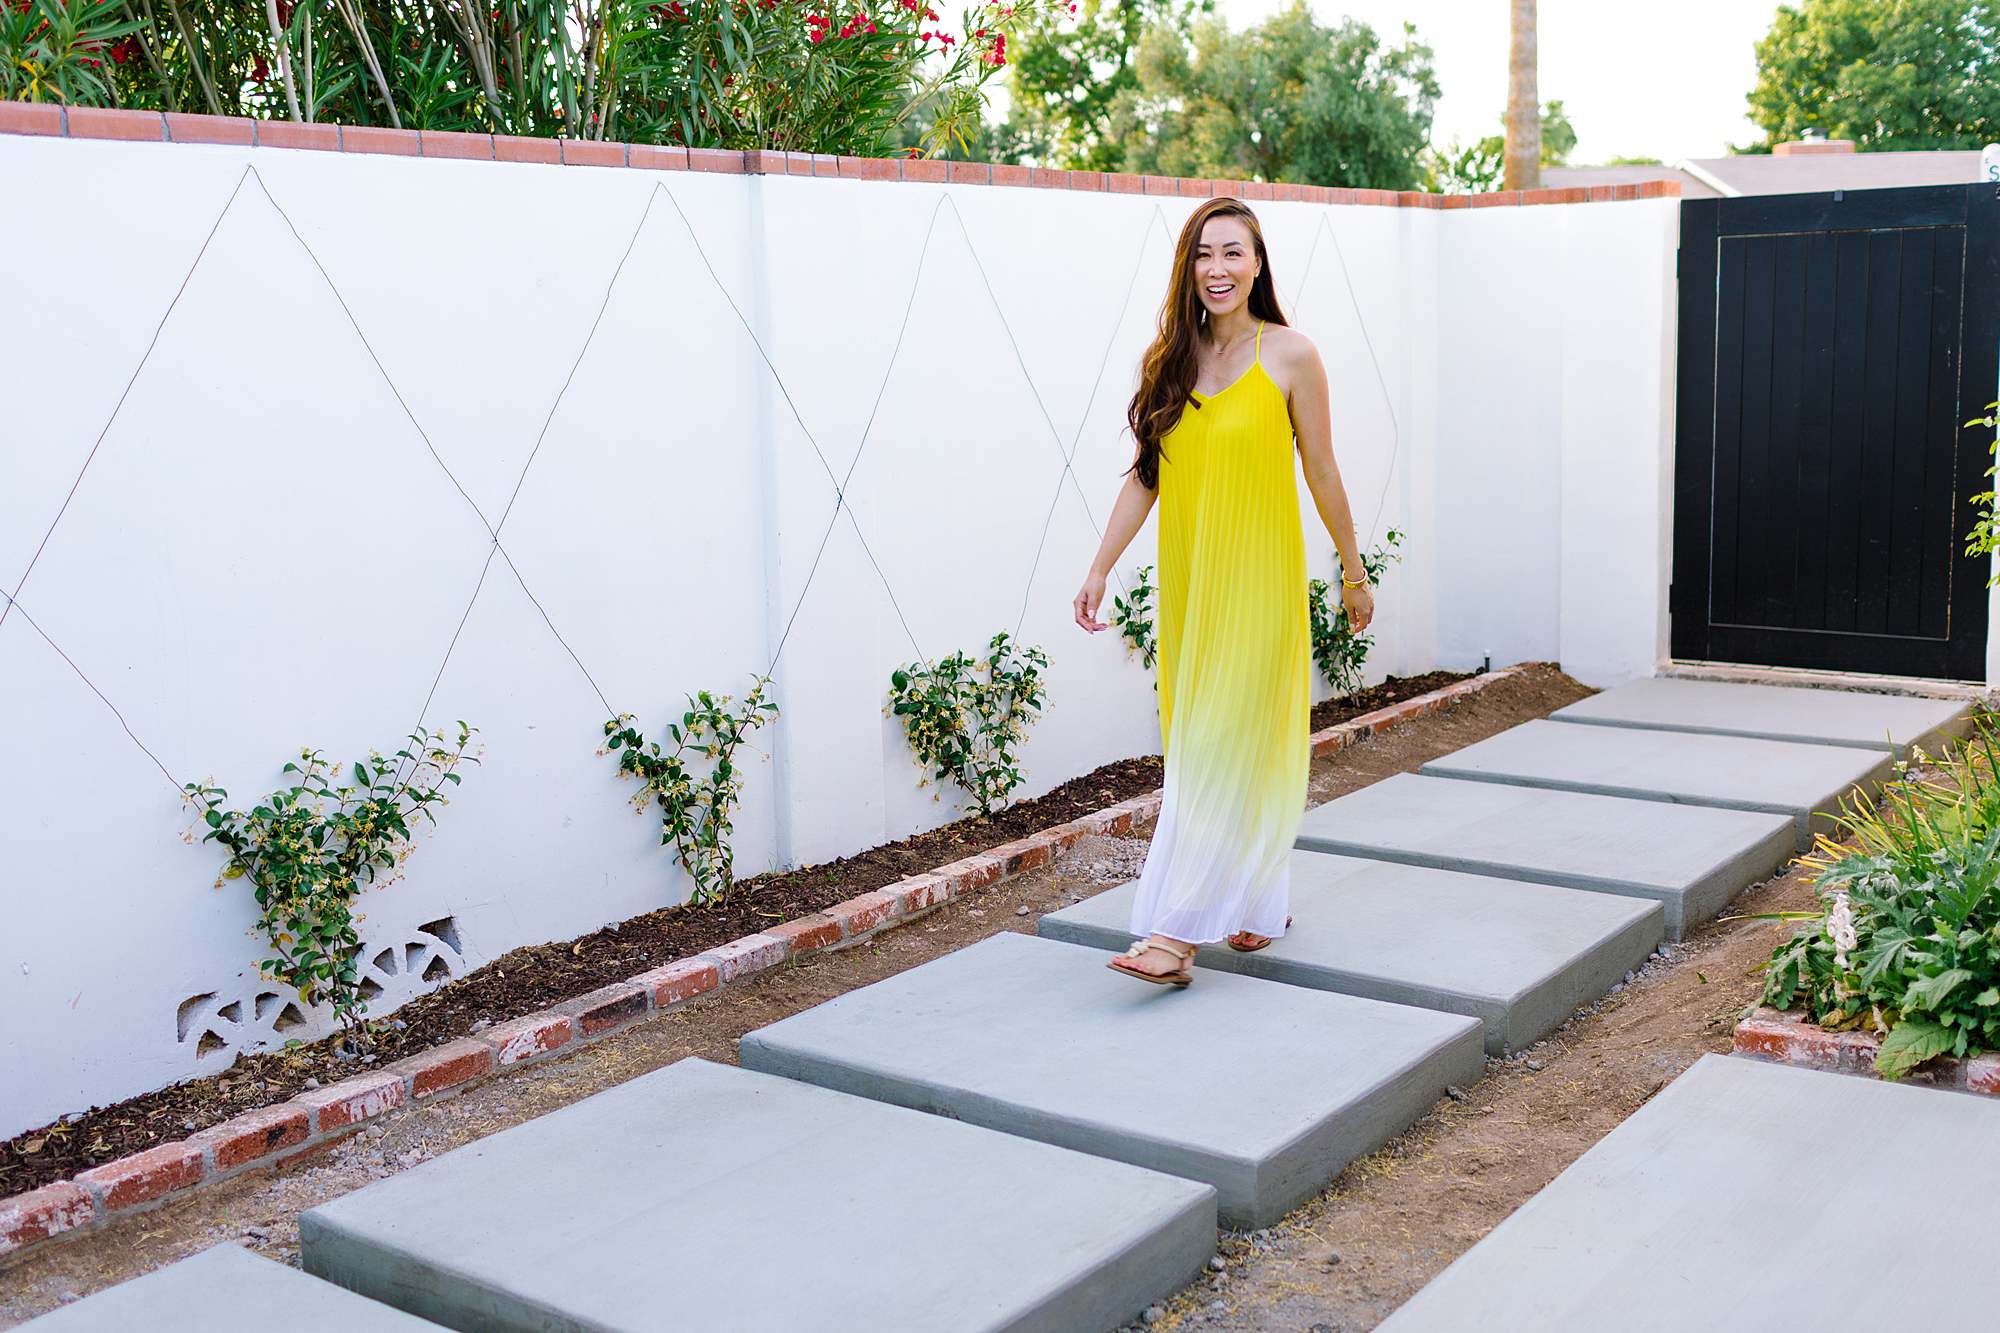
Diana Elizabeth says when this is all done, what will happen? What will she blog about? Or does this mean she can now concentrate on other products and showcase it in the spaces? Maybe she needs her own show, or help others. Haha!

Sarah
Worth every penny! Looks amazing. Love that you’ll do a break down post too :)