Sitting at my desk all day lately caused me to stare too long at walls which made me want to change things up, yet again!
It’s been a while since my last office update, and yes Benjamin was surprised I wanted to change a few things – but this time it was really just about the curtains (for now because I still have other ideas…). See latest update from two years ago when I got my new desk I am obsessed with and will keep until the day I die.
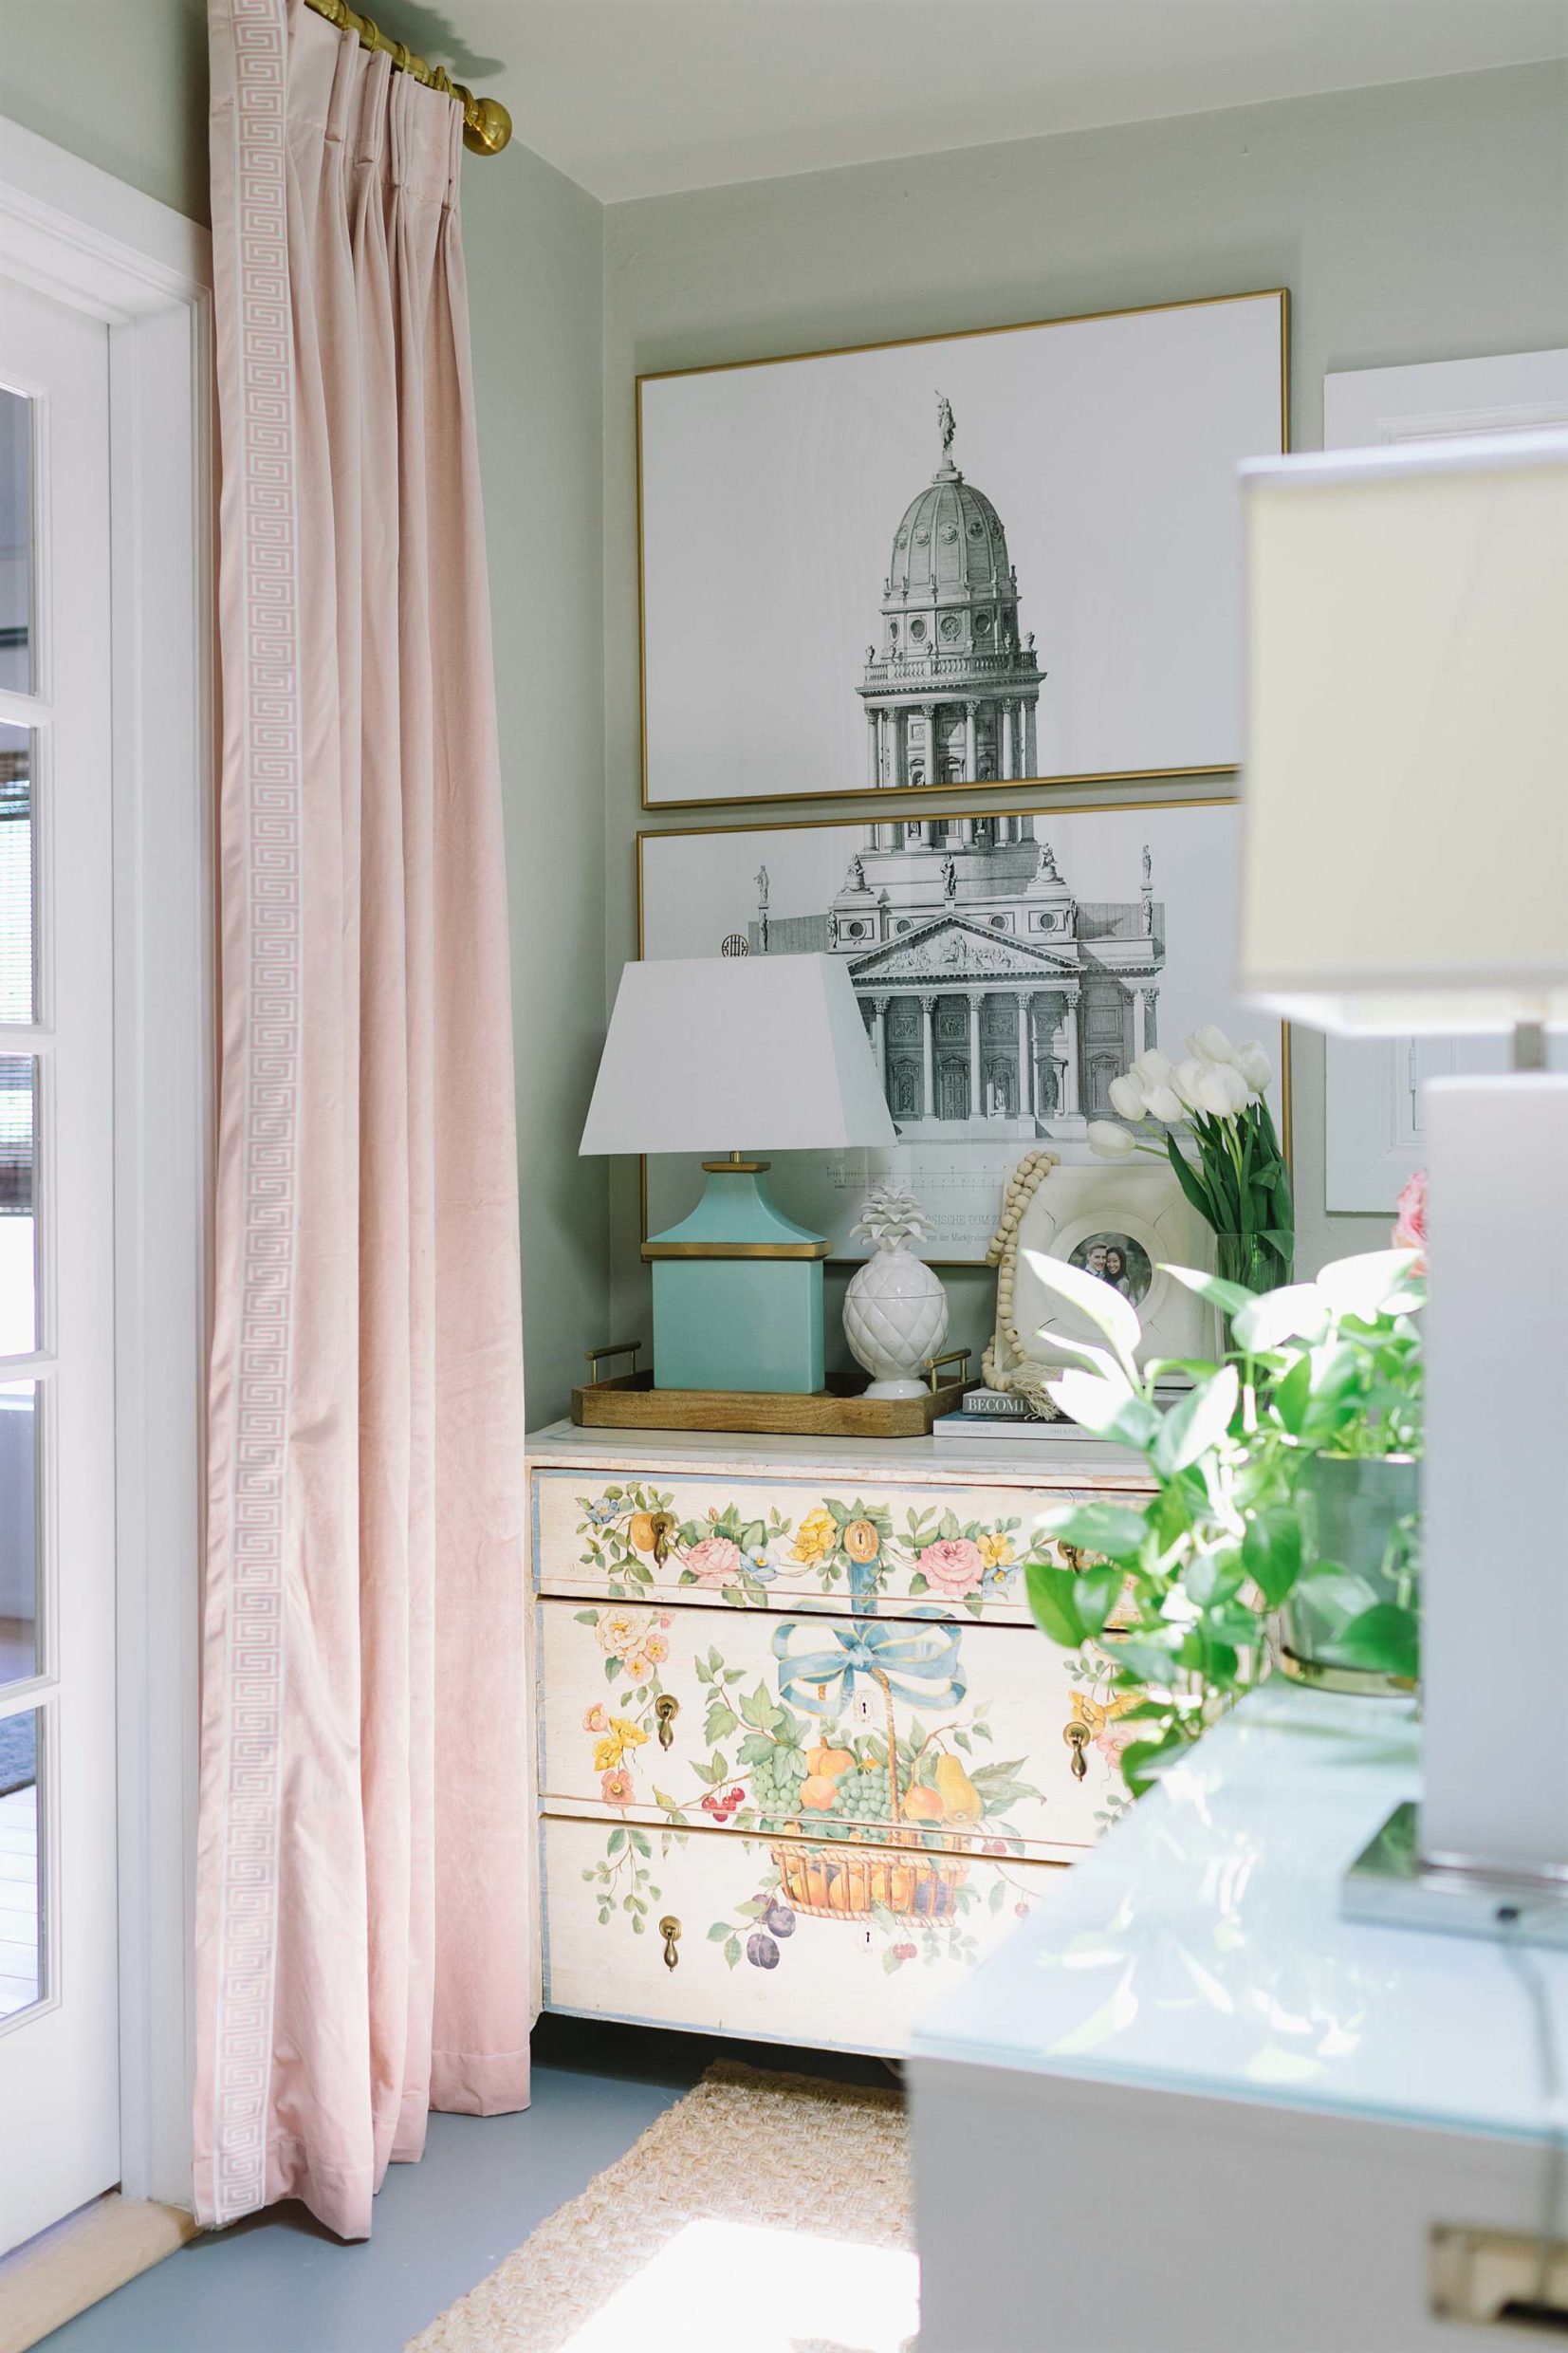
I wanted to change my curtains, and desired something a bit more elevated but I didn’t know what to do until I saw these ready made pleated curtains and realized it was time for that change.
I found pink velvet curtains on Wayfair, the pair for $70. When they arrived I was like, they just need something else…so then the idea of curtain trim came along!
Benjamin walked into my office and said I needed a better curtain rod because mine looked sad. Aka, it was so skinny and thin and my new velvet curtains were more heavyweight looking and needed to look heftier – kind of like our RH curtain hardware in the living room with custom inverted pleat curtains (custom by Q Design, I highly recommend and more affordable than Restoration Hardware).
You can see on my IG stories when the curtain was up on its own, on the old curtain rod –
Upgrading the new curtain look wasn’t cheap, I did the math like I always do to see how much a project of mine ends up costing, and I went overboard with getting a new curtain rod and rings from Ballard Designs which increased my cost. I know, it wasn’t what I wanted to do, and some might find what I did unnecessary, but I just want to be up front about how one thing can lead to another.
For weeks I was reading about curtains and after years of knowing I did it wrong and then I made it right, I want to share my latest curtain project. Here are the steps I took and gathered from over the years of browsing Pinterest and listing to design podcasts. Most of all I hope you know that you can take basic curtains and customize them that will look elevated in your space.
1. Buy the longest curtains you can
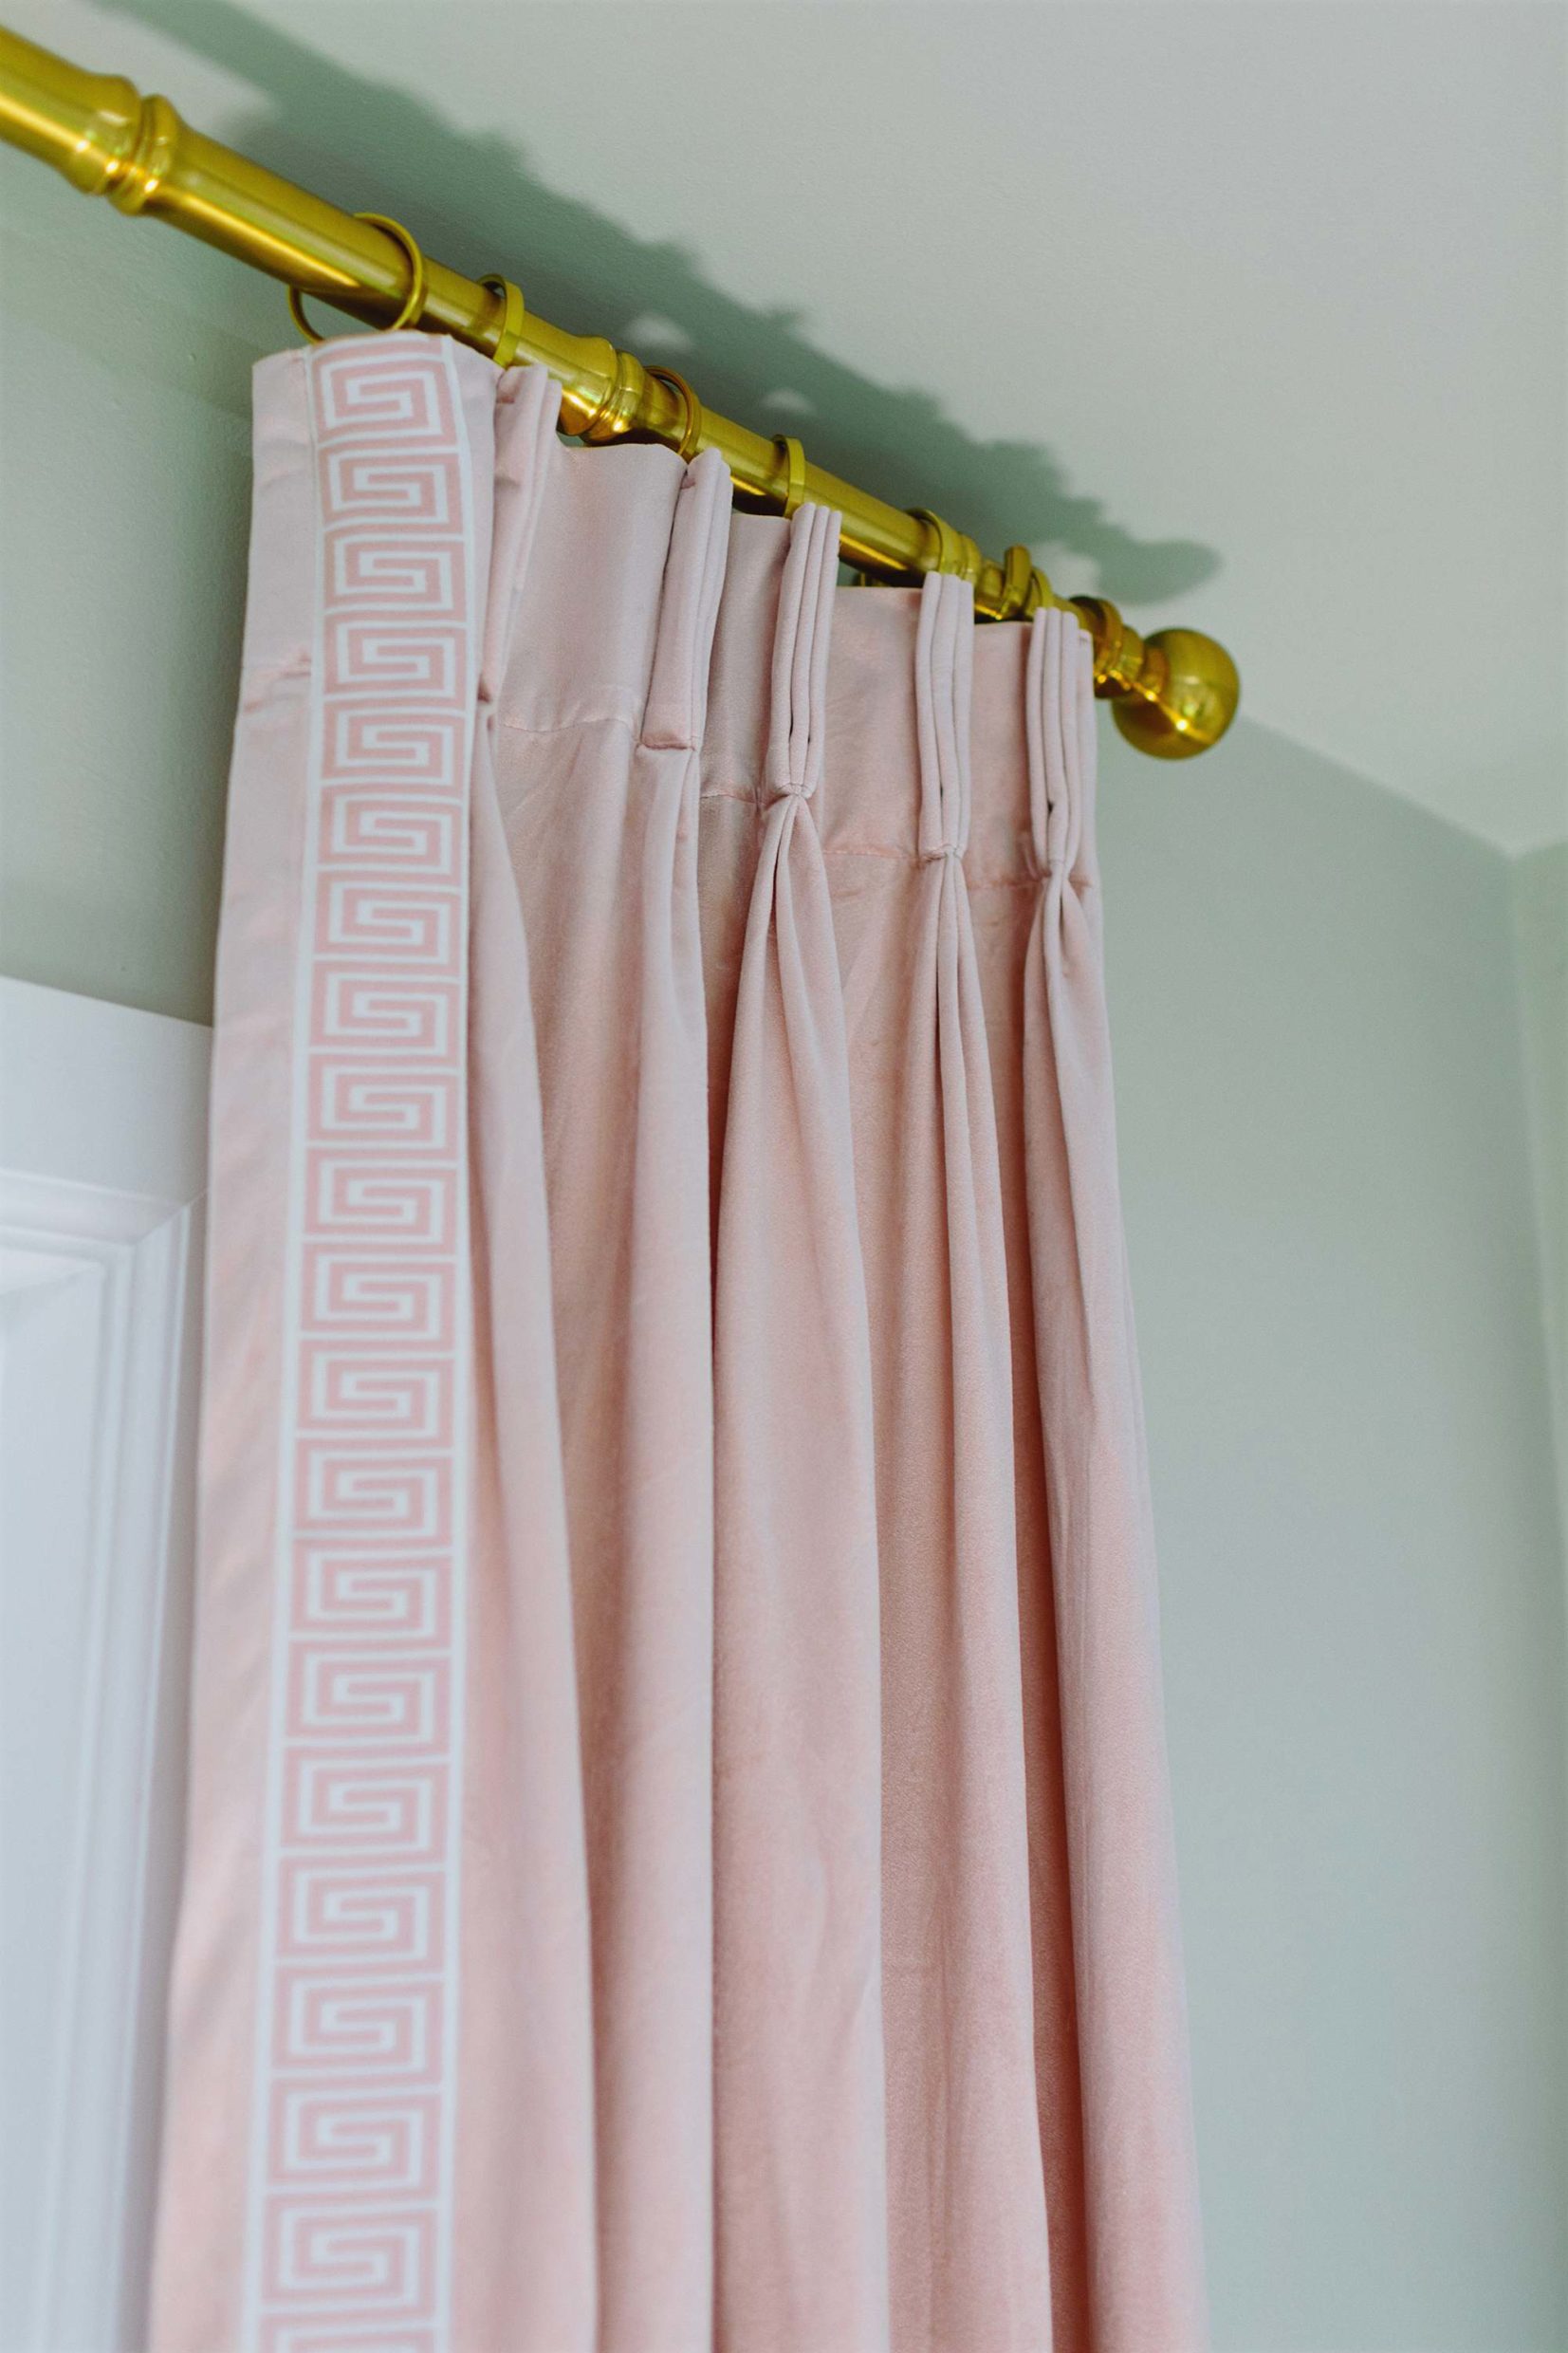
Pleats optional but encouraged. These particular pleated curtains have pockets in the back to string through a rod easily. It’s fine but I prefer to see curtain rings, it brings a form of formality to a room. Which is why I had to buy additional items… If you don’t have pleats in your curtains you can hand pleat them yourself I did that myself for our kitchen curtains, but it will cut into the width of your flat panel curtains, so you will need several panels. You might be better off not worrying about it and buying an already made pinch pleat curtain. I found these velvet French pleat curtains $70 for the pair and thought they would look great in my office. I now want two more to make it look full since I will never close it, but they are sold out in my length so I’m on a waiting list.
To decide how long you could go, just measure your wall and hang that rod as high as you can – then does it match up with 84″, 96″ or 108″ basic curtain lengths?
2. Add curtain trim
Trim can be pricey from $20 to $90 a yard, even more expensive. It’s so discouraging when you need 6 yards of trim for 96″ length panels (x2) and the total is more than your actual curtains. Ugh. Of course I’d love the $120 a yard trim but that would defeat the purpose of me DIY-ing it when I would have just splurged to have someone make them. But, don’t go cheap on the trim. I found a site that I liked which is Decoratorsbest.com and found a $20 trim. Curtain trim, see Greek Key Trim search.
Trim isn’t necessary but if you want to add some color or really add sophistication it’s a great way to do that!
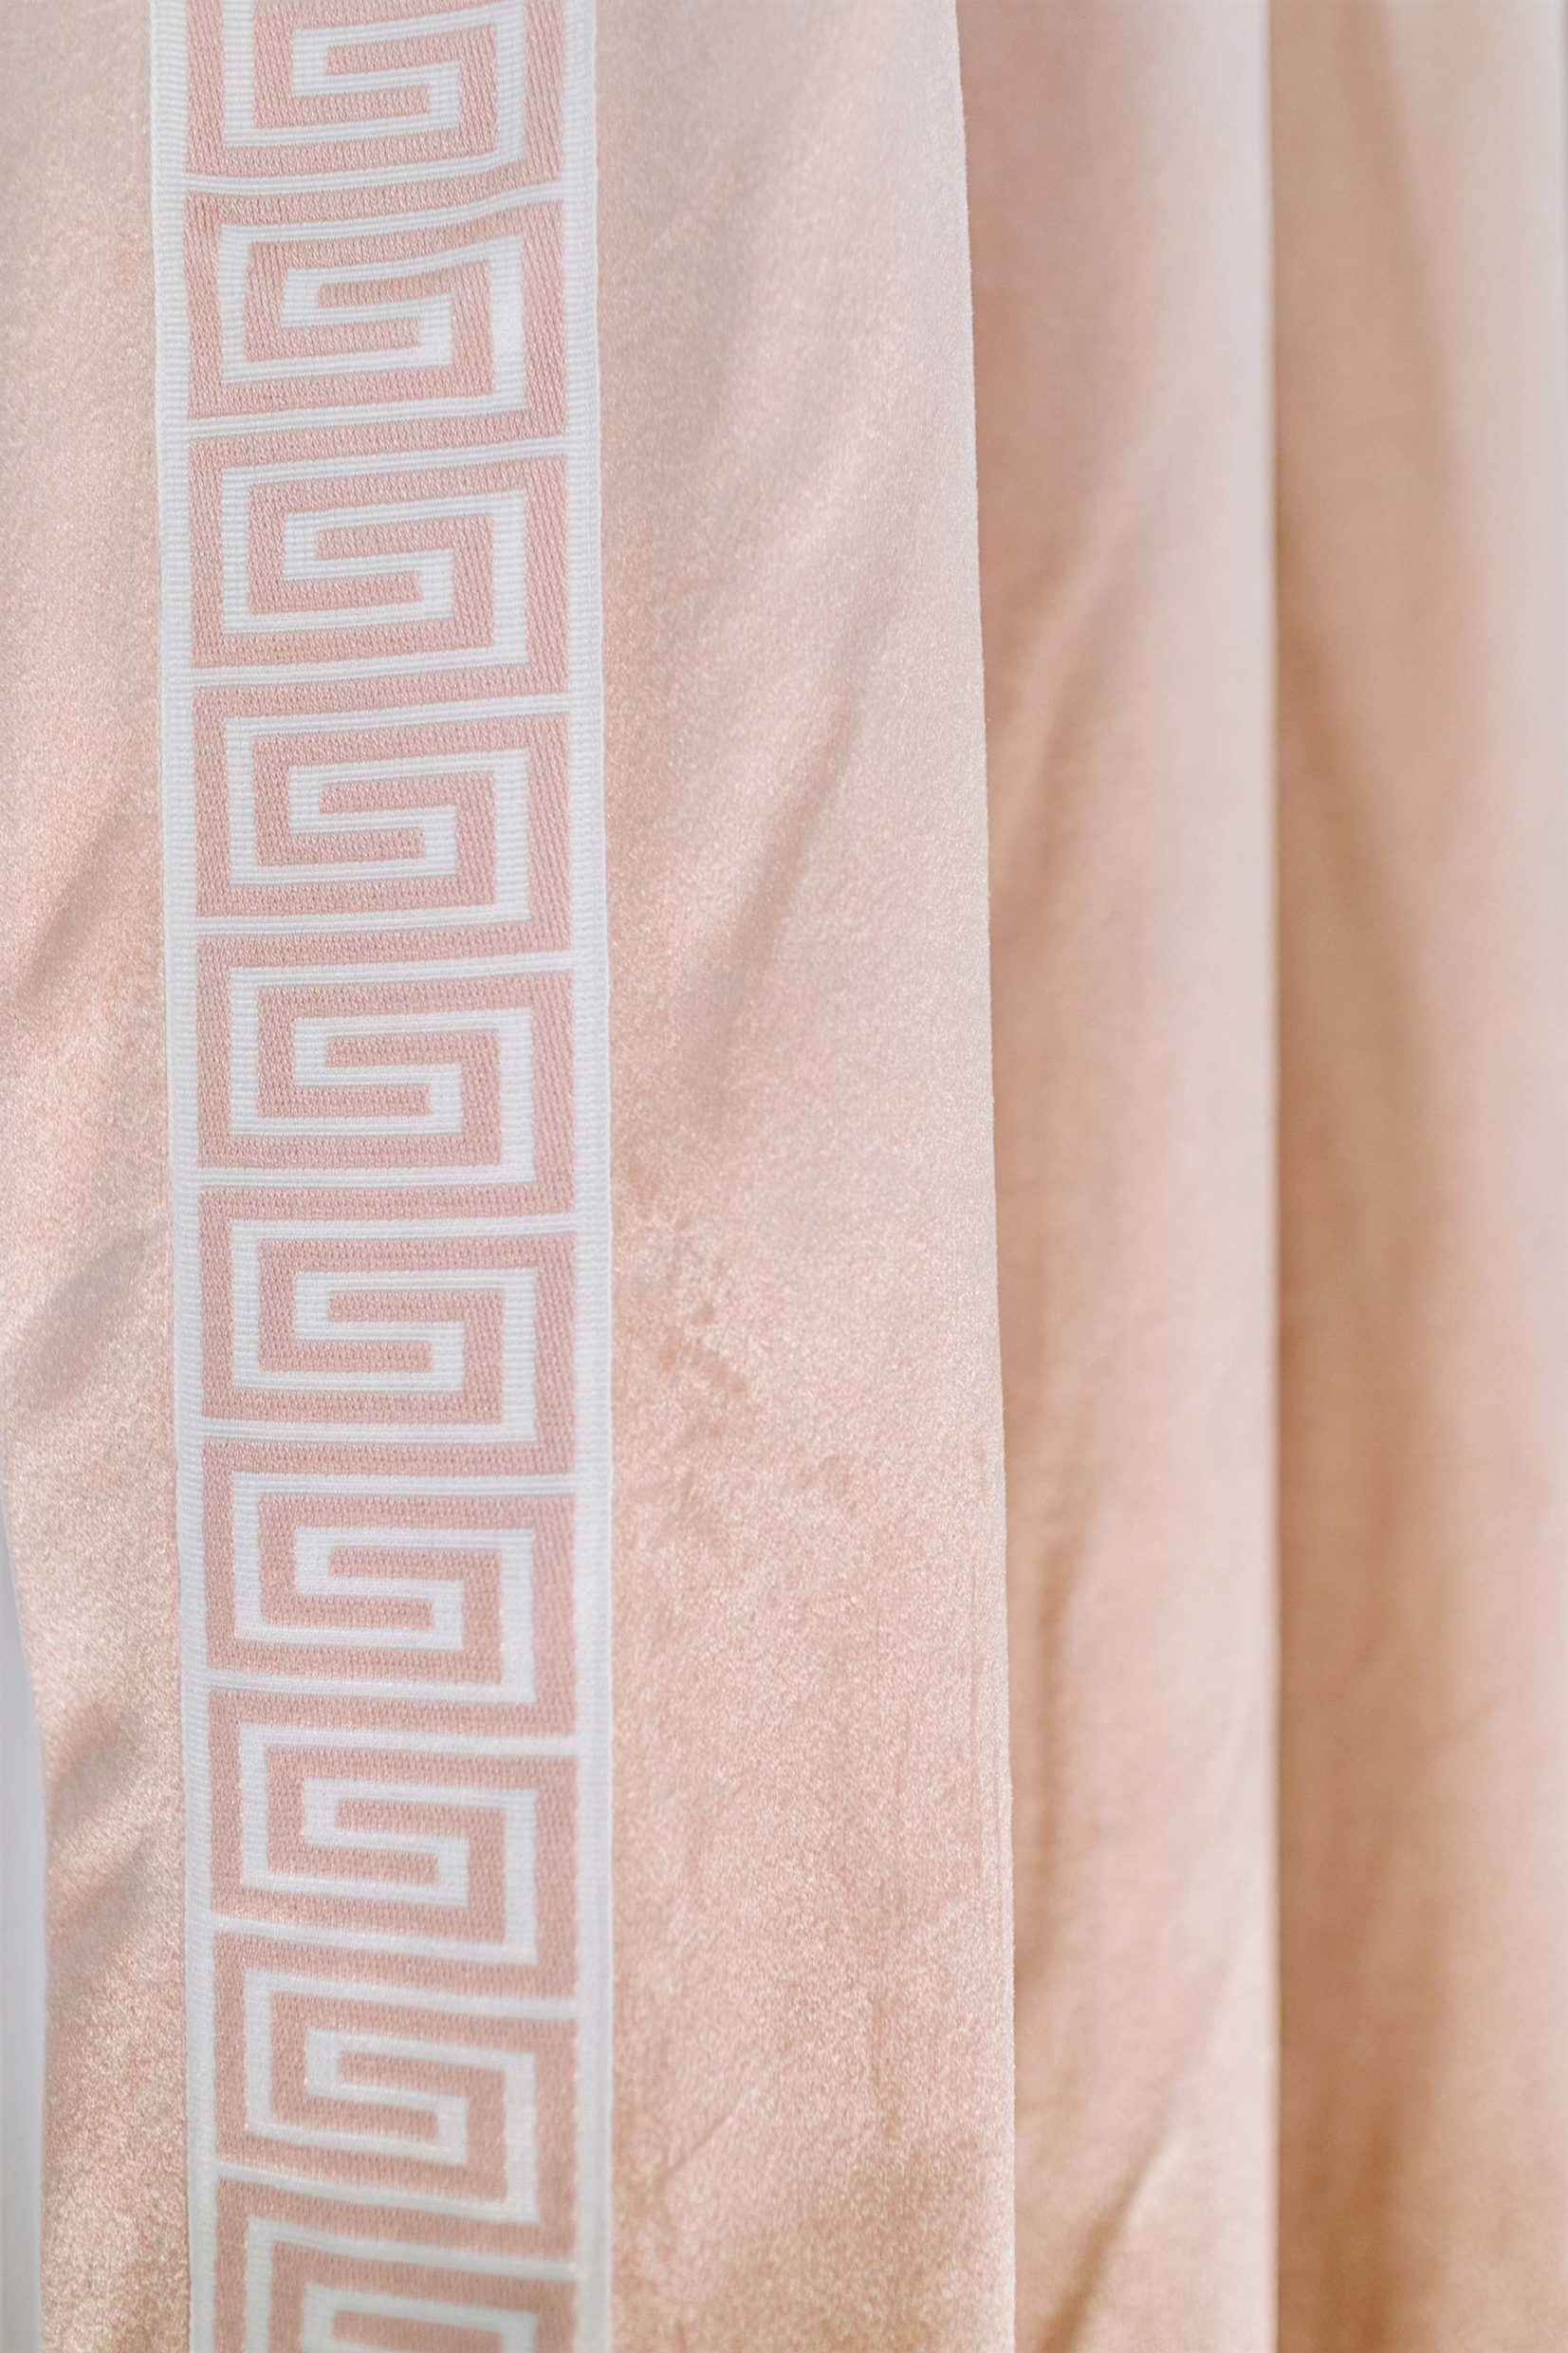
3. Iron or sew on trim
Place trim evenly with the pattern on both sides – you want the patterns to line up on the top, don’t go random. If you have linen or cotton drapery you can use Adhesive Hem Tape Iron-on Tape 2 pack via Amazon and secure both sides of the trim with an iron – directly place iron in each spot, don’t move it around or slide it or else you slide the trim around.
Synthetic fabrics aren’t the best idea for ironing, so if you buy the velvet curtains don’t say I didn’t warn you, it’ll melt. However, being the lazy person I am, I did it carefully with paper towels on both sides to secure it but it adhered to it loosely. After, I brought out my sewing machine and stitched down both sides. I made my stitching loose +2 because of the weight of the fabric and I didn’t want to see much puckering.
4. Add drapery hooks
I bought drapery hooks via Amazon and I slid the hooks right into the seam behind the pleats. Take a curtain hook to see how it looks – see this IG story –
Here is an update on IG stories after I sewed on the trim and how to place the drapery hooks –
If you find they are too short/long simply adjust your drapery hooks. I did that with our custom curtains and moved them lower which brought them right off the floor, relief! You will only have a few cm to do that, so don’t depend solely on that because you don’t want to hide your pretty curtain rings.
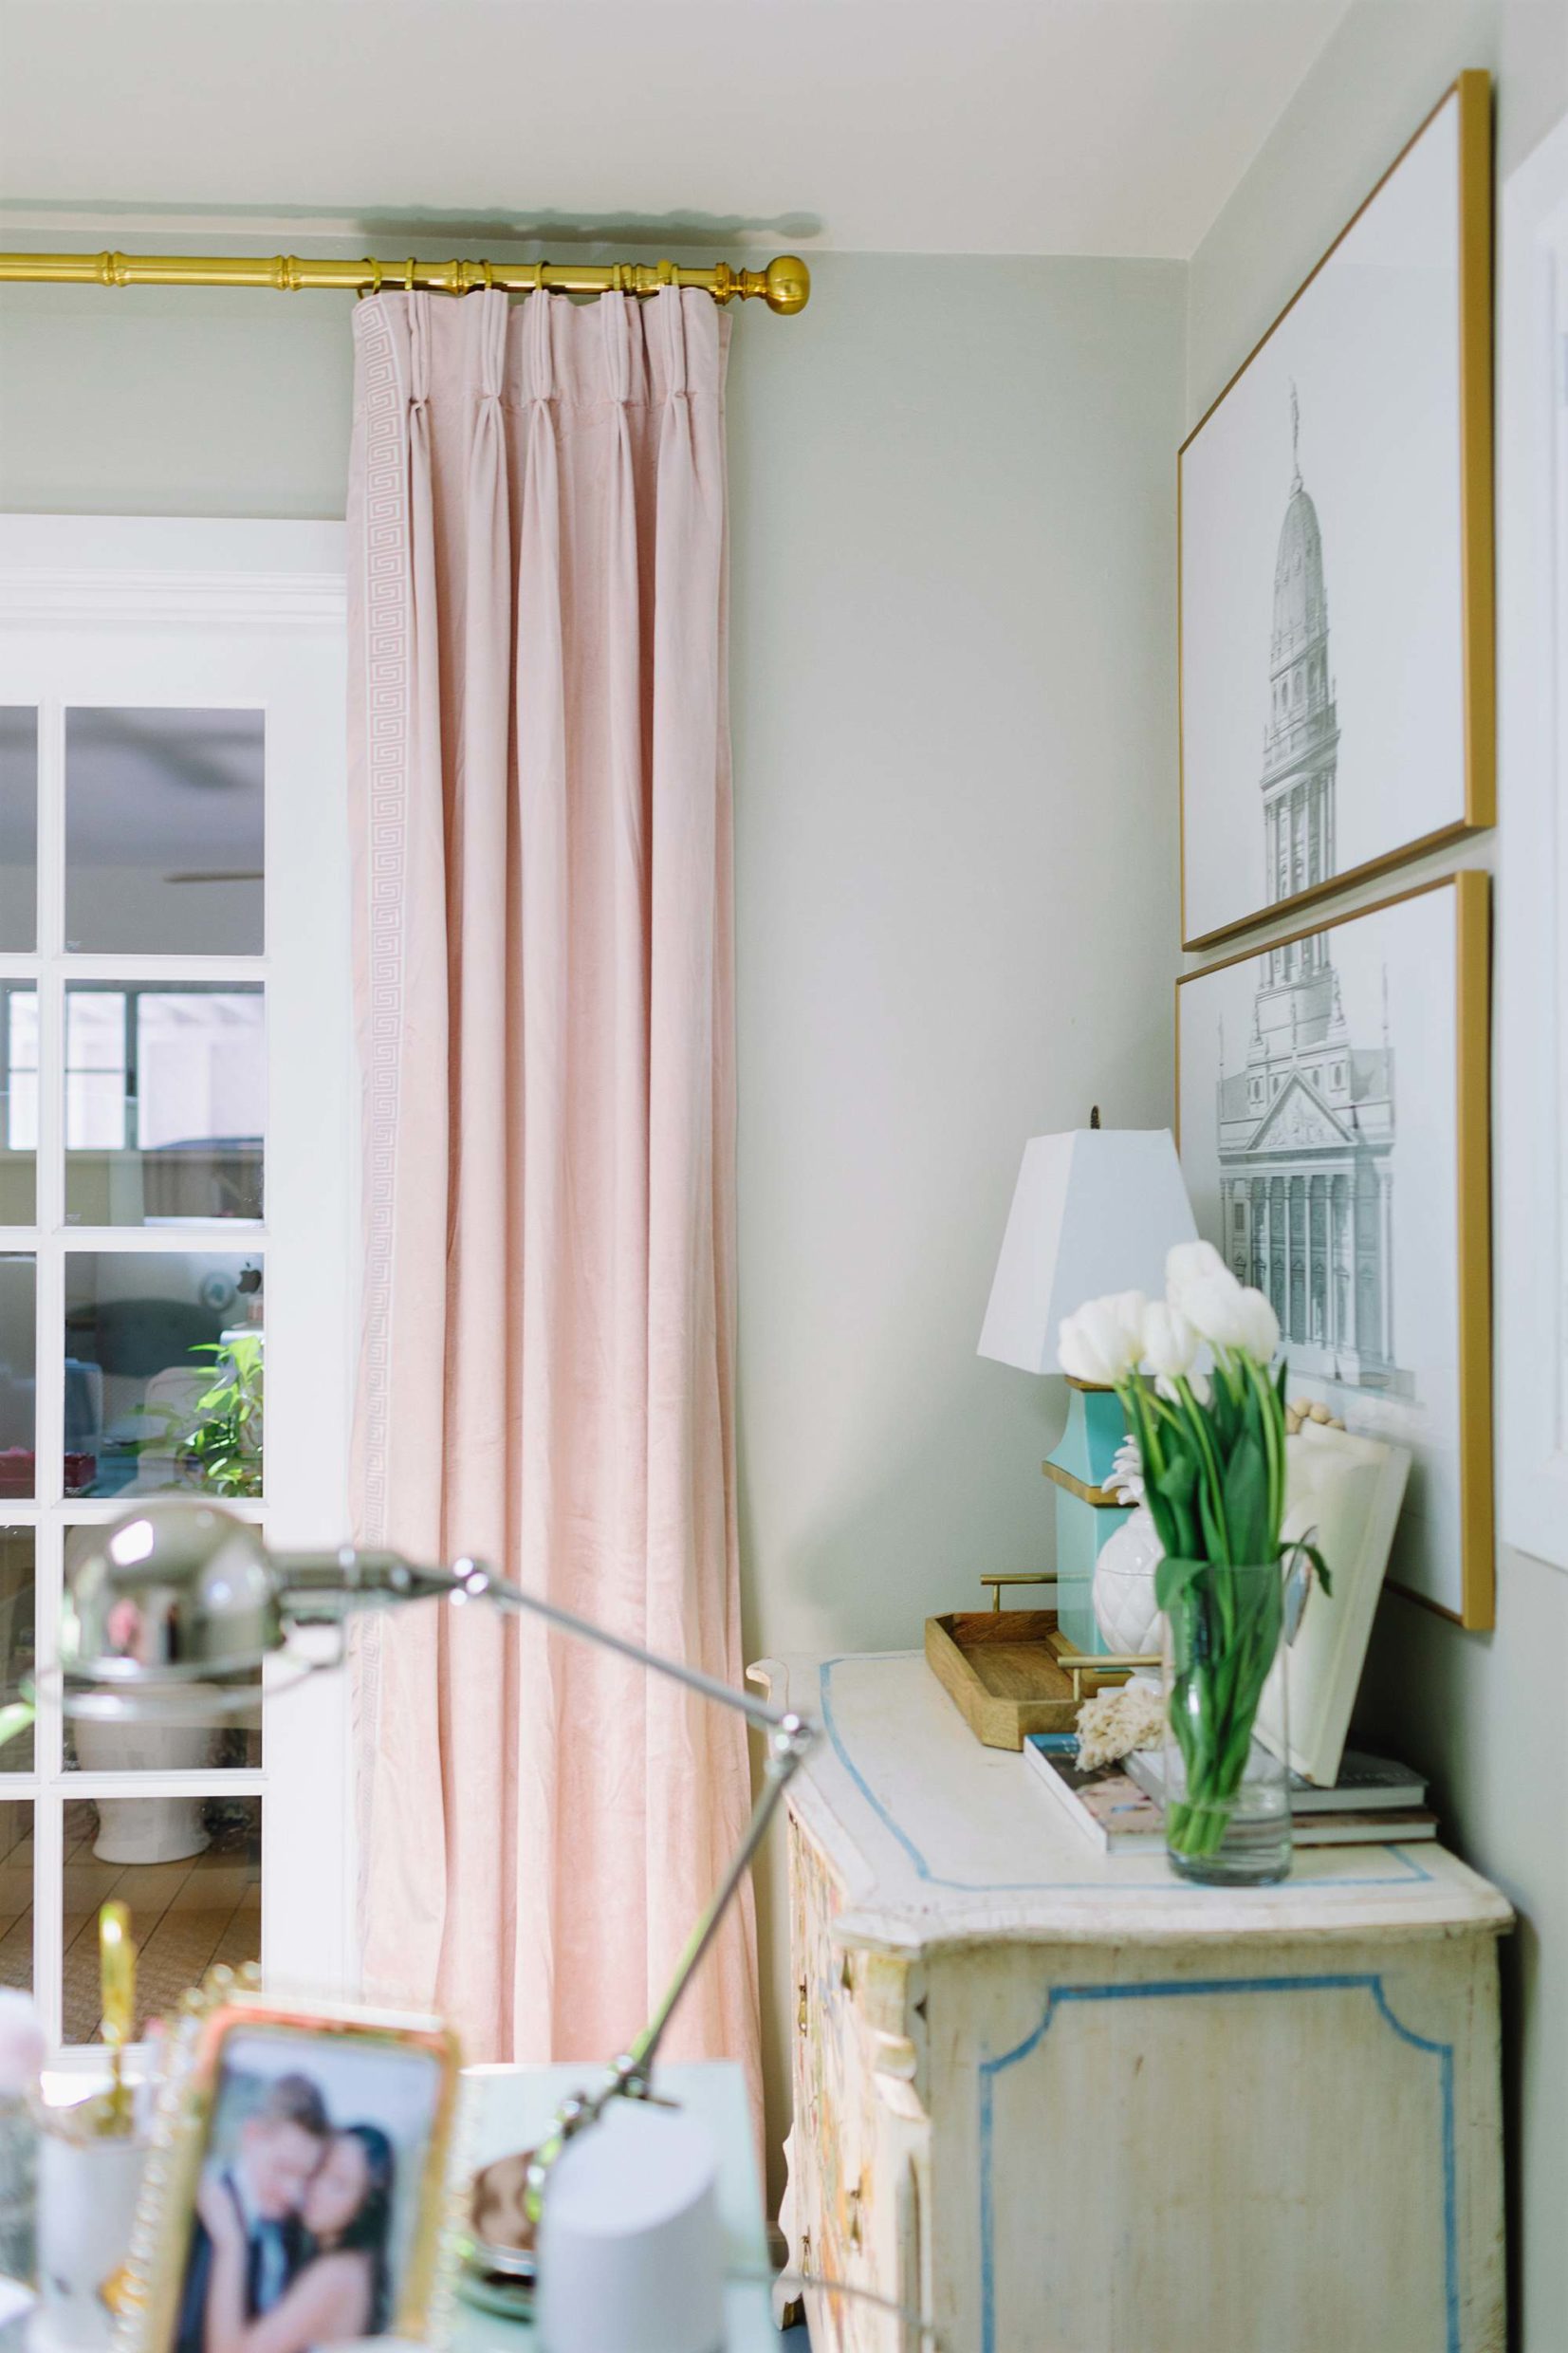
5. Hang your rod at appropriate height
There are so many ways you can hang your drapes, but my first rule is just go as high as you can with the rod then figure out what height your curtains can be. 84″, 96″ or 108″ that’s where to start if buying ready made curtains. Curtains can have a break in them when hung or have them just barely touch and in a dusty place like AZ with hardwoods, I like them to look like they barely kiss the floor.
Using a steamer will help relax the fabric and may give it some length if you feel it’s too short – or, adjust the curtain hooks the back.
6. Have at least 6″ on each side of window or door
This is where your curtains rest when they are open – not blocking any light or doorway. Even better is a foot in my opinion, give the curtains all the room to not block any precious natural light from your windows. Also, have one drapery ring on the outside of the bracket/hardware mount, which is next to the rod finial. This will help you determine how long your curtain rod should be. If you can get one a fixed rod so it doesn’t get large then skinny, your rings will slide over it much easier.
Additional Tips
- For inside of the drapes on both sides, turn the hooks inward on the drapery ring so you see the curtain trim opposed to the back of the drape.
- Make a curtain return. Take end of the curtain if there is enough fabric and take an eye hook to fasten to the wall and have it hook to that eye hook. Some curtain rods are called return rods because the curtain seamlessly returns to the wall. Most of us don’t use these curtain rods so it’s nice to be able to just hook the end of the curtain to the back wall making it look cleaner.
Not everyone loves pleats like we do, but once I noticed how elevated pleats look, I went all in. We are very traditional in our taste and our taste is evolving to where I’ve always wanted it to be.
When we first moved in I bought the basic home catalog curtains and had clips to clip them at the top, the clips were difficult because of the clanging every morning and the way the fabric hung off the clips didn’t look polished so decided to use hooks until we changed out window treatments with shutters, bamboo shade (still a favorite of mine), and the custom pleated drapery for the living room.
Grommet curtains are modern and casual, so you can decide which look you like and what fits within your budget. Around here we live with what we like and we like it for as long as we can afford to before we decide it’s time for an upgrade.
Product References
- Velvet French pleat curtains made for rod, various lengths and colors
- Curtain trim (great site!), see Greek Key Trim search
- Bamboo curtain rod, drapery rings, end caps
- Drapery hooks via Amazon
- Lead drapery weights via Amazon
- Adhesive Hem Tape Iron-on Tape 2 pack via Amazon

Diana Elizabeth is now upgrading her office, again. It’s happening, but small touches just like the house. Stay tuned for another updated reveal.
Leave a Reply