No products in the cart.
3 Tips when installing a Trellis
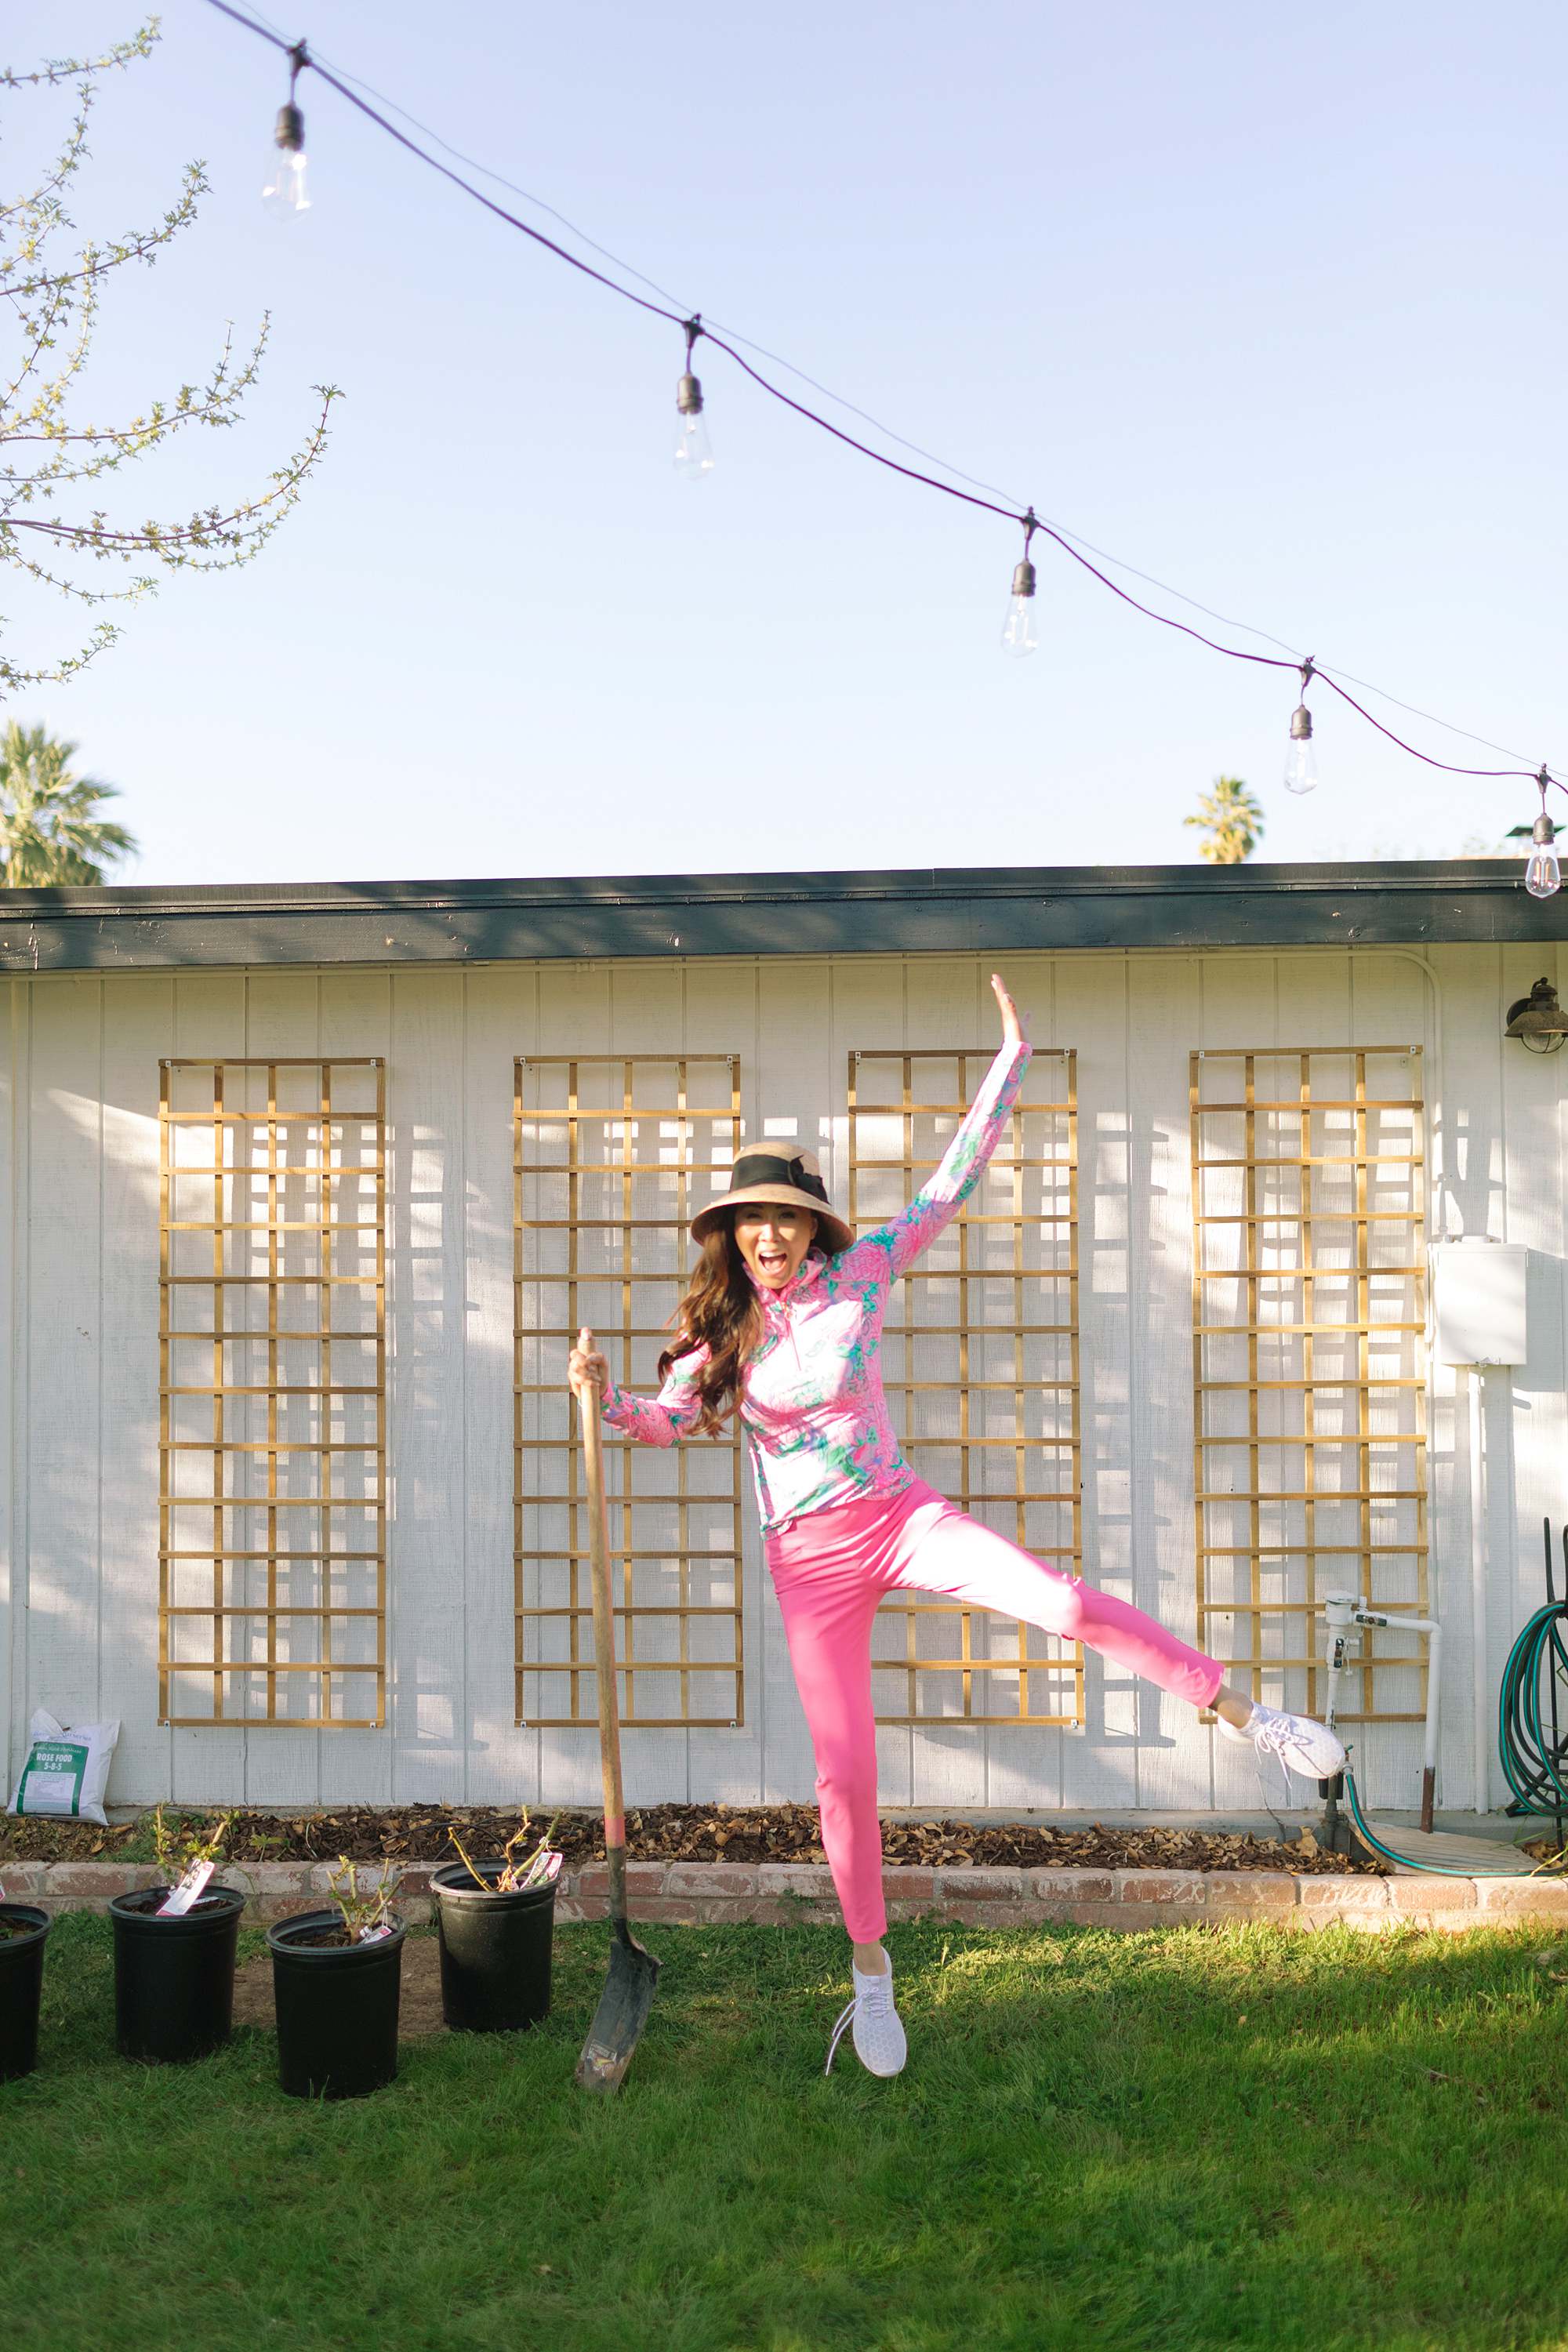 Top: Lilly Pulitzer UPF 50+ Luxletic Justine Pullover c/o wearing size small / Bottoms: Lilly Pulitzer UPF 50+ Luxletic 28″ Corso Pant c/o wearing size 2
The south side of of the photo studio has been bare for a while – well, ever since we painted the house from the blue it was when I purchased it, to black and white. I had grown a few roses over there, some died, and other plants but I just left it alone until I felt ready to tackle it.
I finally felt ready, let’s do this before it’s 110. Also, speaking of sunshine, how about some UPF 50+ clothing? Check out Lilly Pulitzer UPF 50+ Luxletic Justine Pullover c/o wearing size small and it’s very lightweight! Also, bottoms which are like leggings but not as tight, Lilly Pulitzer UPF 50+ Luxletic 28″ Corso Pant c/o wearing size 2.
BEFORE
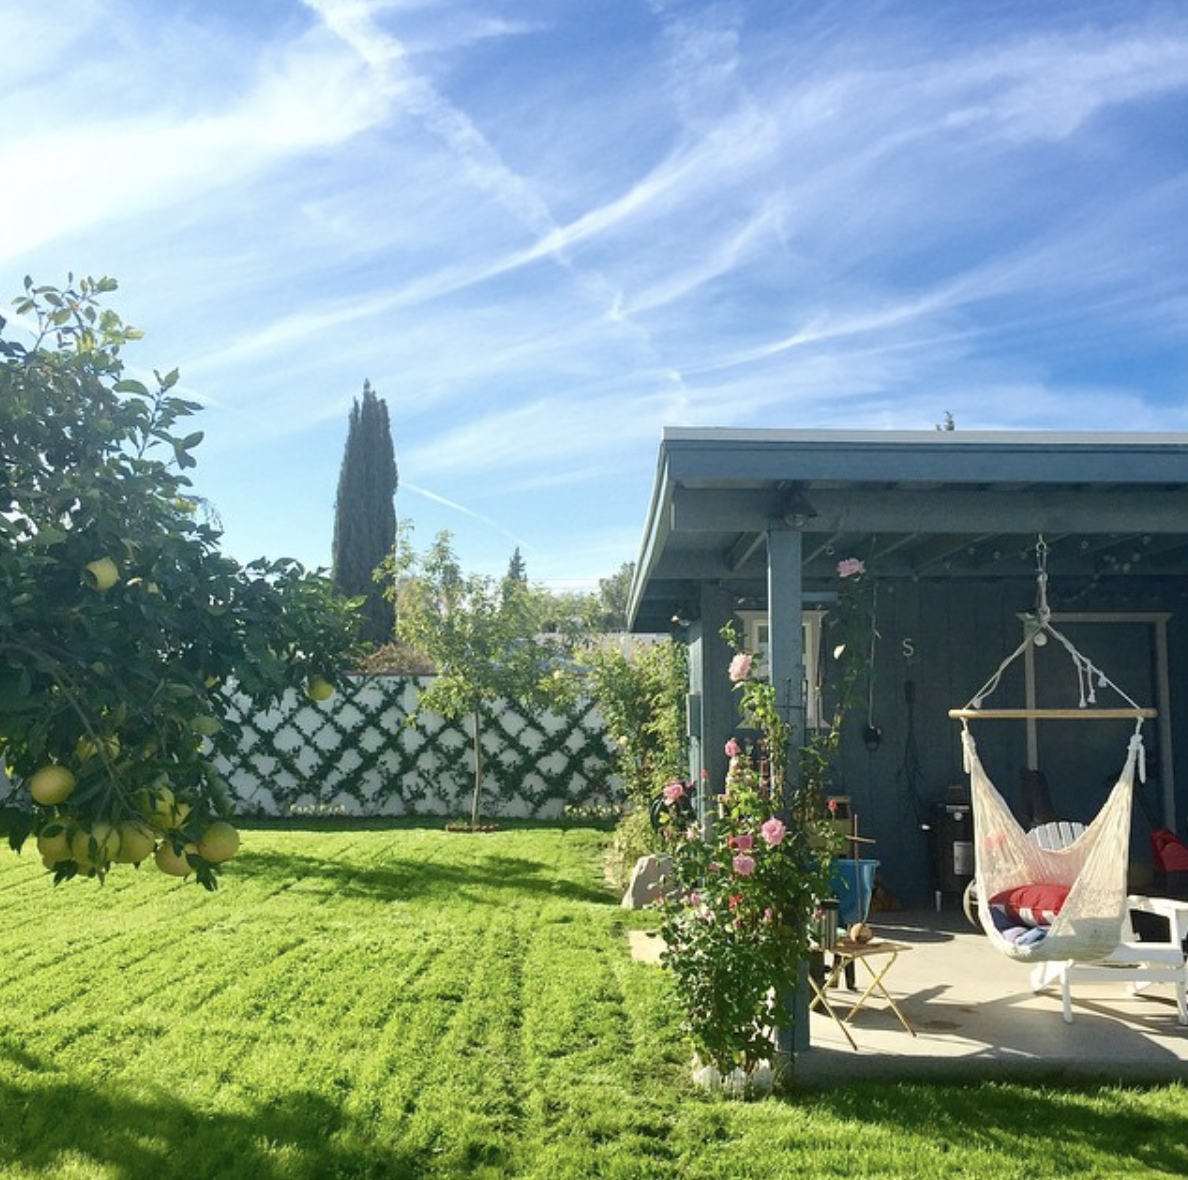
By the way, looking at this first image and how small that tree was, if you’re wondering when the right time to plant a tree they are right – yesterday! Plant as many trees as you can NOW!
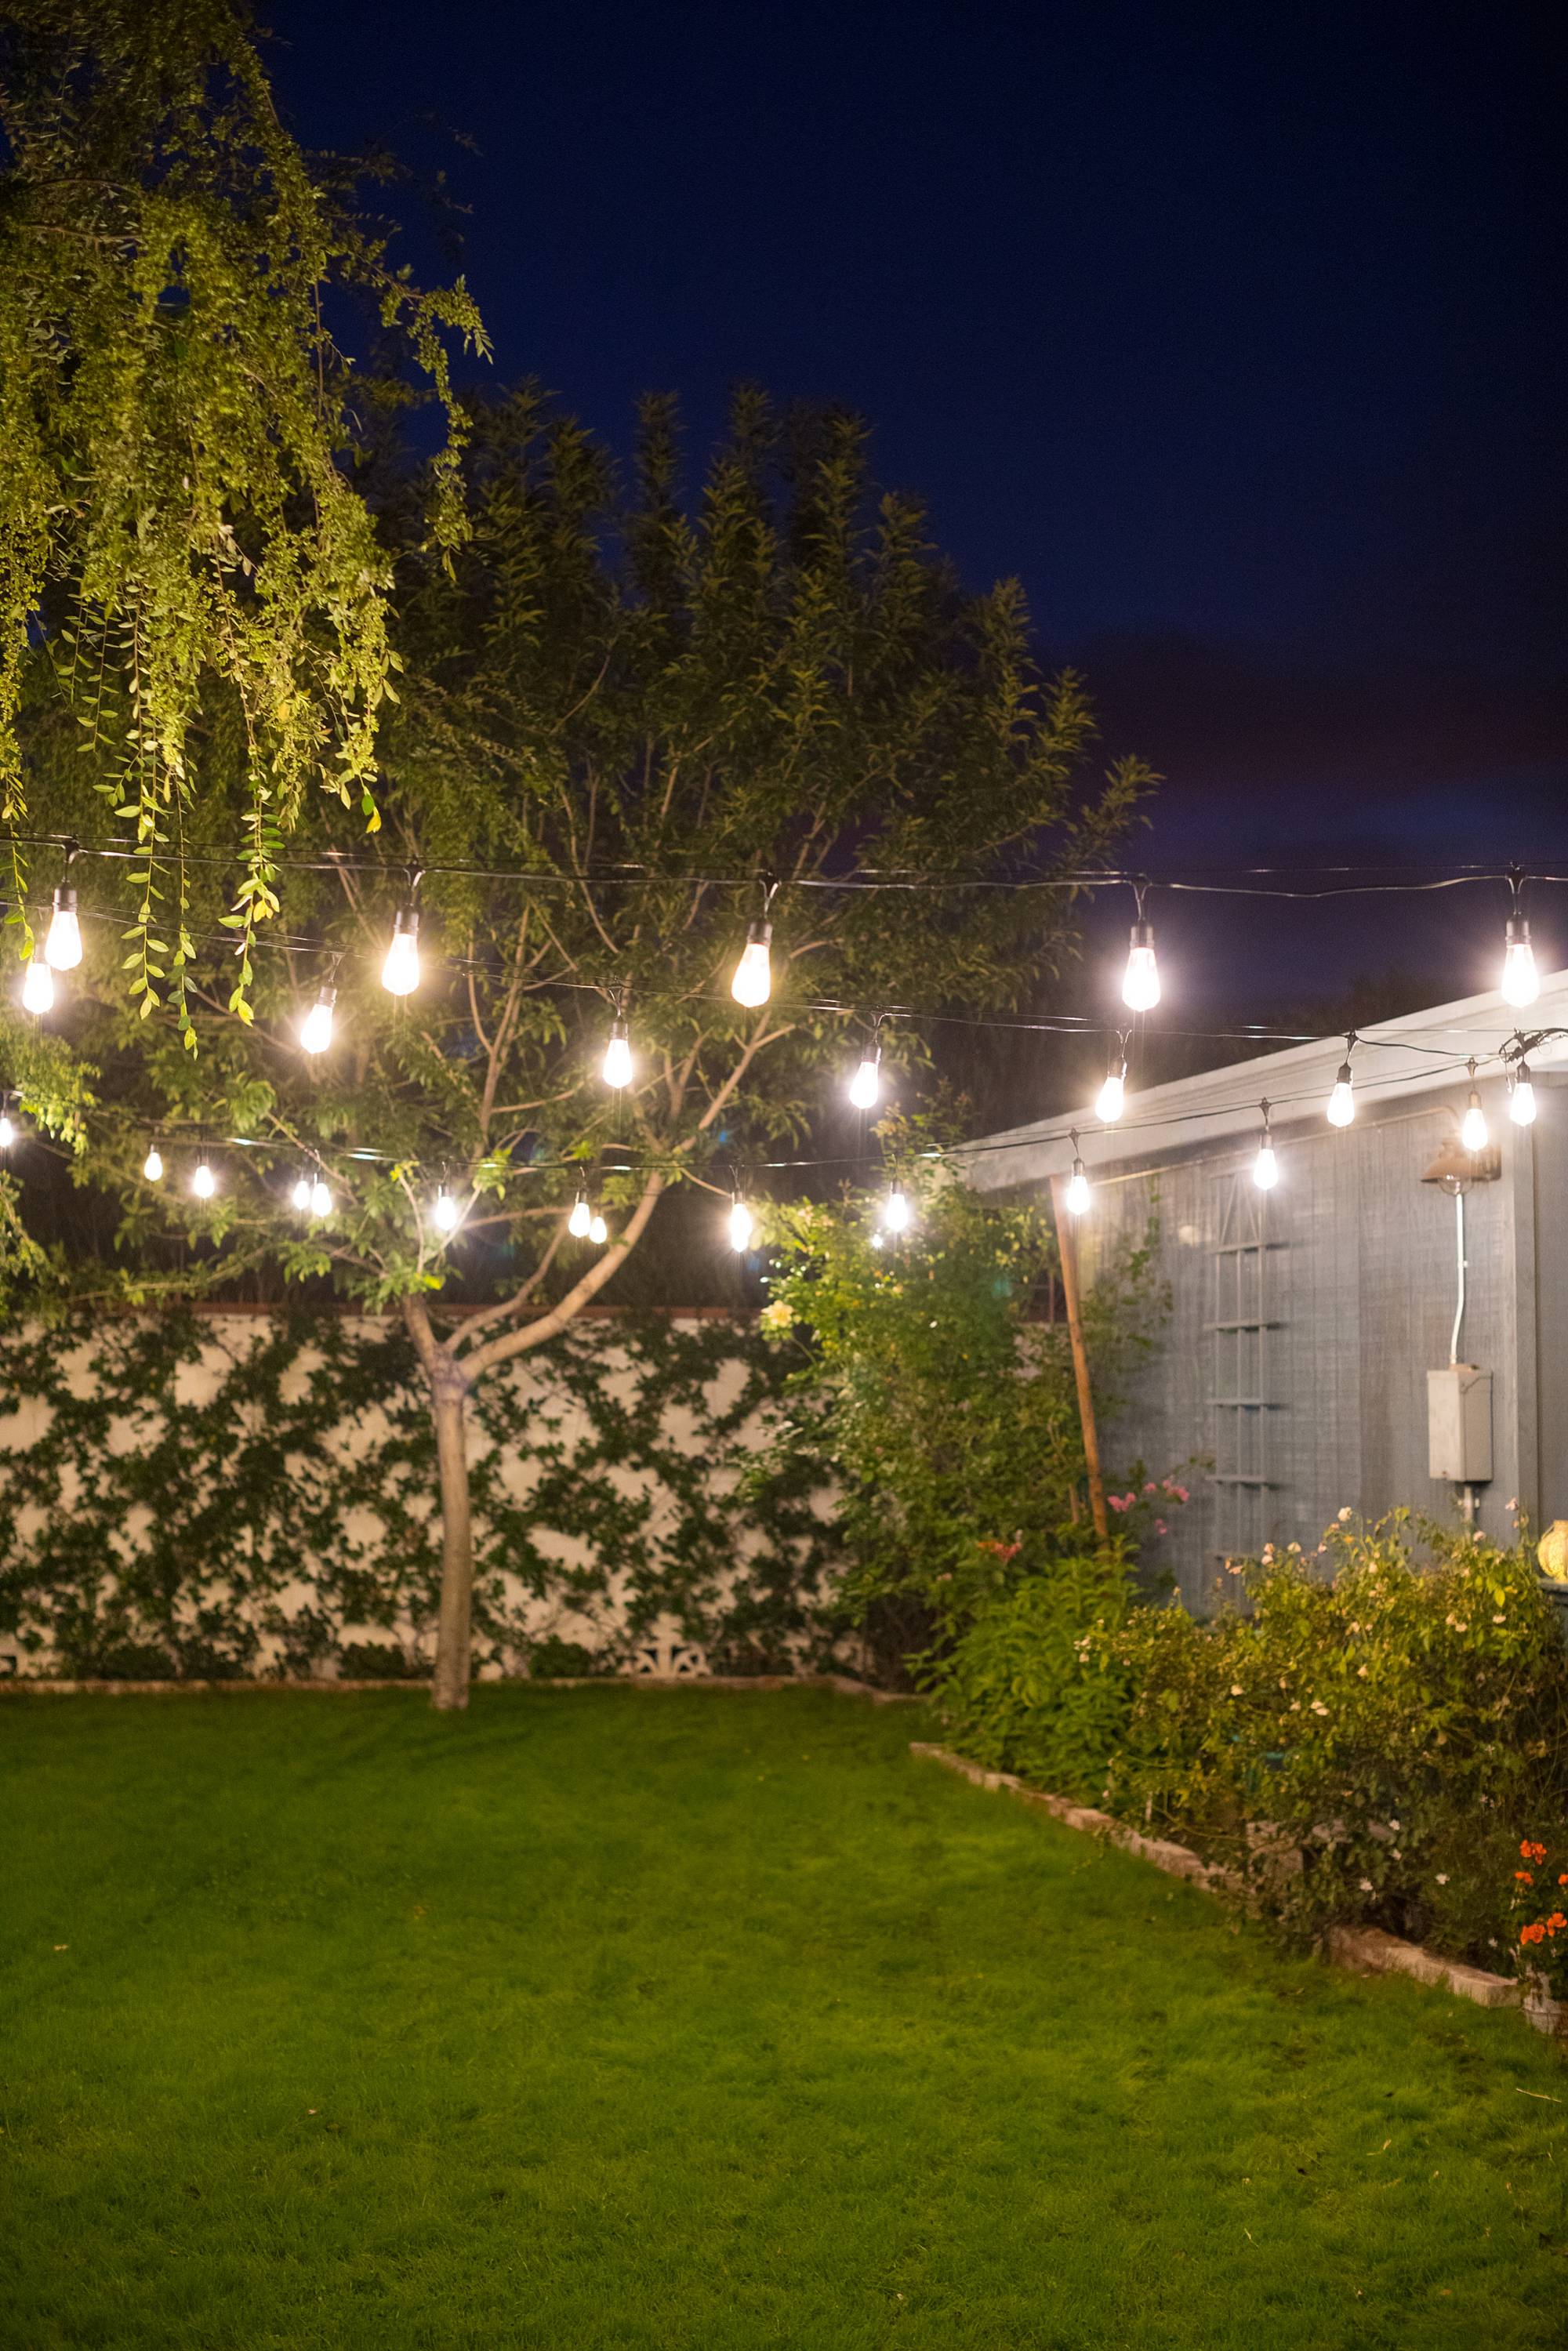
That first image is a very early throwback because we didn’t have the brick installed yet! I used reclaimed brick and pounded them into the ground and wood for steps. Yep, we were very resourceful but also, I had NO idea yet what vision we had for our backyard – just knew I wanted to grow things and went with it.
I also planted so many random plants until I realized the colors I did not like and also looked so messy that I removed them.
Then when we expanded with phase 2 which was the garage which also went into brand new front landscaping AND a new kitchen garden, we painted our home FINALLY!
So we were with this – also the grass looking stuff behind the brick retaining wall were actually bulbs given to me by our sprinkler guy but they don’t flower they only grow green things so I decided it’s not worth it (or at least to condense it in one spot if one day they will bloom, but I think I’ll be removing them to be honest).

Not terrible having a blank wall. And though Benjamin’s voice in the back of my mind echoed, “Just because you have the space doesn’t mean you need to fill it,” I ignored it. OF COURSE I filled the wall!
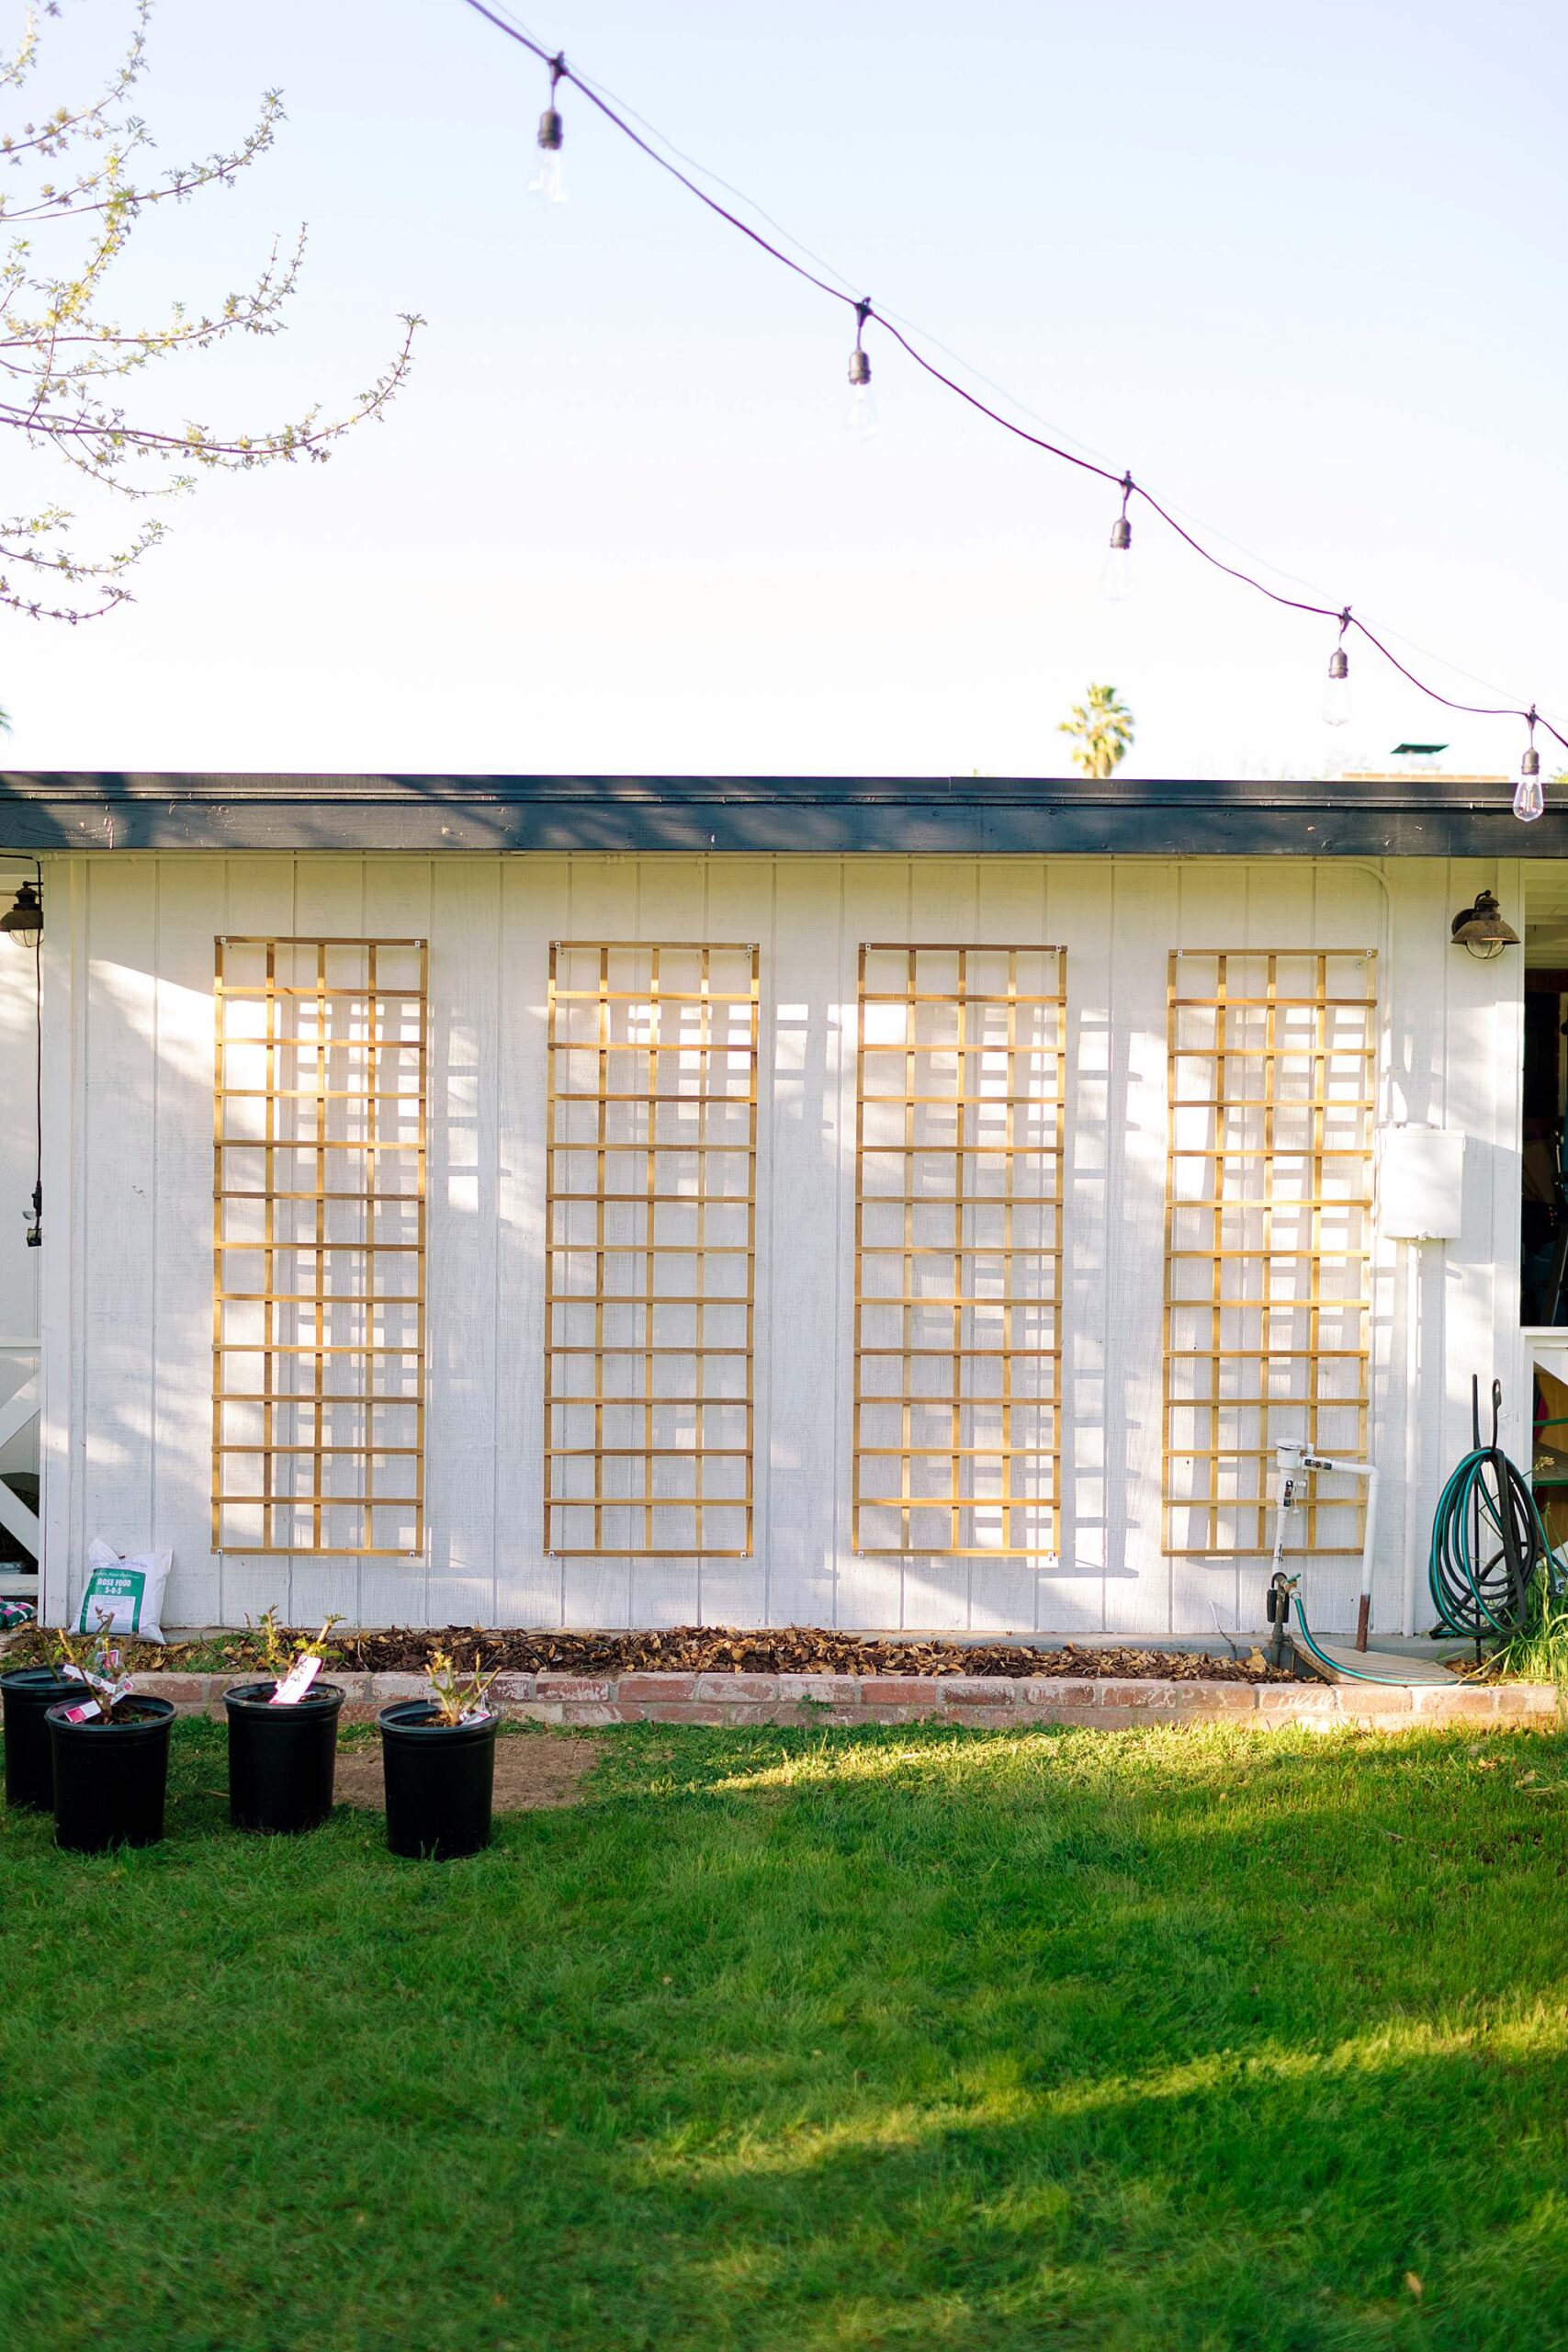
My friends at Gardener’s sent over these teak trellises which were perfect! They come in four sizes. Teak lasts so much longer than most outdoor materials. I love teak furniture, teak is where it’s at! And I didn’t want to paint them because I love the contrast of natural wood. You know me, I am one of the few who like brown wood (even though it’s trending again).
AFTER
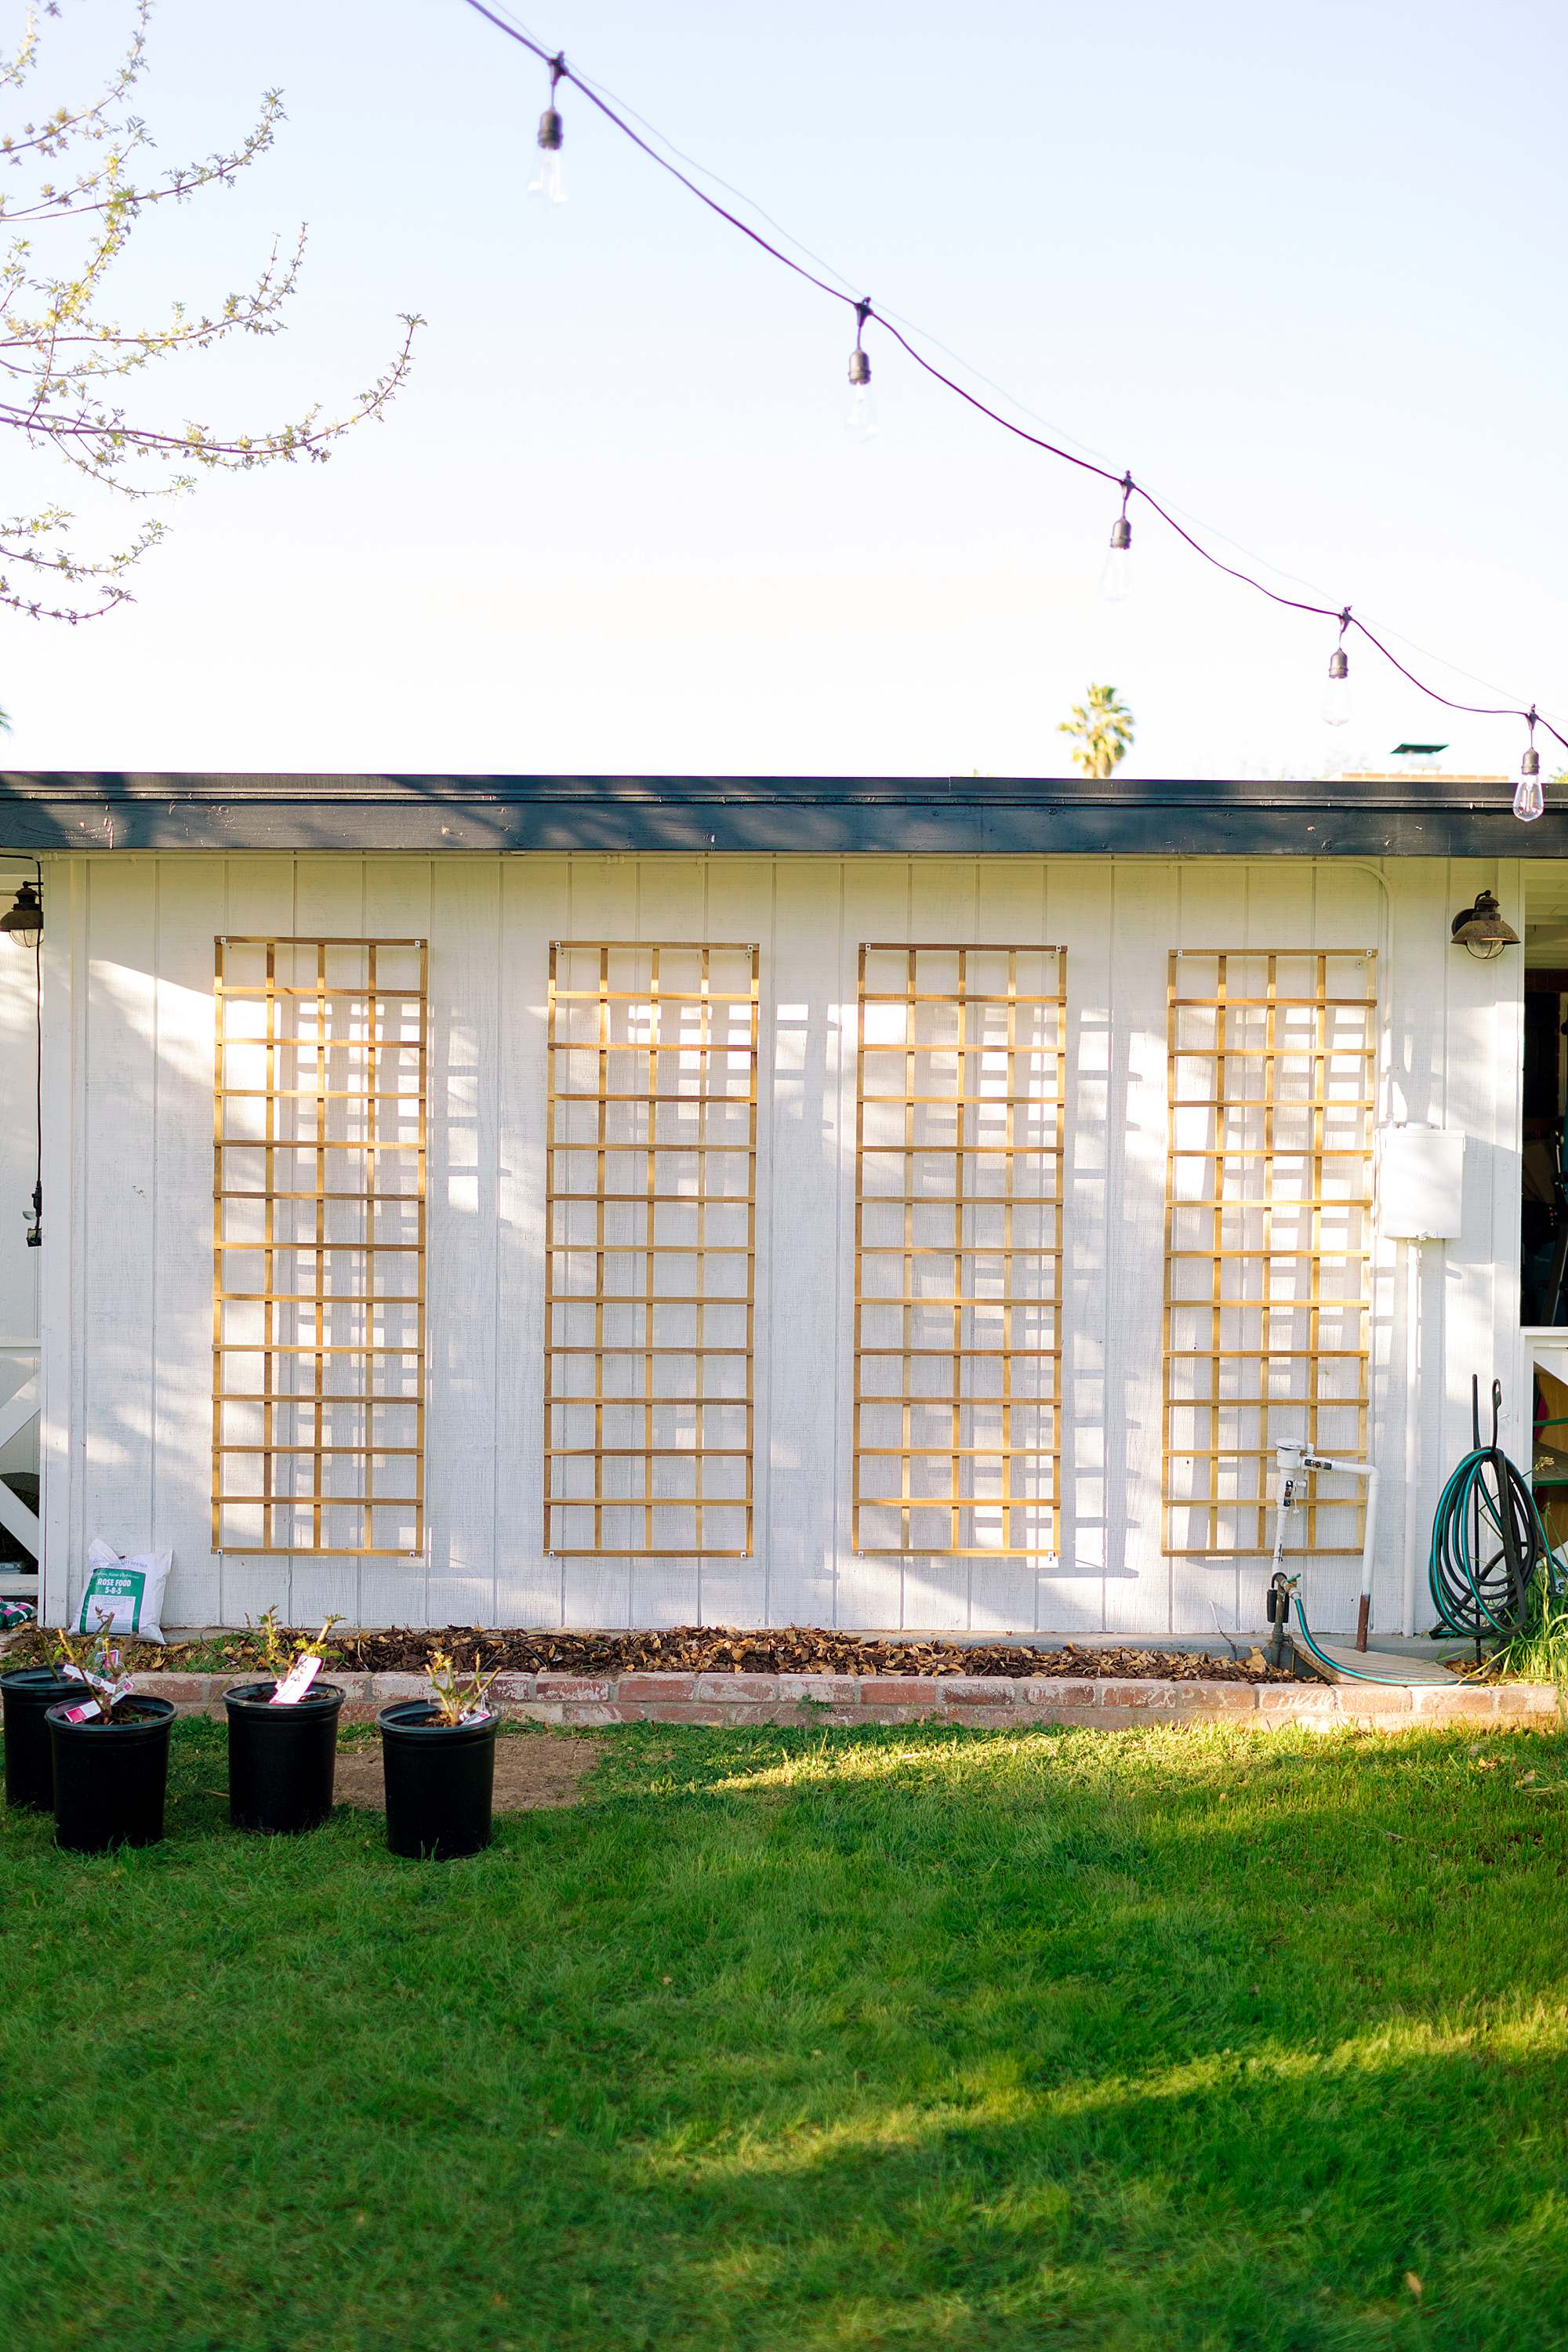
Is that good or is that gooooood? I have the 24″ x 72″ and spaced them 20″ from the edges (notice the wonderfully and conveniently located power box) and about 12″ between and 9″ off the ground. I did some math with centering it all. This did have its hiccups because I forgot adding trellis mounts (not included, buy separately) protruded the trellis about 2-3″ from the wall and I had a pipe issue that was in the way.
Thankfully after I was so frustrated and distraught after installing two out of four, Benjamin had the idea of removing the bottom mounts and voila, it fit. I also spray painted the trellis mounts white.
TIP
Trellises have different sides, so make sure all of your trellises are facing the same (vertical or horizontal wood that is in the foreground). I once made that mistake years ago and had to flip it after mounting it. It was so frustrating and time consuming.
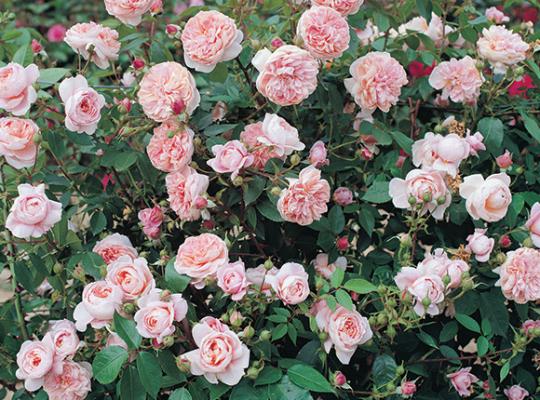
Then we went to the nursery and by default I’m always looking for David Austin roses because I love a good English rose but the nursery said they were low on inventory and instead suggested a Colette by Star roses. It’s a climber, pink, and averages 25 petals. Done. Always know how tall they climb too. Let’s say a blessing over the roses that they end up looking as they should:
TIP
When buying a rose, you’re more than likely going to see it in a dormant stage (if you buy winter or early spring), which are sticks maybe less than a foot long. Look for the roses that go in one direction and plant it so the branches are pointing TOWARD the trellis wall. This way you don’t have to clip a precious branch or try to swing it and damage the branch to the direction you want it to grow.
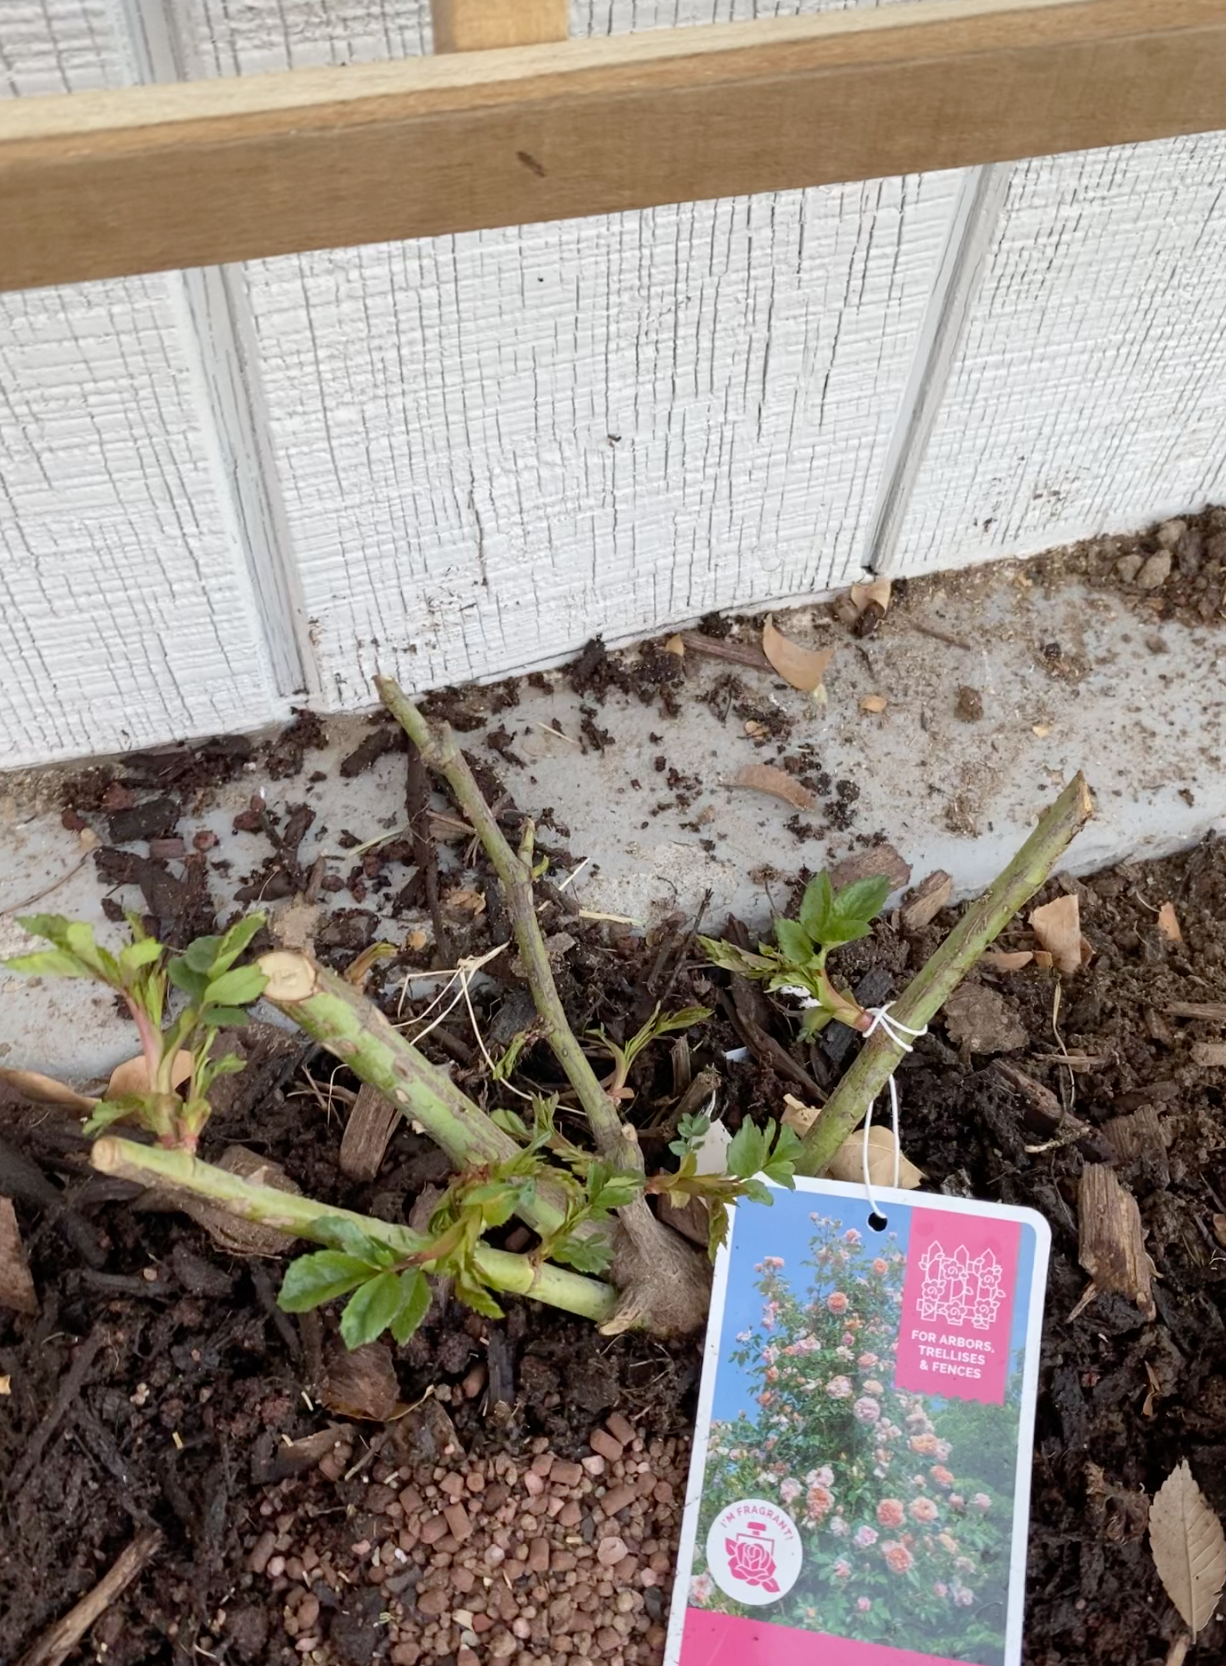
Now I don’t have much else to show you because then the roses are at the base in the ground and now we wait a while for blooms and I will eventually share when the entire wall is covered in roses! Yay! (iPhone photo below)
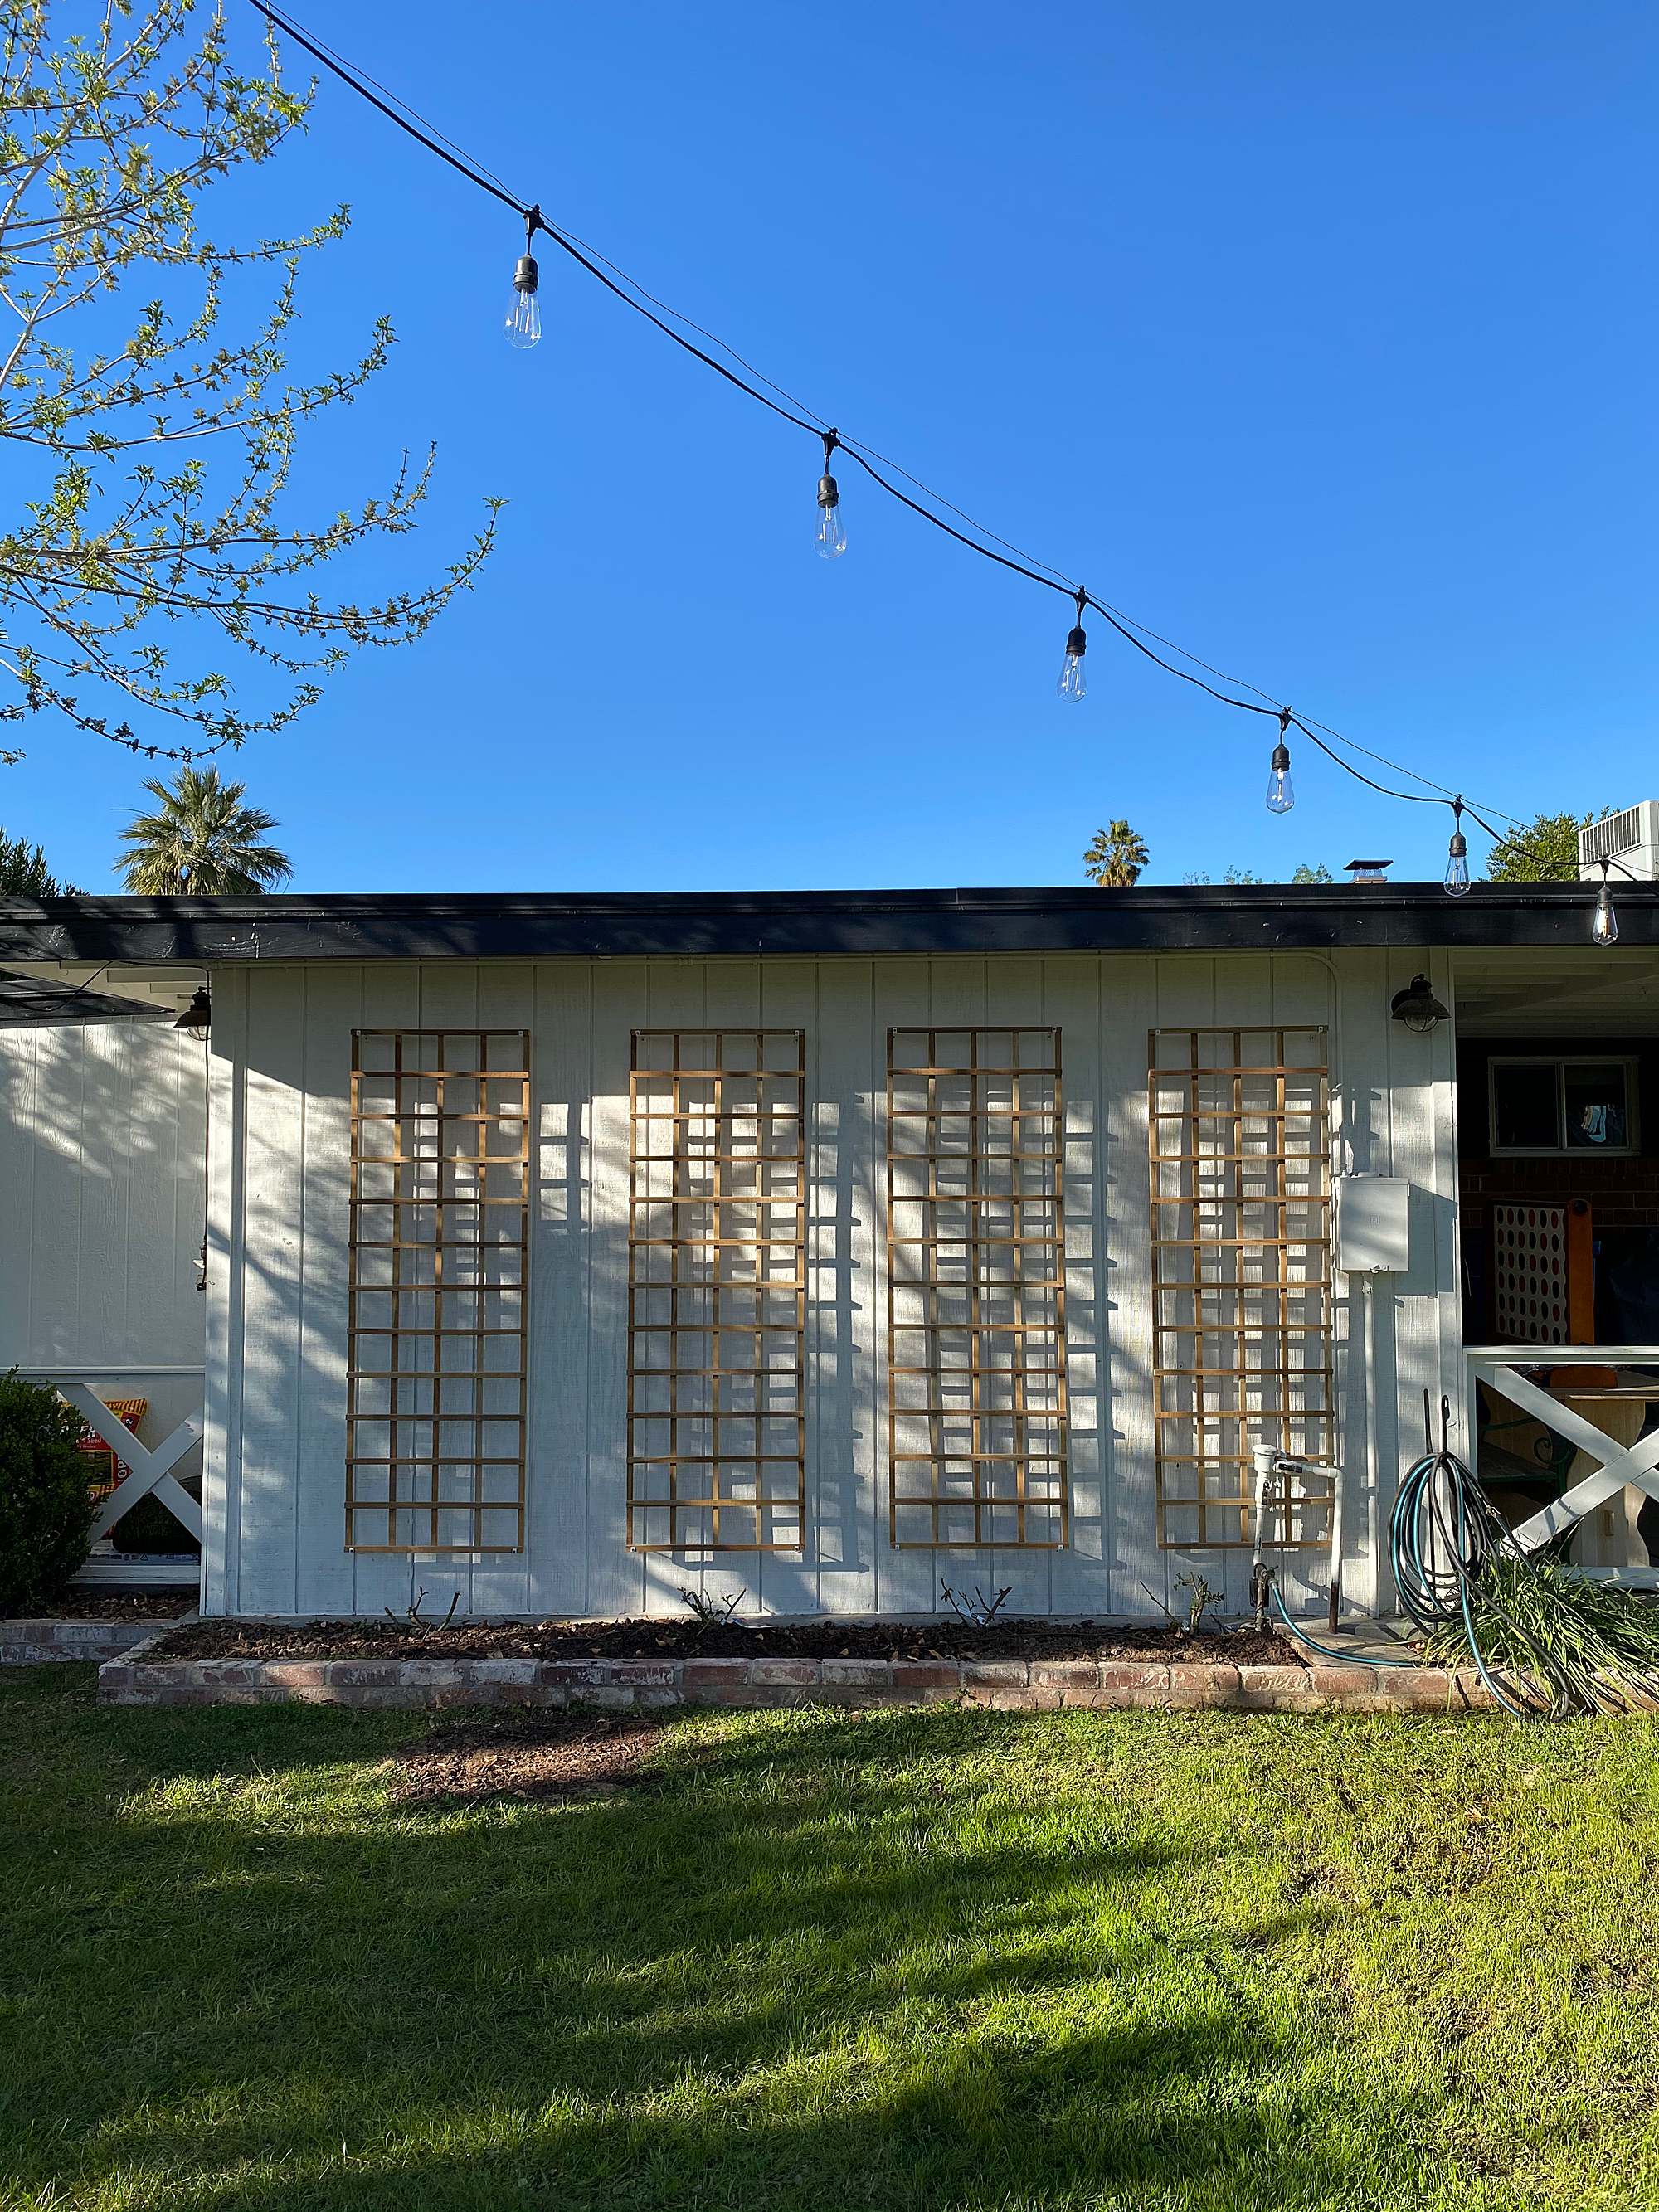
I can’t wait to show you next spring when there are some more blooms and hopefully much taller roses!
TIP
When your roses or any vines grow, don’t push them behind a trellis, let them grow in FRONT of it and tie to the trellis. You do not want the plant to twist or push the trellis out and ruin your trellis. I have also made this mistake.
Featured products
- Trellis mounts
- Teak Trellis (four sizes)
Diana Elizabeth has a crazy amount of roses right now but she doesn’t find them too crazy maintenance. She enjoyed deadheading them and she thinks it’s worth having roses!



POST COMMENT