No products in the cart.
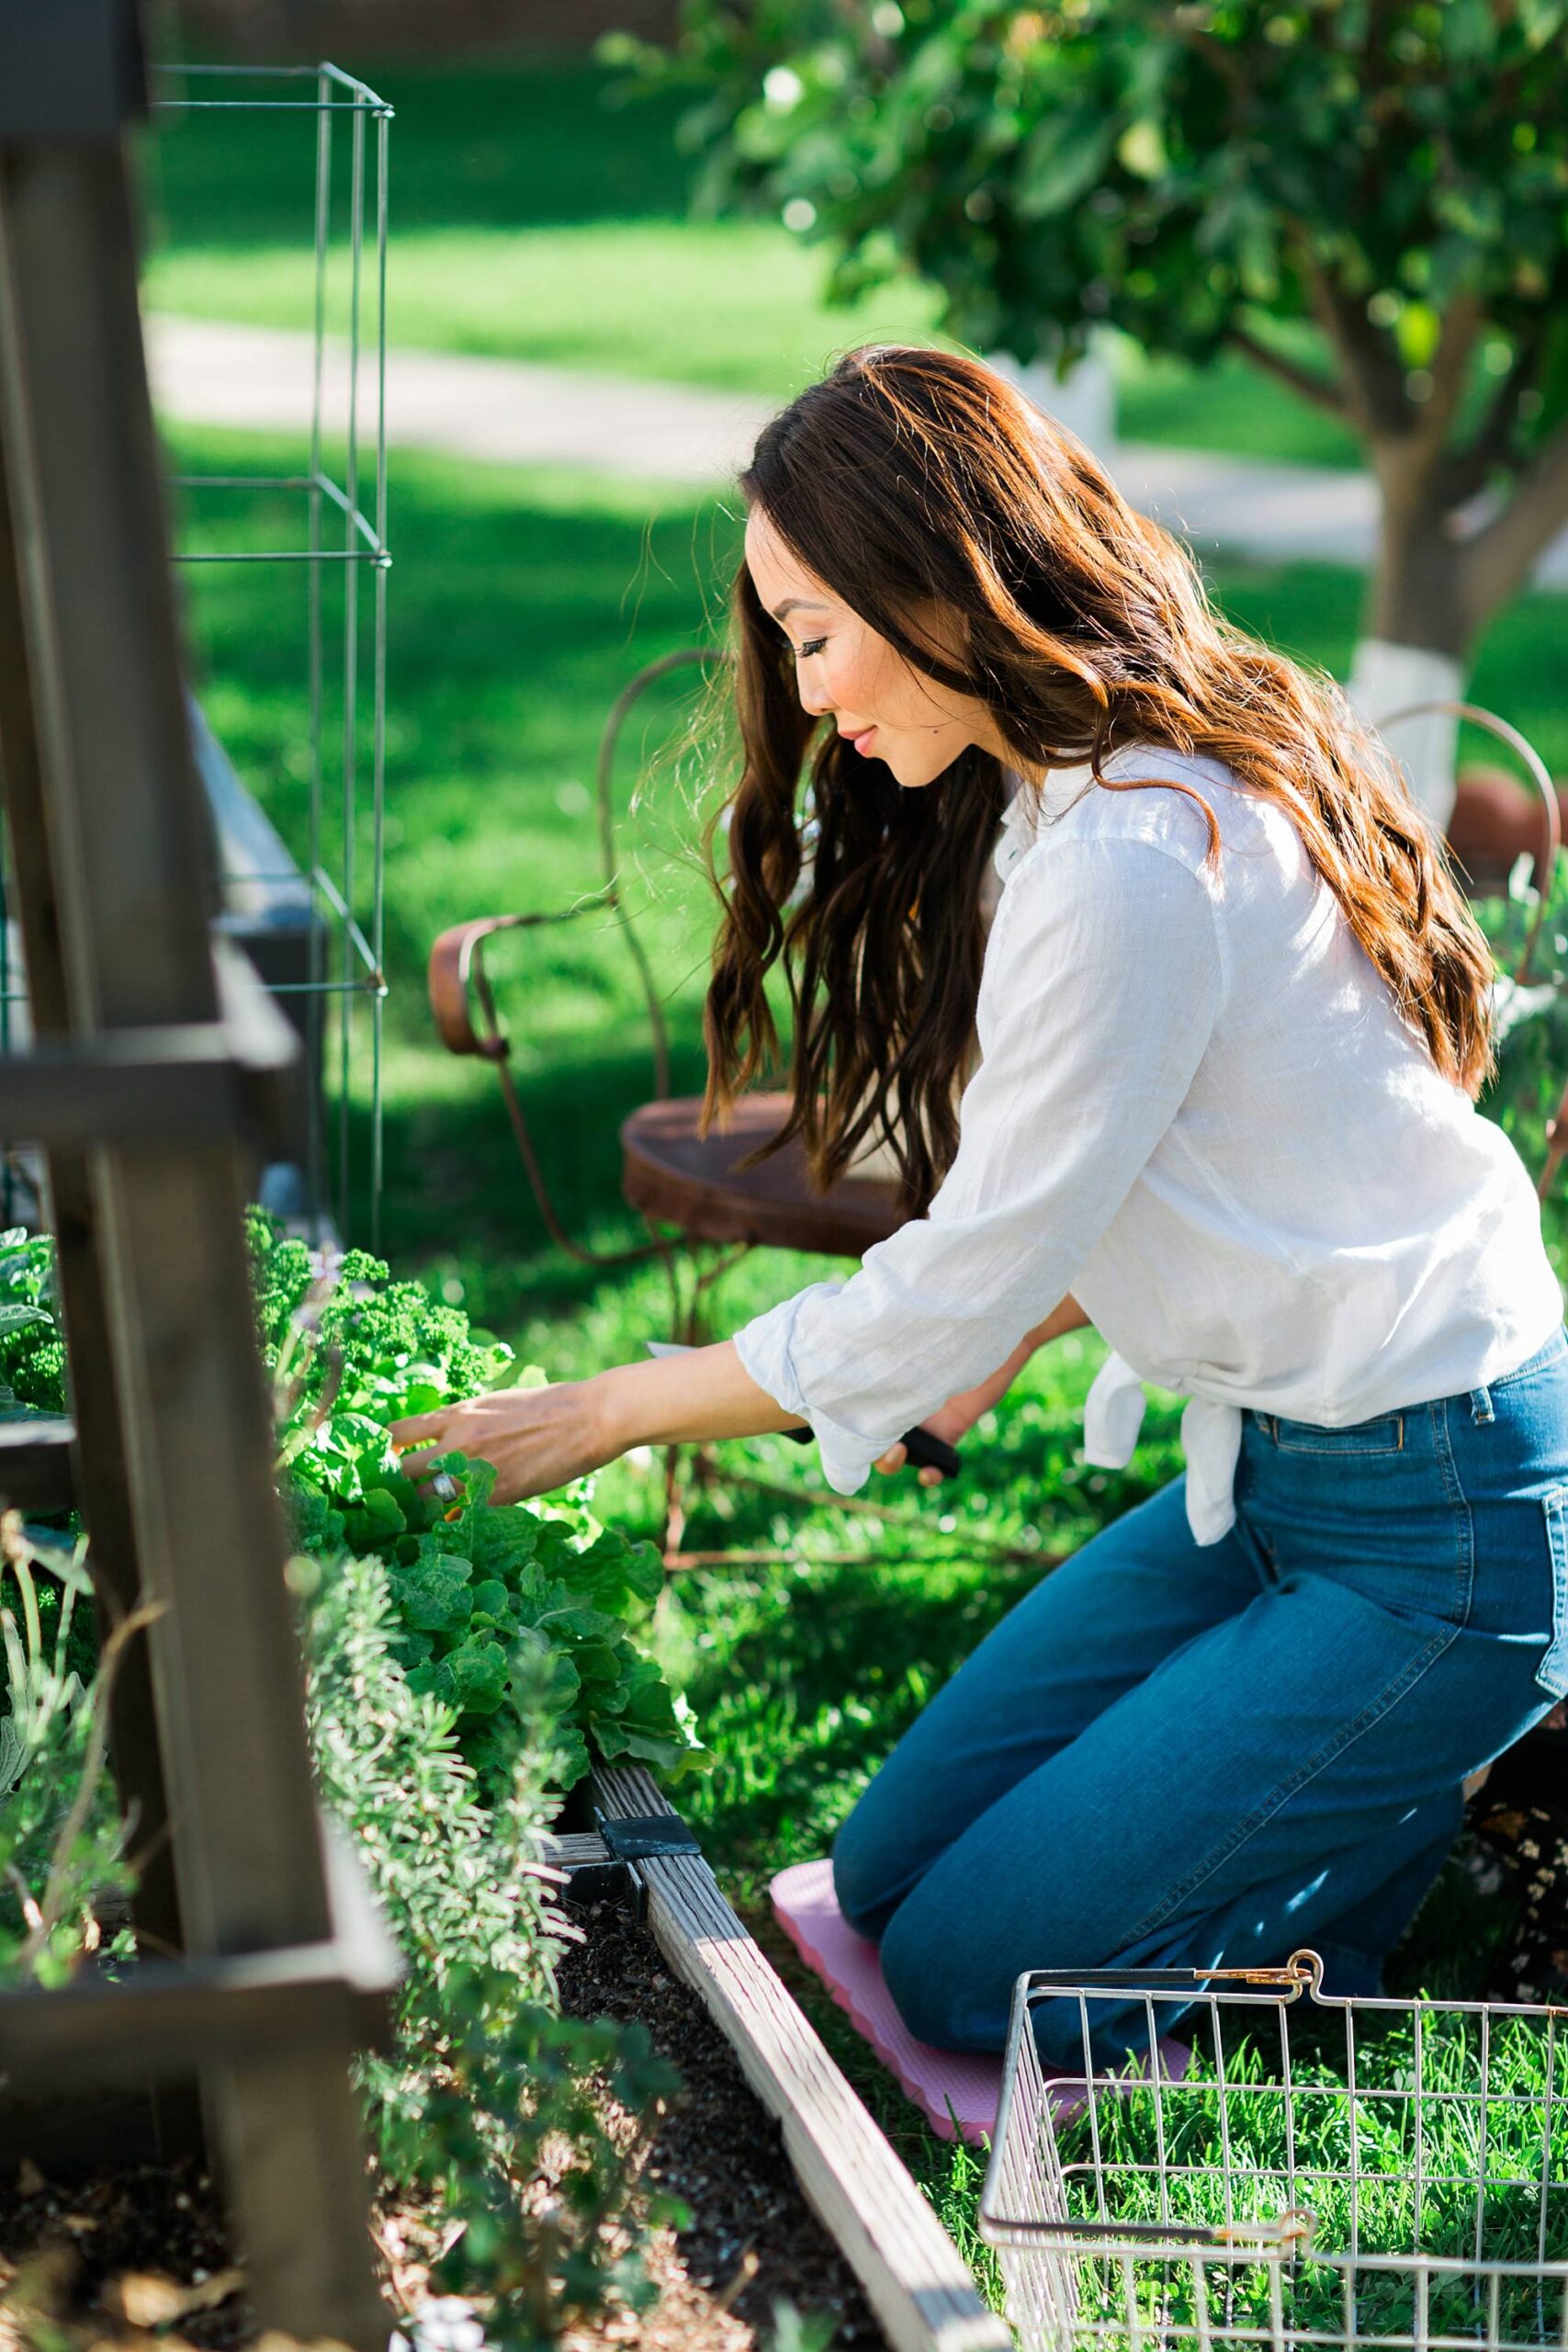
How to start a garden + build garden beds
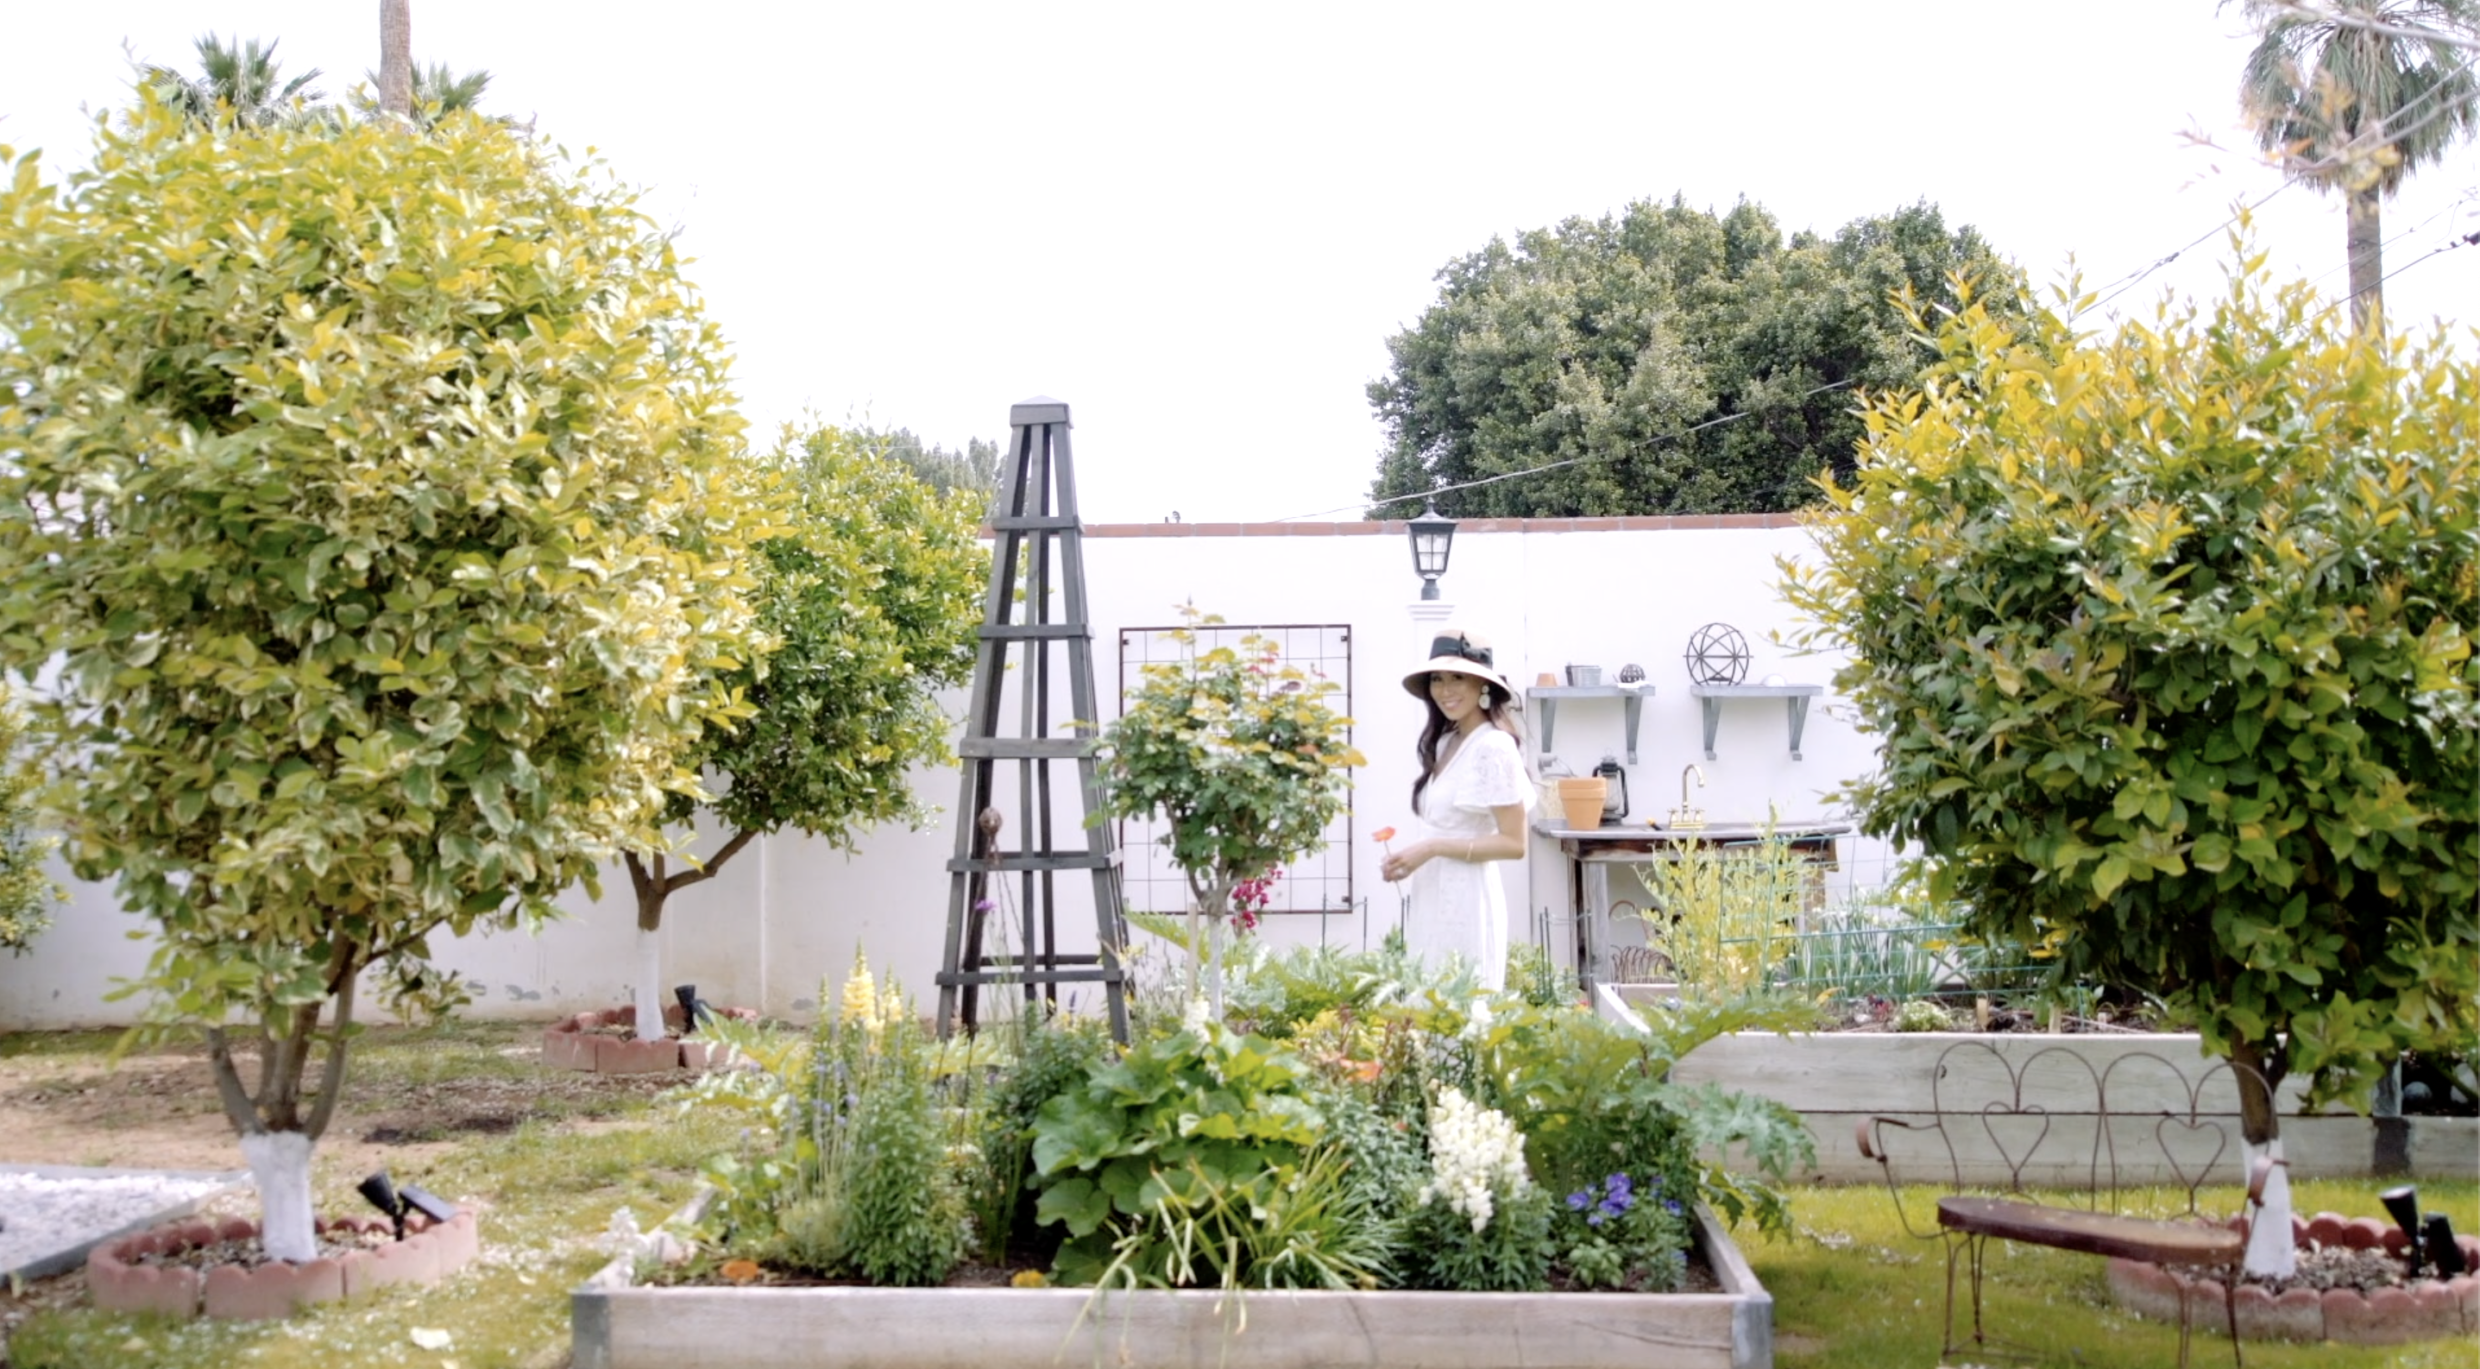
I was off the hook from yard work when we moved – less flowers, more bushes and oak trees, more cement patio area. I was also a teenager so good luck making me get outside on weekends anyway, I was either at the lake with friends, at a rock concert, or playing great 90s alternative music in my room.
It wasn’t until I bought my house, this very one that I blog about, almost nine years ago that I got into gardening. My husband wanted a garden, so much he insisted on where it should go, the very spot and so, I decided to attend local gardening classes and I just ran with it. Can you believe my gardening started because of my husband? This is what the area looked like when we moved in – my apologies as it’s an old Instagram filtered photo (remember the days?!!) and this is really the only photo I have! Sad!
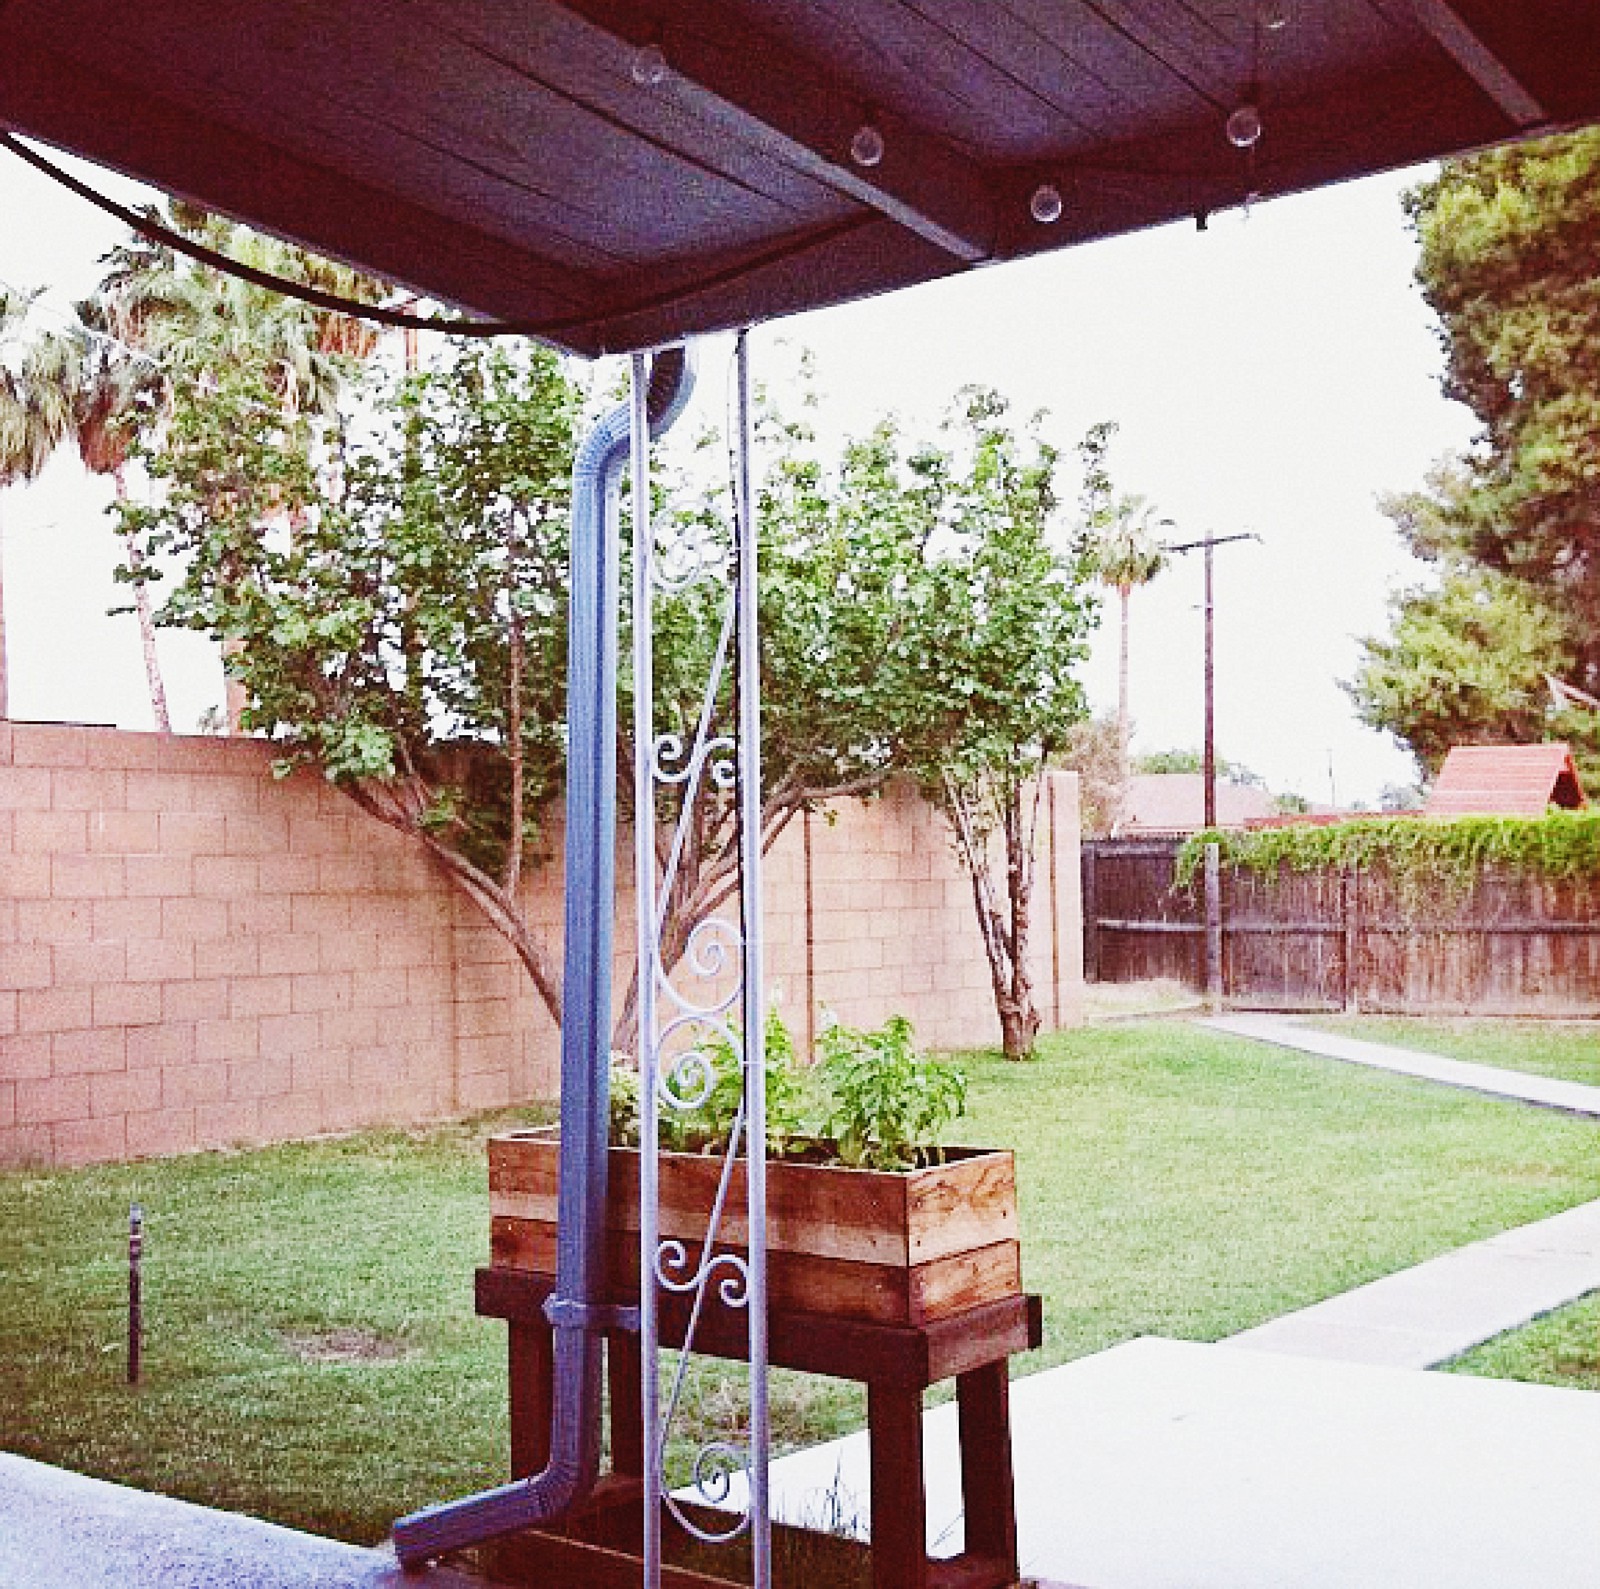
Bare cinder block wall, an old aprium tree and apple tree. Both have since been removed after fungus issues, spread by irrigation, so bummed but at the same time, I didn’t know how to use the fruit so it was almost a good thing – even though I don’t like removing trees. The raised garden bed we added when we moved in.

We built these garden beds in that area, it just kept expanding!
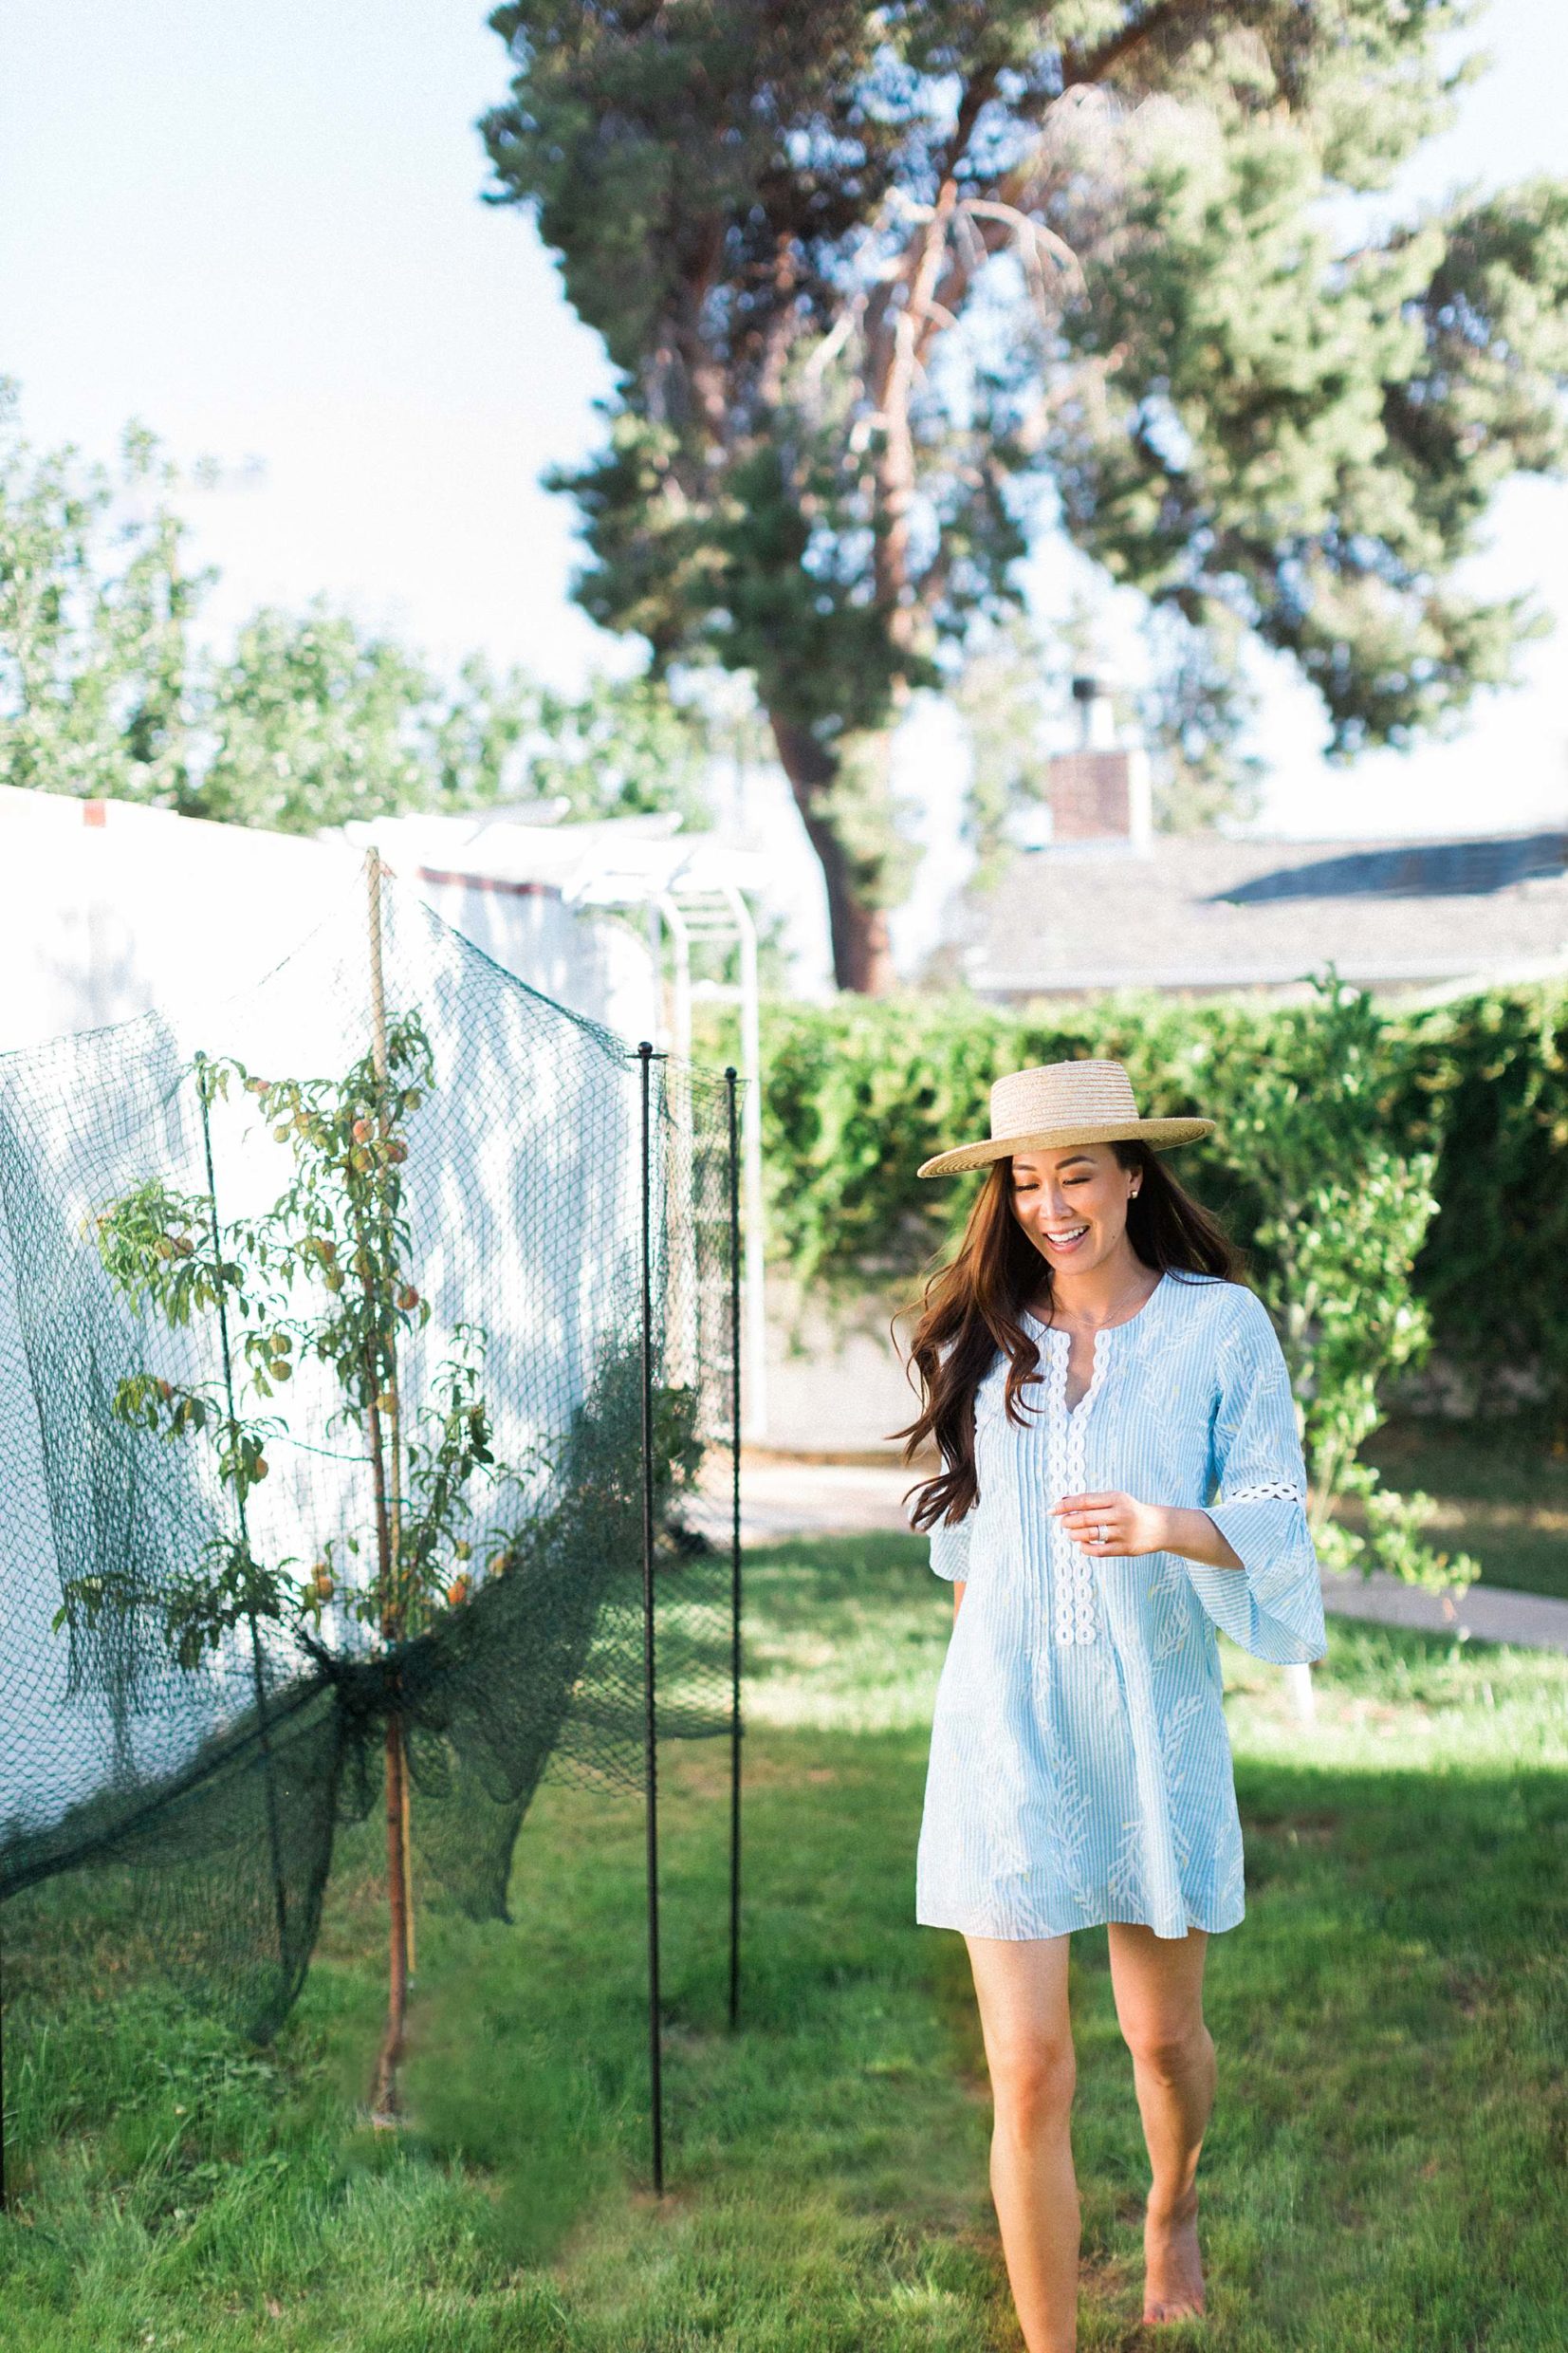
Today, the garden area has been moved with our second expansion and the former garden area is now exclusively an orchard with several fruit trees. You can see the new garden area here (pictured below).
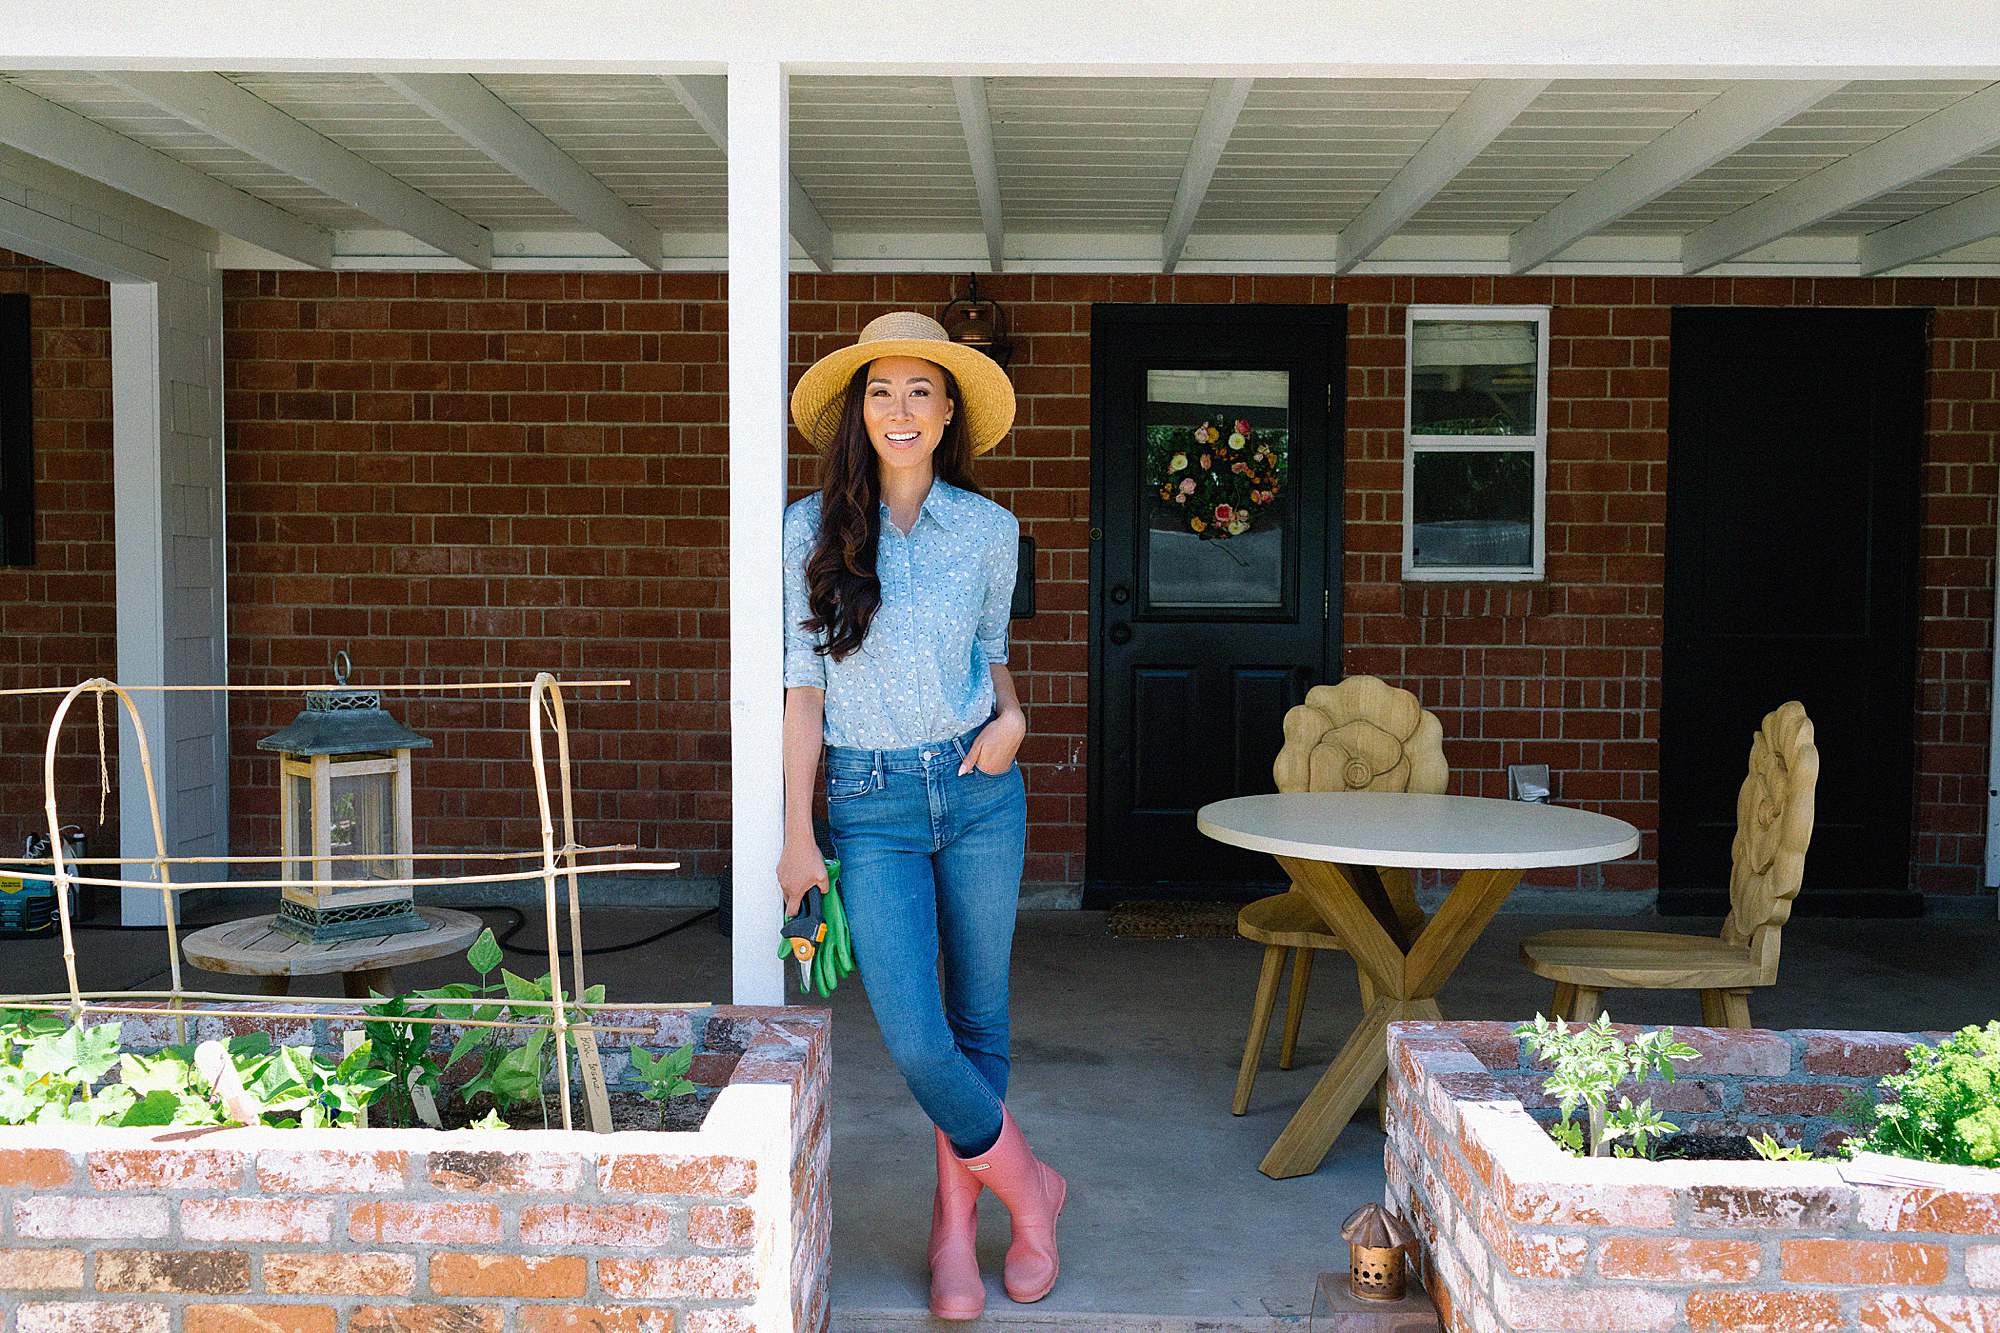
Let’s talk about the important things, like where to put your garden.
Deciding where your garden should go
They say before you rip out any trees, watch the way the sun works for 4 full seasons. I would say if you haven’t moved recently, just observe what areas of your yard get a lot of sun and during what seasons. Our backyard faces south which means plentiful light! However, summer heat means these poor garden beds fried in the summer! So we needed to add shade.

- Ideally your bed should get morning sun and be shaded by evening – this idea is best for warmer climates, like Phoenix, Zone 9. This is ideal for an all year round garden bed – however…
- If you live elsewhere, your beds may freeze. Then again, you probably aren’t gardening in the winter because you can’t unless you have a greenhouse.
- If you live in Zone 9 and want a summer garden bed, find one that gets morning sun and get shade by evening – this might be against a west wall (I’m thinking about adding one).
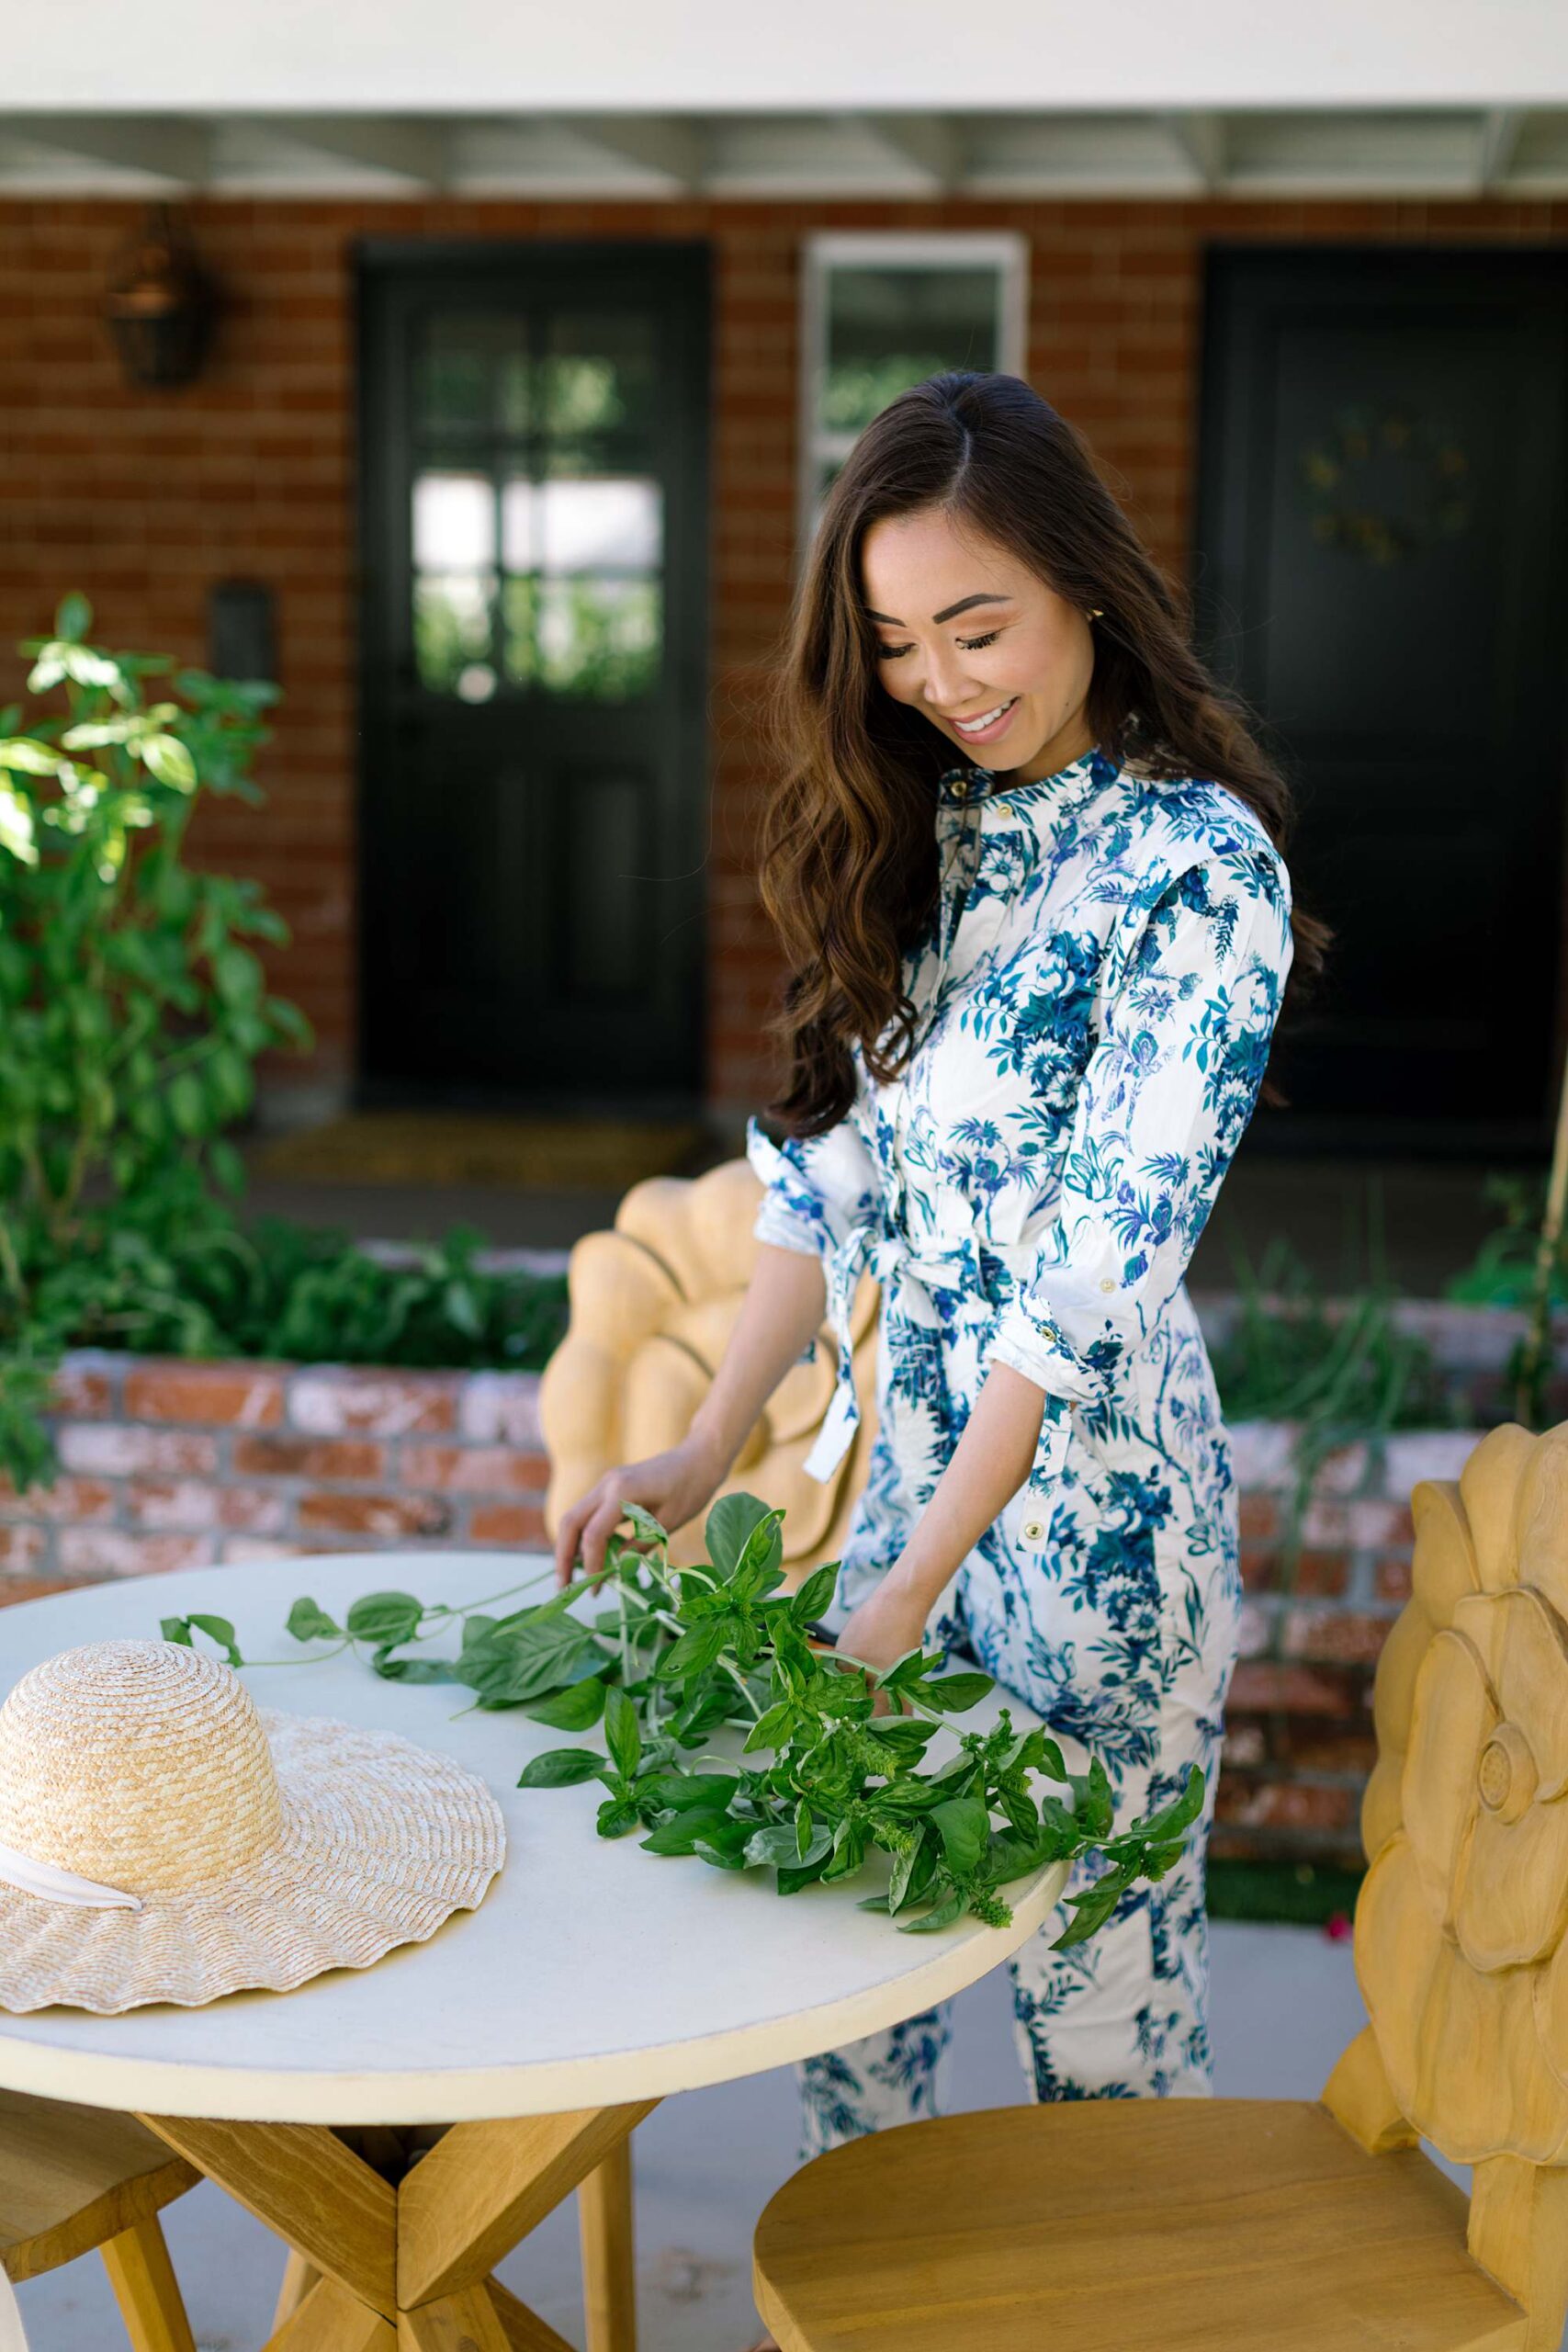
I broke the rules and put it on the east side so my beds pretty much get lot of sun, like all the time. I didn’t care because to me the location of it was more important that I see it to enjoy and found it convenient to pick lettuce and tomatoes to head into the kitchen.
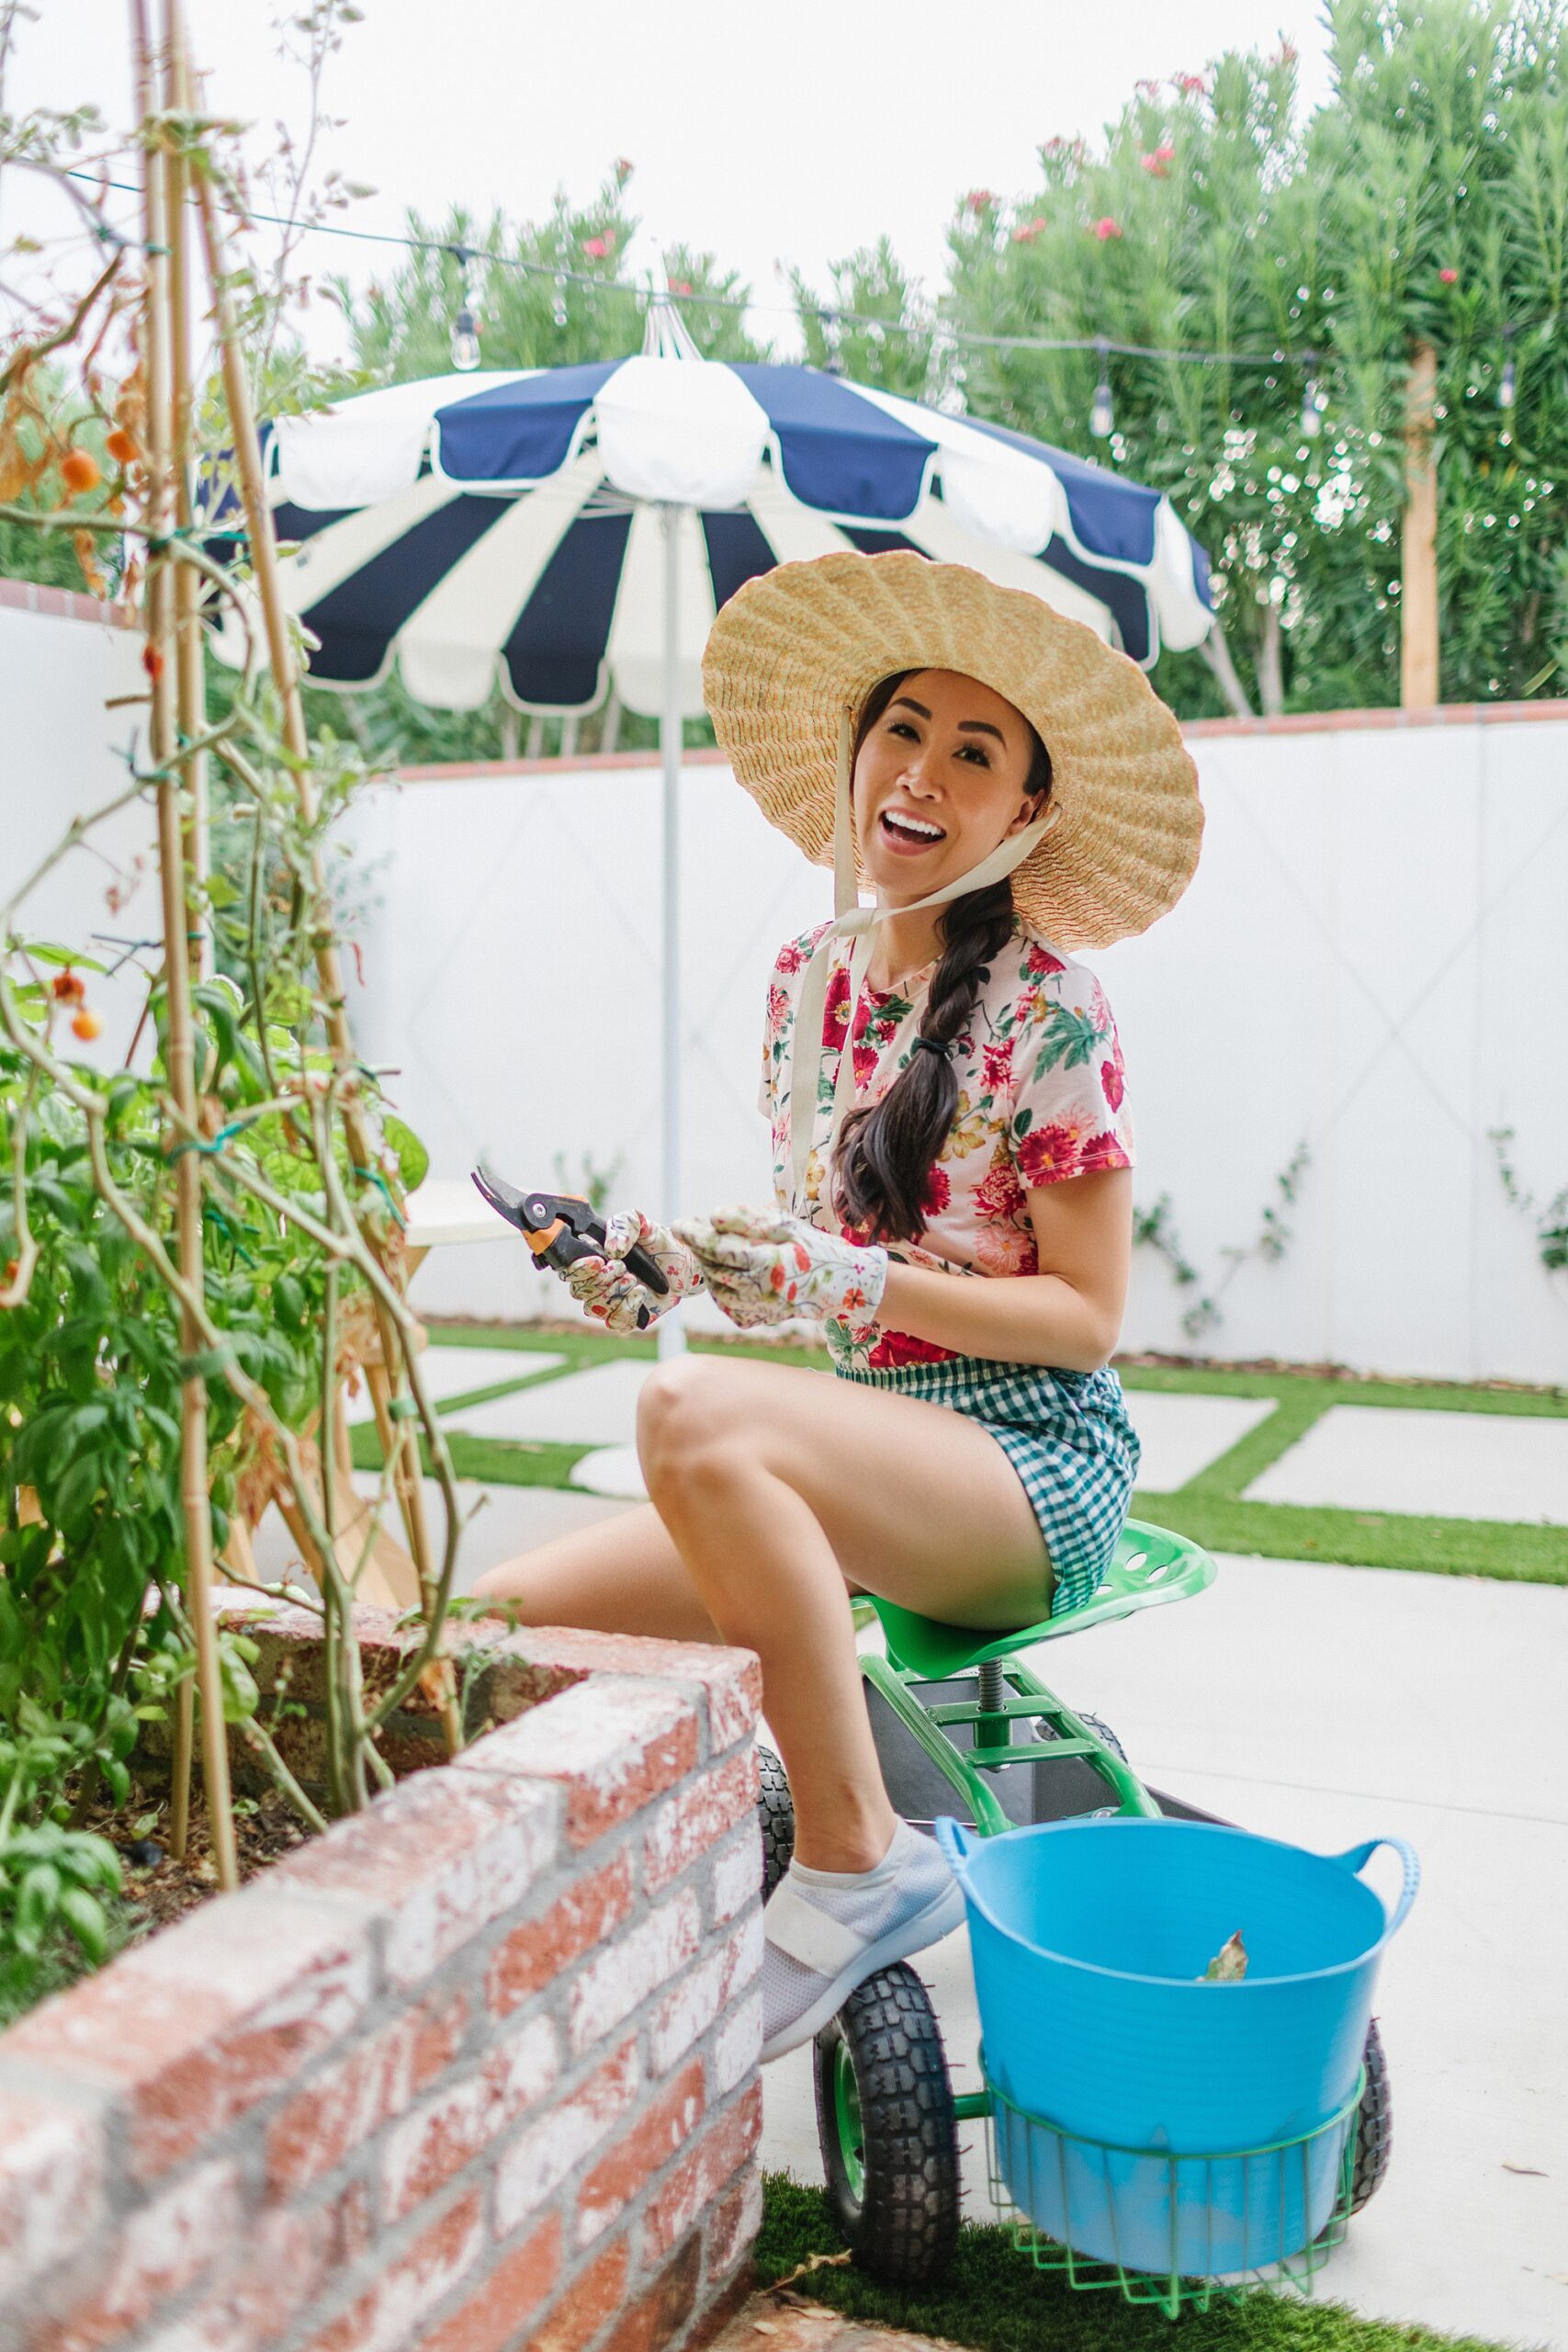
It work because I added fruit trees around so it can get some shade. I also know what to plant for which seasons that love sunlight and over the summer, I just let it all die except for basil and tomatoes. I added another layer for deep root veggies – this was right after flood irrigation which is why the bottom few inches look wet.
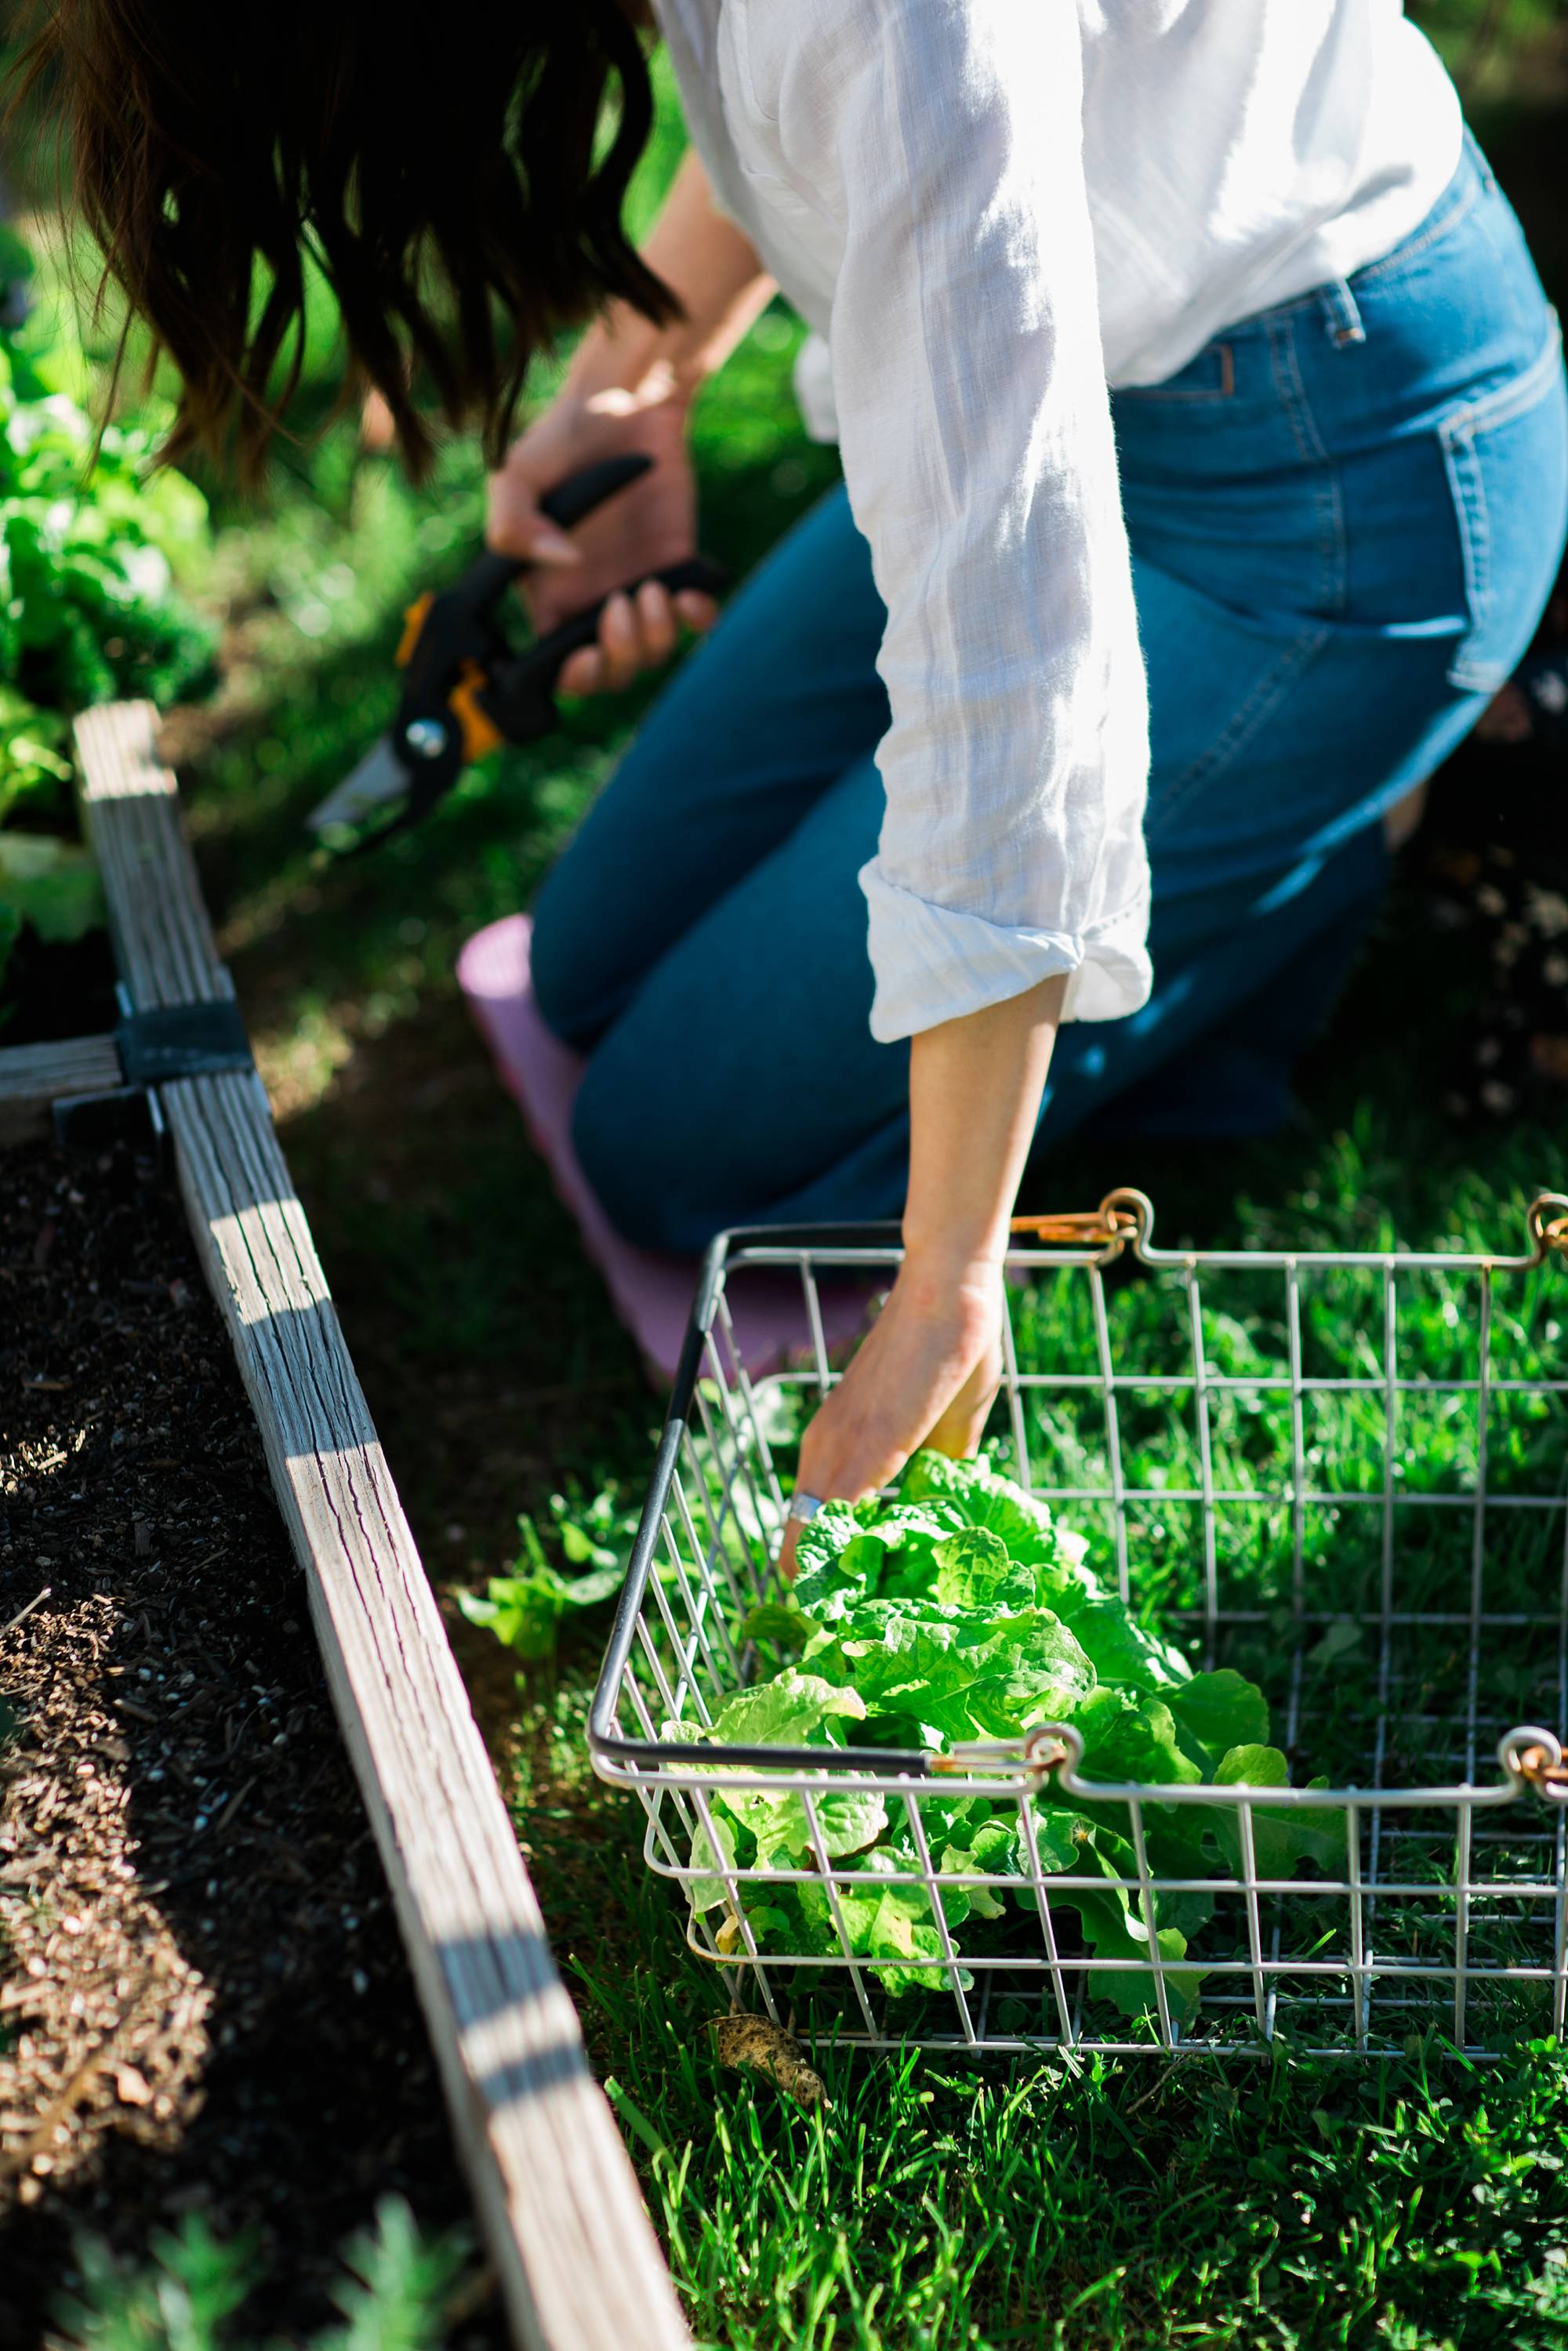
I speak in past tense about those beds because we have moved my garden to a new area where it gets a few hours of sun and some areas don’t get any.
How to build your garden beds
- Buy 2x (8 or 10) boards depending on your bed corner height, at desired length – tip: don’t go wider than 4′ since you want to reach the middle from both sides of the box.
- Buy these raised bed corners for your beds (we bought 10″ deep), or these planted wall blocks are cheap.
- Rip up the grass, turn it over upside down or remove it completely (best bet to avoid any grass seeds).
- Cover the bottom of the beds with layers of cardboard – start collecting old shipping boxes. Make lots of layers (I did 3), it will decompose and naturally block out weeds.
- Arrange dirt and sand mix delivered from a local landscape company – tell them size of your boxes and they can help you determine how much.
- Read this older post I wrote documenting our garden bed building – for an accurate a walk thru of photos on building the beds.

How to ensure your garden survives
- Don’t be discouraged when things die. You are learning and you will realize where things should go and which plants are perennials (come back every year) and annuals (must plant every year, they only last 1 season). I’ve killed about one of every plant so much of what you see that’s alive is round 2 or 3!
- Know what to plant, and when. Look up any local calendars online you can find that will help. Unfortunately the nursery sells out of season starters so it can be discouraging for the inexperienced.
- Have automatic drip irrigation. Water in the early morning and again in the afternoon. Water is key, sounds silly but it’s that easy. We use this one.
- Read how much sun and shade your vegetables need. Watch the space you wish to plant so you know how many hours of sun they will receive and if they will be able to survive. Less sun means slower growth, but it still may survive.
- Give plants shade – in the summer we move patio umbrellas on certain plants or baby citrus trees that need some help. You can put screens up to help. Or you can have a summer and winter garden bed!
- Check out Gardeners.com articles here.
Garden tools
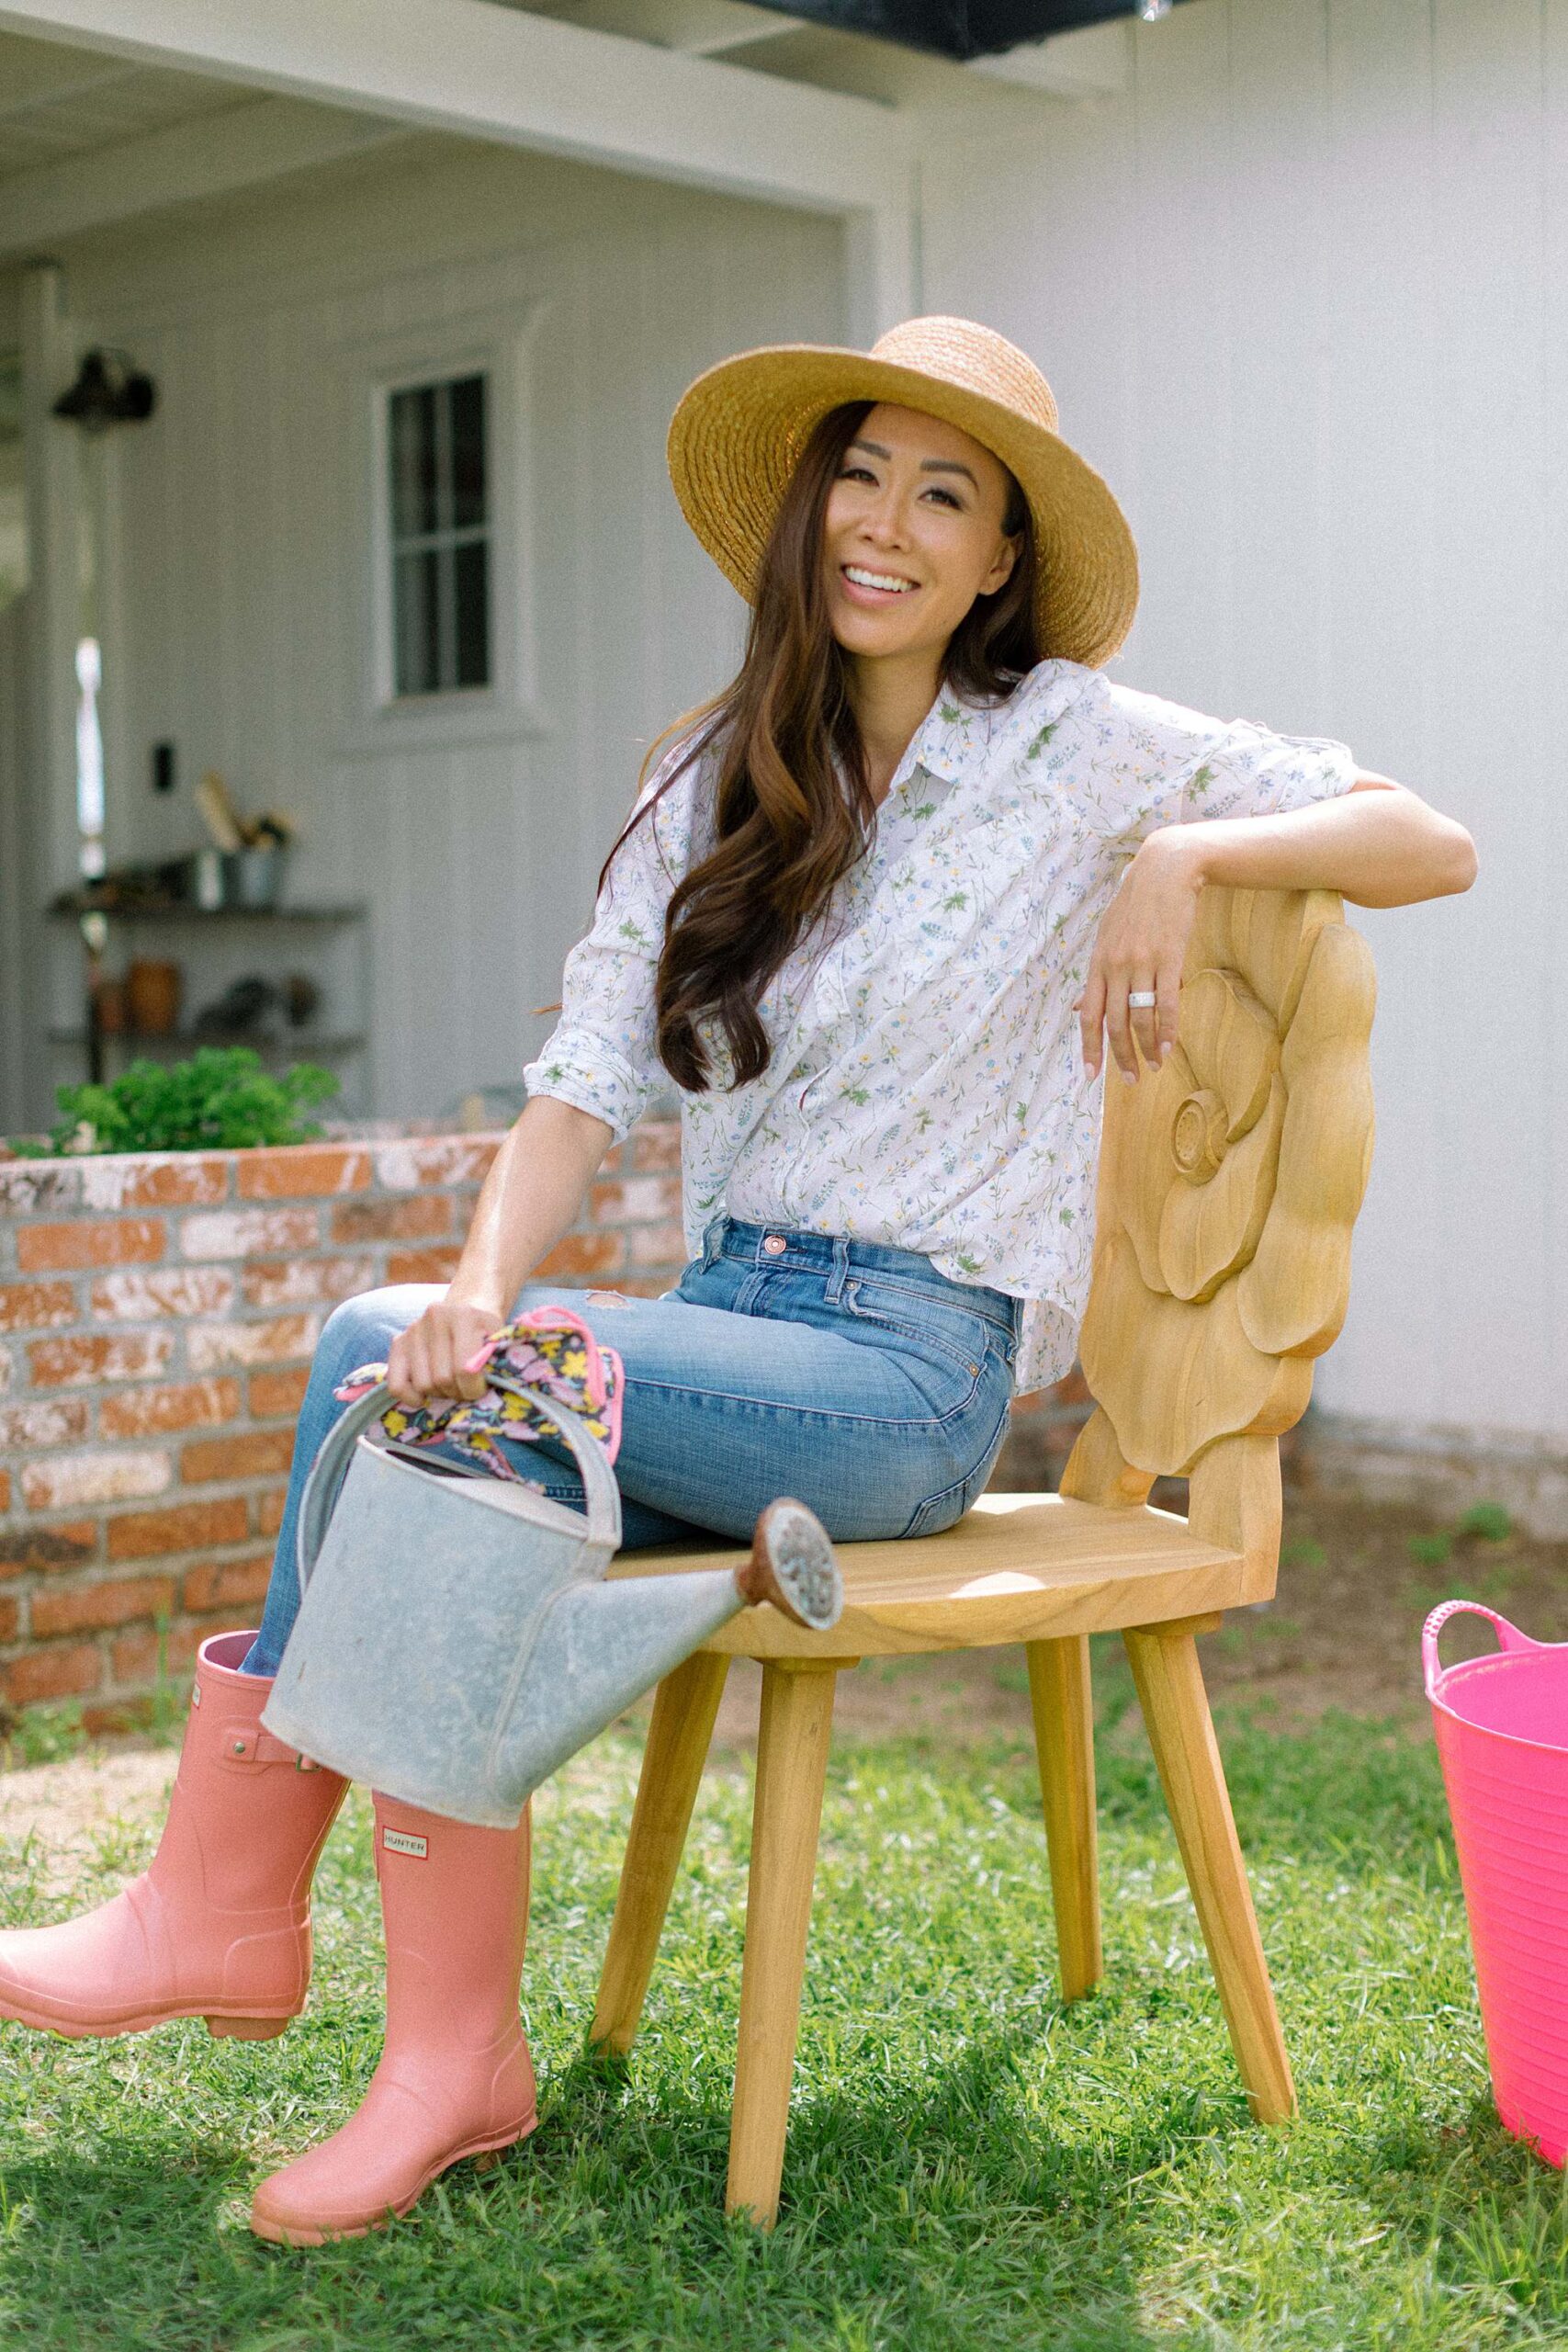
Don’t forget a great garden hat, and wellies, check out this page for my favorite gardening gear. My favorite places to buy garden supplies is Gardeners.com and all Fiskars tools for pruning and the cultivating tools. For pretty garden goods, I love Terrain which is Anthropologie’s garden site.
References for those in Zone 8/9
- Urban Farm classes in Phoenix
- Vegetable planting calendar for Maricopa County
- AZ Plant Lady’s blog, she’s our horticulturist and a sweet friend!
Have fun growing your own food! If you have any questions feel free to ask and I will try my best to answer any questions. Also, if you are in Phoenix, you can start planting those veggie seeds, check out this post about seed starting for beginners.
Recommended Products
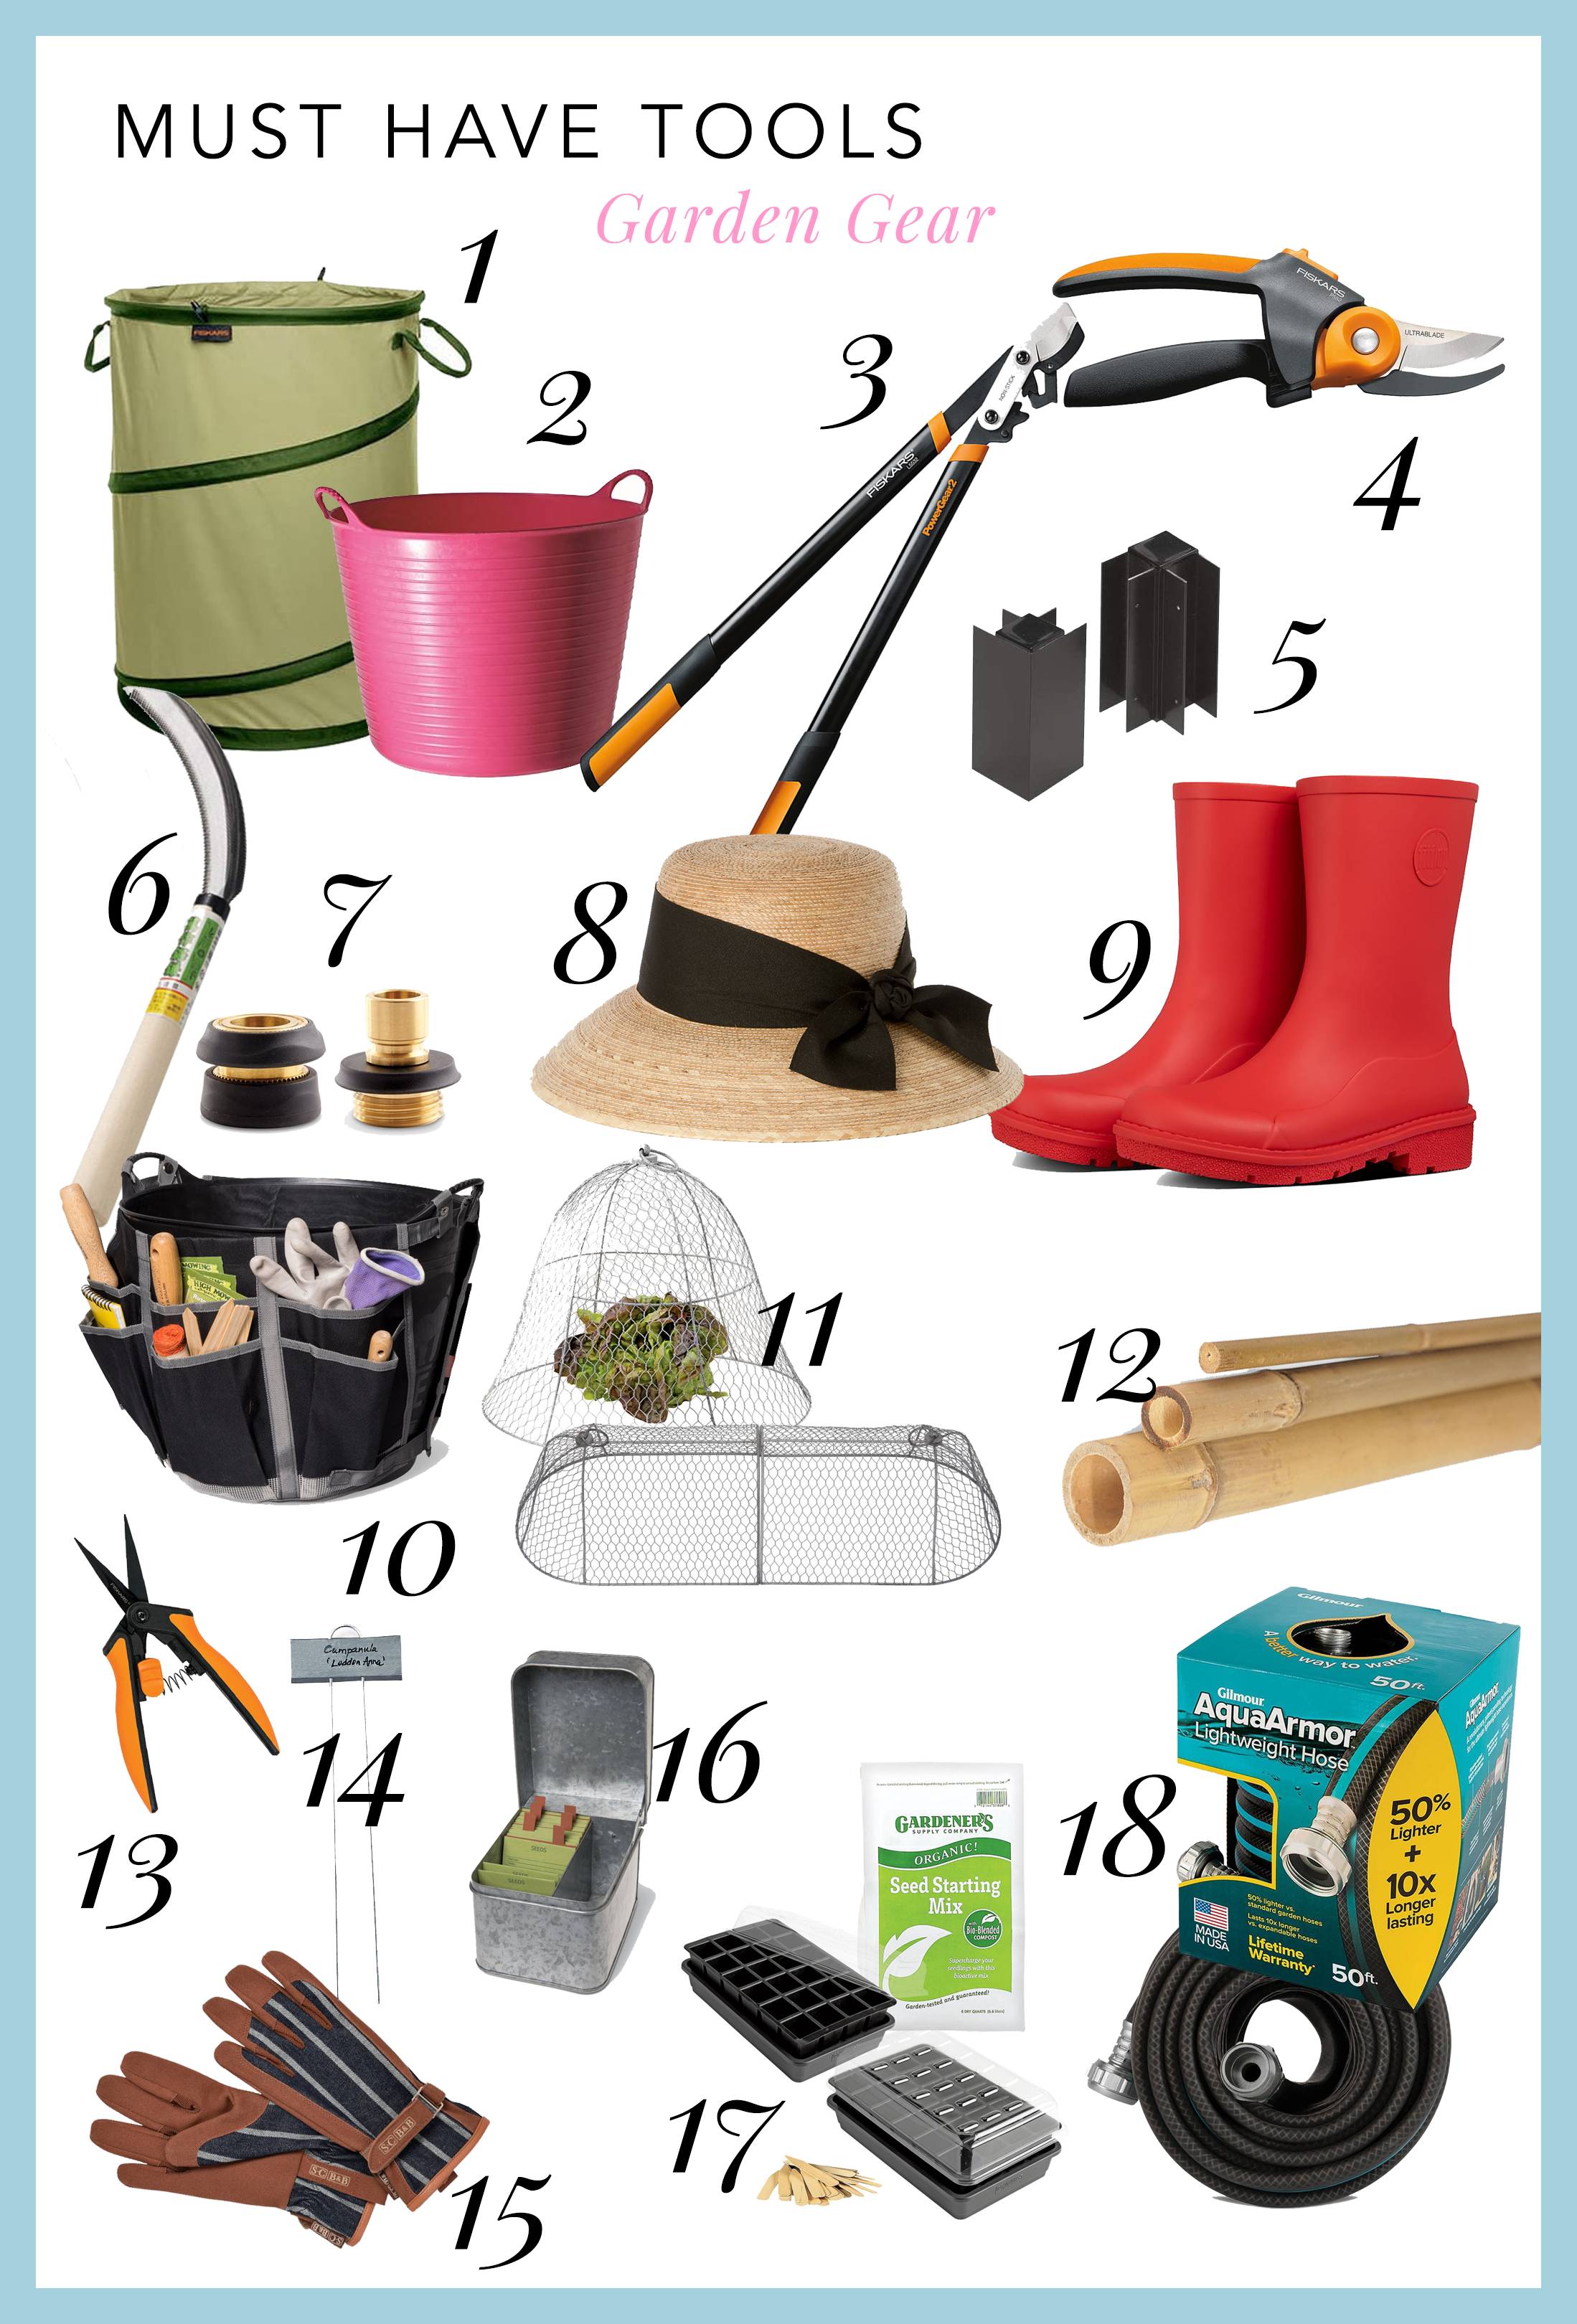
1. Fiskars Kangaroo Collapsible Container Gardening Bag, 30 Gallon | 2. Tubtrug | 3. Fiskars PowerGear2 Bypass Lopper, 32 Inch | 4. Fiskars PowerGear2 UltraBlade Softgrip Pruner | 5. Raised Bed Corner, 8 Inch Set of 2 Aluminum | 6. Japan Saw Tooth Sickle | 7. Gilmour Brass Hose Quick Connector | 8. Somerset Hat | 9. FitFlop Wonderwelly (ergonomic) , I love Hunter boots but not the ankle ones | 10. Tubtrug Tool Organizer | 11. Chicken Wire Cloche + 3-in-1 Chicken Wire Cloche | 12. Bamboo Poles & Bamboo Stakes | 13. Fiskars Micro-Tip Pruning Snips | 14. Large Markers, Set of 25 | 15. Sophie Conran Everyday Gardening Gloves | 16. Galvanized Seed Saver Kit | 17. Organic GrowEase Seed Starting Success Kit | 18. Gilmour 50′ AquaArmor Lightweight Hose
*This post has been updated from the original post from September 27, 2017.

Kevin Piol
This is really interesting! We’re also planning to put our veggies in the raised bed.
Thank you for the interesting read!