No products in the cart.
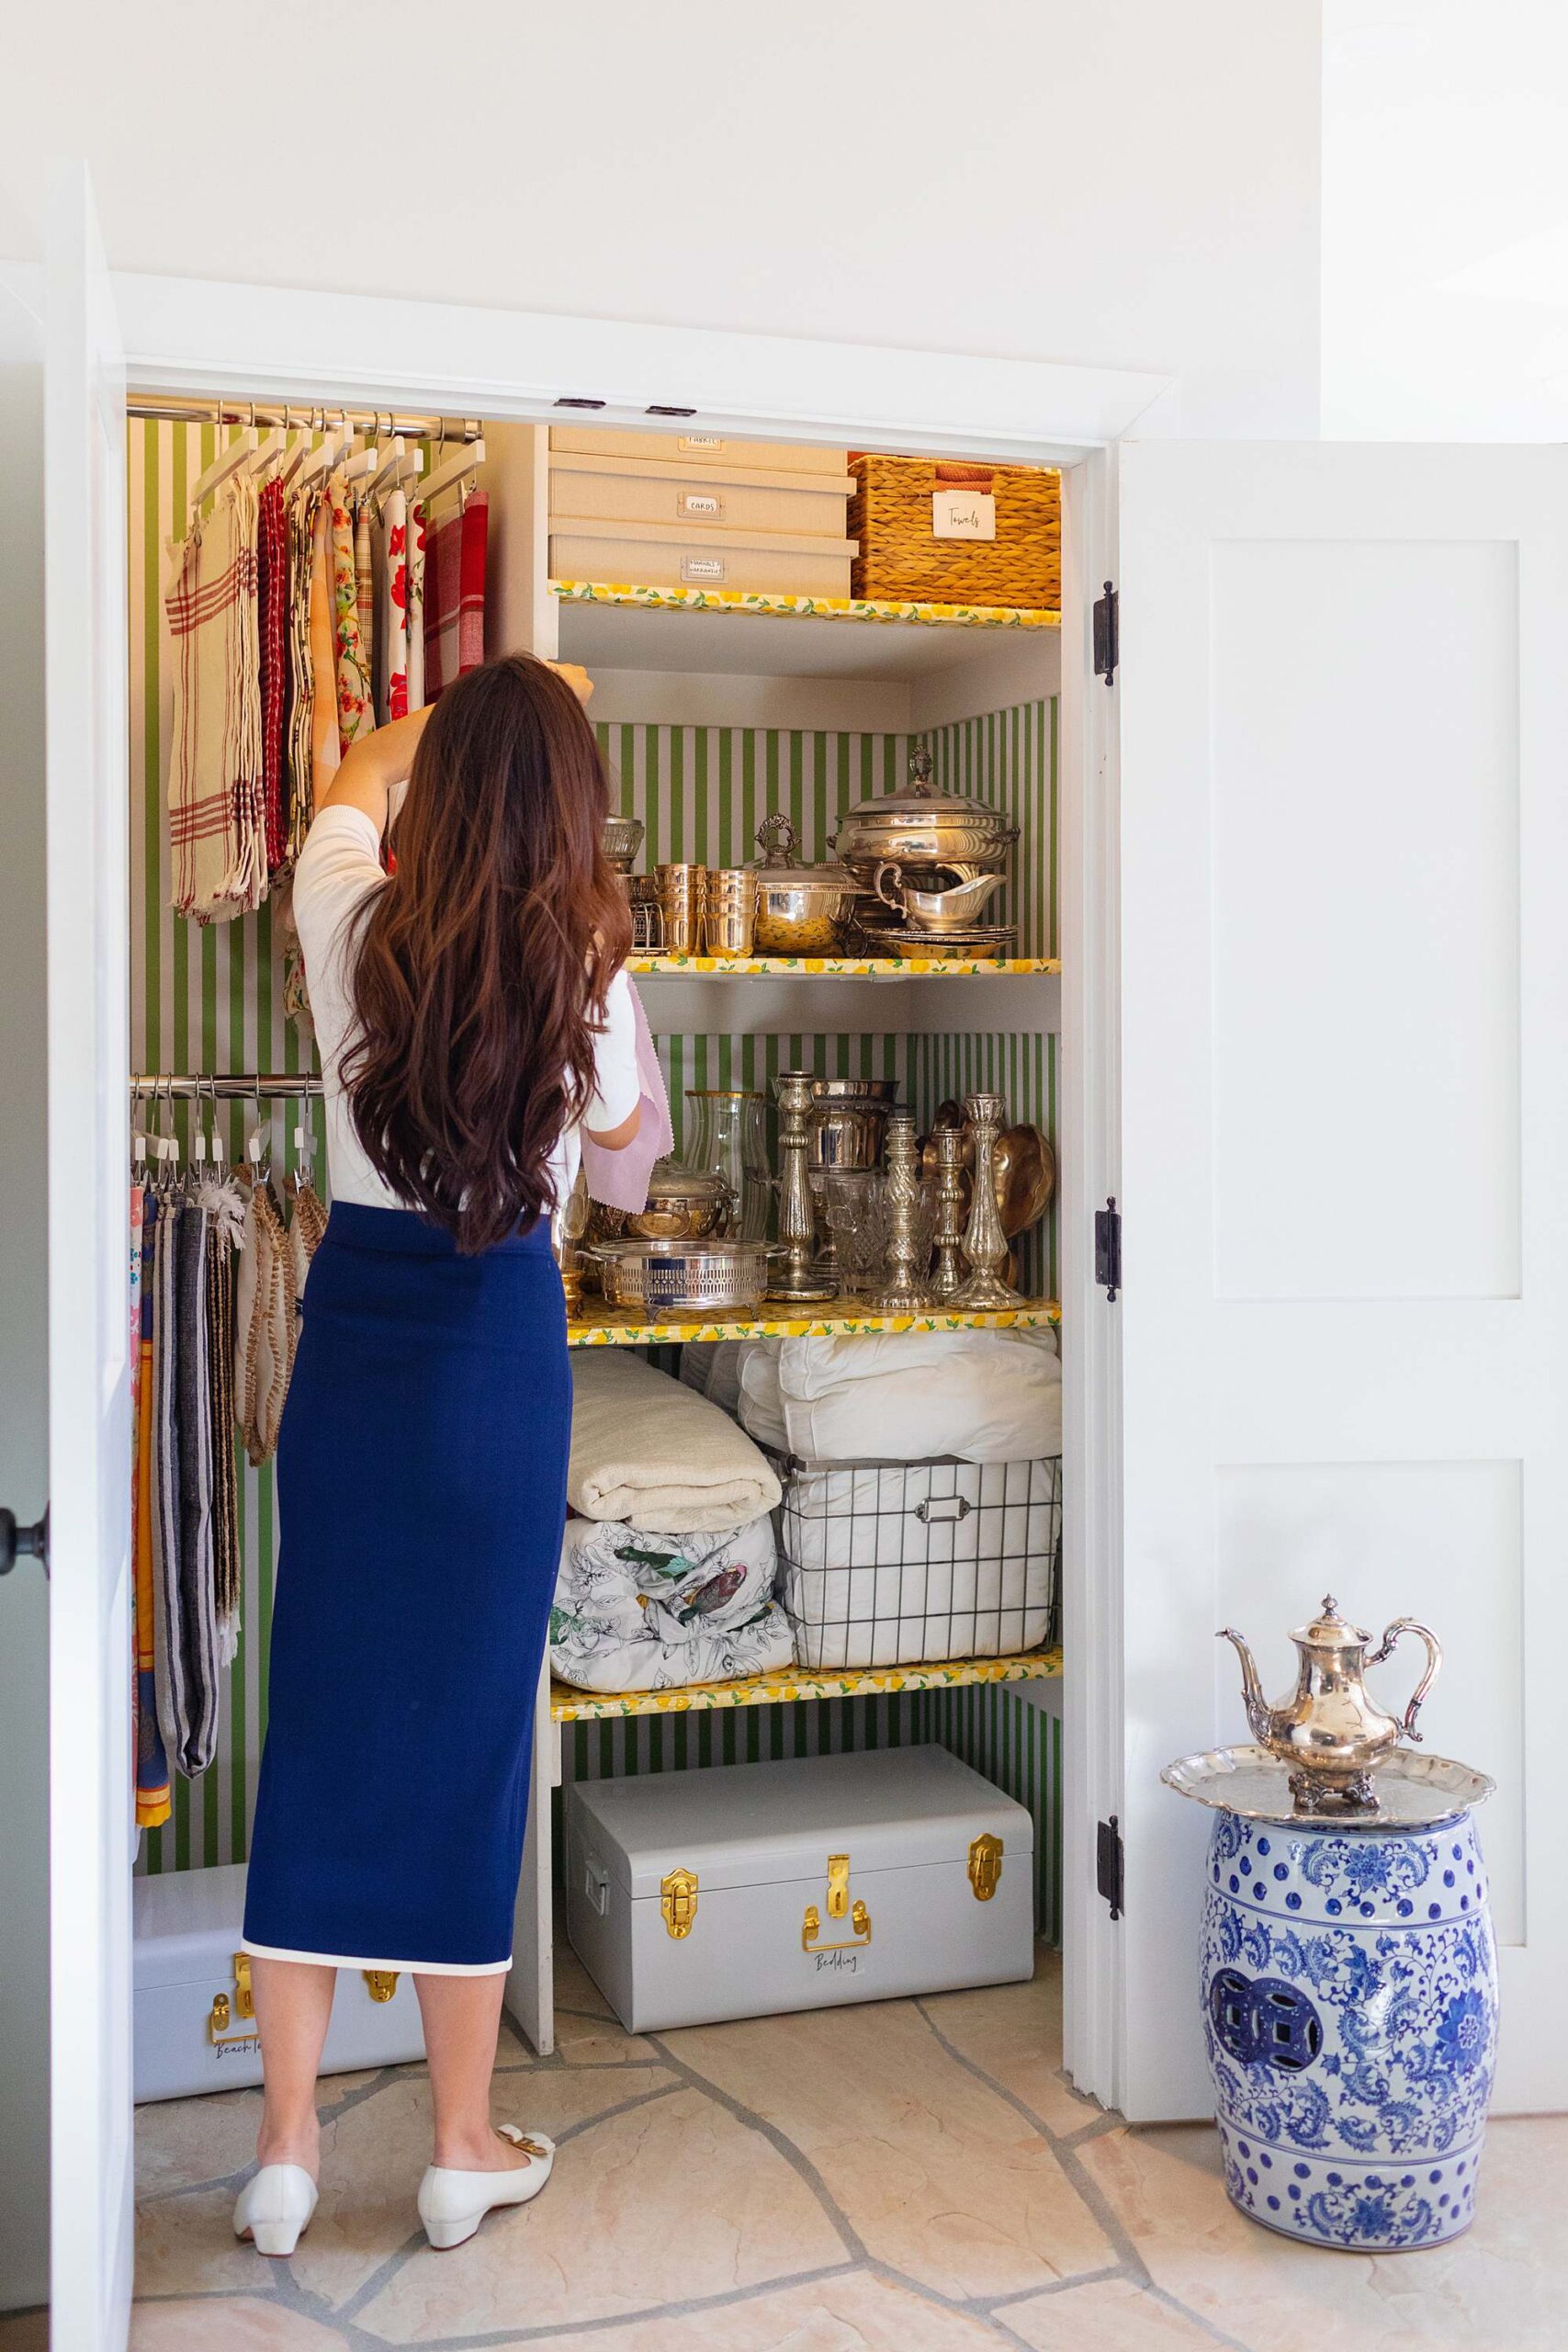
How to Organize: Make an entertaining catalog to organize napkins, tablecloths, and placemats
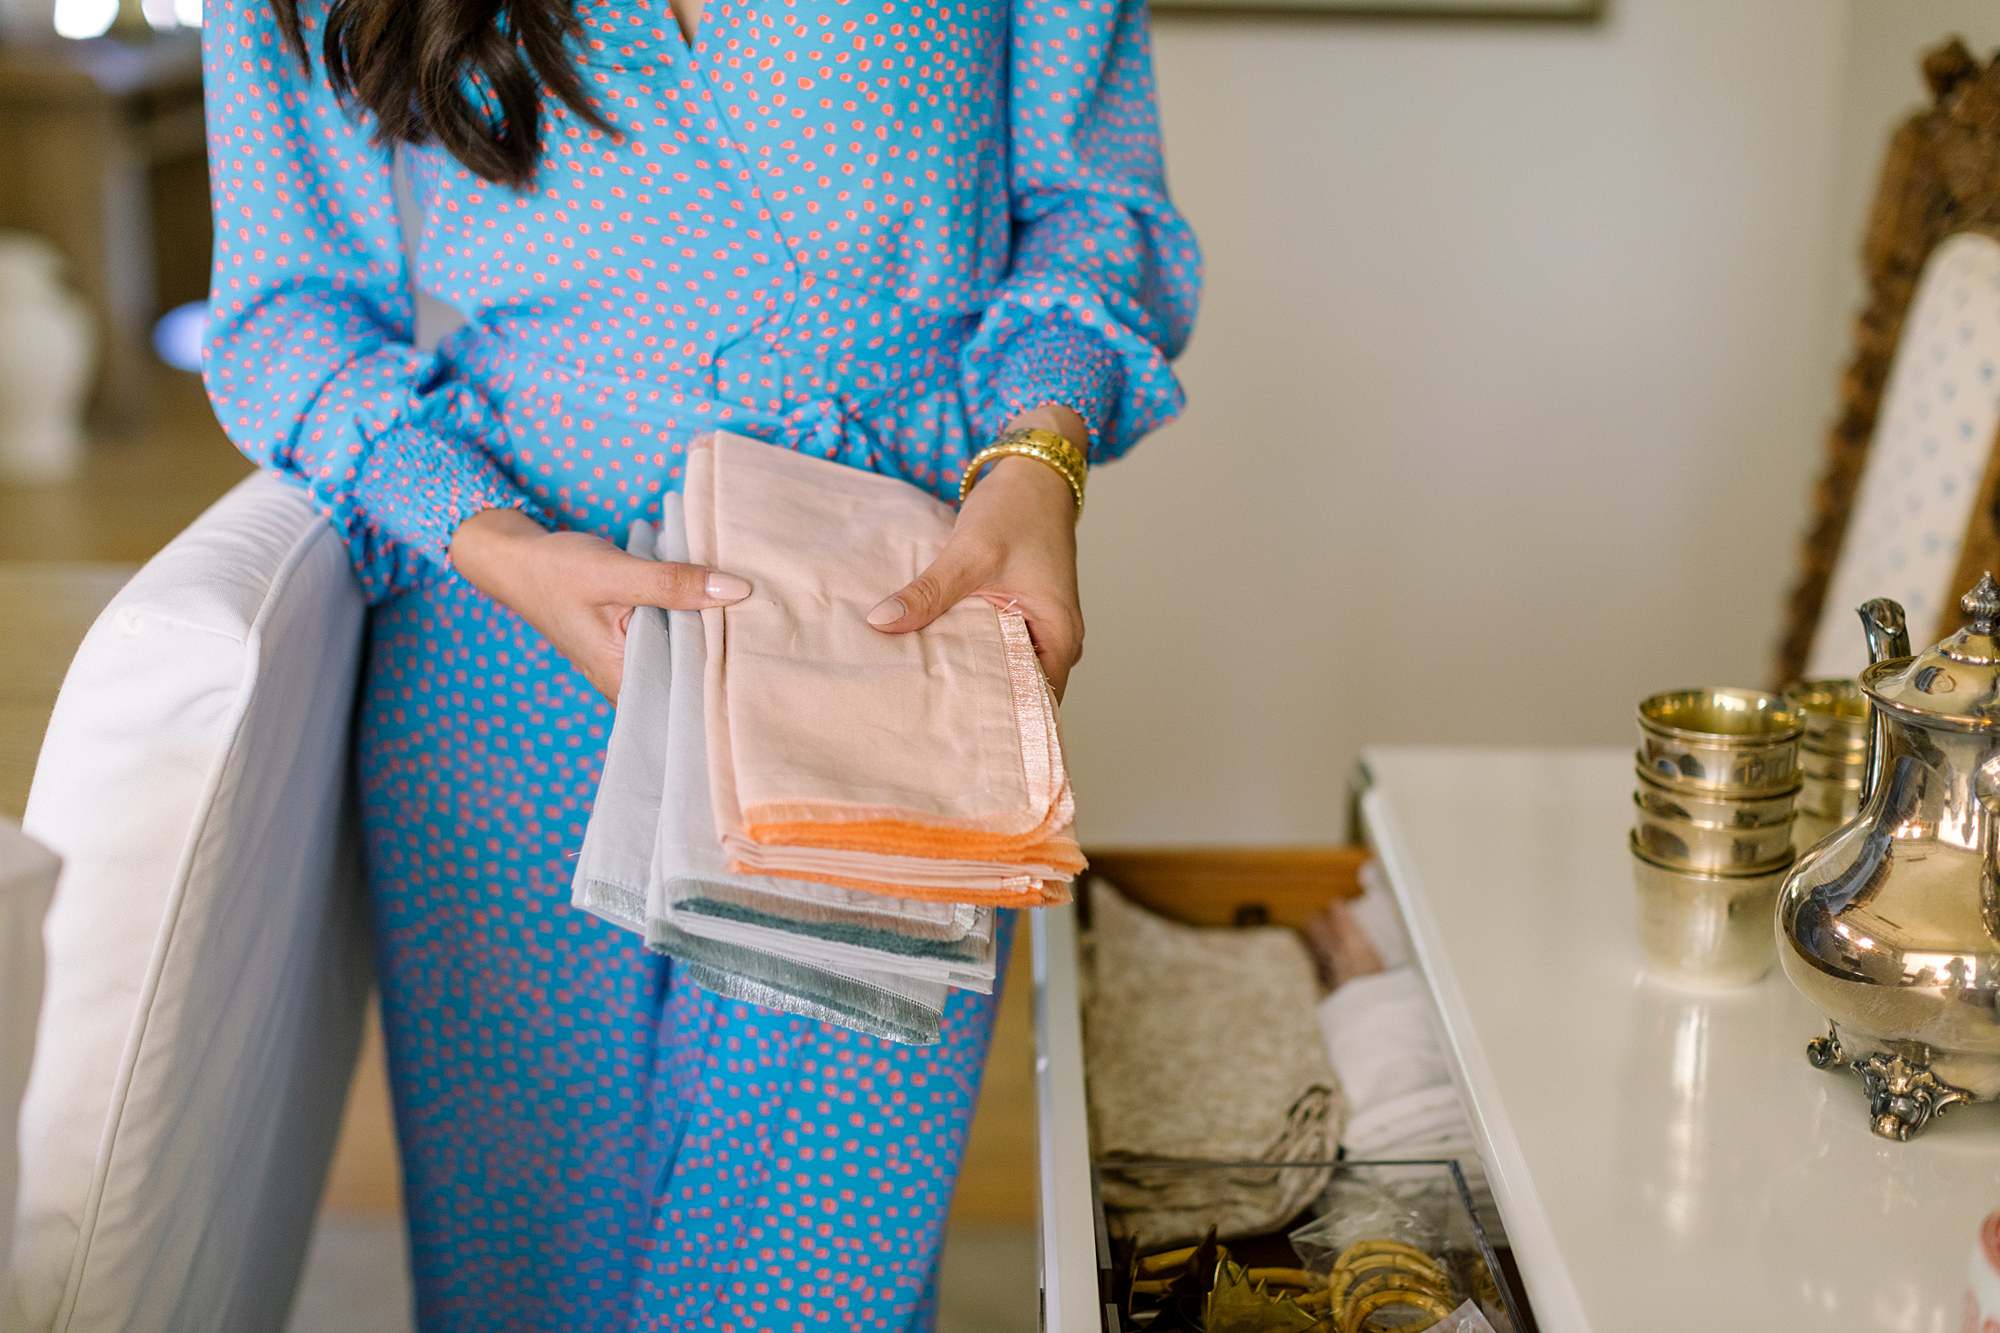

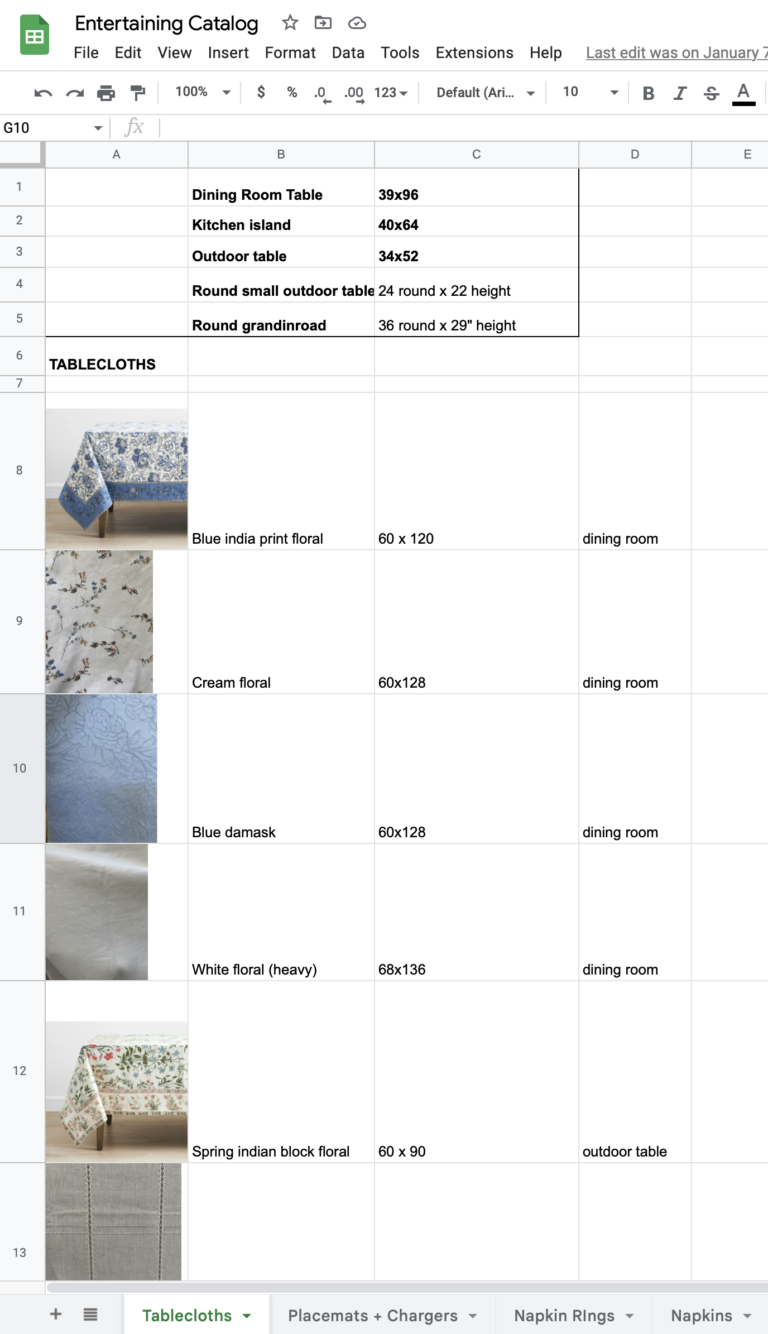
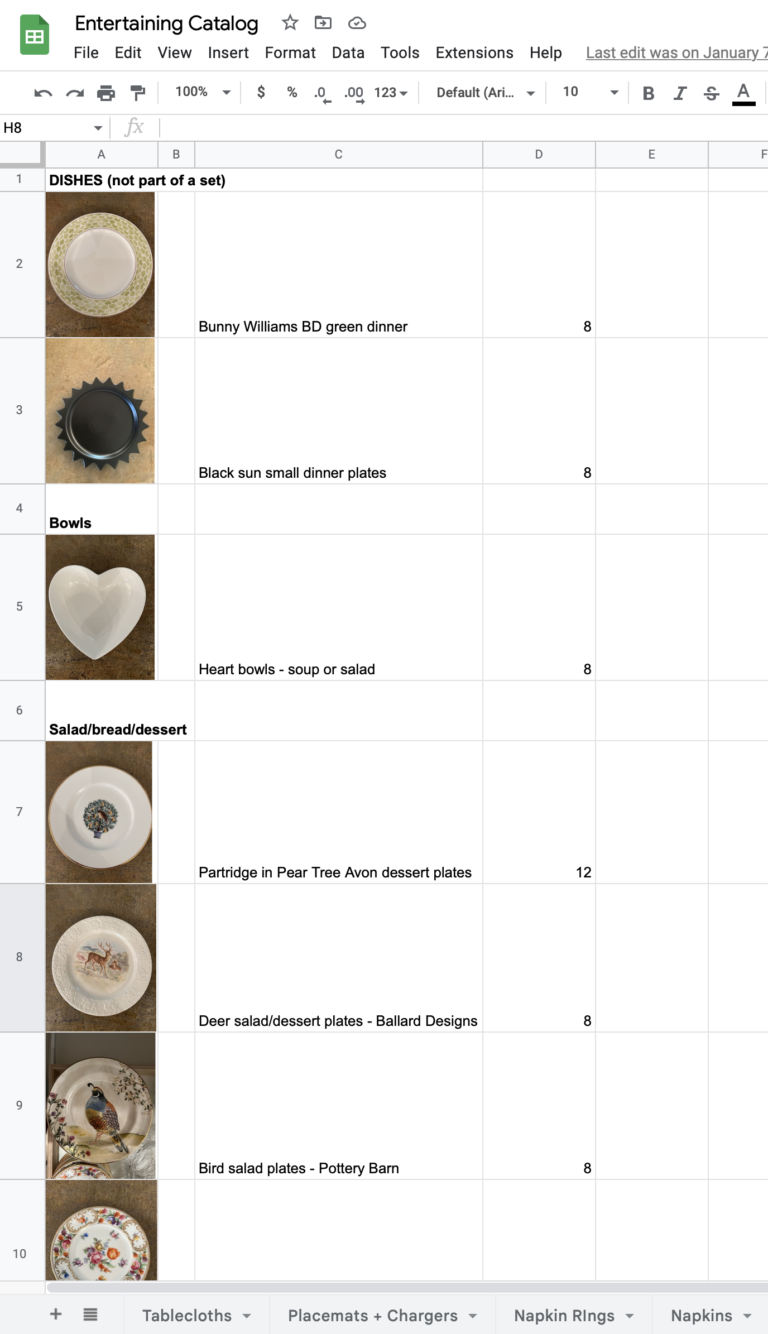

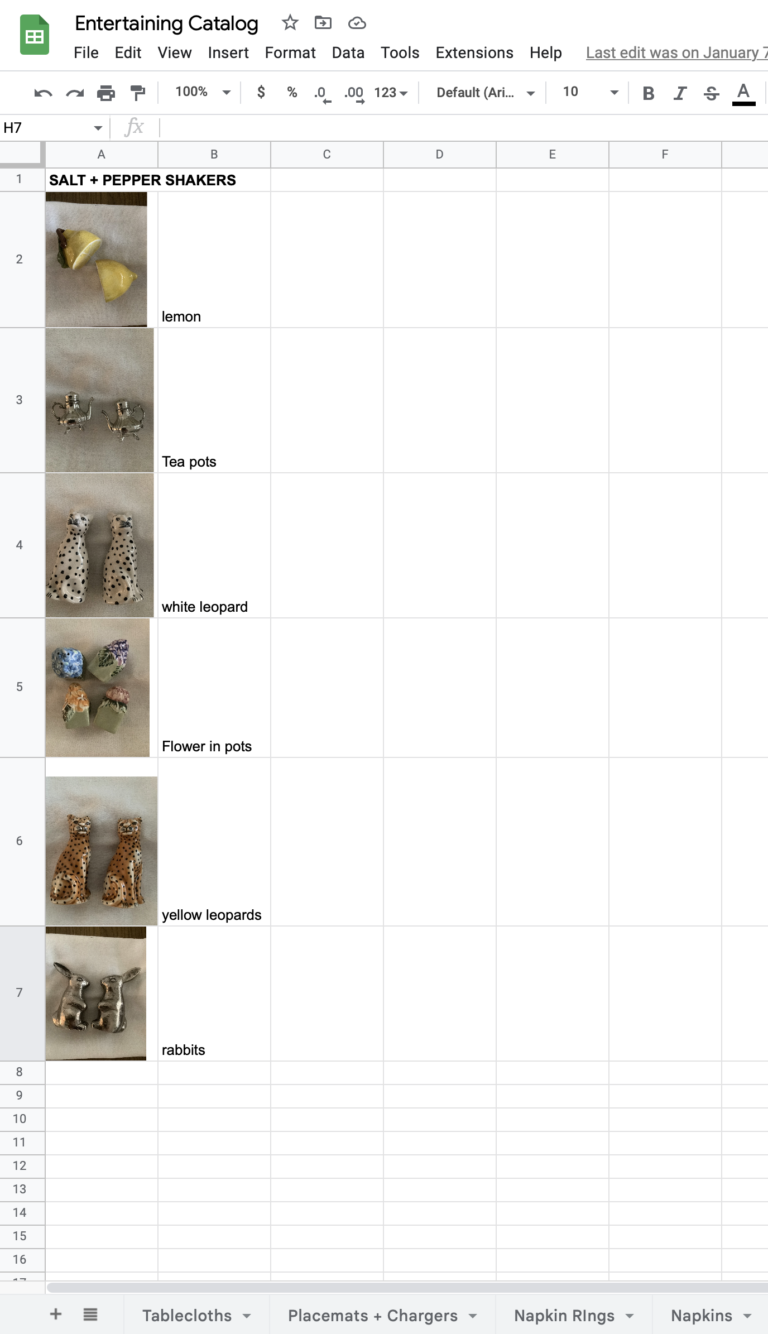
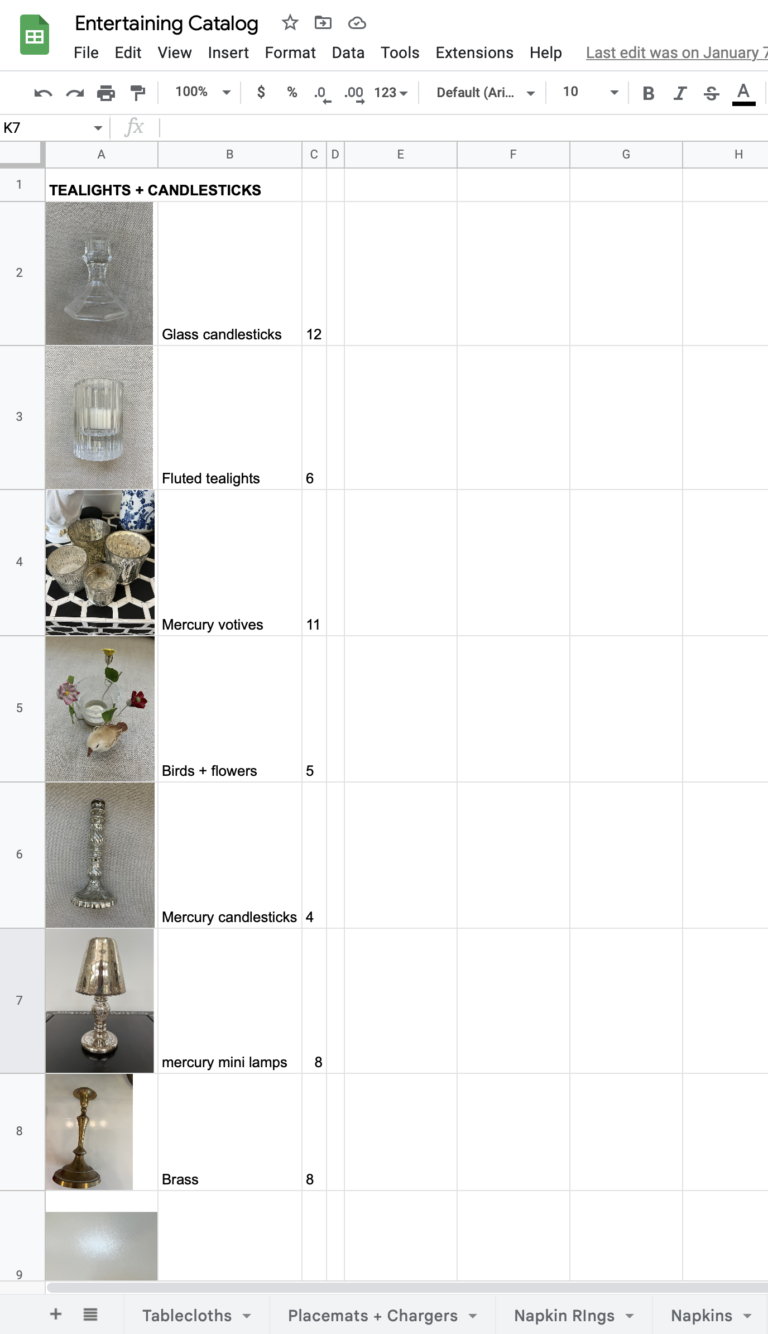
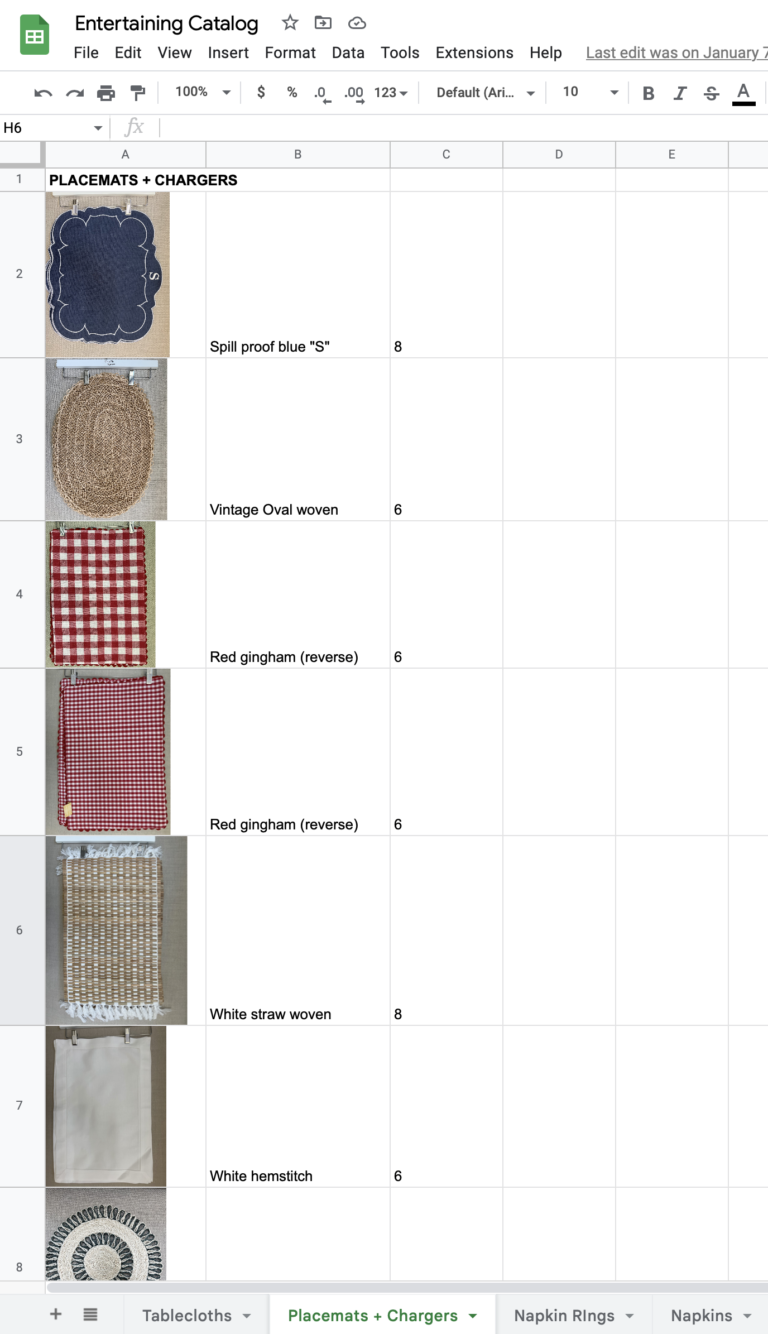

How to Organize: Make an entertaining catalog to organize napkins, tablecloths, and placemats
Diana Elizabeth is an author, photographer, and obsessive thrift shopper. You can typically find her in the garden wrist deep in dirt, at a local estate sale or planning her next creative themed party. She continues to blog weekly.
I went thrifting two days in a row and antique stores too! Sharing wha
Sharing some tips on how to hang wallpaper so your next project can lo
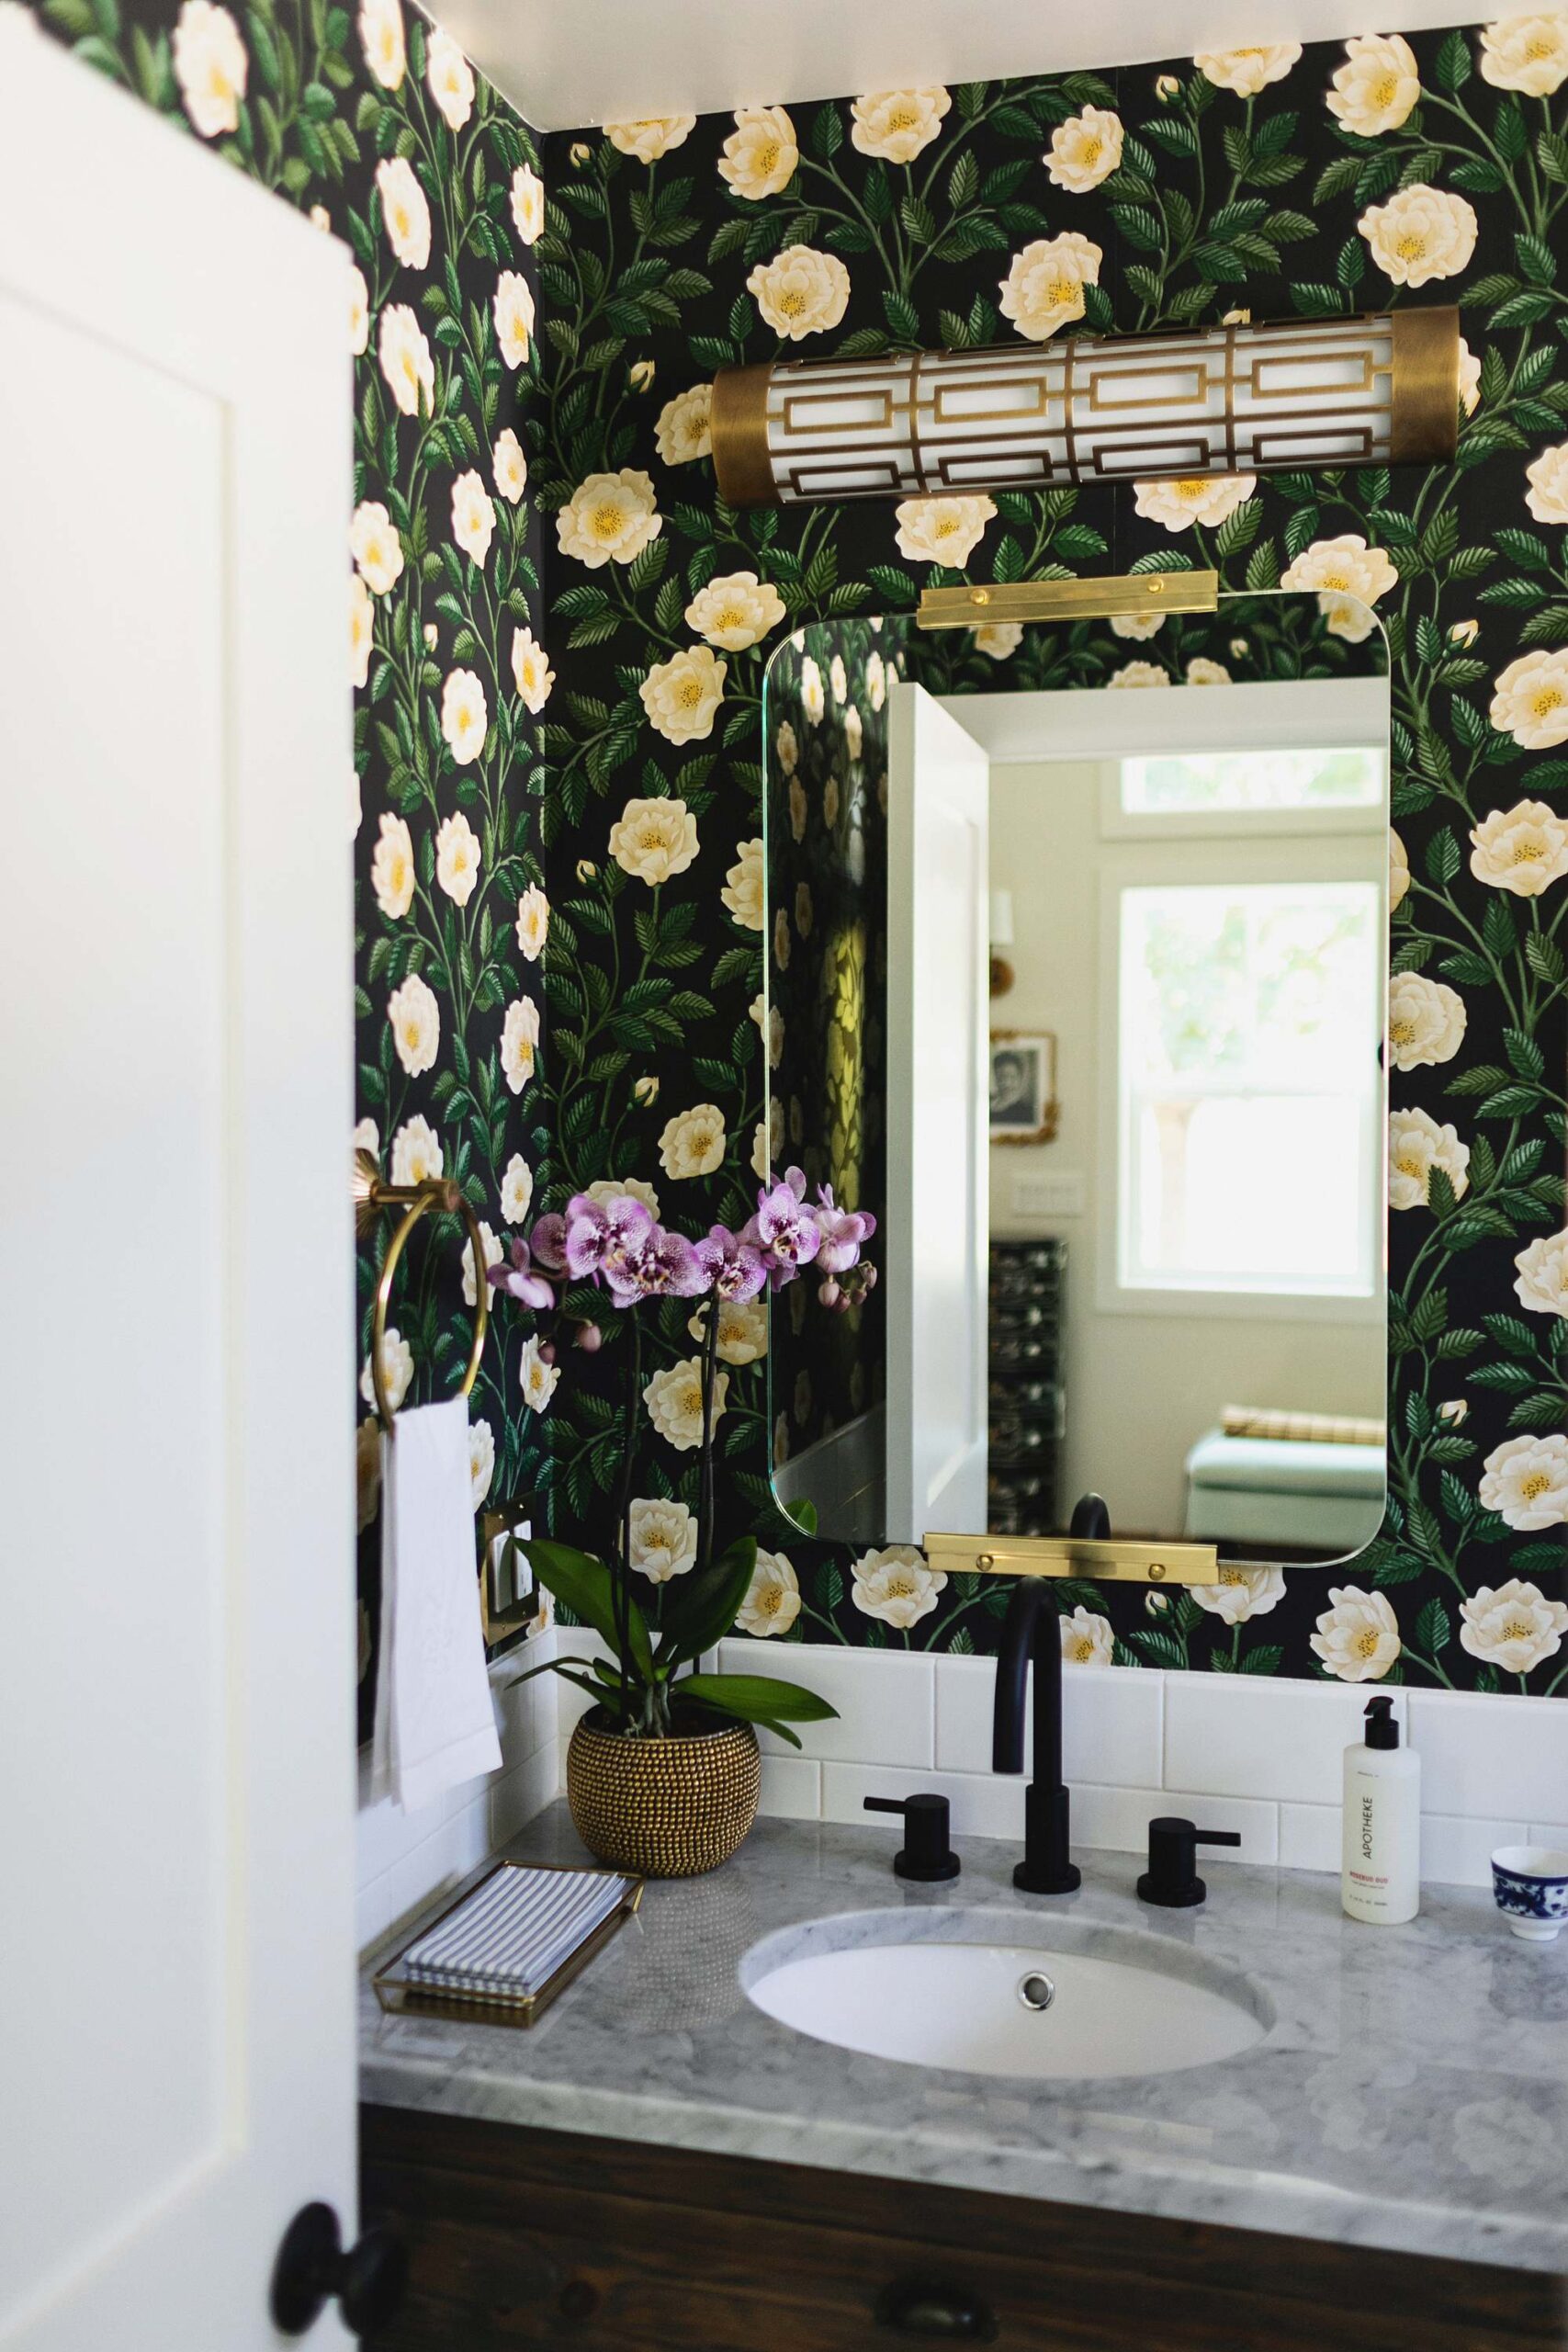
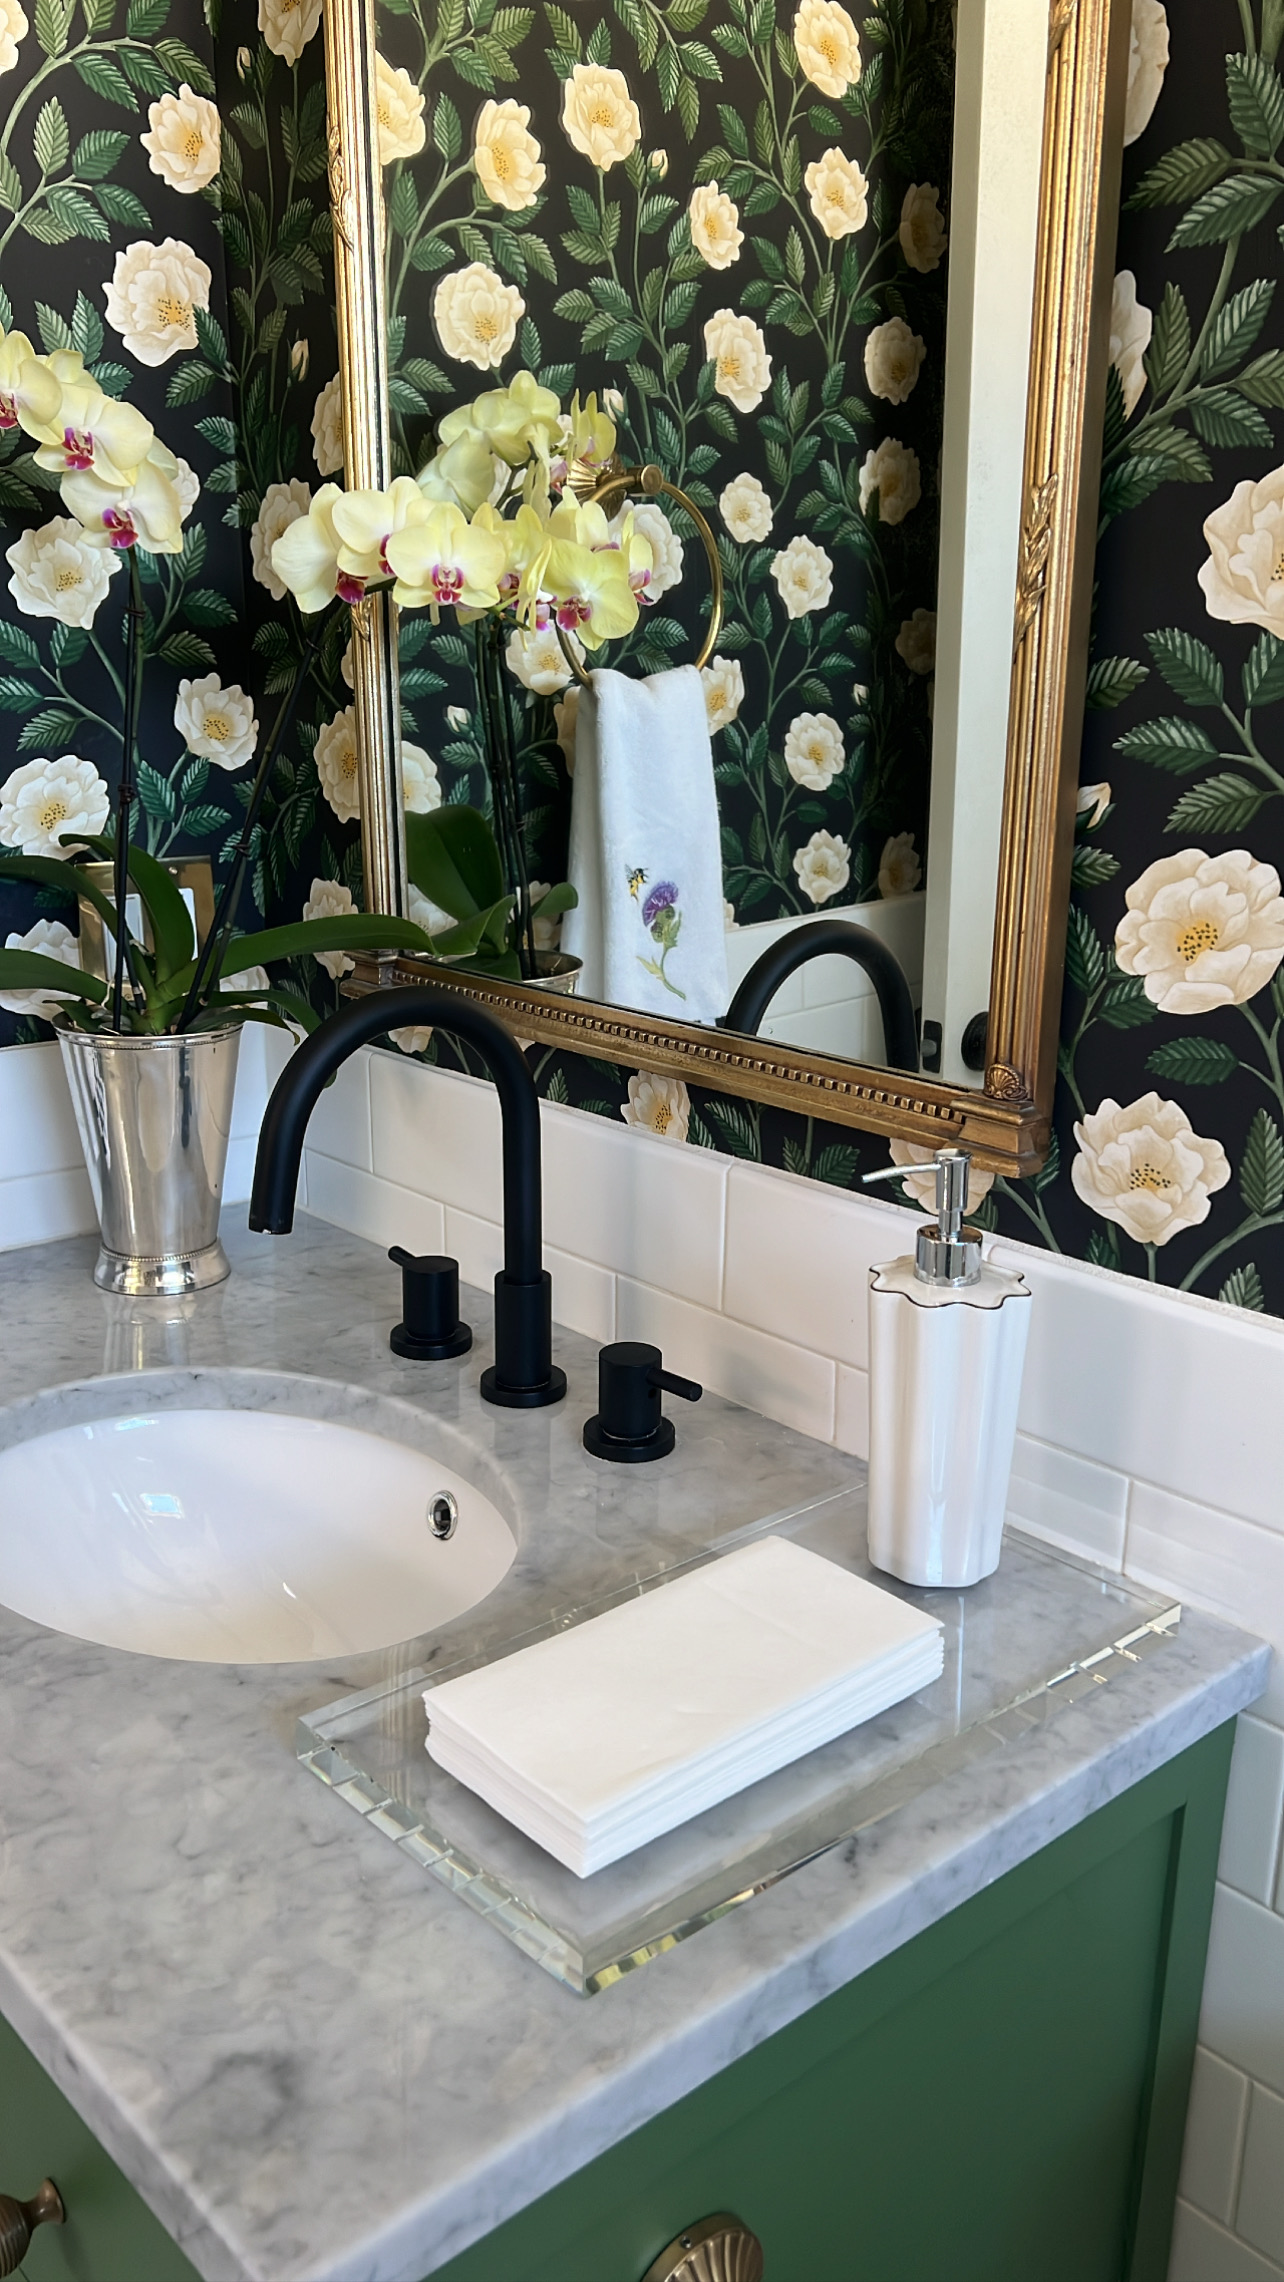
How to get your powder room ready for guests! Ideas and powder room es
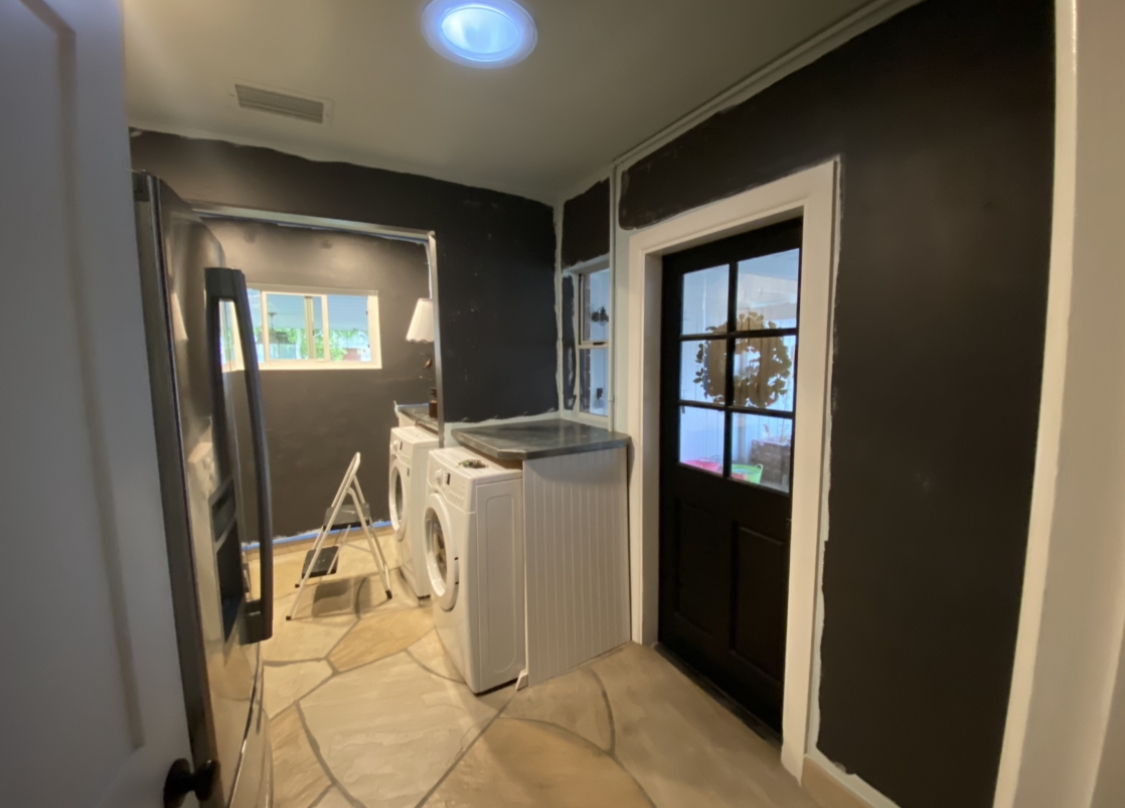
Whether you are buying a home and want to fix it up, or staying in you
A quick reminder there's only a few days left for 20% off the entire A
Have you ever thought about window tinting for your home? We've done a
POST COMMENT