Sharing some tips on how to hang wallpaper so your next project can look like a professional did it!

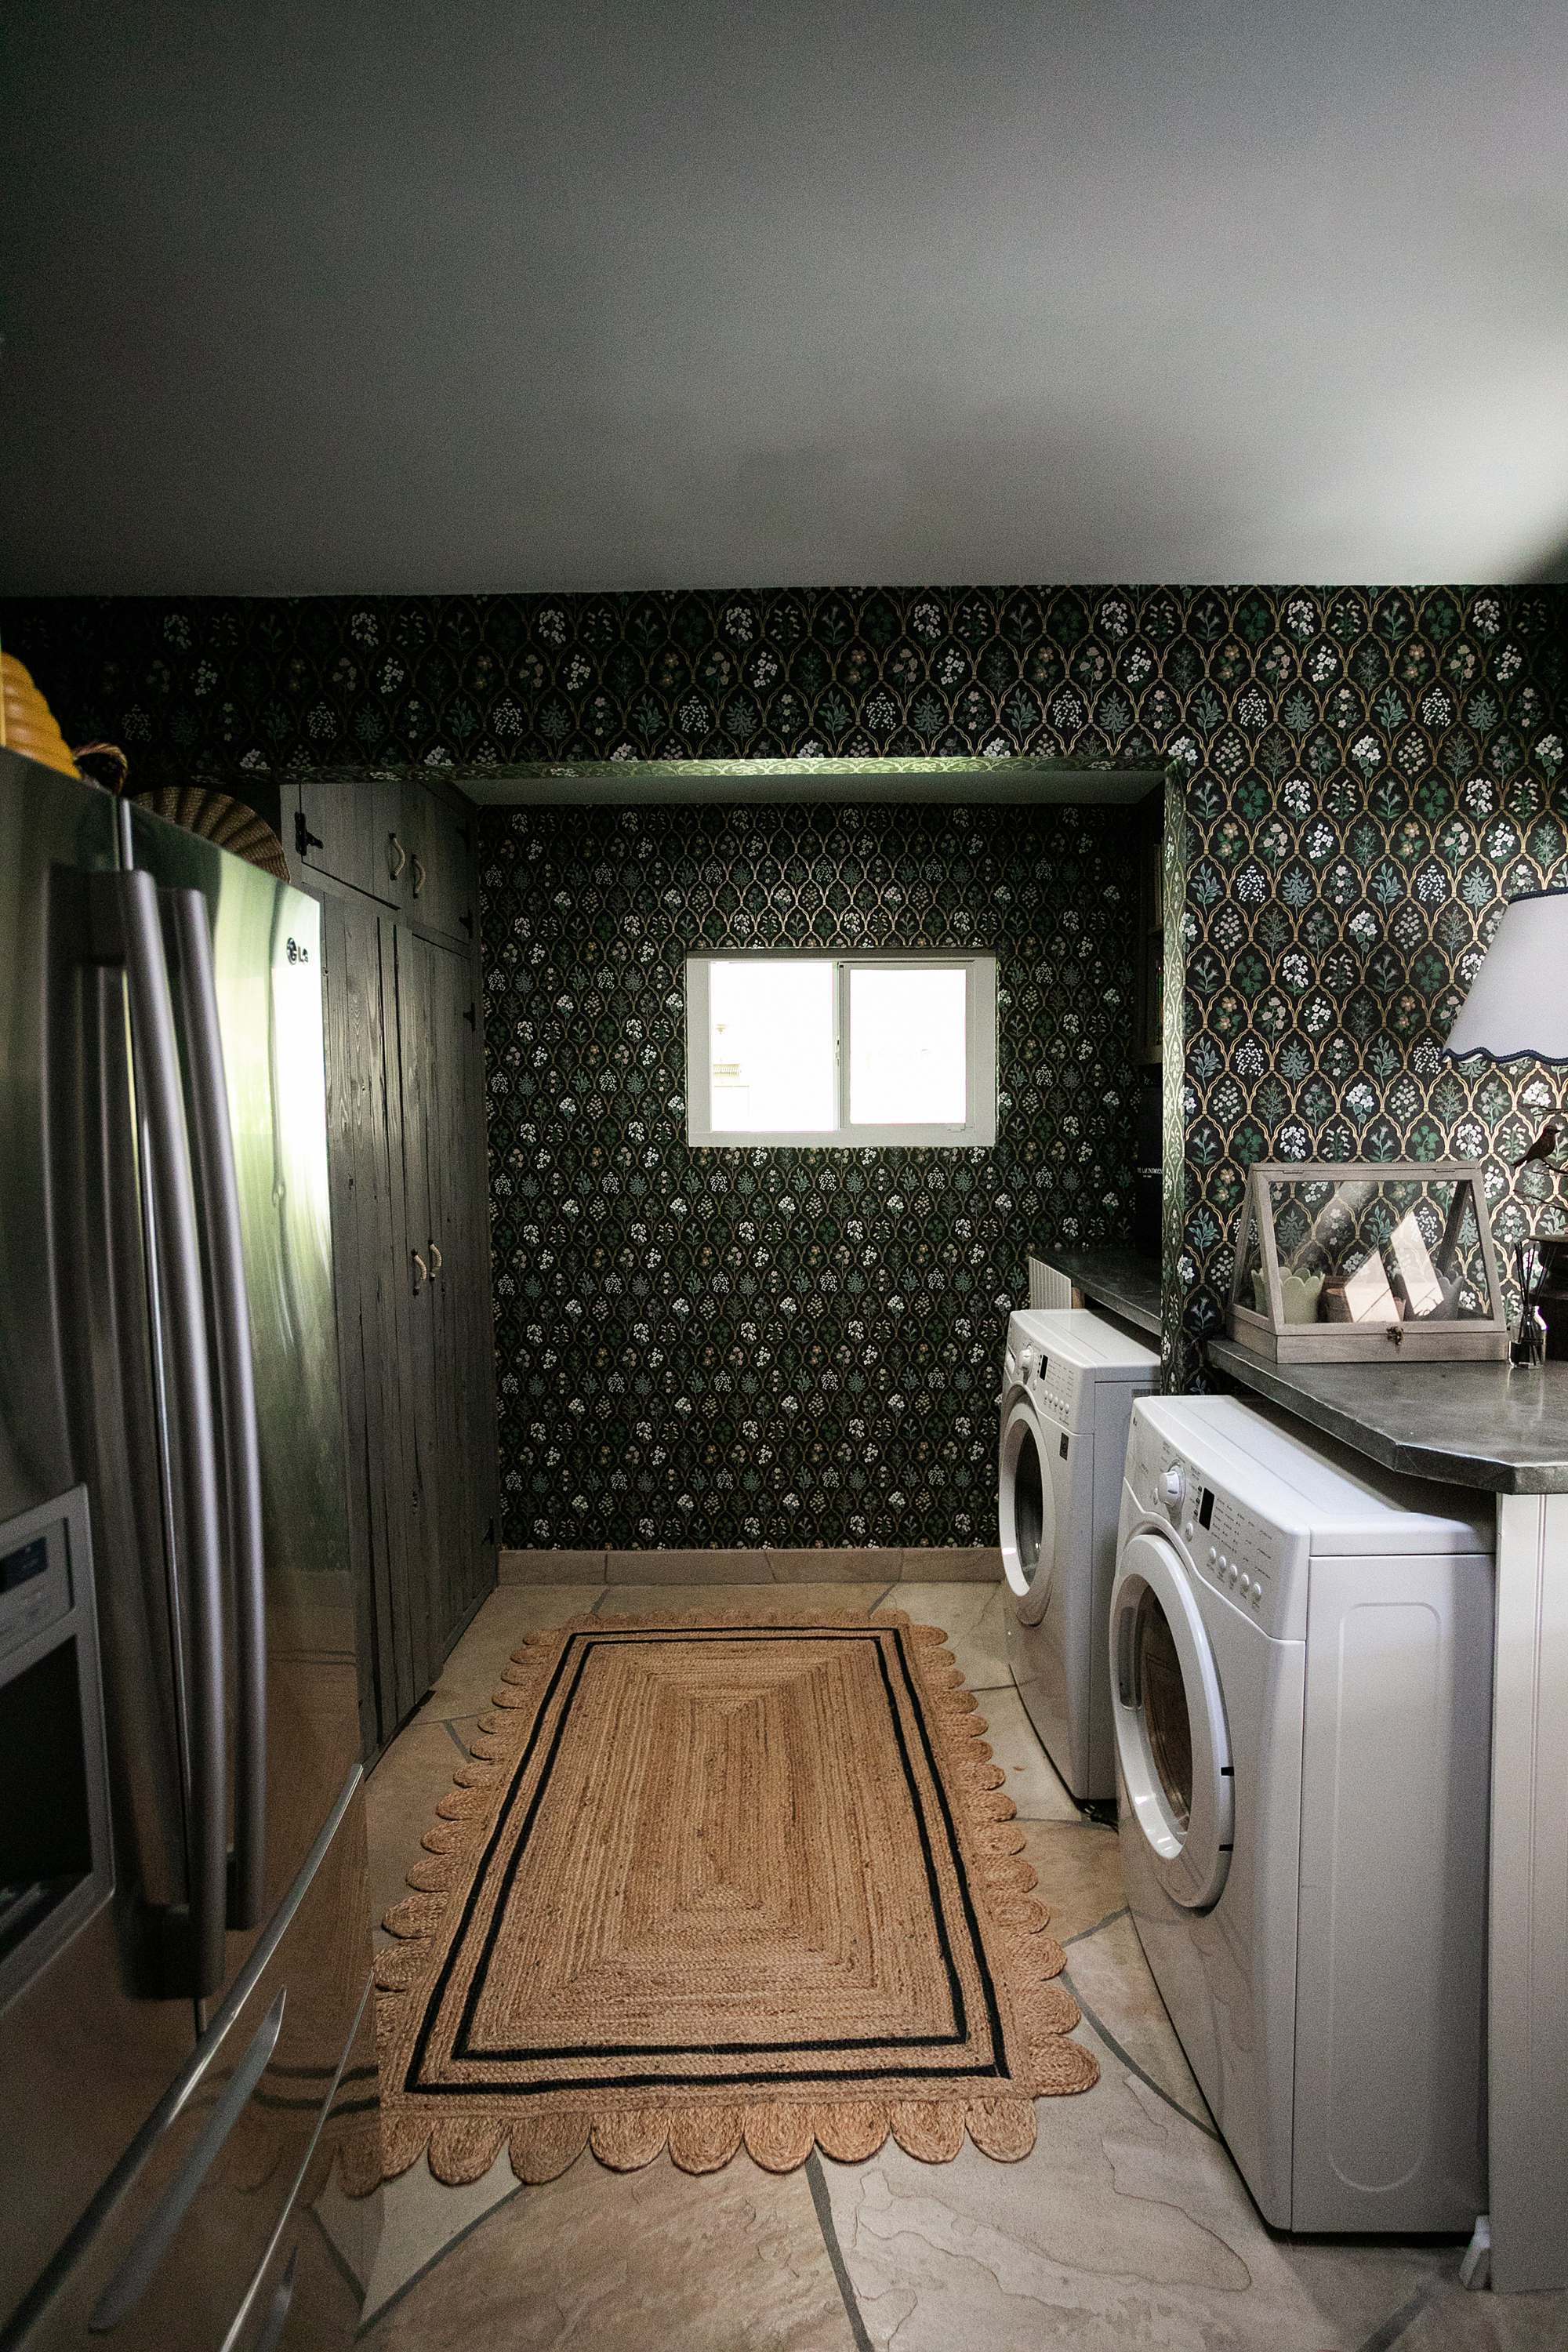
If you missed the laundry mudroom wallpaper reveal, read it here. I have been loving this space ever since I completed it and don’t regret the time, or cost one bit!
I thought I would write up a post to share how to wallpaper and some tips but I won’t go deep into hanging wallpaper because there are many good tutorials online you can find – and I will also link below. I will however share some insight and tips that I think you need to know and what I would tell a friend who wants to wallpaper.
My experience includes lots of removable wallpaper (which is still up in my closets), and traditional wallpaper that I had to book which is not my favorite method, but is pretty typical. I prefer the paste the wall method and it’s so easy!
Here are my tips that I’d like to make sure you know before you being to hang wallpaper.
[button newtab=”yes” title=”See Laundry room reveal” url=”https://dianaelizabethblog.com/dark-wallpaper-mudroom/” color=”#ffffff” background=”#d8a5a4″]
Preparing your walls for wallpaper
Removing removable wallpaper + repairing damage
[one_half padding=”0 25px 0 0″]
If you have any! In my case I had removable wallpaper on a back wall. As I removed it, it took off part of the paint which made an uneven surface. I was told to pull it off at a 45 degree angle, oops.
Anyway, no need to fret! It can be EASILY repaired.
[/one_half]
[one_half_last padding=”0 0 0 25px”]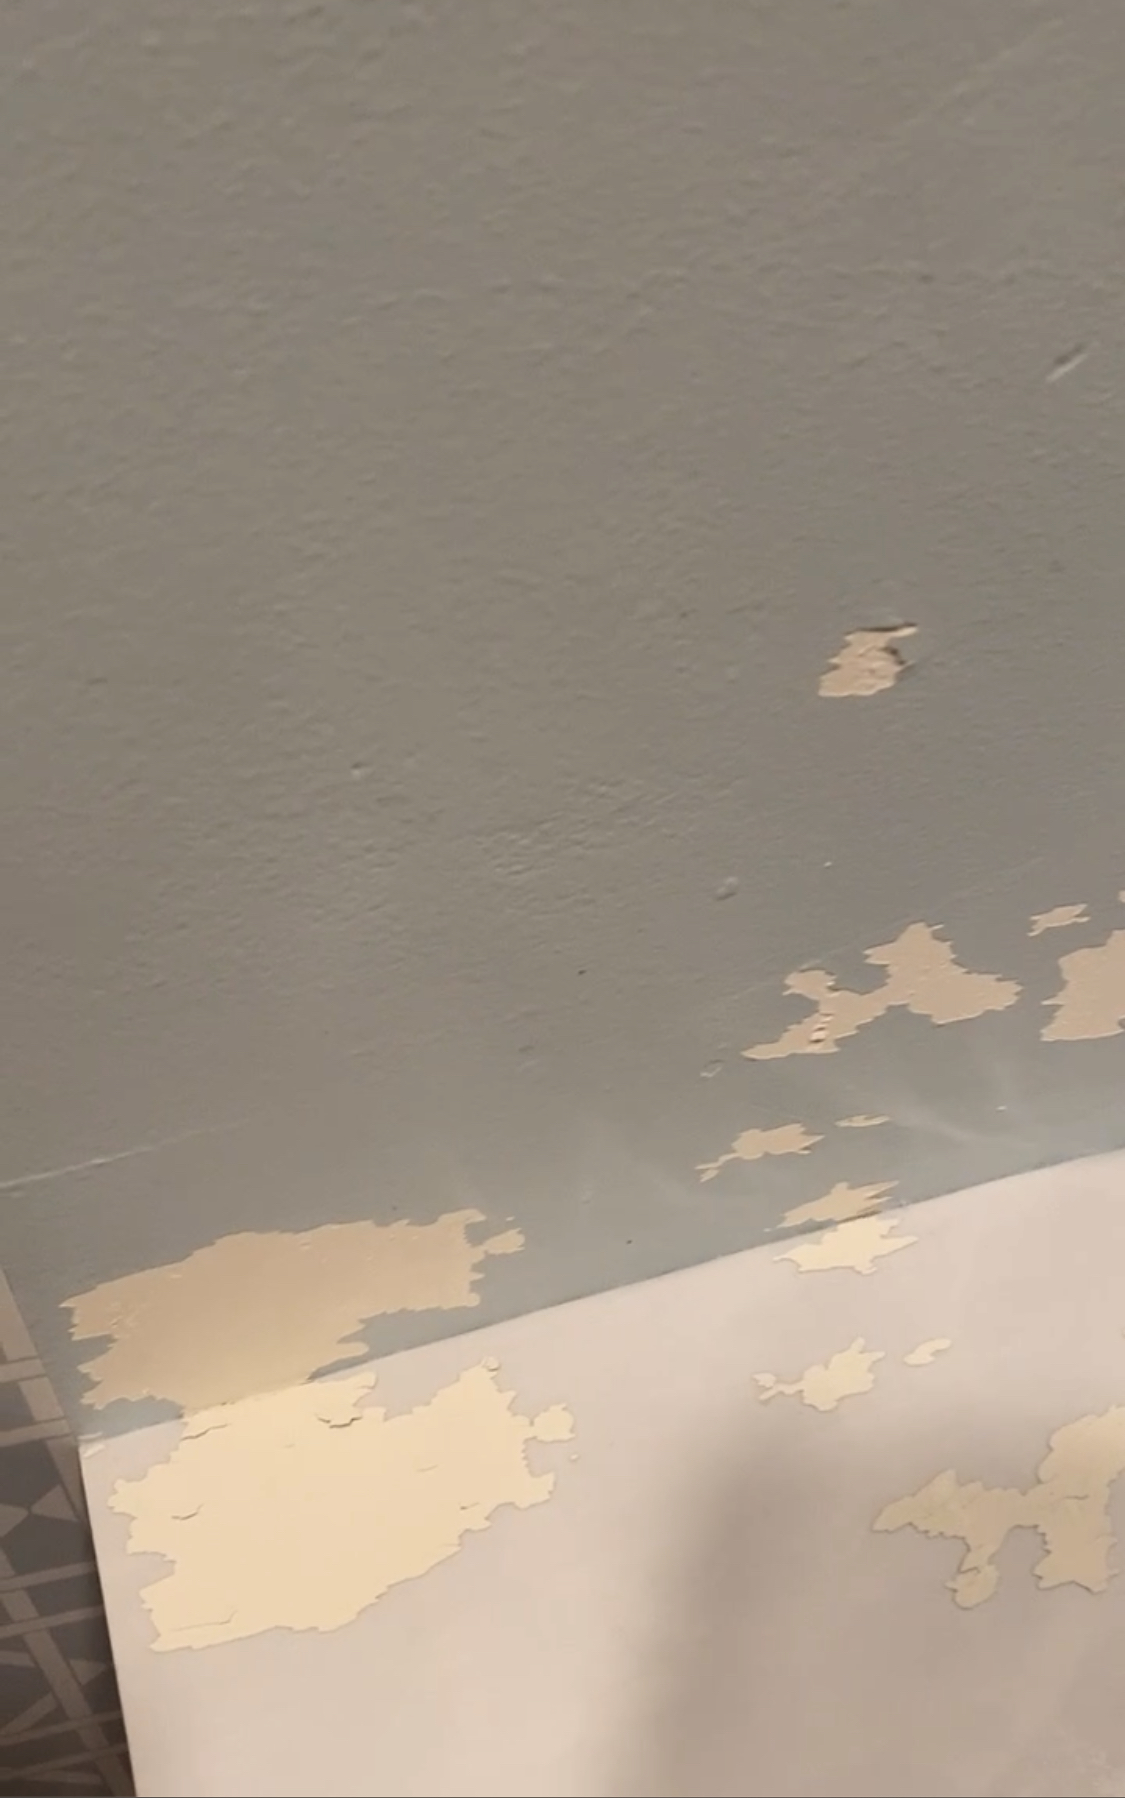 [/one_half_last]
Make your walls smooth
Take a metal putty knife/scraper and move it across the wall to smooth out any bumps. Let them pop off the wall, don’t worry about the paint. If you have canyons in your wall like I did from wallpaper removal, buy lightweight spackling, its light and spreads easily like butter for those small bumps in the wall (use it only for the very small minor canyons in the wall). Otherwise, fill in holes with normal spackle. Use your putty knife! Then get sand paper and lightly sand it smooth.
If you don’t have smooth walls – like they are textured well….you can buy prepasted wall liner so it can go over textured walls or cinderblock, brick, etc. Also here – they say lay it out horizontally like a railroad instead of vertically as you would with installing wallpaper. This is supposed to act like smooth drywall. I don’t have experience with this but I came across it while researching.
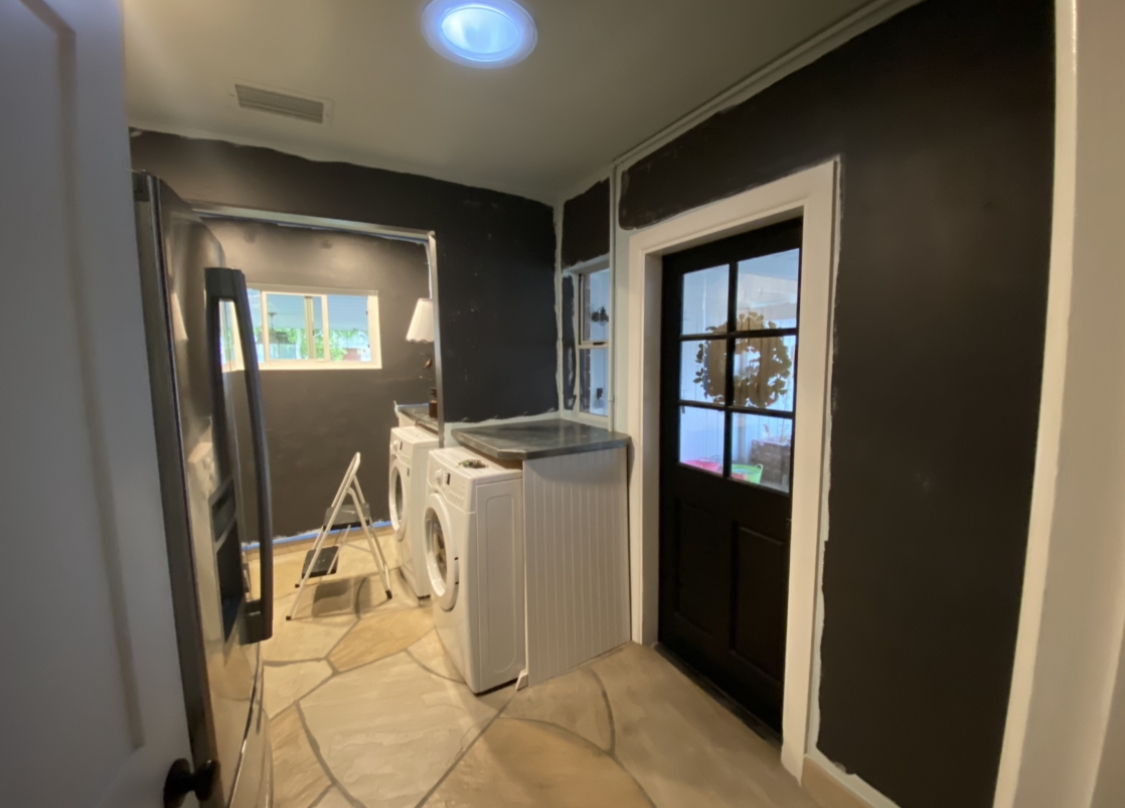
Paint the wall with wallpaper primer
I hadn’t planned on using any but then I came across it while researching! Using this (tint it same color as your wallpaper or close to it), can do a few things – prevent wallpaper from shrinking, future removal, and help hide seams. I bought mine at Ace Hardware. Use this for light colors, or this wallpaper primer for dark (remember to tint it!)
Application does not have to be perfect at all – you don’t need to paint it as though it was real paint – just the major part of the wall is good enough! This was confirmed by several of my followers too – it’s OK to slap it up and not go to the edge of the walls or floor.
Wallpaper Tools + Planning
Get your tools to start wallpapering
[one_half padding=”0 25px 0 0″]
 [/one_half]
[one_half_last padding=”0 0 0 25px”]
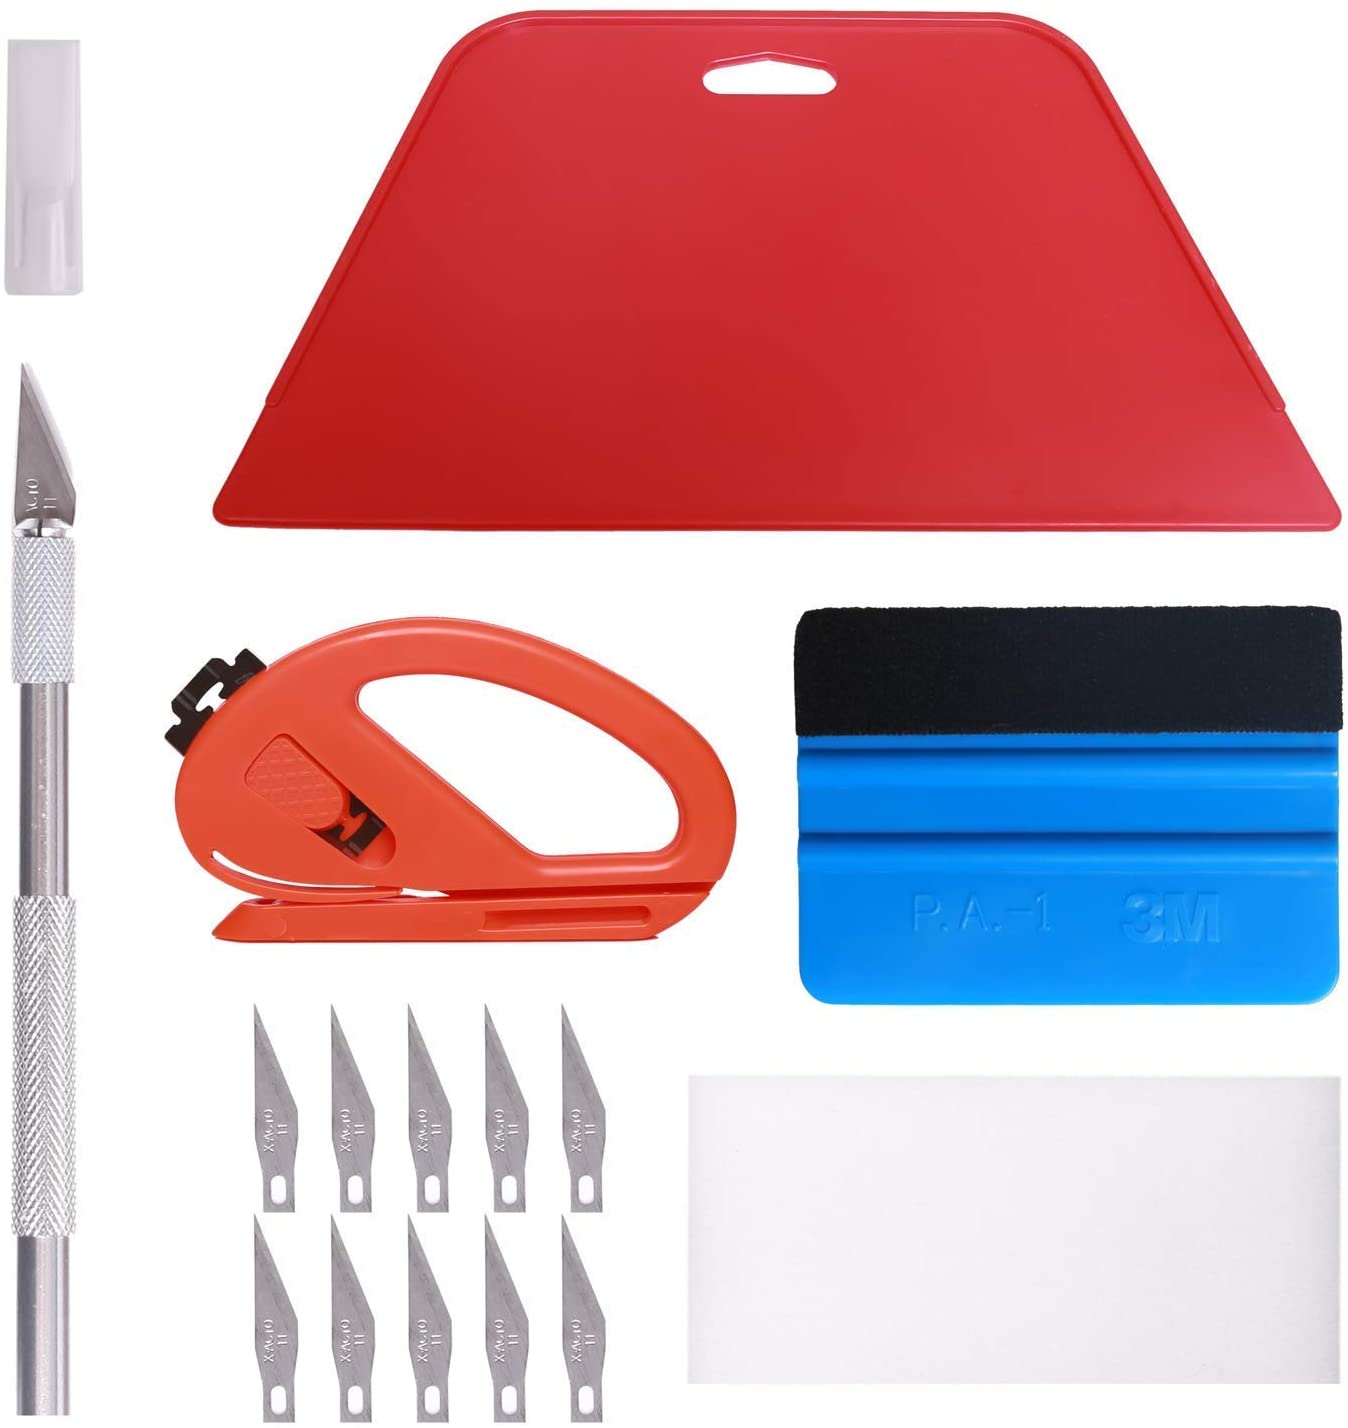
- Wallpaper smoothing tool kit (the blue and red came in so handy! I loved the blue)
- Utility knife and lots of blades (use a new blade every cut)
- Paint roller, tray, and rollers (here’s a kit)
- Large sponge
- Smoothing brush
- Seam roller
- Wallpaper adhesive – for paint the wall method (please check to make sure your wallpaper is OK with paint the wall method). I used over a gallon for my laundry room
[/one_half_last]
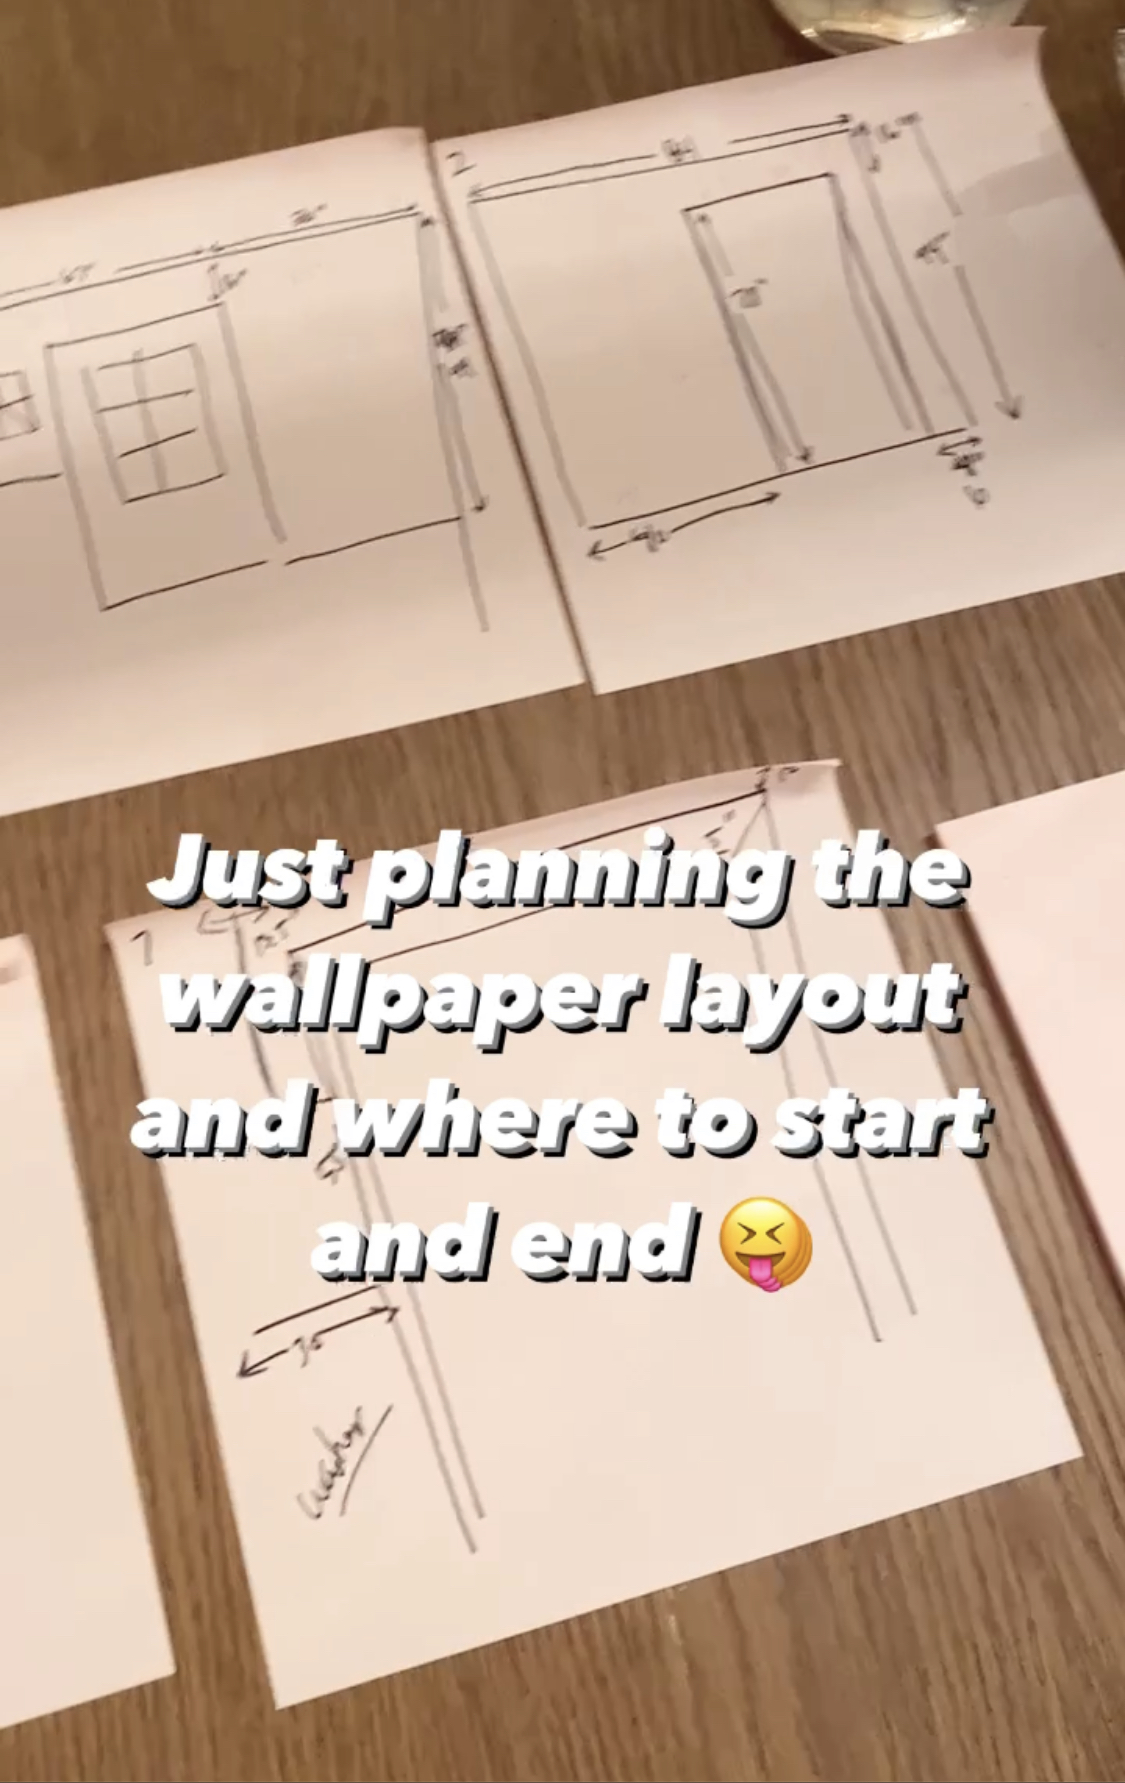
Prepare for the wallpaper location
[one_half padding=”0 25px 0 0″]It sounds crazy but you should have a plan. Know which corner to begin, and know which side is most important to have a full roll and no small thin seam by the doorway.
Also corners are cut just a bit and overlap (ever so slightly) because corners are not plumb.The most important thing is to avoid a skinny strip by a doorway or window.
Now that you have a plan, it’s time to watch and read some examples and tips.
[/one_half]
[one_half_last padding=”0 0 0 25px”]
[/one_half_last]
Time to wallpaper!
- Load up the wall with as much paste and adhesive with the roller.
- At the top of the wall, add adhesive, slap it across. Don’t worry about it getting on ceiling. You can take a sponge and remove it with water, it’s water based.
- Don’t starting the corner it’s never straight. I started at a main door and made sure a line was a plumb. Your ceiling and doorways are rarely plumb (perfectly vertical) so don’t worry about it – you want the wallpaper plumb!
- Make sure you smooth all the air bubbles out and use the blue or red smoother to get the glue moving out to the edges. Remember it doesn’t matter if it gets on the wallpaper (unless it’s grasscloth) because you can wipe it off with water on the sponge.
- Use the seam roller to make sure the seams are tight! If by chance you feel like there is no adhesive on the other side of the wallpaper take a brush and shove it back there – remember you can wipe off the wallpaper glue!
- Use the metal edger or guide to cut along the top and bottom of the wallpaper.
BIG TIP:
When you use the exact knife, angle it so the blade angles so you would cut as though you are cutting at say 45 degrees so the white wallpaper material wouldn’t show. For example, if the paper is black and you cut straight or the opposite angle you would see a line of white from the layer below the colored wallpaper. I hope that makes sense. It’s something I notice in certain areas in my home. Straight is fine, but angled in is better, but not out!
Good luck!
[button newtab=”yes” title=”See Laundry room reveal” url=”https://dianaelizabethblog.com/dark-wallpaper-mudroom/” color=”#ffffff” background=”#d8a5a4″]

Other helpful hanging wallpaper links to watch/read
Diana Elizabeth has another room she’d like to wallpaper she needs to order it and then when the heat comes in, she’ll be indoors working on inside projects again!
Leave a Reply