I am so excited to share my home photography studio tour!
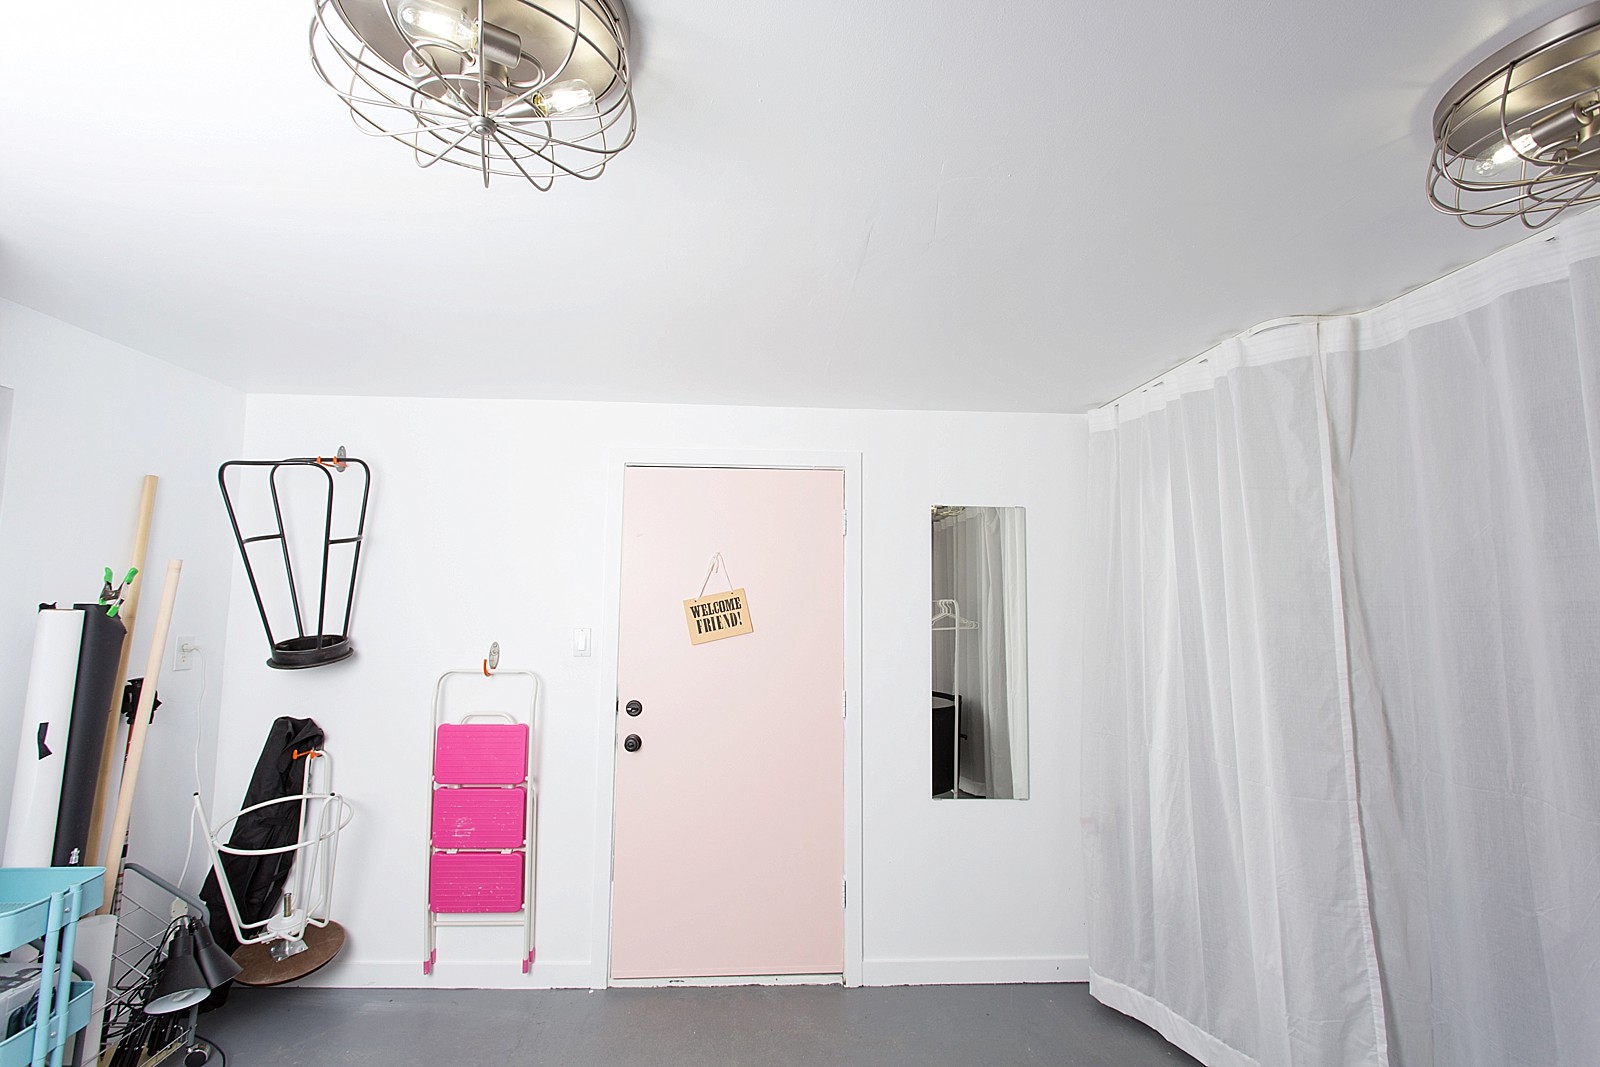
The former storage, now turned studio, is approximately 15×14 inside. After adding baseboards and trim (patting myself on the back for that!) We painted the walls and ceiling non-tinted eggshell paint courtesy of Behr paints.
We replaced the lighting with pretty ceiling mount light fixtures from Build.com. And the biggest improvement is the addition of a Koldfront through the wall AC and heater from Build.com! I now have temperature control in the studio which means I can create without thinking about my body temperature or outside. More details coming soon about every choice made. See video tour here.
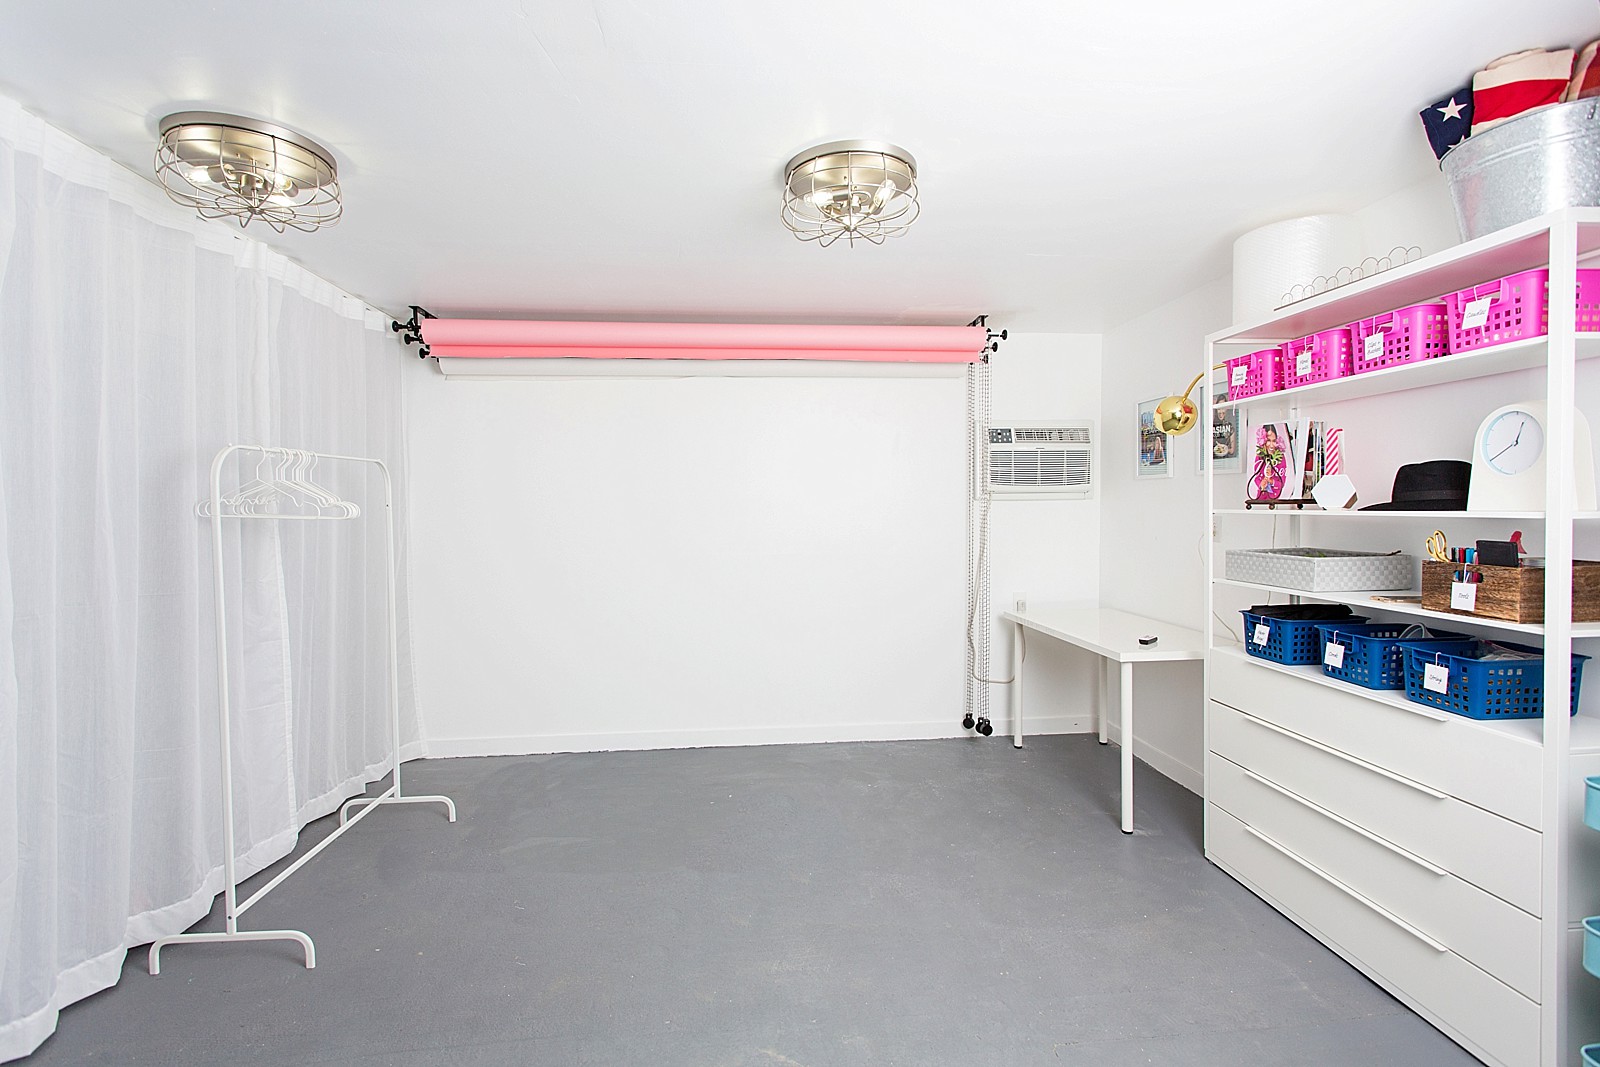
Backdrop/shooting area
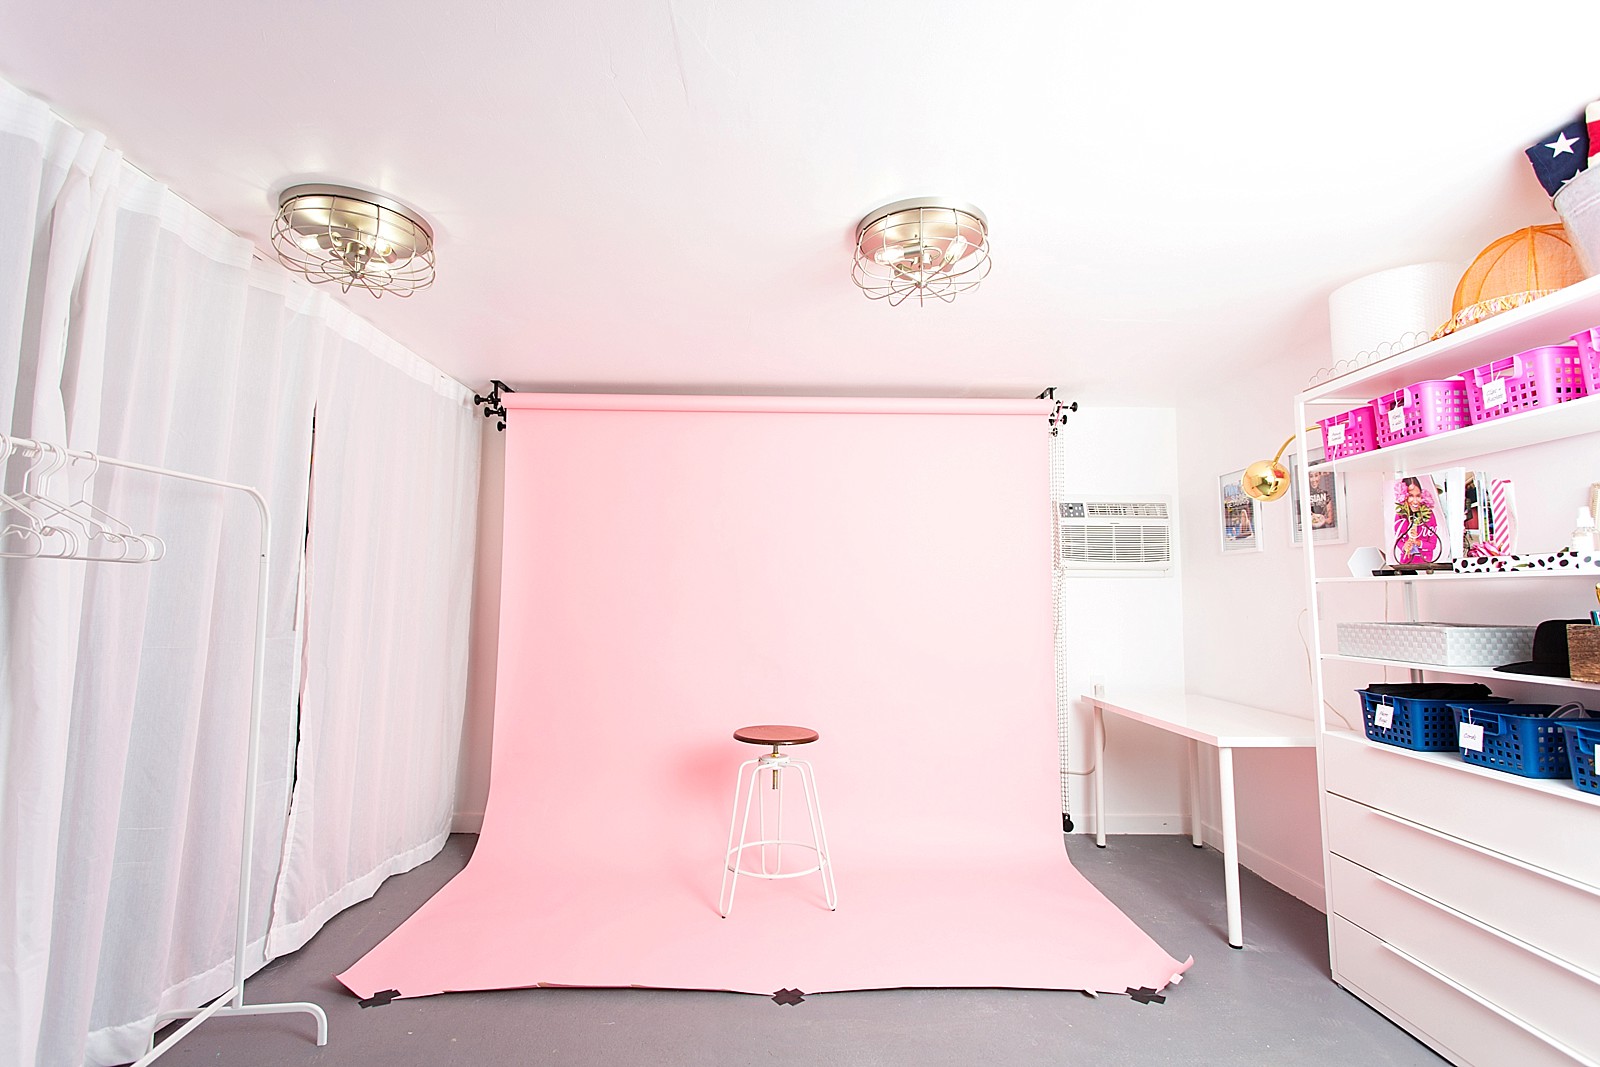
I have a portable backdrop kit I had been using but I always desired to have a permanent mount for my seamless backdrops – which would make it easier to change. I bought the mount from B&H Photo Video, (option 1, 2, 3) and decided to mount them to the ceiling instead of the wall for clearance – I’m 5’7.5″ and with heels my head might barely clear the lowest roll of paper. Our ceiling height is a little over 7.5 feet.
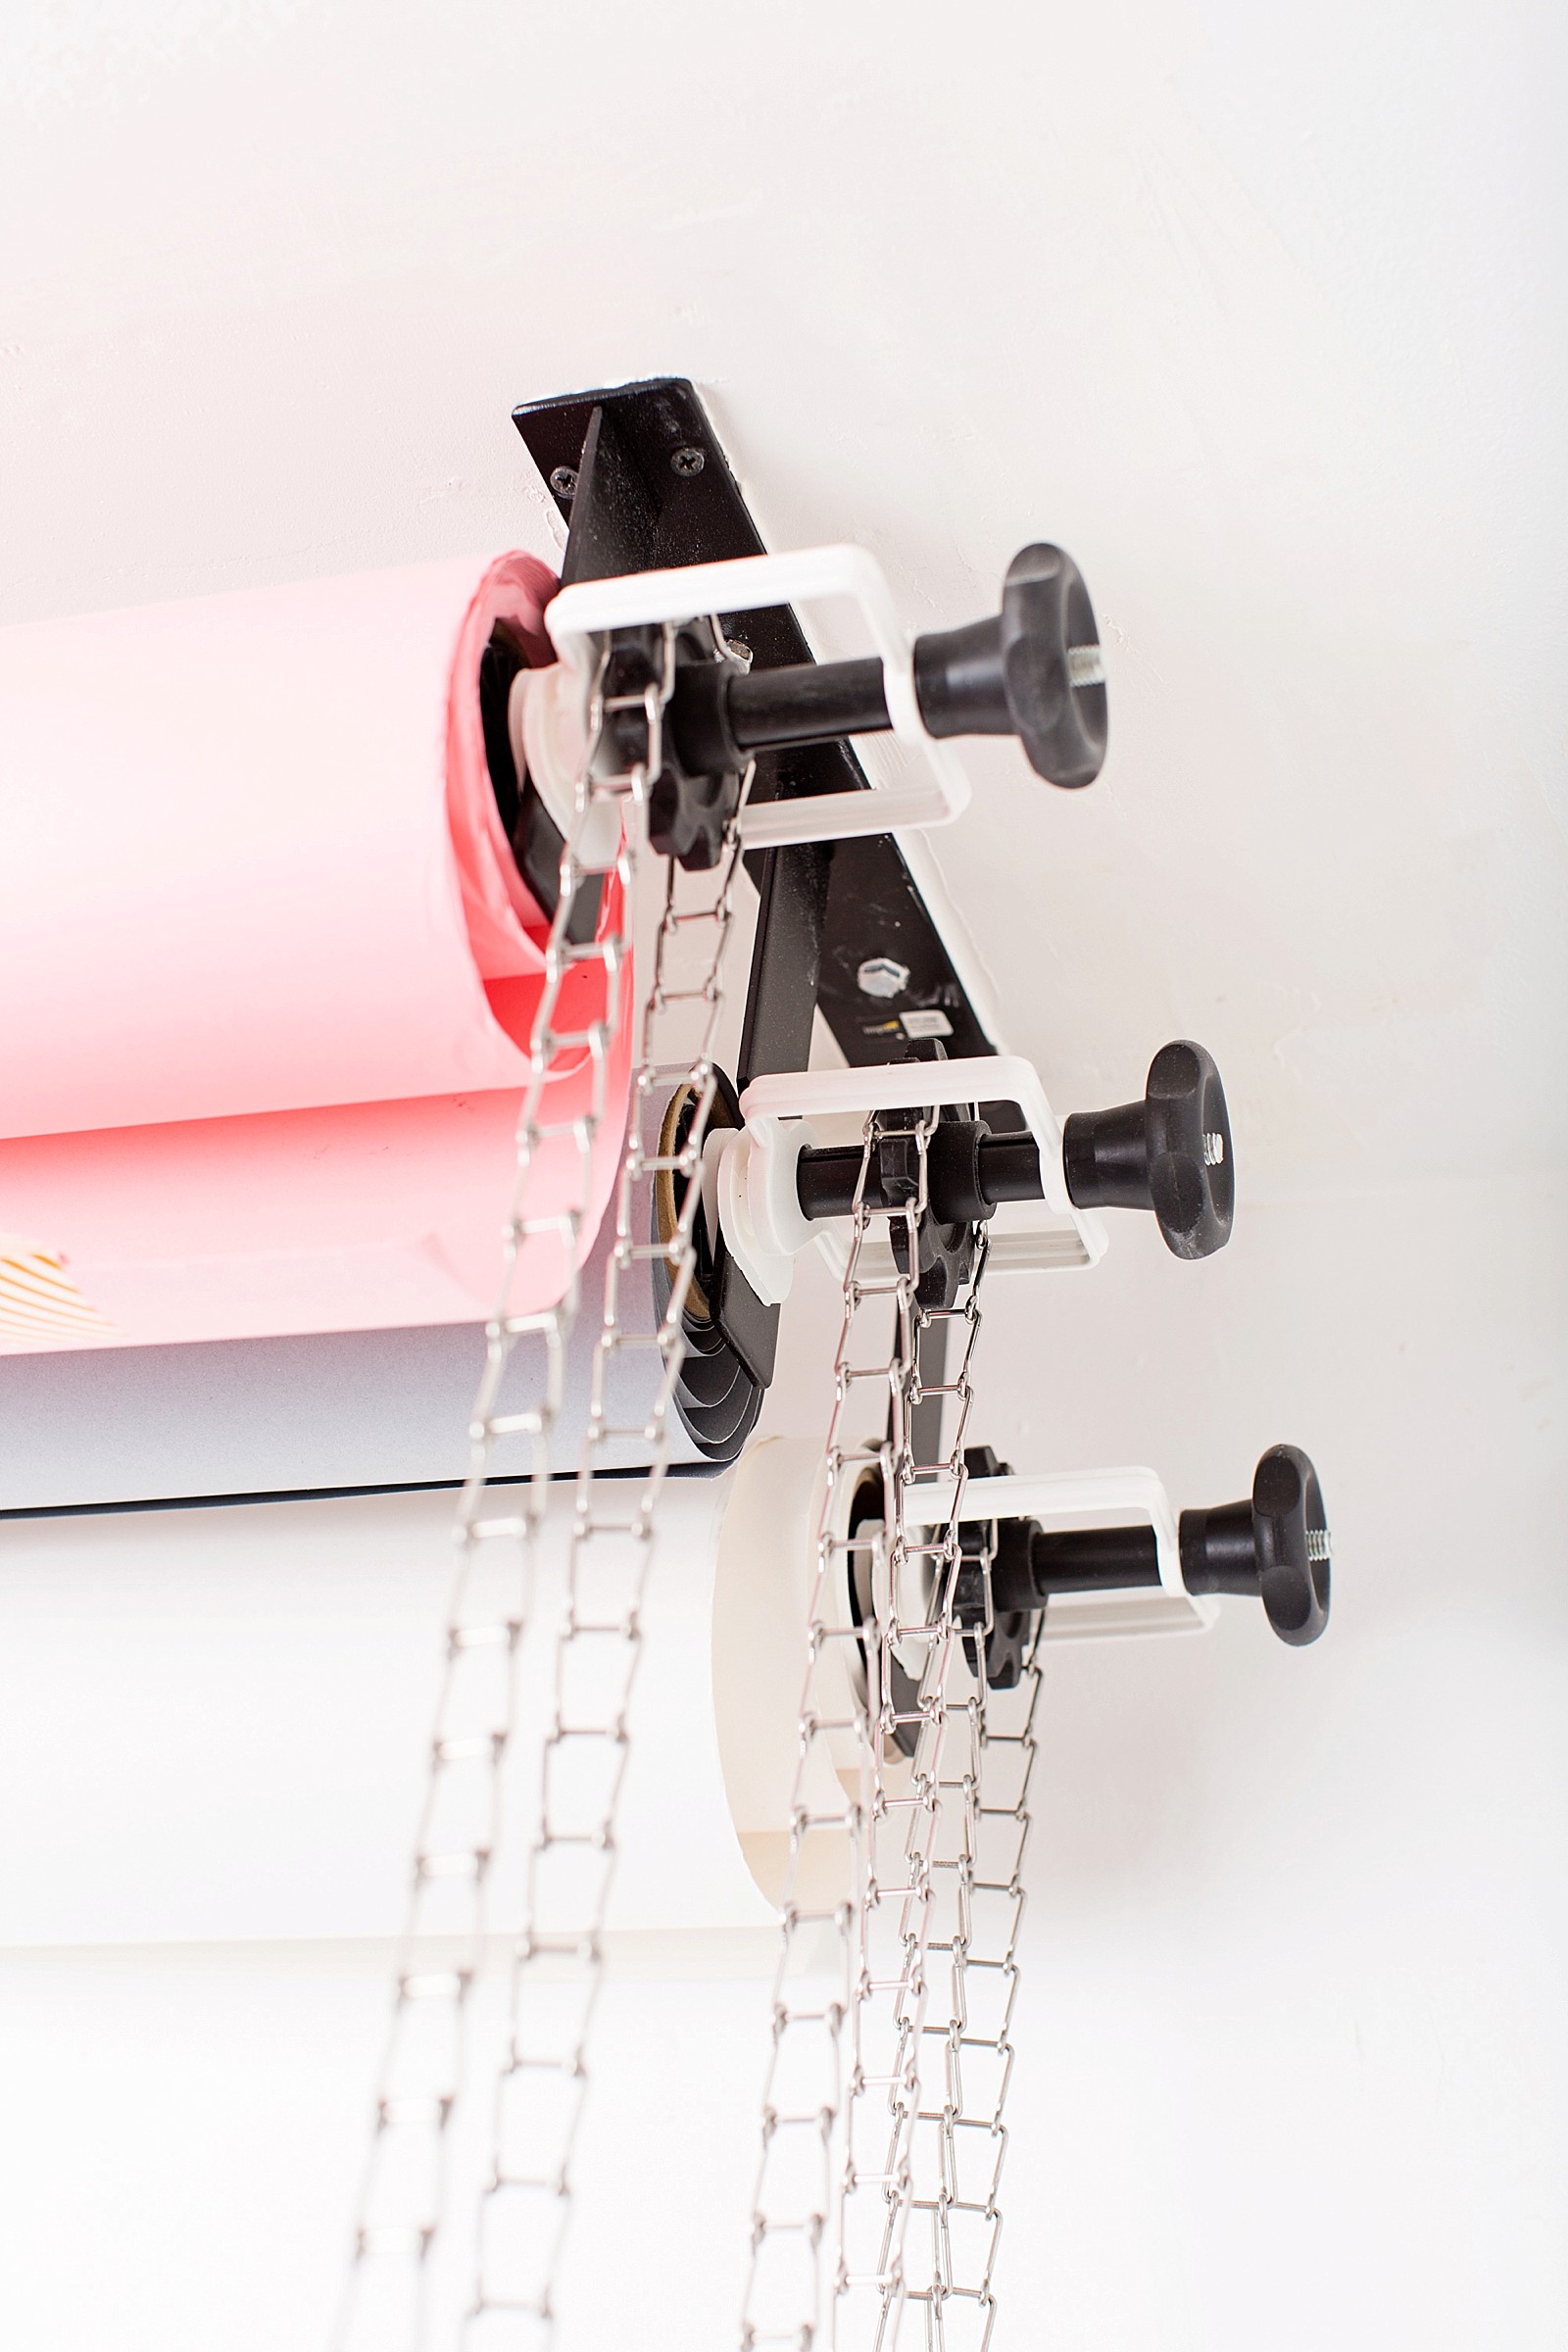
Yes, I absolutely need a coral backdrop.
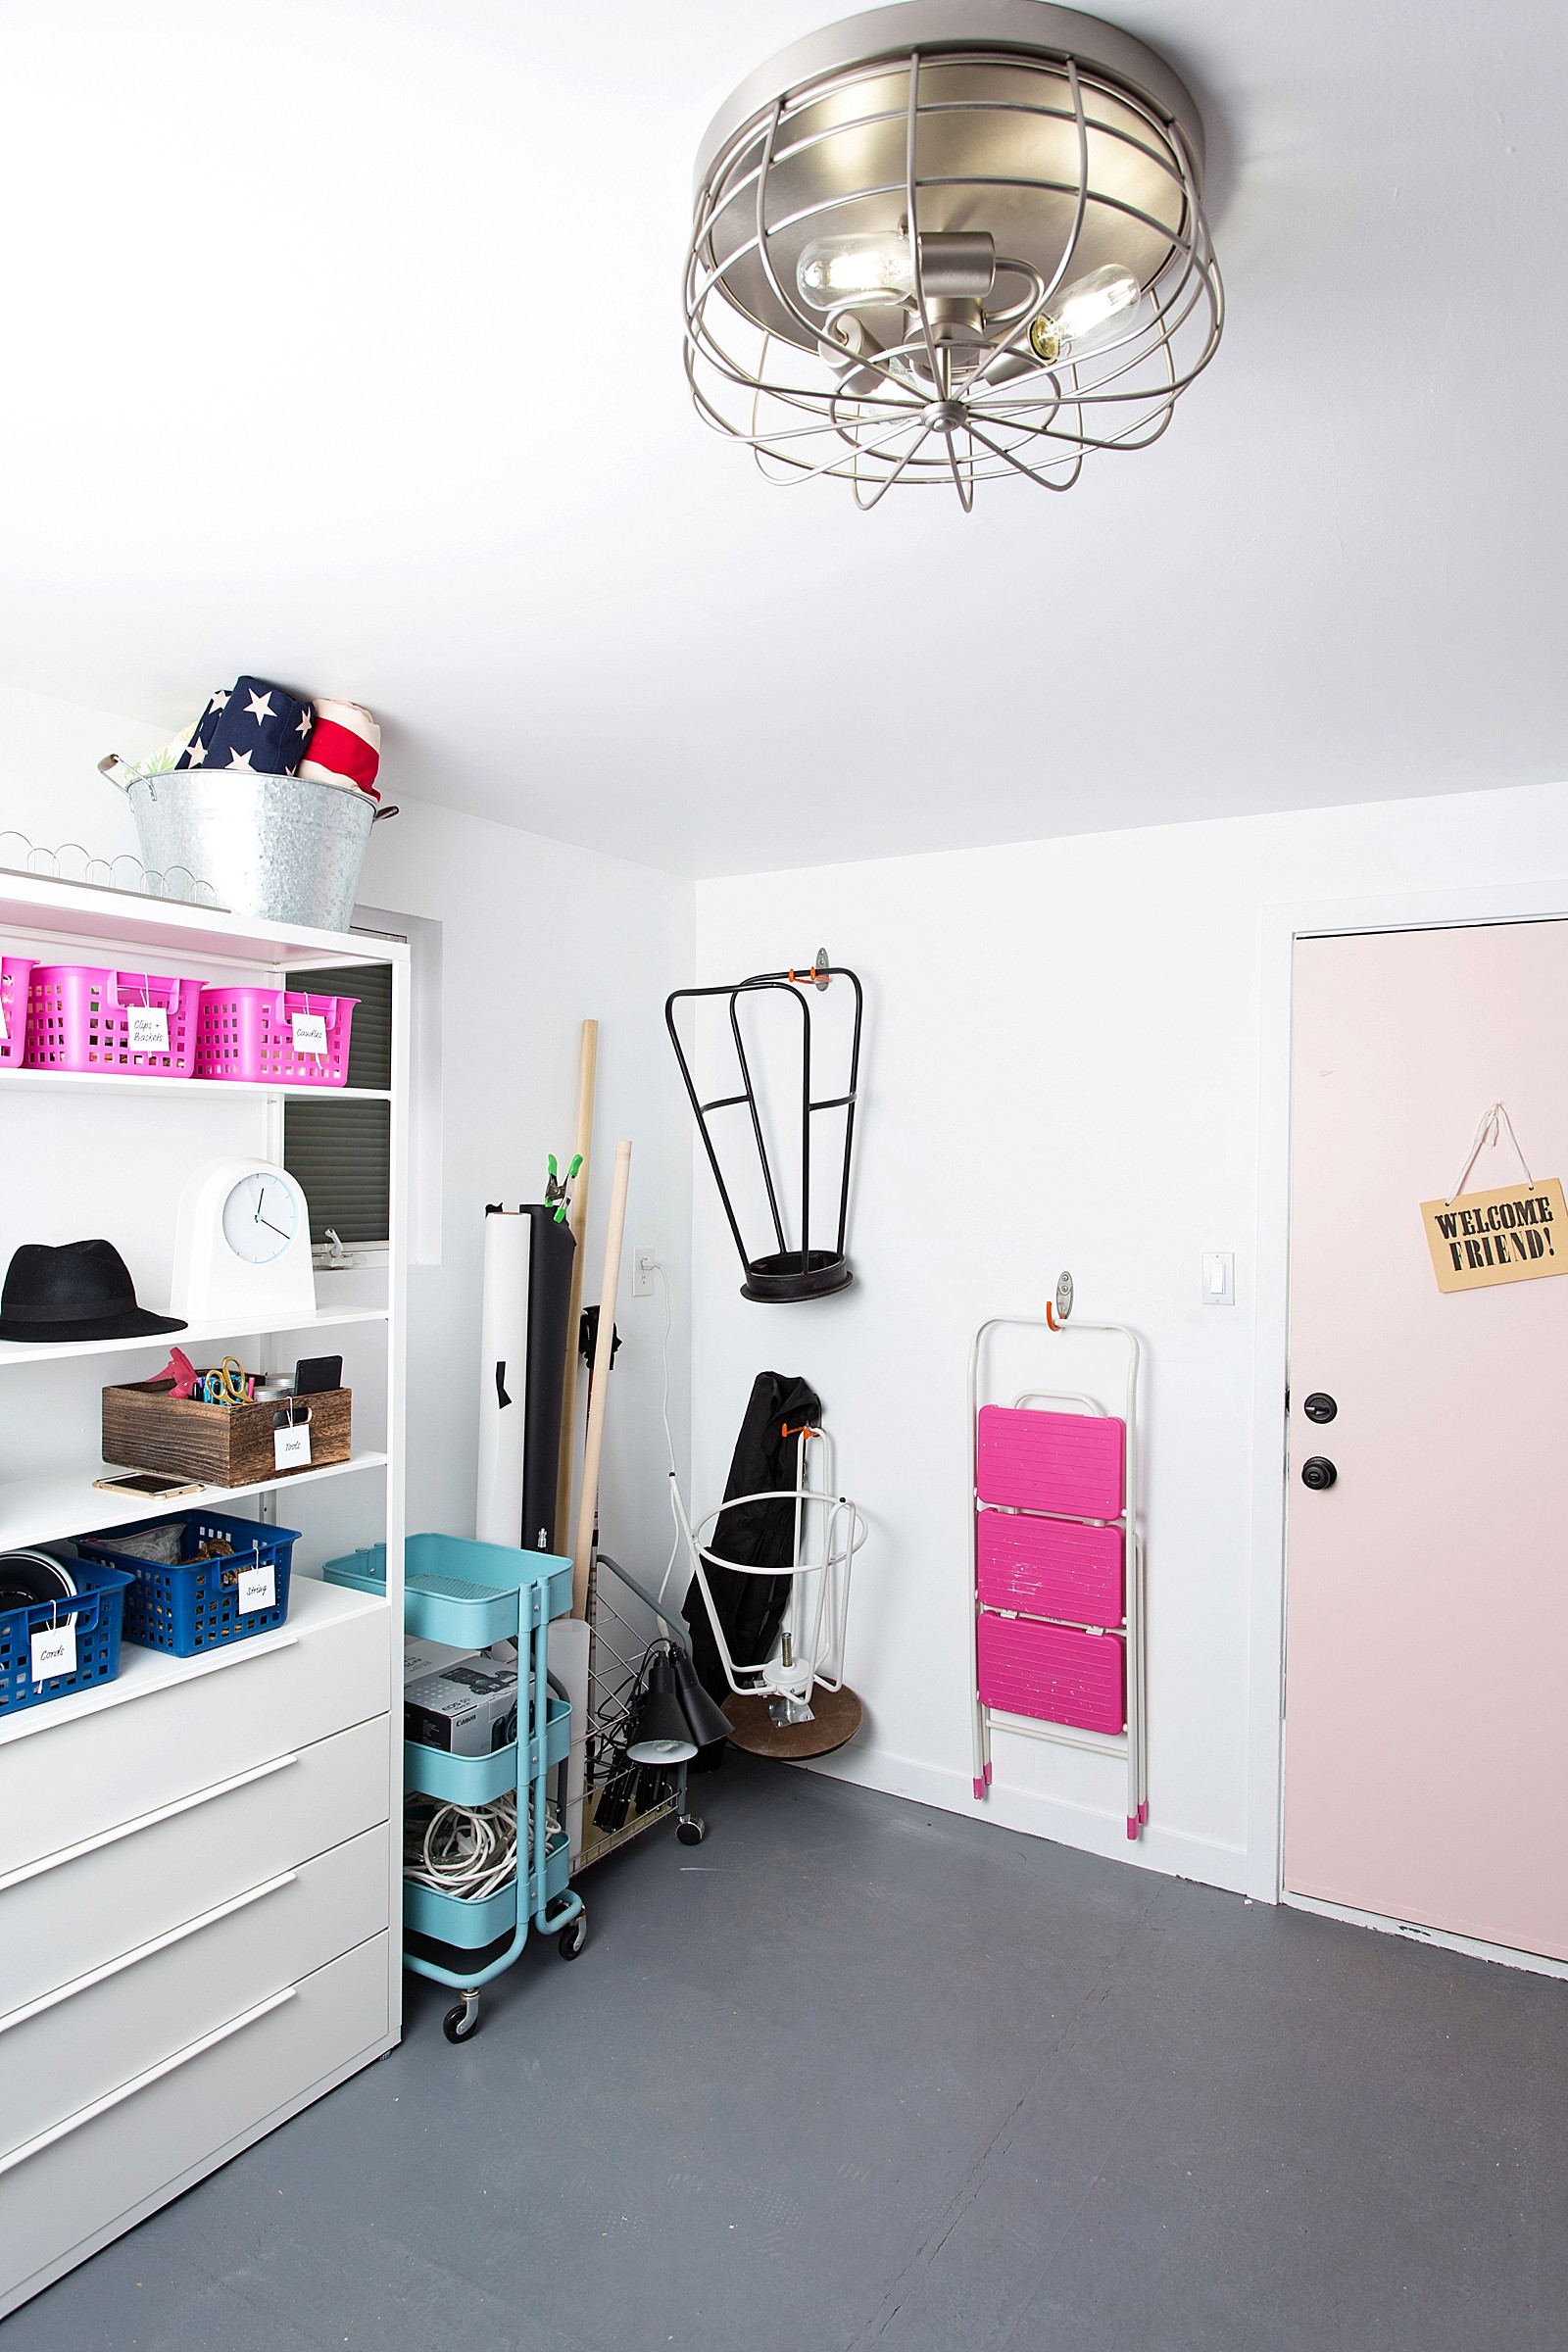
Just like I needed to paint the back of my door pink, “Pink Elephant”. I didn’t know what pink elephant was until I had bought drink stirrers a decade ago with pink elephants on them and then put the story together – so if you’re not sure what it means, it’s pretty much what people say they see when they are drunk, a hallucination. It’s pretty funny saying. If recall the movie Dumbo, there are dancing pink elephants in his dream (when he’s a bit tipsy). *wink*
No hallucination here, the door is the loveliest shade with a cute name.
Studio props/storage

Shelving unit with drawers is from IKEA, bought an extra drawer set (if you do, consider buying an additional shelf). The drawers are filled with light bulbs, fabric backdrops, empty camera boxes. The blue utility cart is also from IKEA and I add things I might easily need at my fingertips while shooting – clamps, a pen, extension cords, etc.
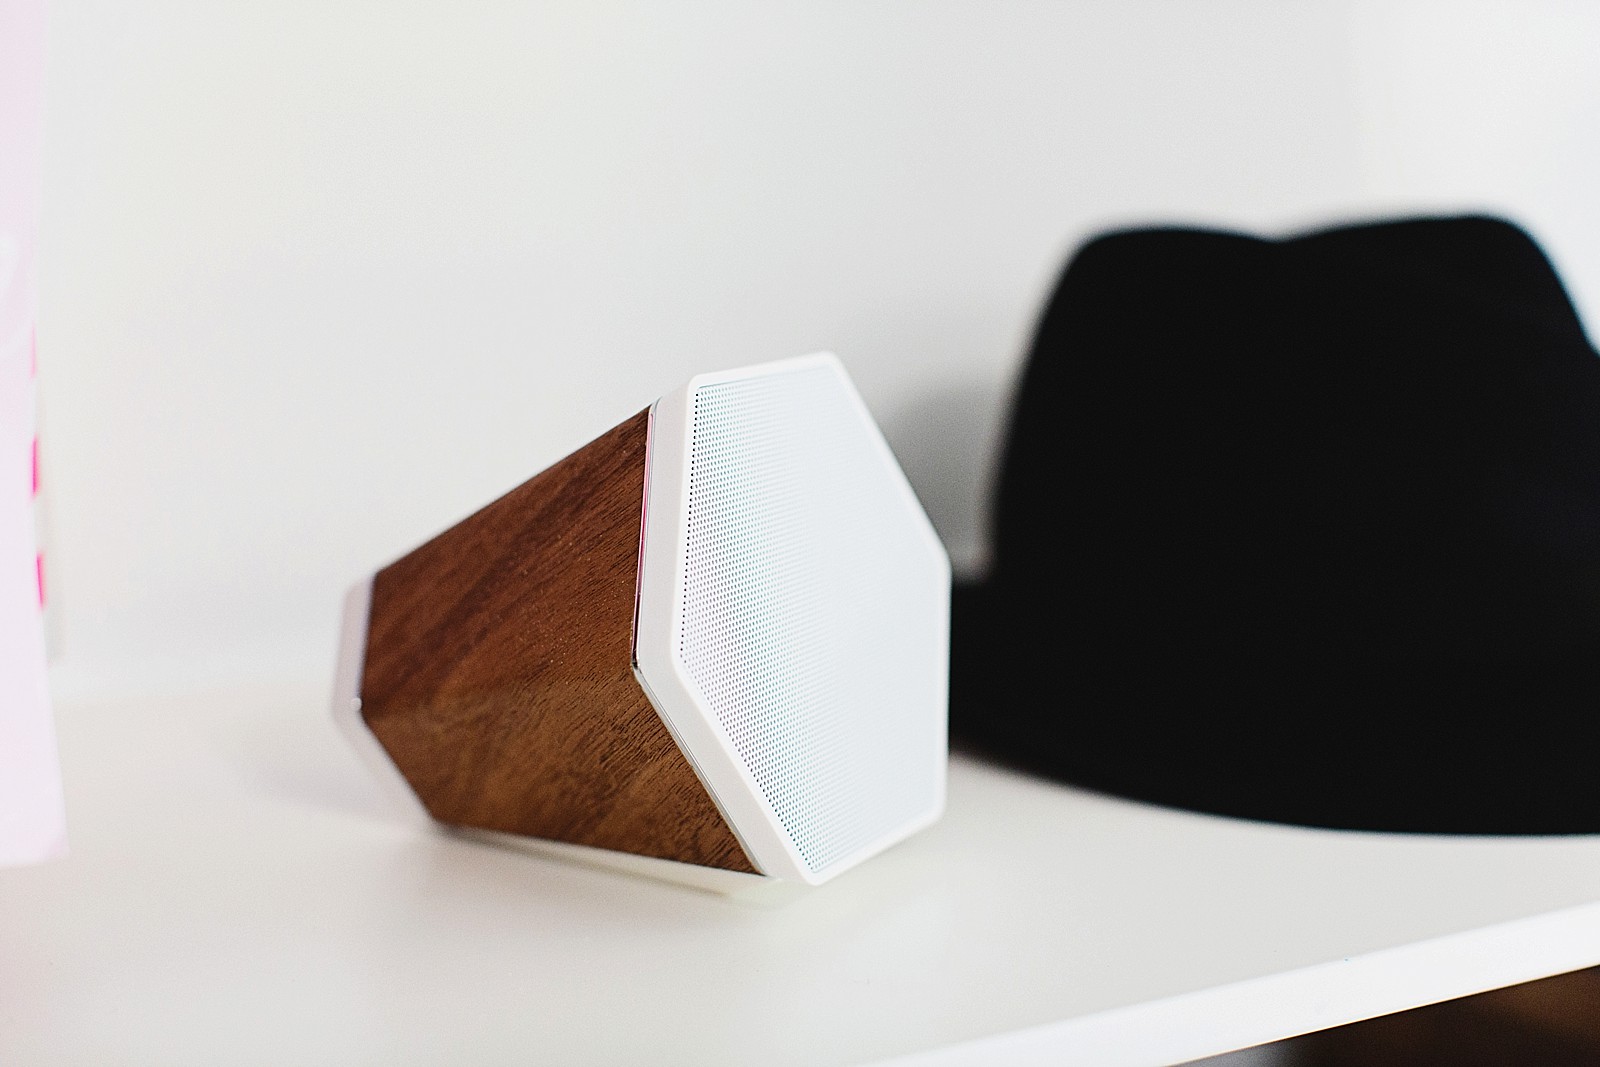
^^ I was on the hunt for a bluetooth speaker for the space – because listening to music makes everything more fun. I found this sleek and minimalist yet powerful speaker by Recover, called “Outlier” which I found on Octer.com, an online marketplace that curates some unique products from departments and stores from fashion to gadgets. You can pretty much find anything on there and compare prices of products which is so great, especially when I’m trying to stay on budget.
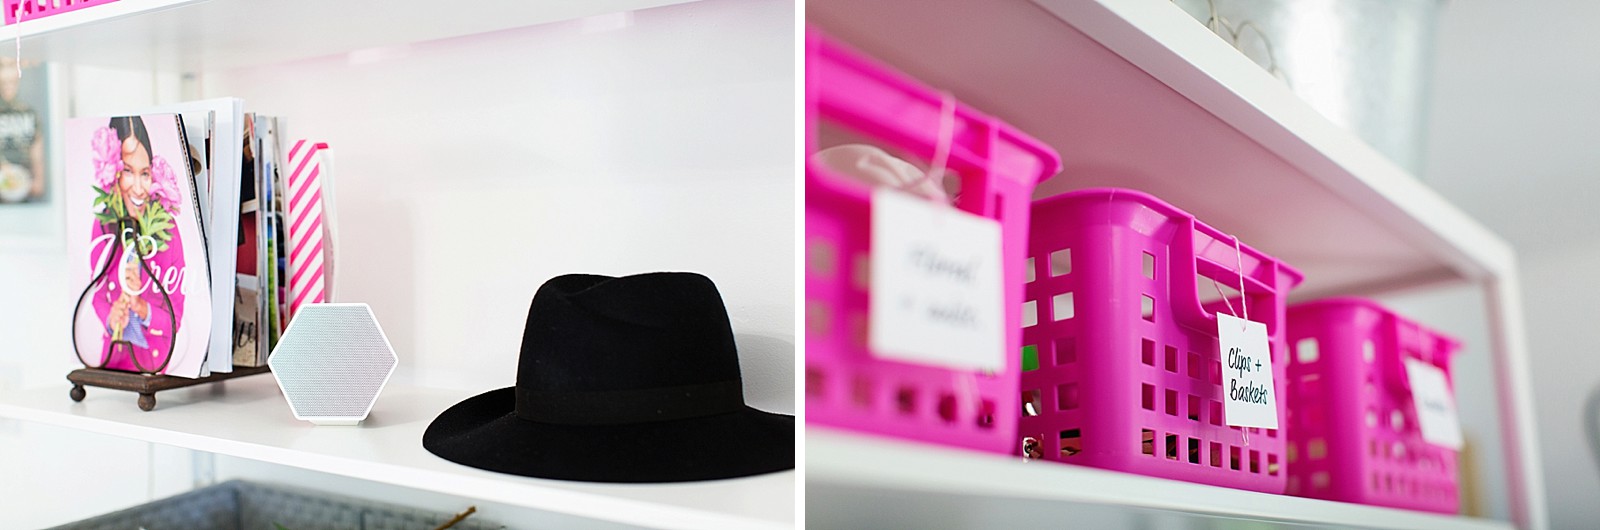
There are so many things I need to take a good photo (haha!) like props, clamps, and these plastic bins from IRIS found on Wayfair came in so handy – in fun colors too! I made labels for them because I would go batty if I had to guess where things were and it helps when I tell Benjamin which bin to look in.
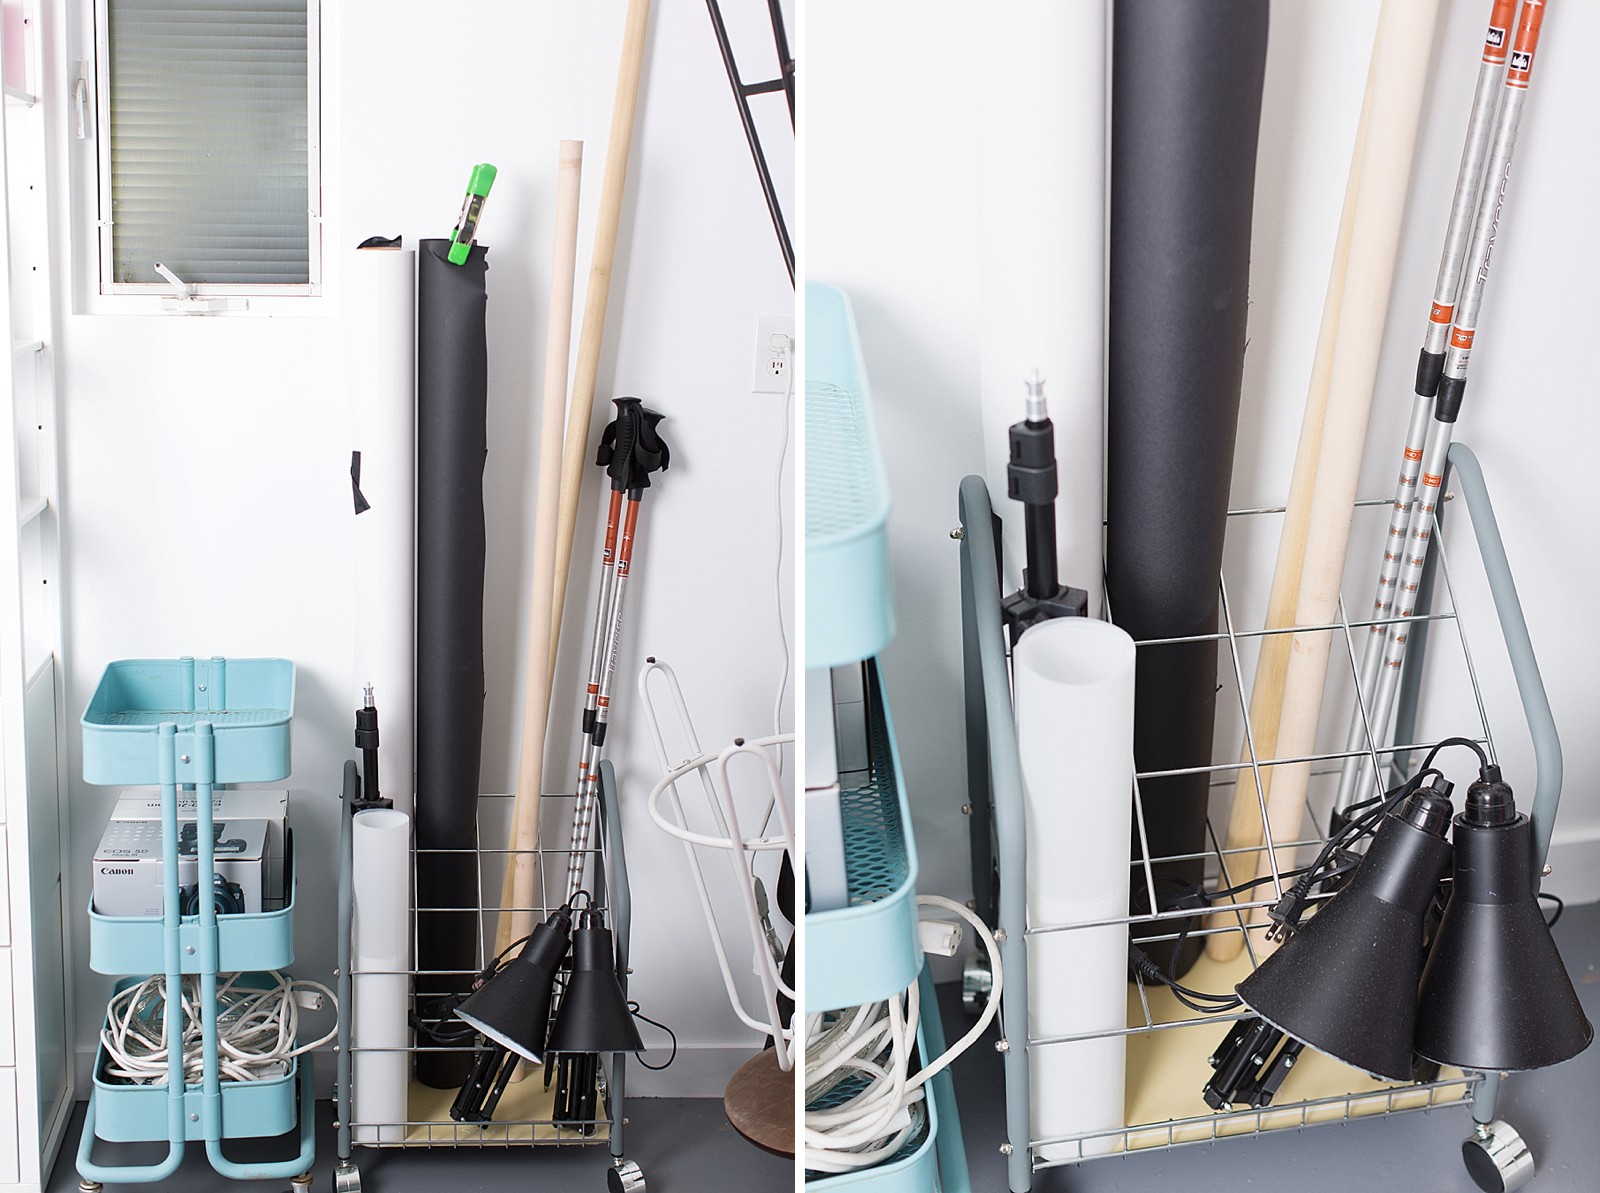
^^ This Safe Tabular Steel Wire Roll Files (c/o Blue Cow Office Products) organizes my tripods and shorter backdrop rolls – used for on location corporate shoots. The wire frames hold up to 3-3/4″ diameter. I also added other non photography items in there – haha! It’s a studio and let’s not forget it’s also storage. This mobile roll file is equally handsome should you need any documents stored (maybe even wrapping paper) and stick like objects like tripods ;)
The corner also has stools for shoots and the must needed step stool – comes in green and pink!

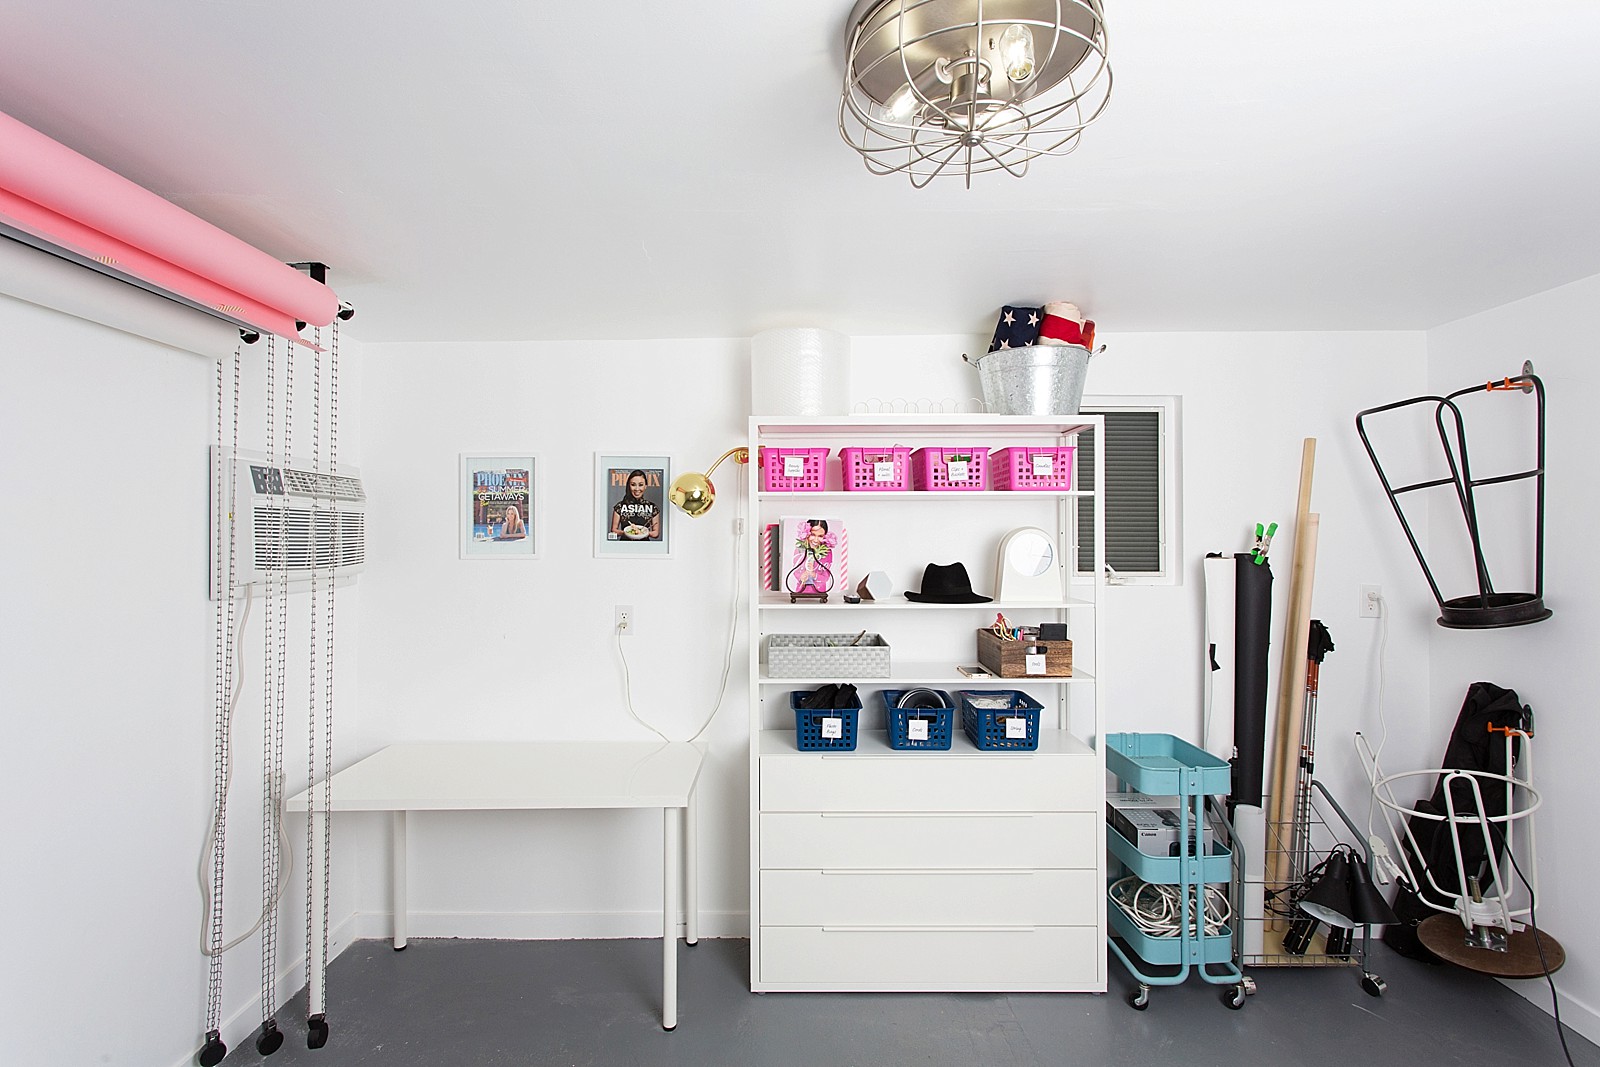
To the left of the shelving is my light weight table, from IKEA. I finally found a place for my PHOENIX magazine covers – the one I photographed (this model became a client and a friend) and the one I’m on the cover.
I figured the covers would make the space feel warm and was a fun touch for the studio – where photography happens! I came across 14×18 float frames from Target and hung them above the IKEA desk. The desk serves as a place to style products and shoot on it, and it is the spot where I set up my pop-up cube to photograph small products. I’m still going to work on the styling part of the shelving but I know as the months go on, I’ll have more “stuff” I’ll be collecting so no rush to fill it up right away.
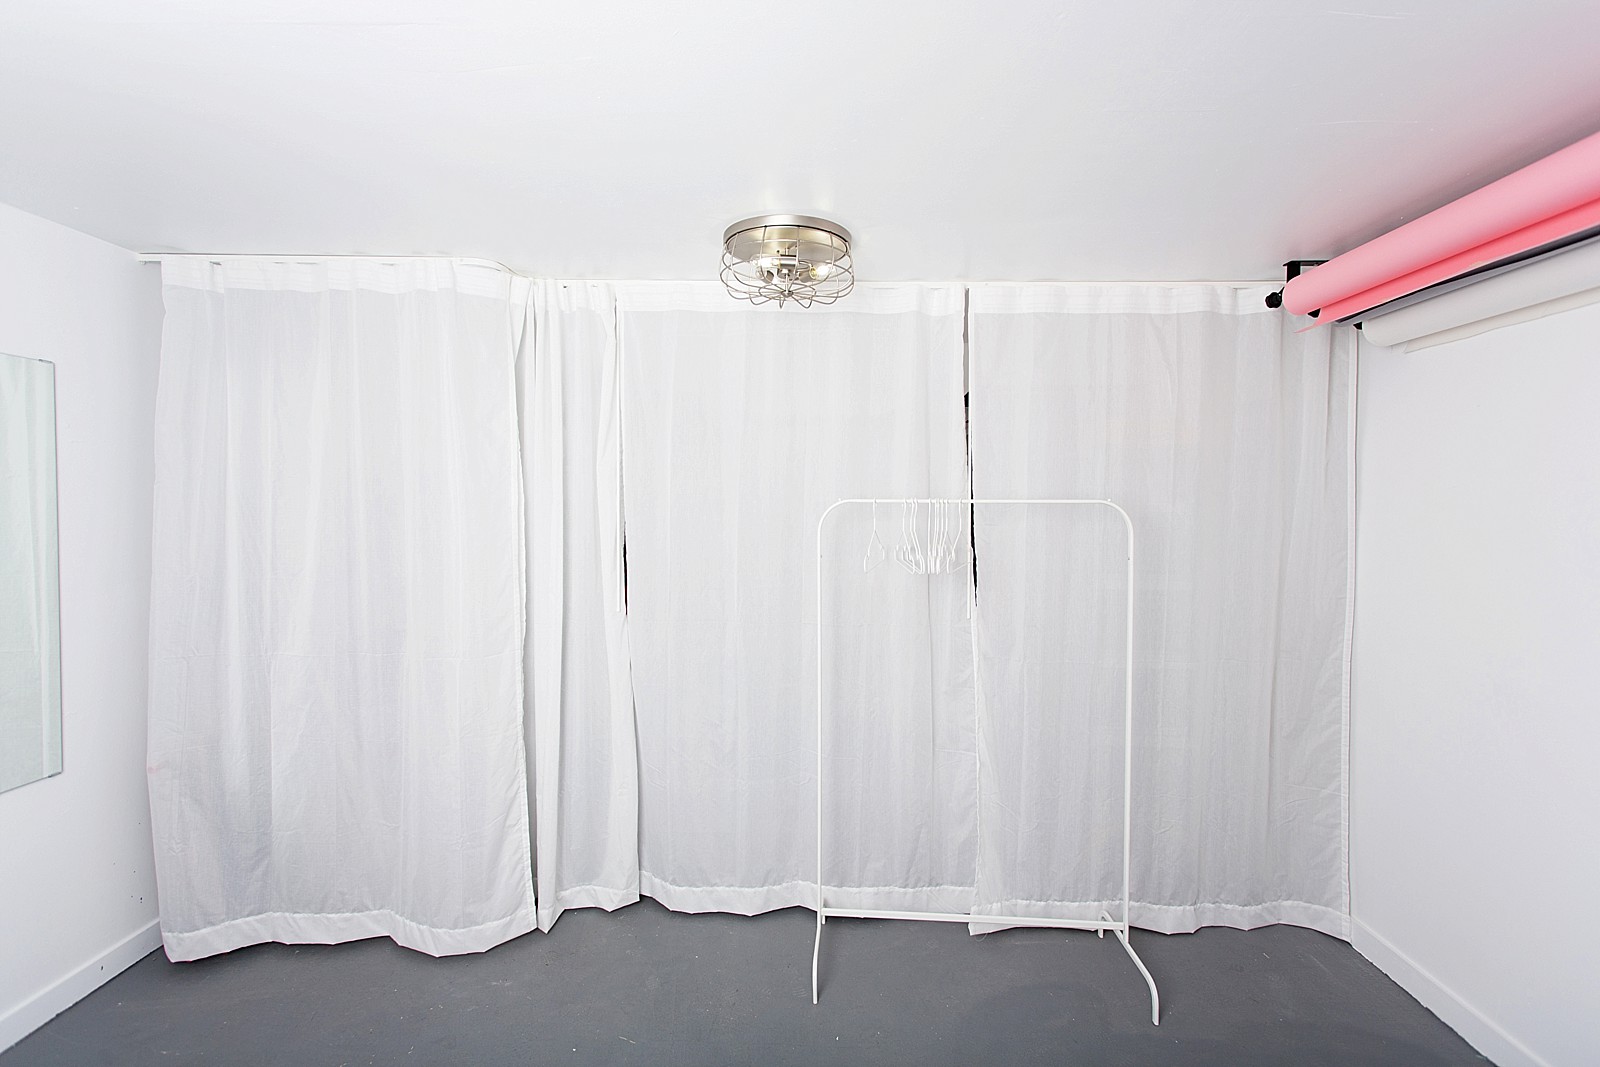
Personal storage area
We sold and donated a lot of the items we were storing – but the reality is we’re human and we have tools and holiday decor to store. I donated the very oddly shaped mismatched storage bins and used added storage bins from IRIS found on Wayfair.
The things we kept, we condensed on four storage shelves from Home Depot along the shortest wall, behind this curtain – which I’ll reveal in an upcoming post.
I used curtains from IKEA with Vidga rails mounted to the ceiling to hide those things if I had clients over, but also great to bounce a little light, making the room a nice little soft box. I was going to paint the floors white – and actually had. After one coat I realized there was no way I could handle a white floor without going insane trying to keep it clean every time I walked in, so I went gray, same color as my office.
A huge thanks to Mr. Wonderful for all of his help and patience to make this happen. I couldn’t have done this without him – muscles, planning, suggestions, all of it!
Here’s an idea of the floor plan layout for those who love maps –
I hope you enjoyed the studio tour. Be sure to check back on the blog soon for more details.
Tomorrow I’ll show you what’s behind the curtain!
Want to see more? See video tour here.
Leave a Reply