
After my master closet makeover, my office makeover, and the free consultation I had with California Closets regarding my office closet, it might not be too surprising that I went ahead and started saving up for the office closet makeover. Once I experienced how a makeover focused on organization truly does help with efficiency, I knew it was time for my office reach in closet to get some attention.
I’ve been busy with corporate and advertising shoots, as well as the blog – photography is a huge part of what I do on a weekly basis, and blogging is how I share those projects with you. When I had an assignment, I would get frustrated with my lack of organization and the inability to prepare in an organized manner – from charging using whatever outlets were available all around my office and going on an egg hunt trying to find which outlet they were plugged into when it was time to pack up and go. I also constantly left camera lenses on my desk with caps and the mess gave me anxiety.
After my free consultation with California Closets, I just couldn’t stop thinking about the layout that was presented to me. And when you have a space that is more organized, I truly believe you can be more efficient with your time and make more money, so projects like this really can be worth the cost in the long run.
Anything you may be wondering where I bought will be listed at the end of this post as well as the total cost of this home office closet project.

So let’s look at the before. Oh and hey former yellow walls – what was I thinking?! I blame it on the trends back then and I had taken the same colors from my townhome to my new house, so this is what happened. Speaking of the townhome, I was just looking at the old photos and it warmed my heart to see what my office looked like back then in that room. It has changed, but it still very much resembled me at the time.
Future post on the stages of my office – by request.
CLOSET BEFORE
[one_half padding=”0 6px 0 0″] [/one_half]
[one_half_last padding=”0 0 0 6px”]
 [/one_half_last]
PREPARATION
[one_half padding=”0 15px 0 0″]
1 – Removal
I had a handyman remove the shelf and rod. He was already over to install my bamboo blinds in the living room so I had him also remove this a bit earlier than expected, a month before the actual closet install. I also removed everything that was hanging on the back of the doors. I used to try to cram things into small spaces but the reality is visually it really made it look messy.
2 – Hire electrician and drywall repair
I had an electrician add the outlets that were proposed in the California Closet’s consultation, and then a drywall expert came to fix the holes from the electrician.
[/one_half]
[one_half_last padding=”0 0 0 6px”] [/one_half_last]
3 – Paint walls
I painted the walls a fresh coat of Benjamin Moore’s Simply White.
I wasn’t too picky about the paint job because I was going to wallpaper over it, but I still needed a clean base, and sometimes you can see through wallpaper so I suggest making it as clean as you can. If you are looking for the perfect white, Benjamin Moore’s Simply White is just a pure white with the slightest warm hue. I used it as a base color in my closet makeover.
4 – Install adhesive wallpaper
Then the next step was ordering custom removable wallpaper from Livettes on Etsy. This is my third wallpaper order, I absolutely LOVE her customer service and quality. I highly recommend her if you need wallpaper. She can scale down the size (as I requested) and email color samples. You can see my laundry room wallpaper and closet wallpaper. It’s so easy to install too, it’s just peel and stick. I sent over the plans for the closet she she knew the measurements and we were good to go!
Although this is removable wallpaper, you can tell this isn’t going anywhere unless I used an exacto knife and cut around it but I believe I picked a classic wallpaper. I probably could have ordered traditional wallpaper (also available from Livettes but I also love to install it myself. You know me, huge DIY girl when it comes to handywork (as long as I have the muscles).
5 – California Closet Installs
I already knew the date of install when I paid my deposit. I luckily received the first shift of the day which gave me the rest of the day to organize! Keith installed and was so clean, even cleaned up after himself and so kind. It took maybe two hours for him to install with the lights and it was great and exactly how I envisioned! Just gorgeous!
[one_half padding=”0 6px 0 0″]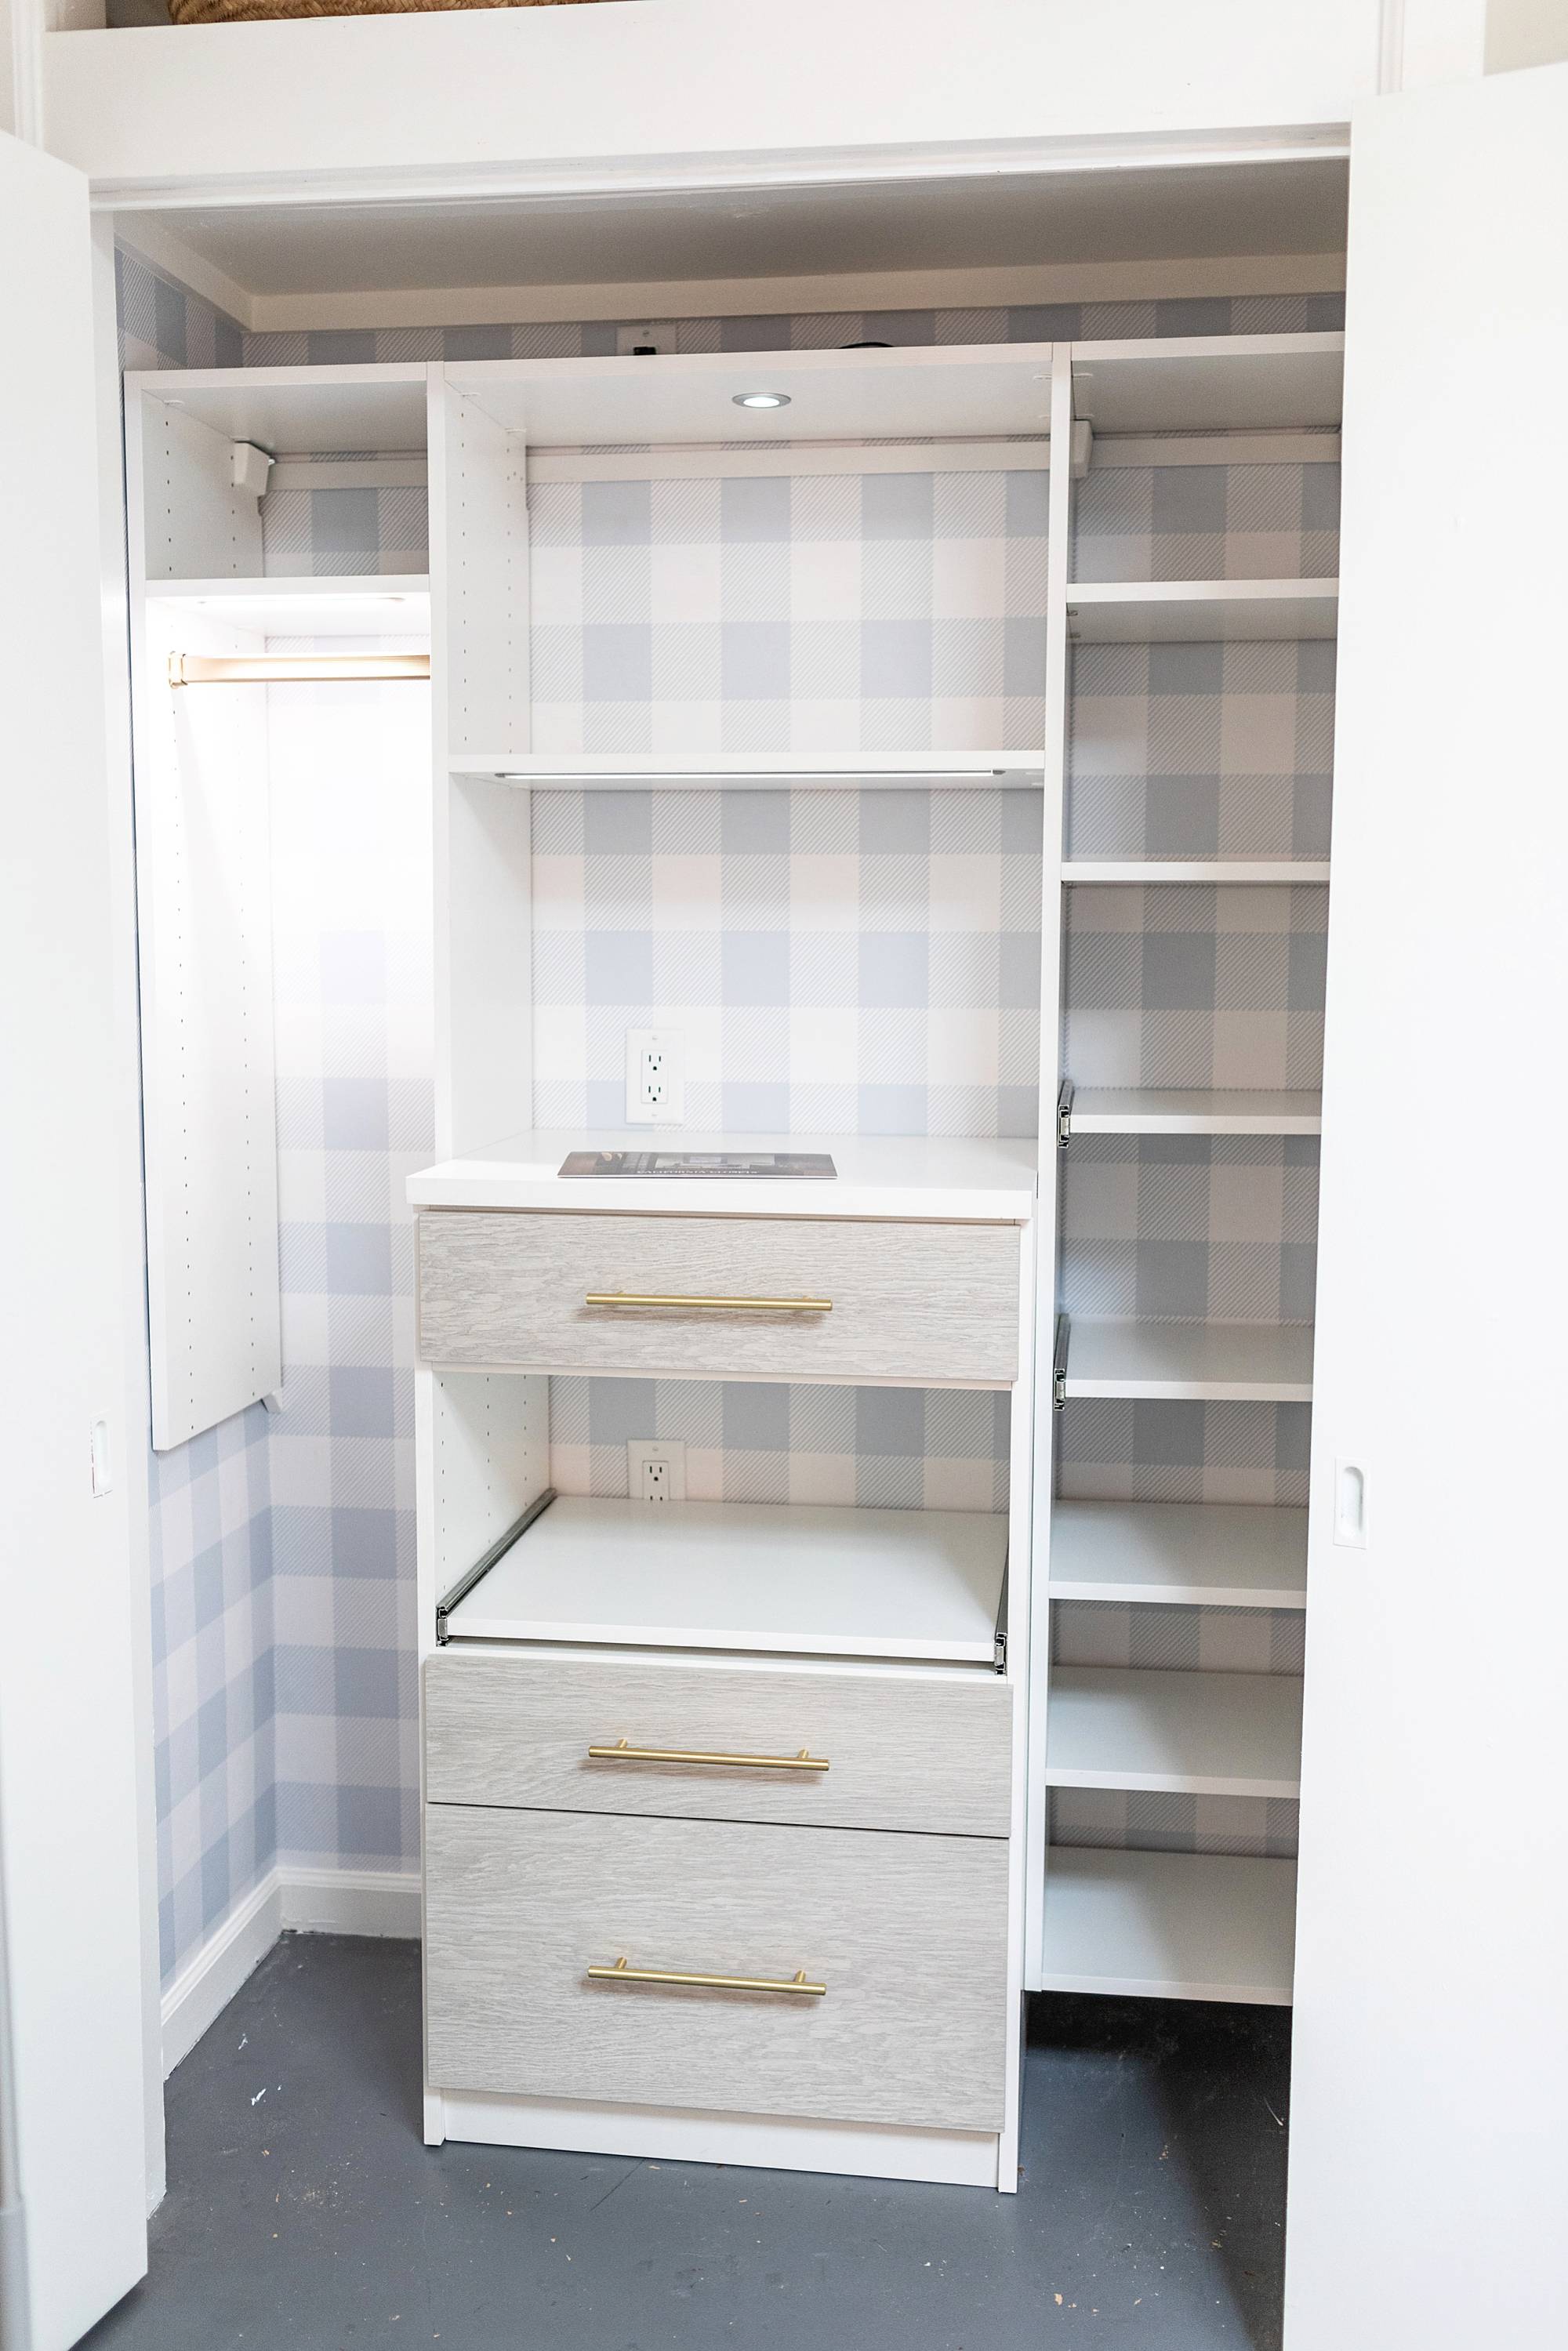 [/one_half]
[one_half_last padding=”0 0 0 6px”]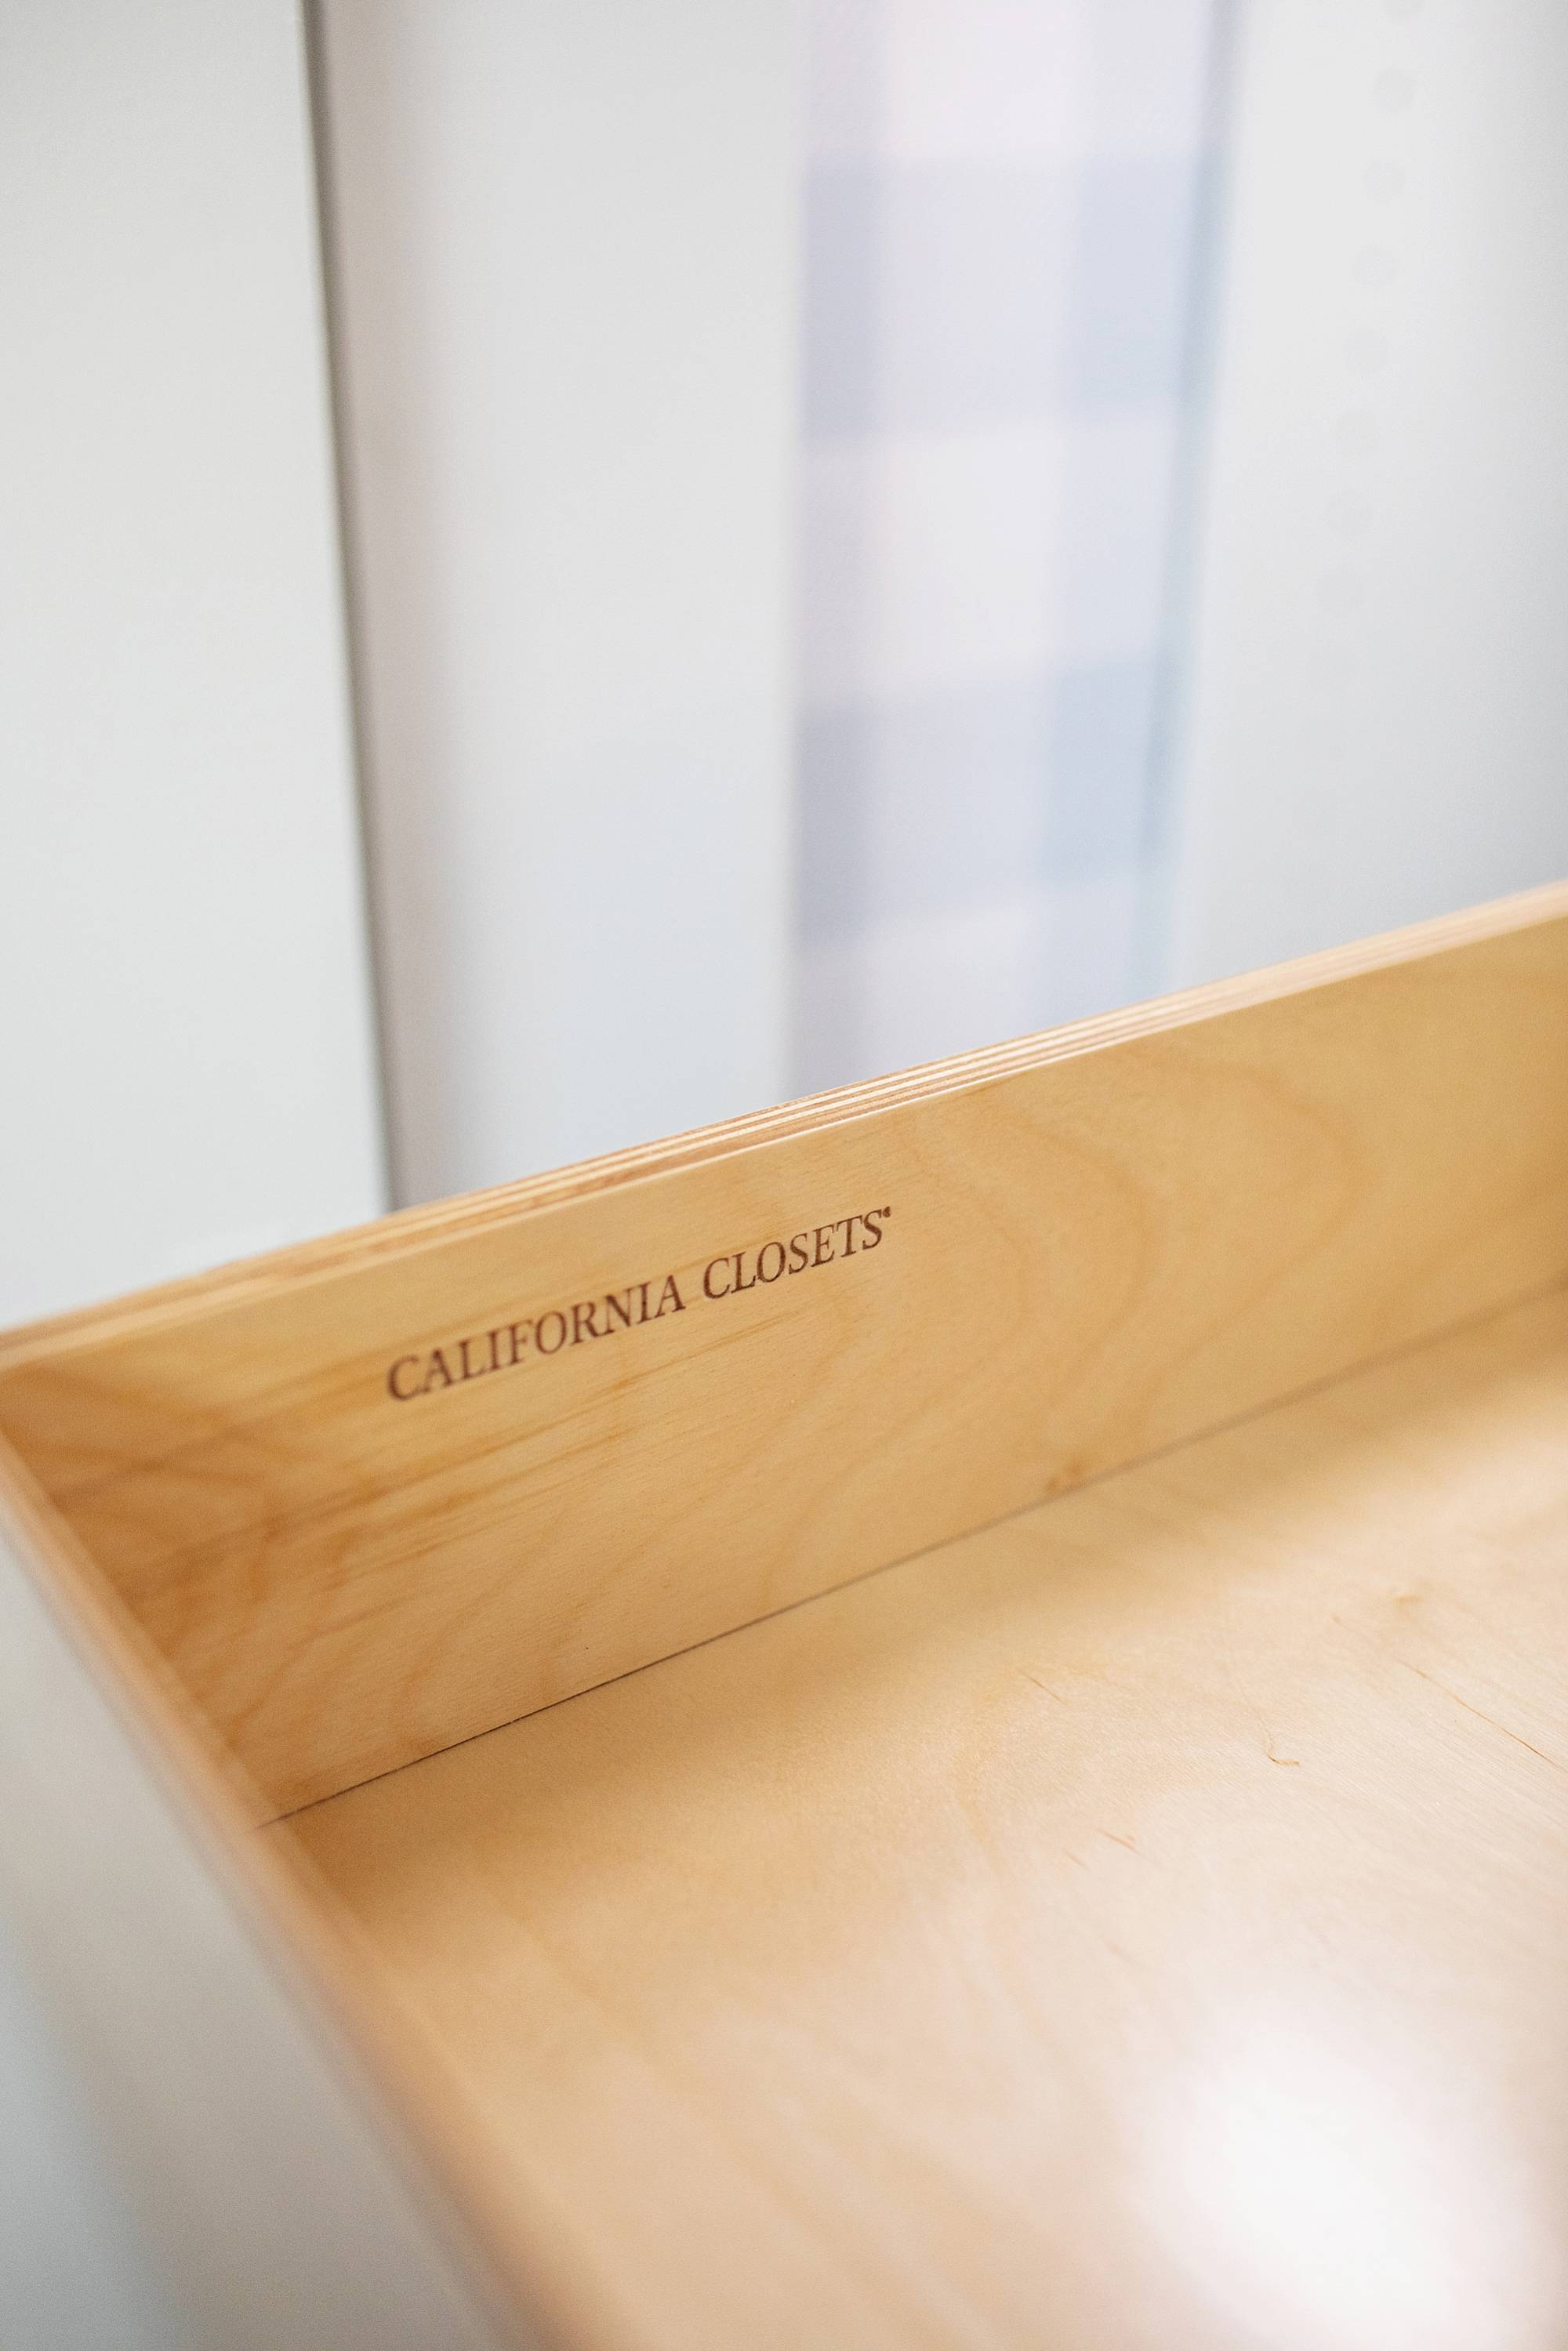 [/one_half_last]
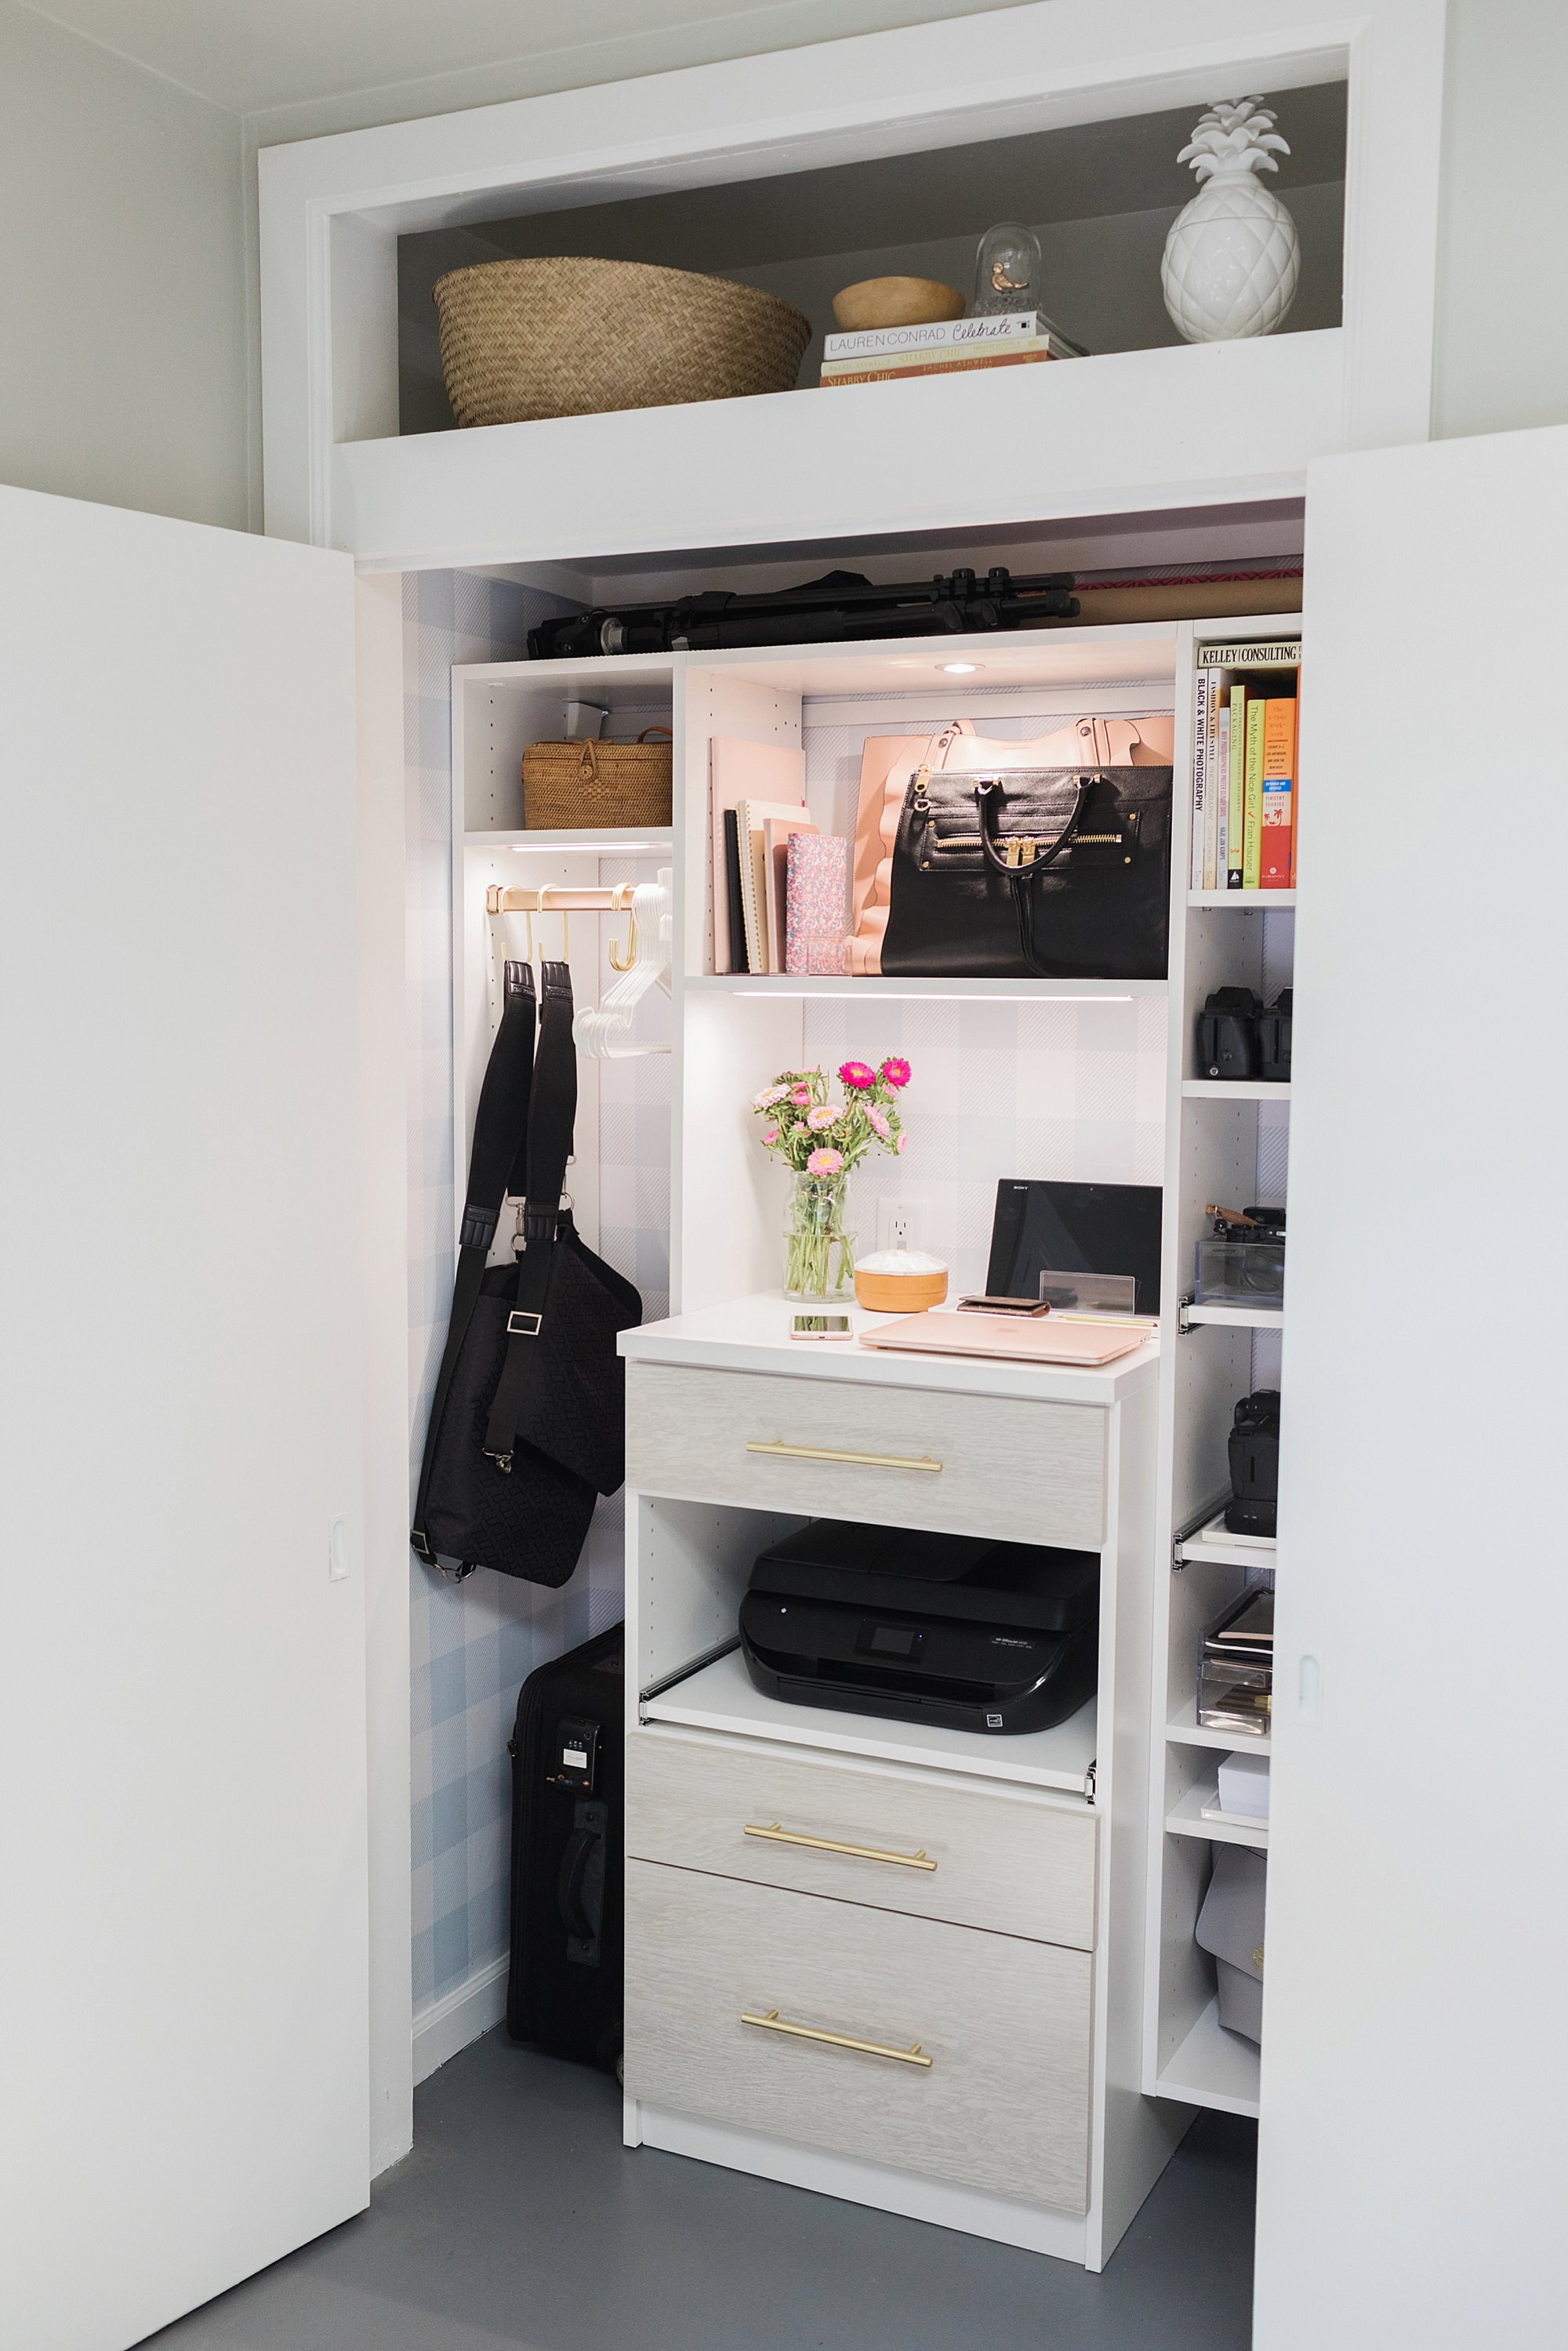
CLOSET AFTER
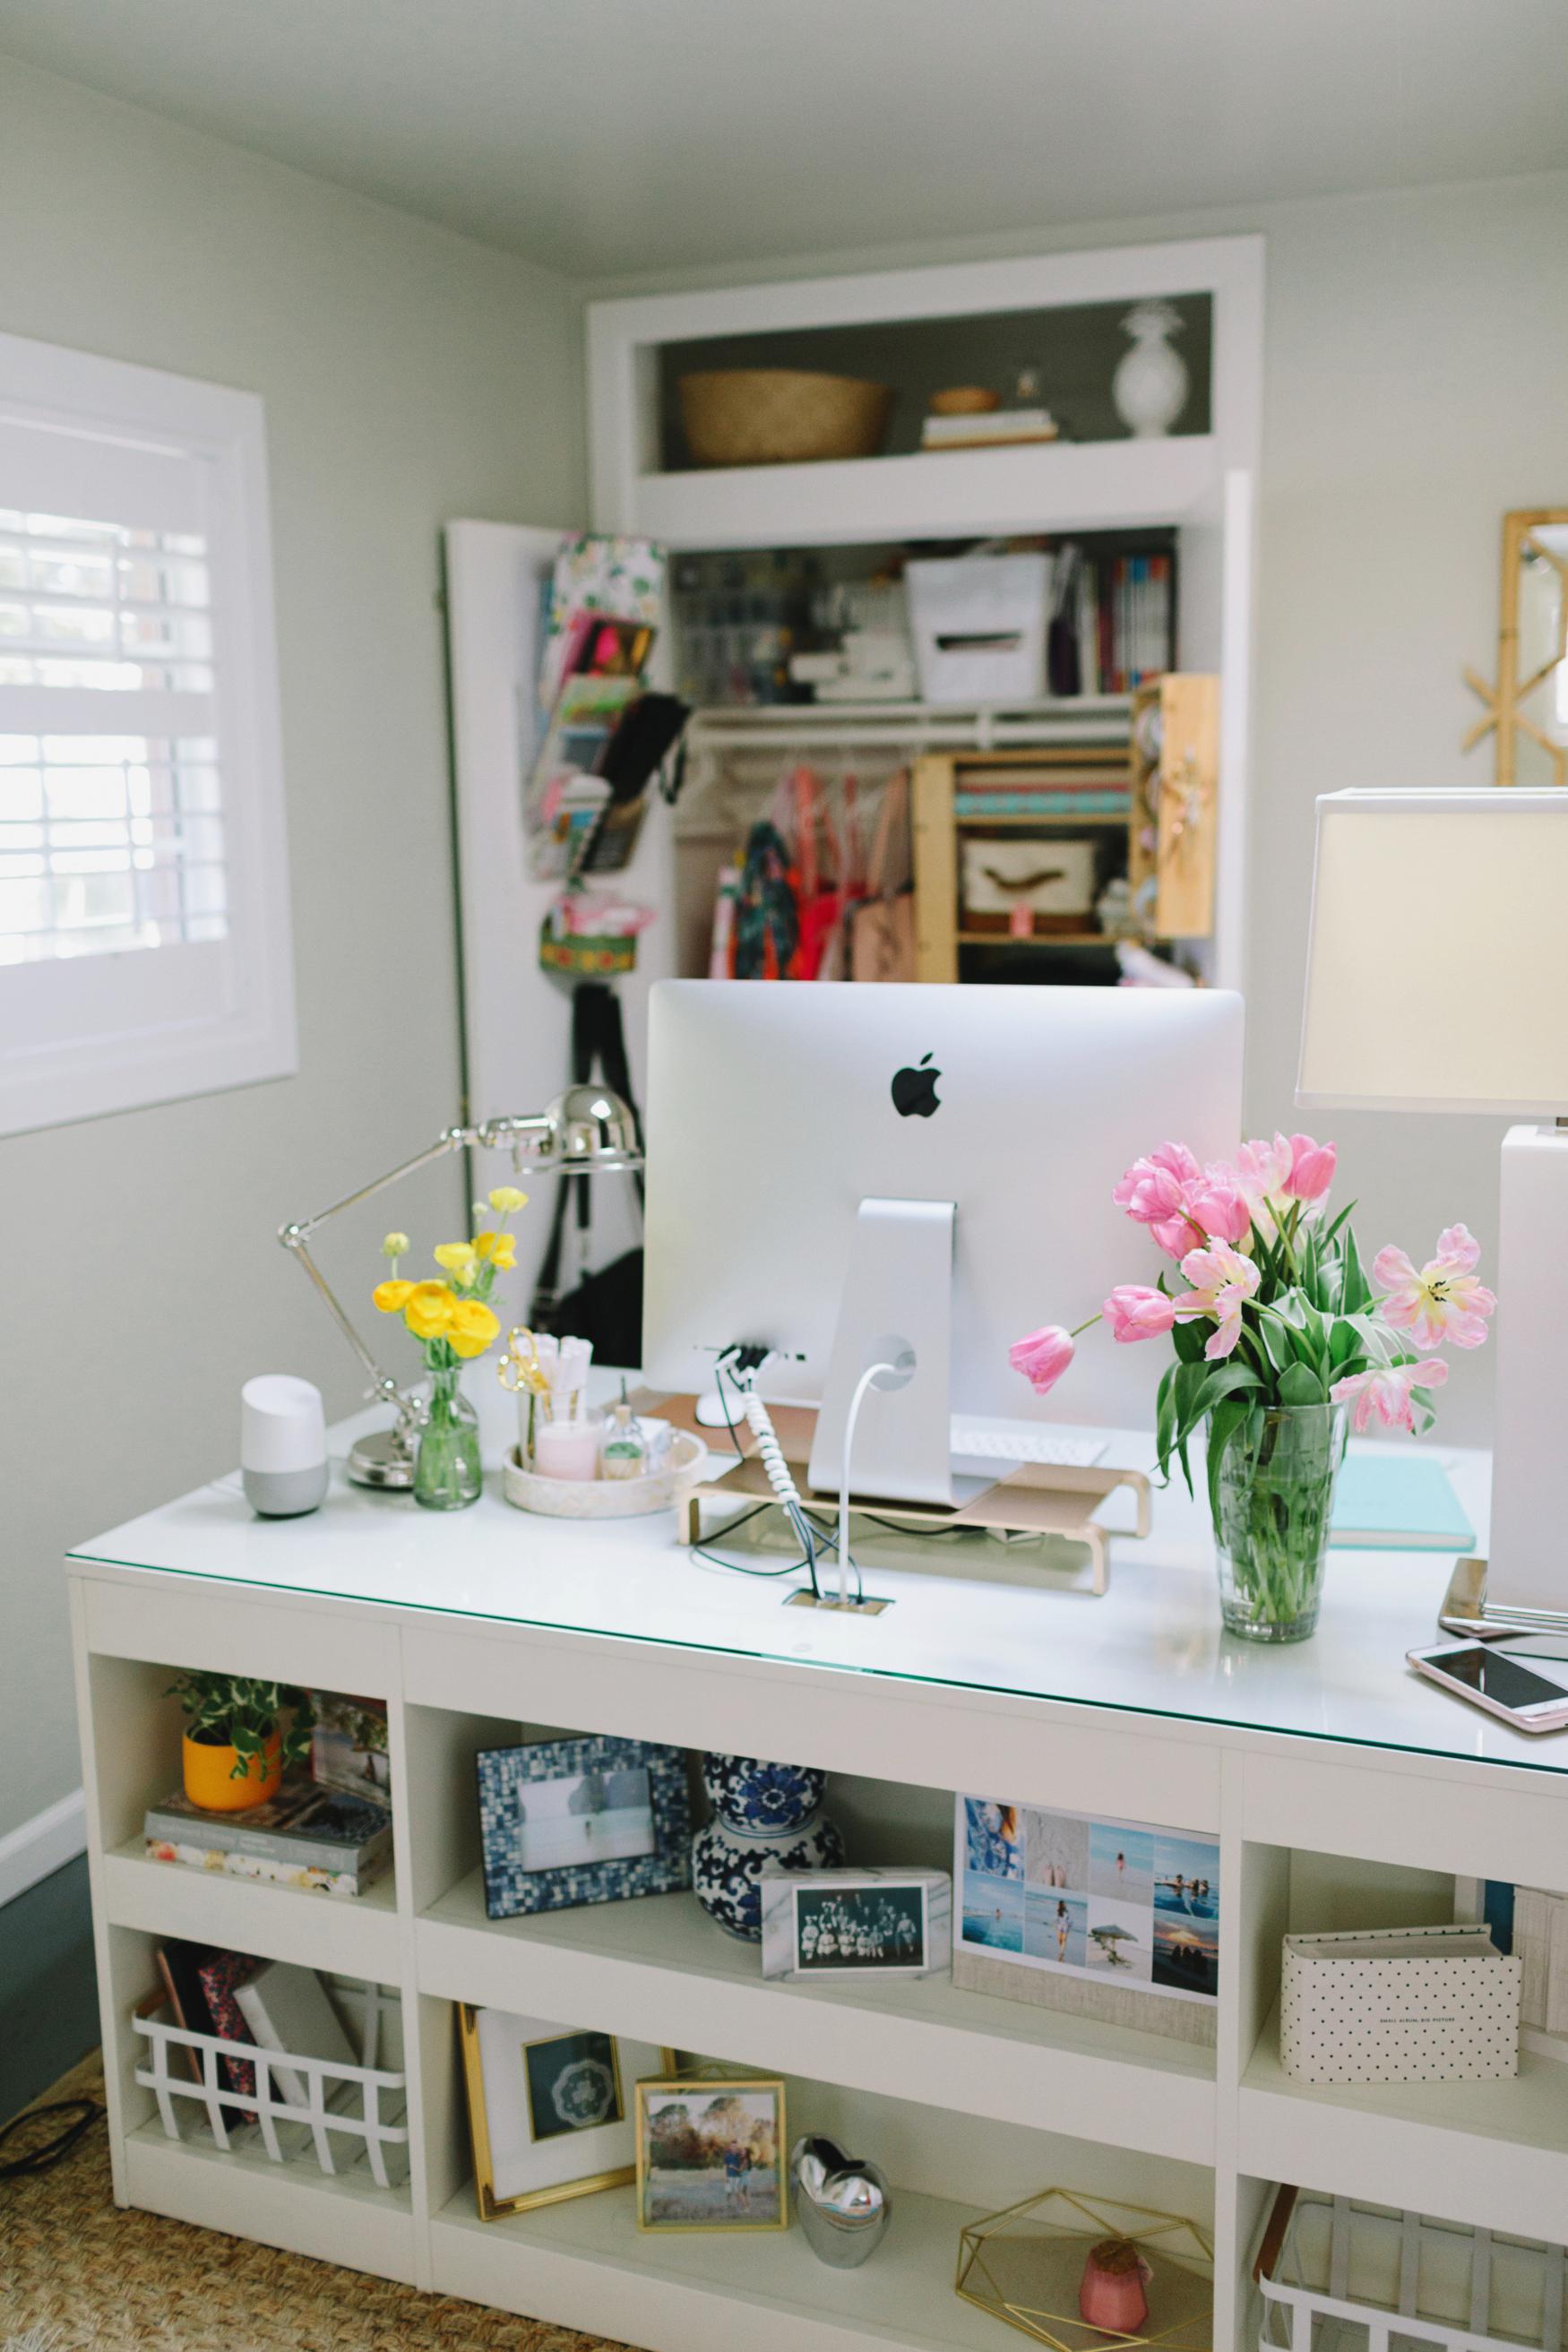
And here’s the final reveal! It’s been a long time coming!
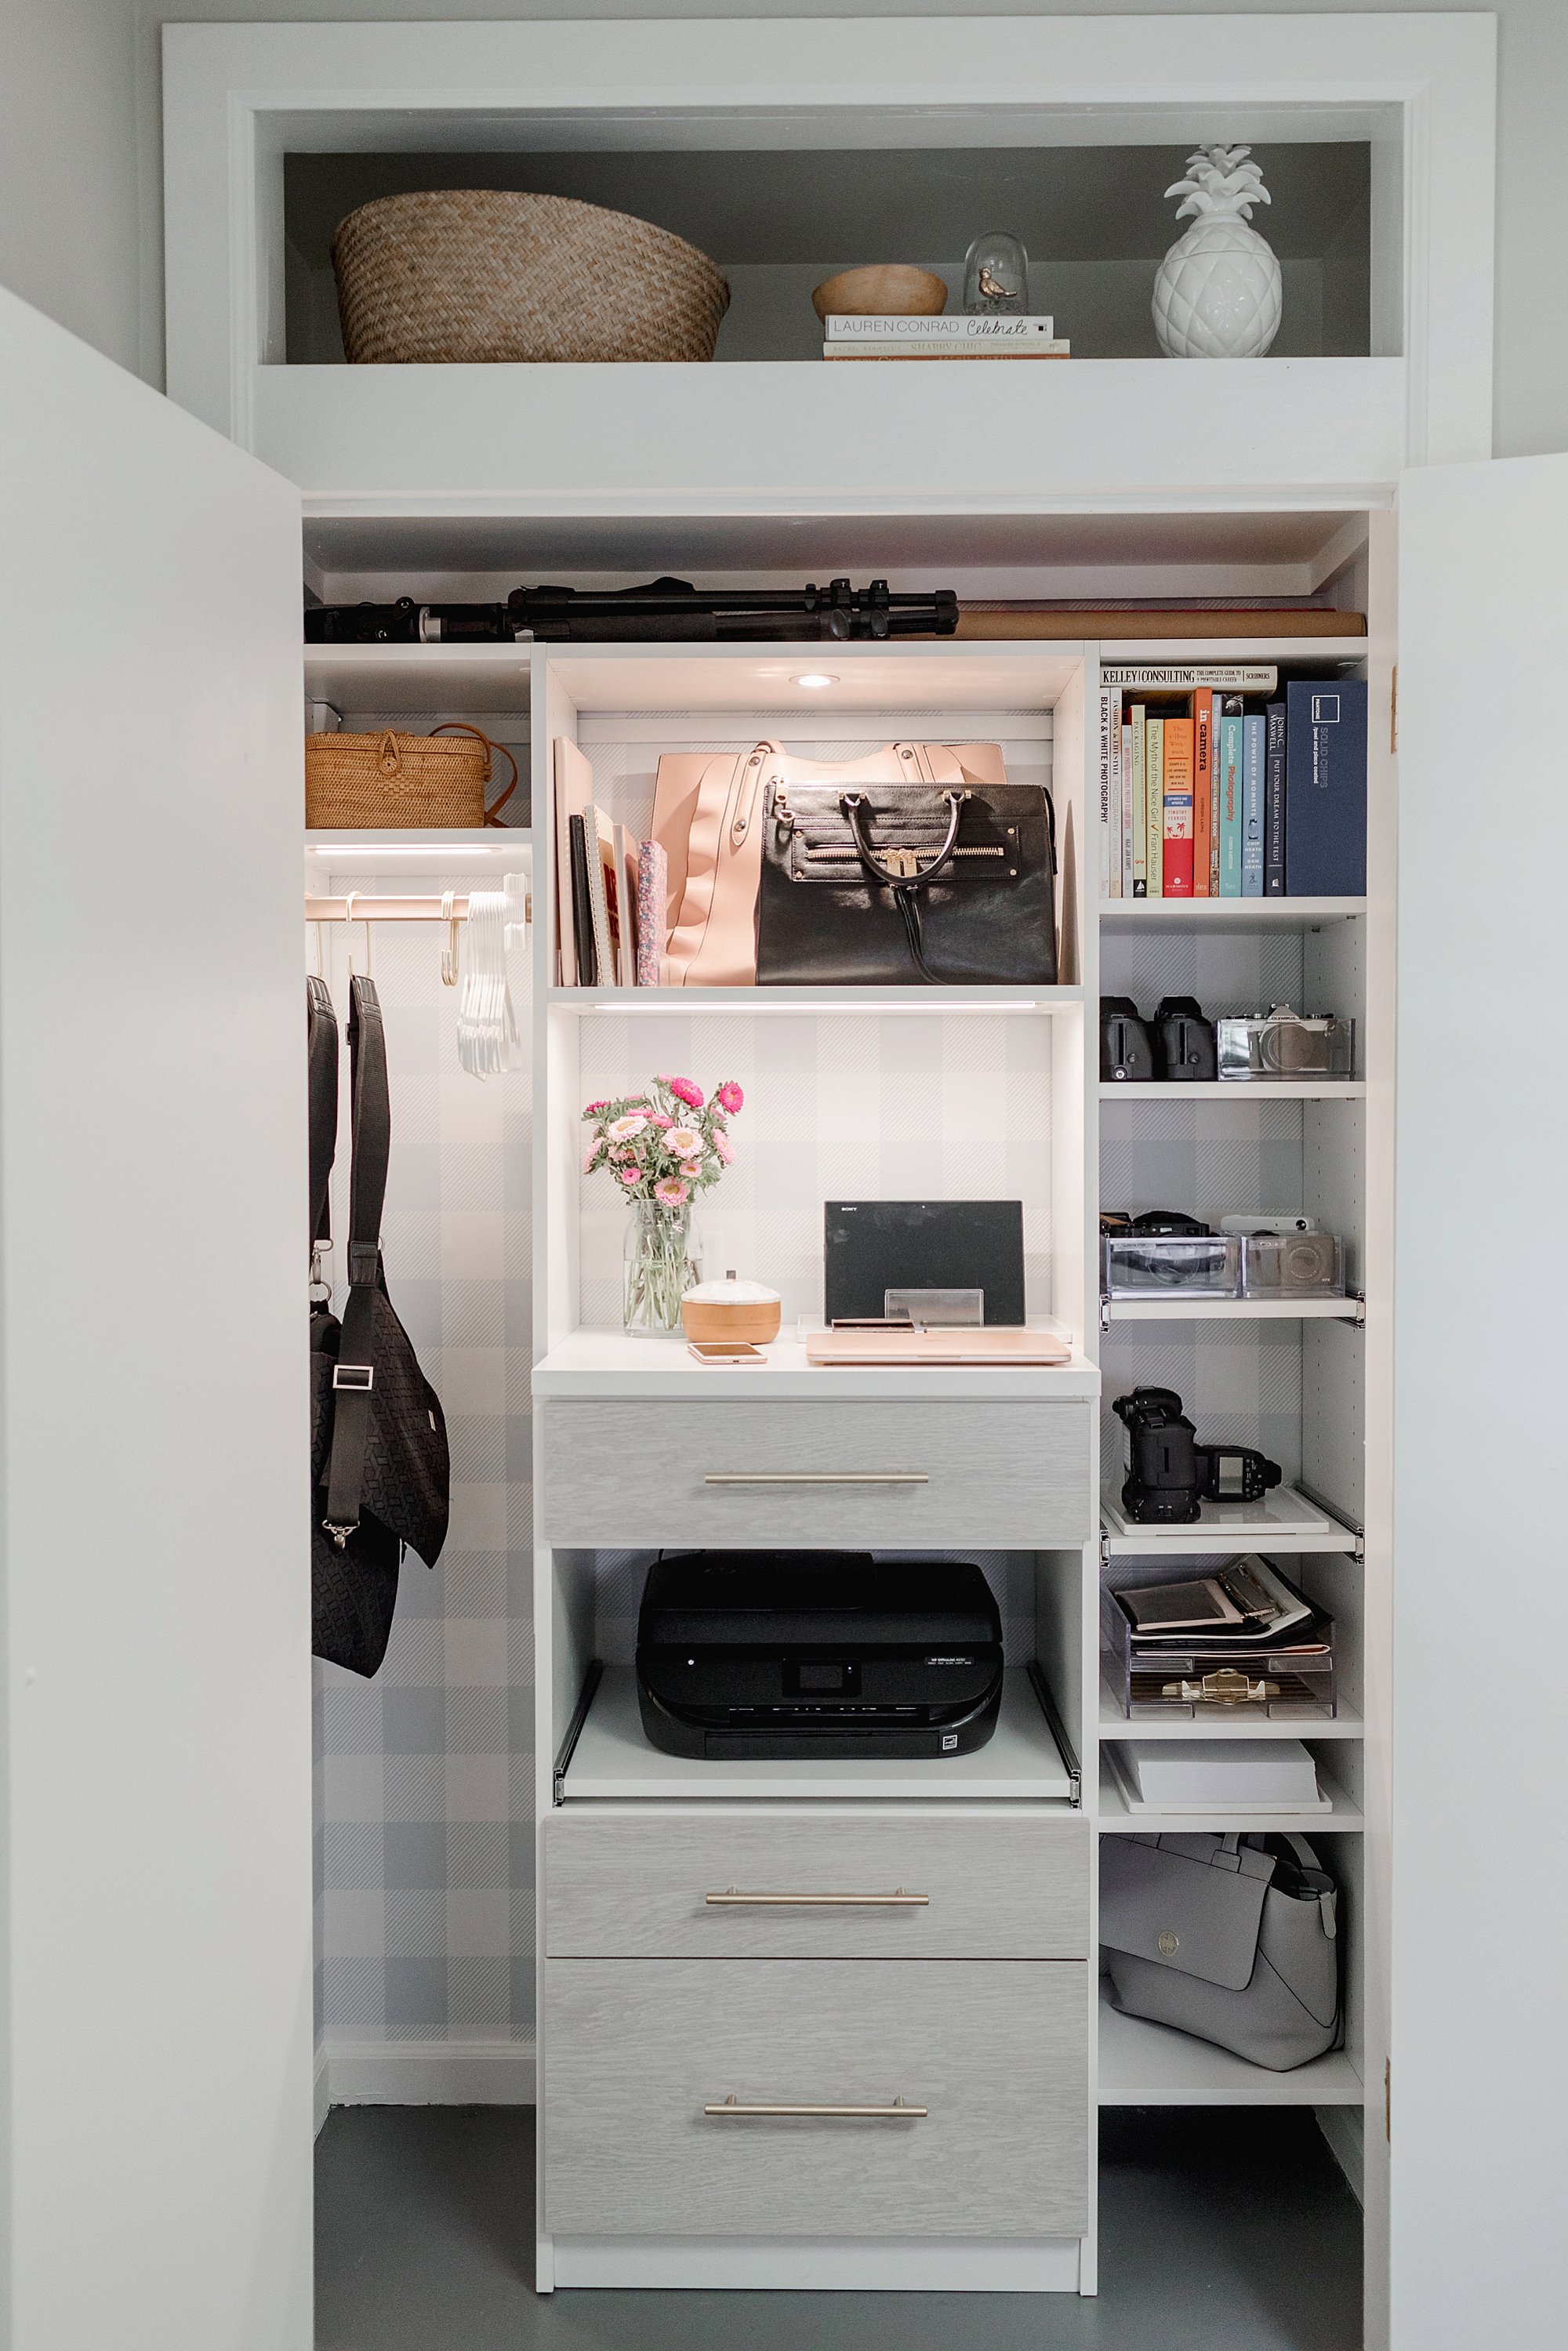

It’s all about business, photography, efficiency and graphic design in this space. I removed all the arts and crafts, gifting and items that weren’t business related to an antique English dresser in the office.
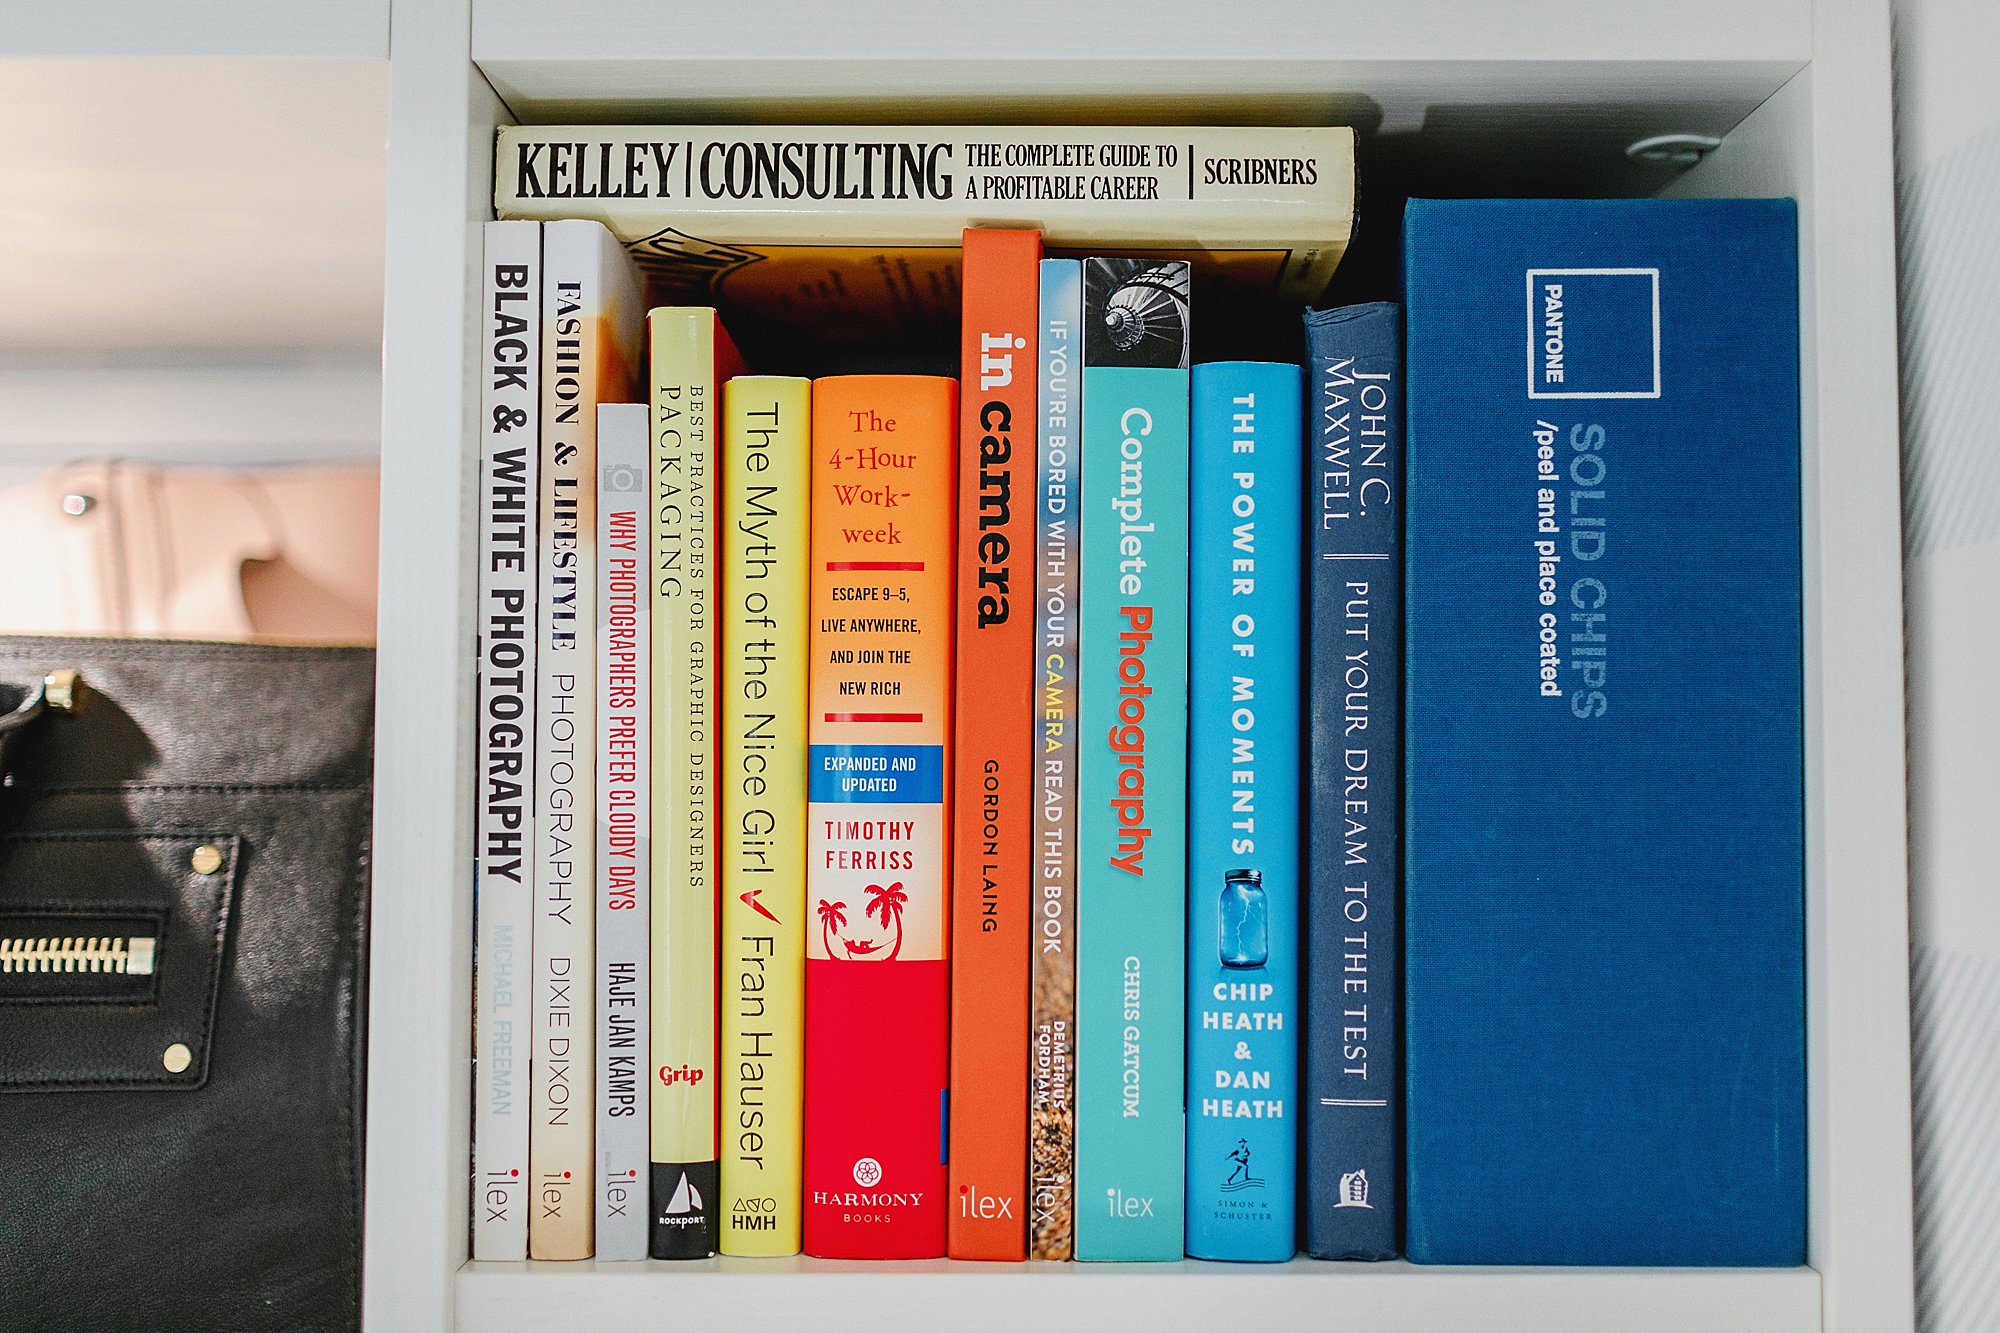
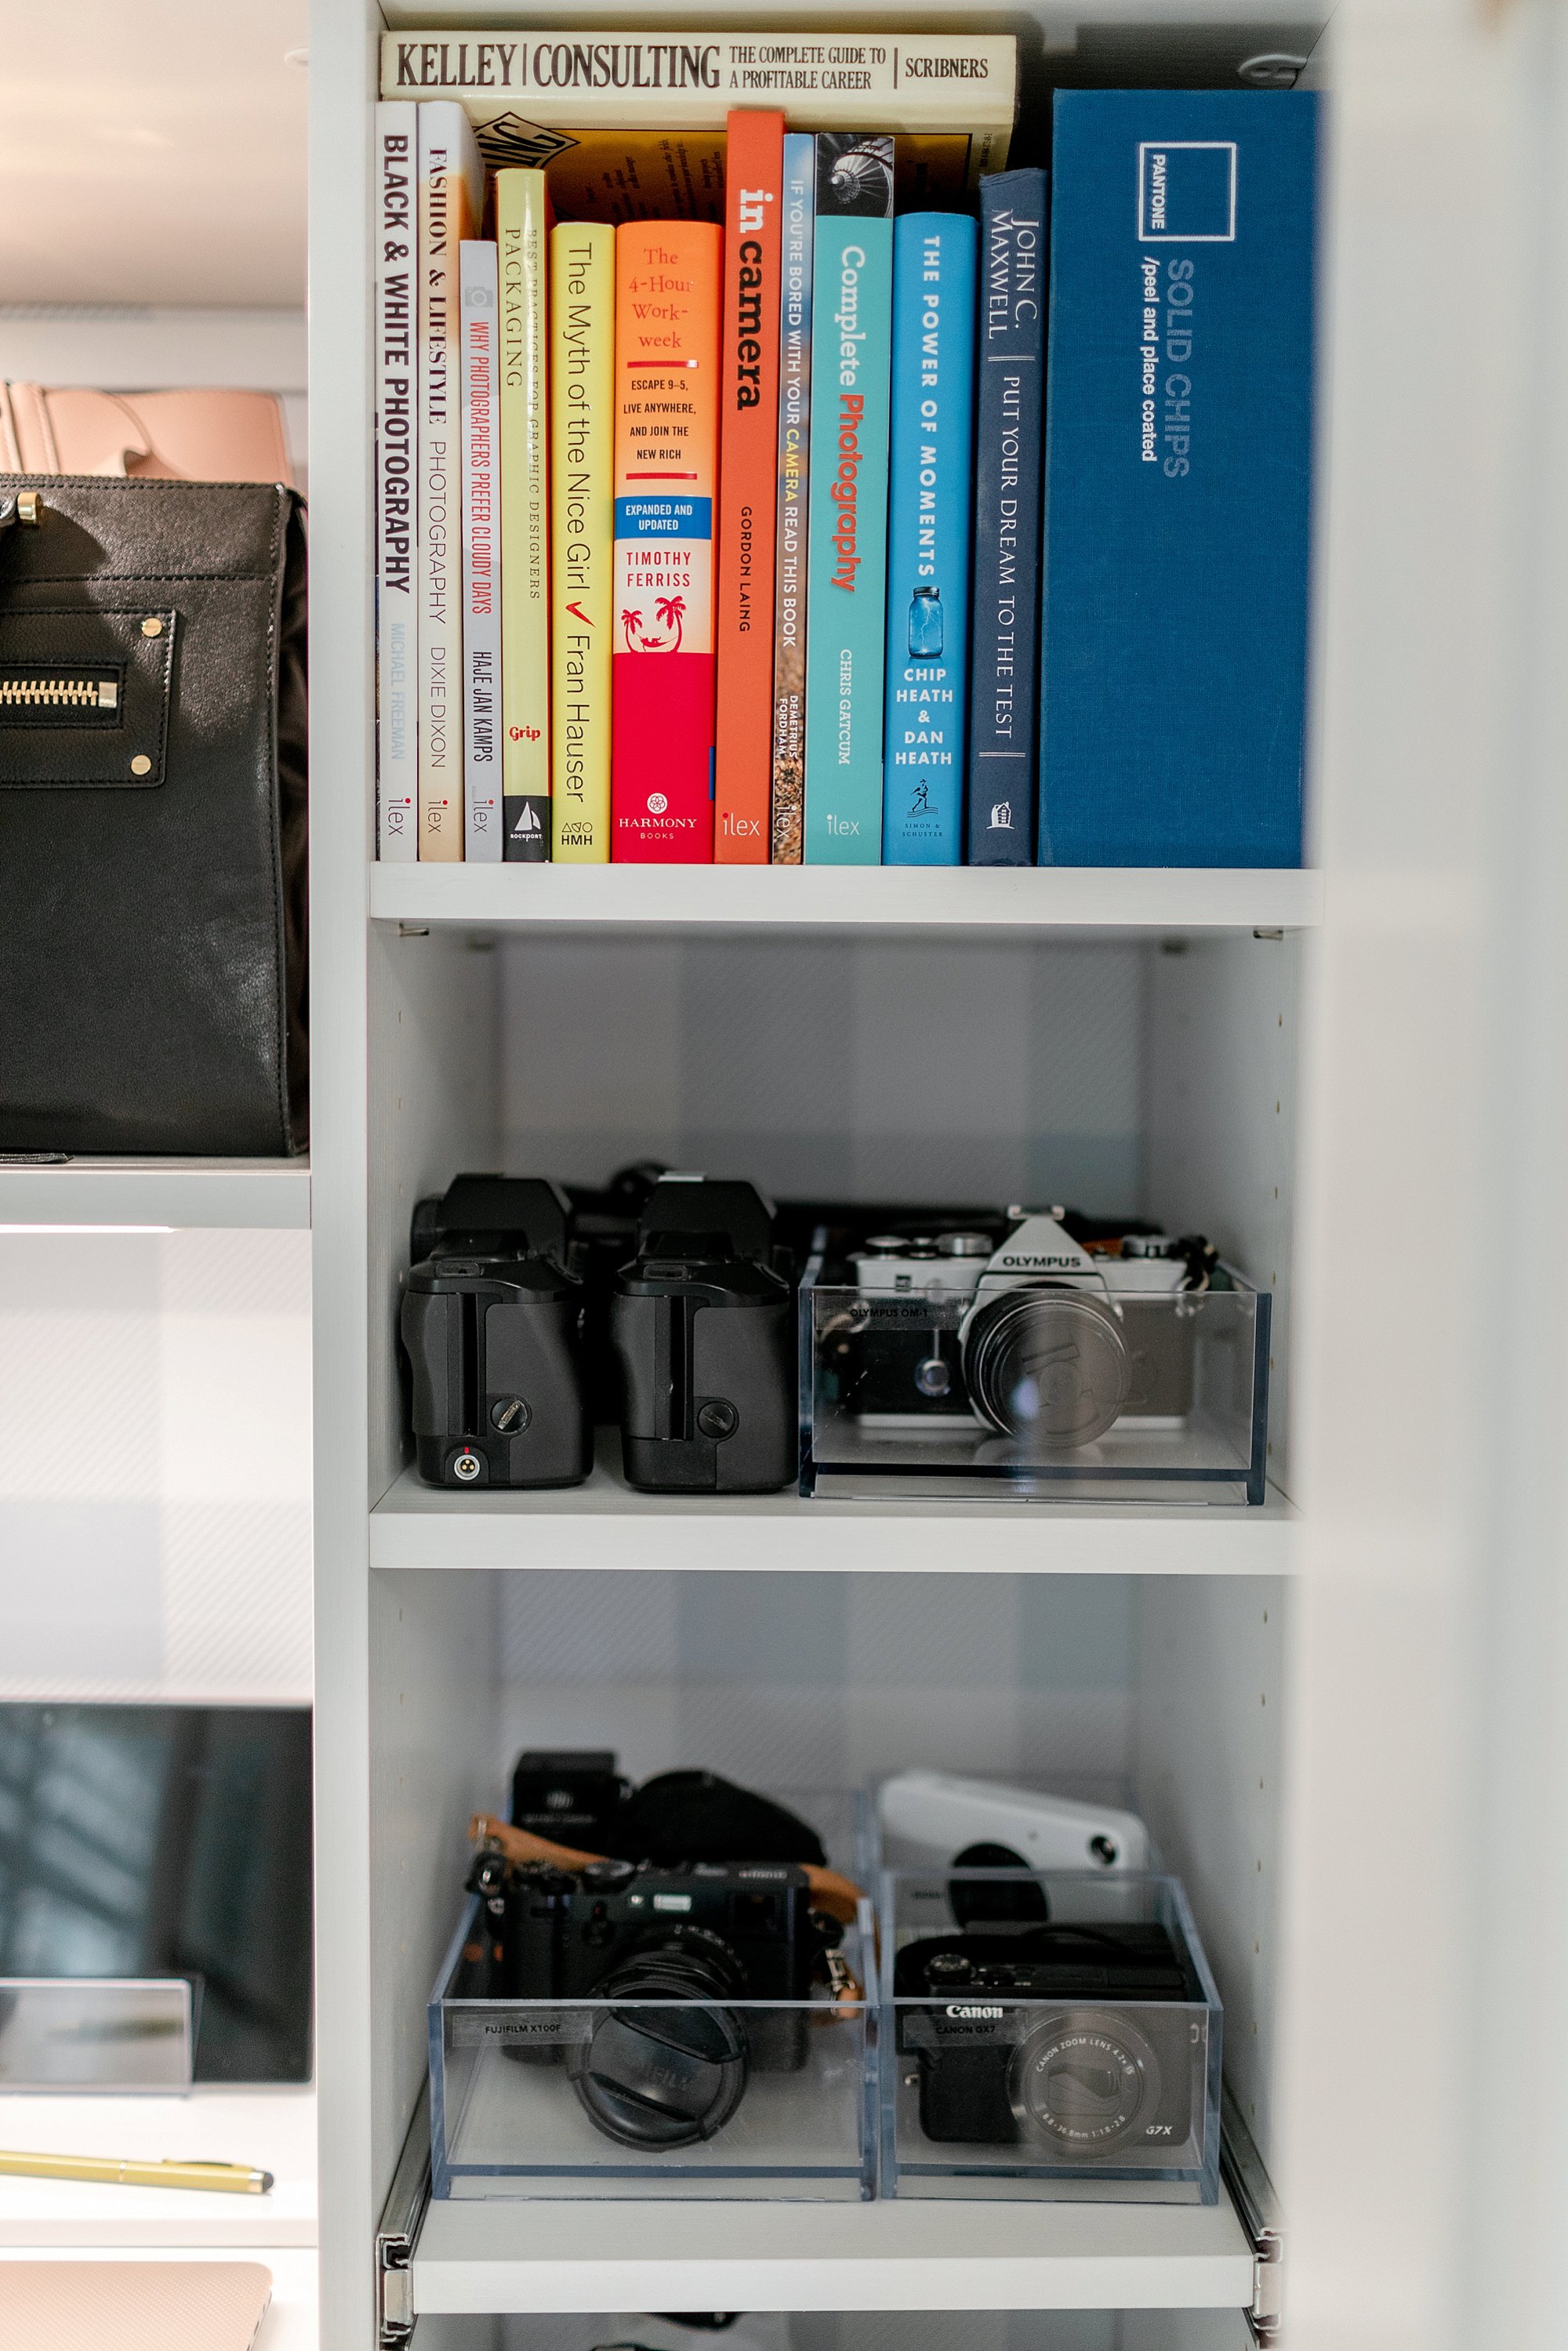
I like to color coordinate my books by color – even my gardening and home books in my laundry mudroom.
I work with a book publisher so they send me some fantastic photography books when they are released and I keep my favorites or the ones I find useful for the future. My dad gave me the consulting book, I need to actually read that one – he was a consultant as an entrepreneur.
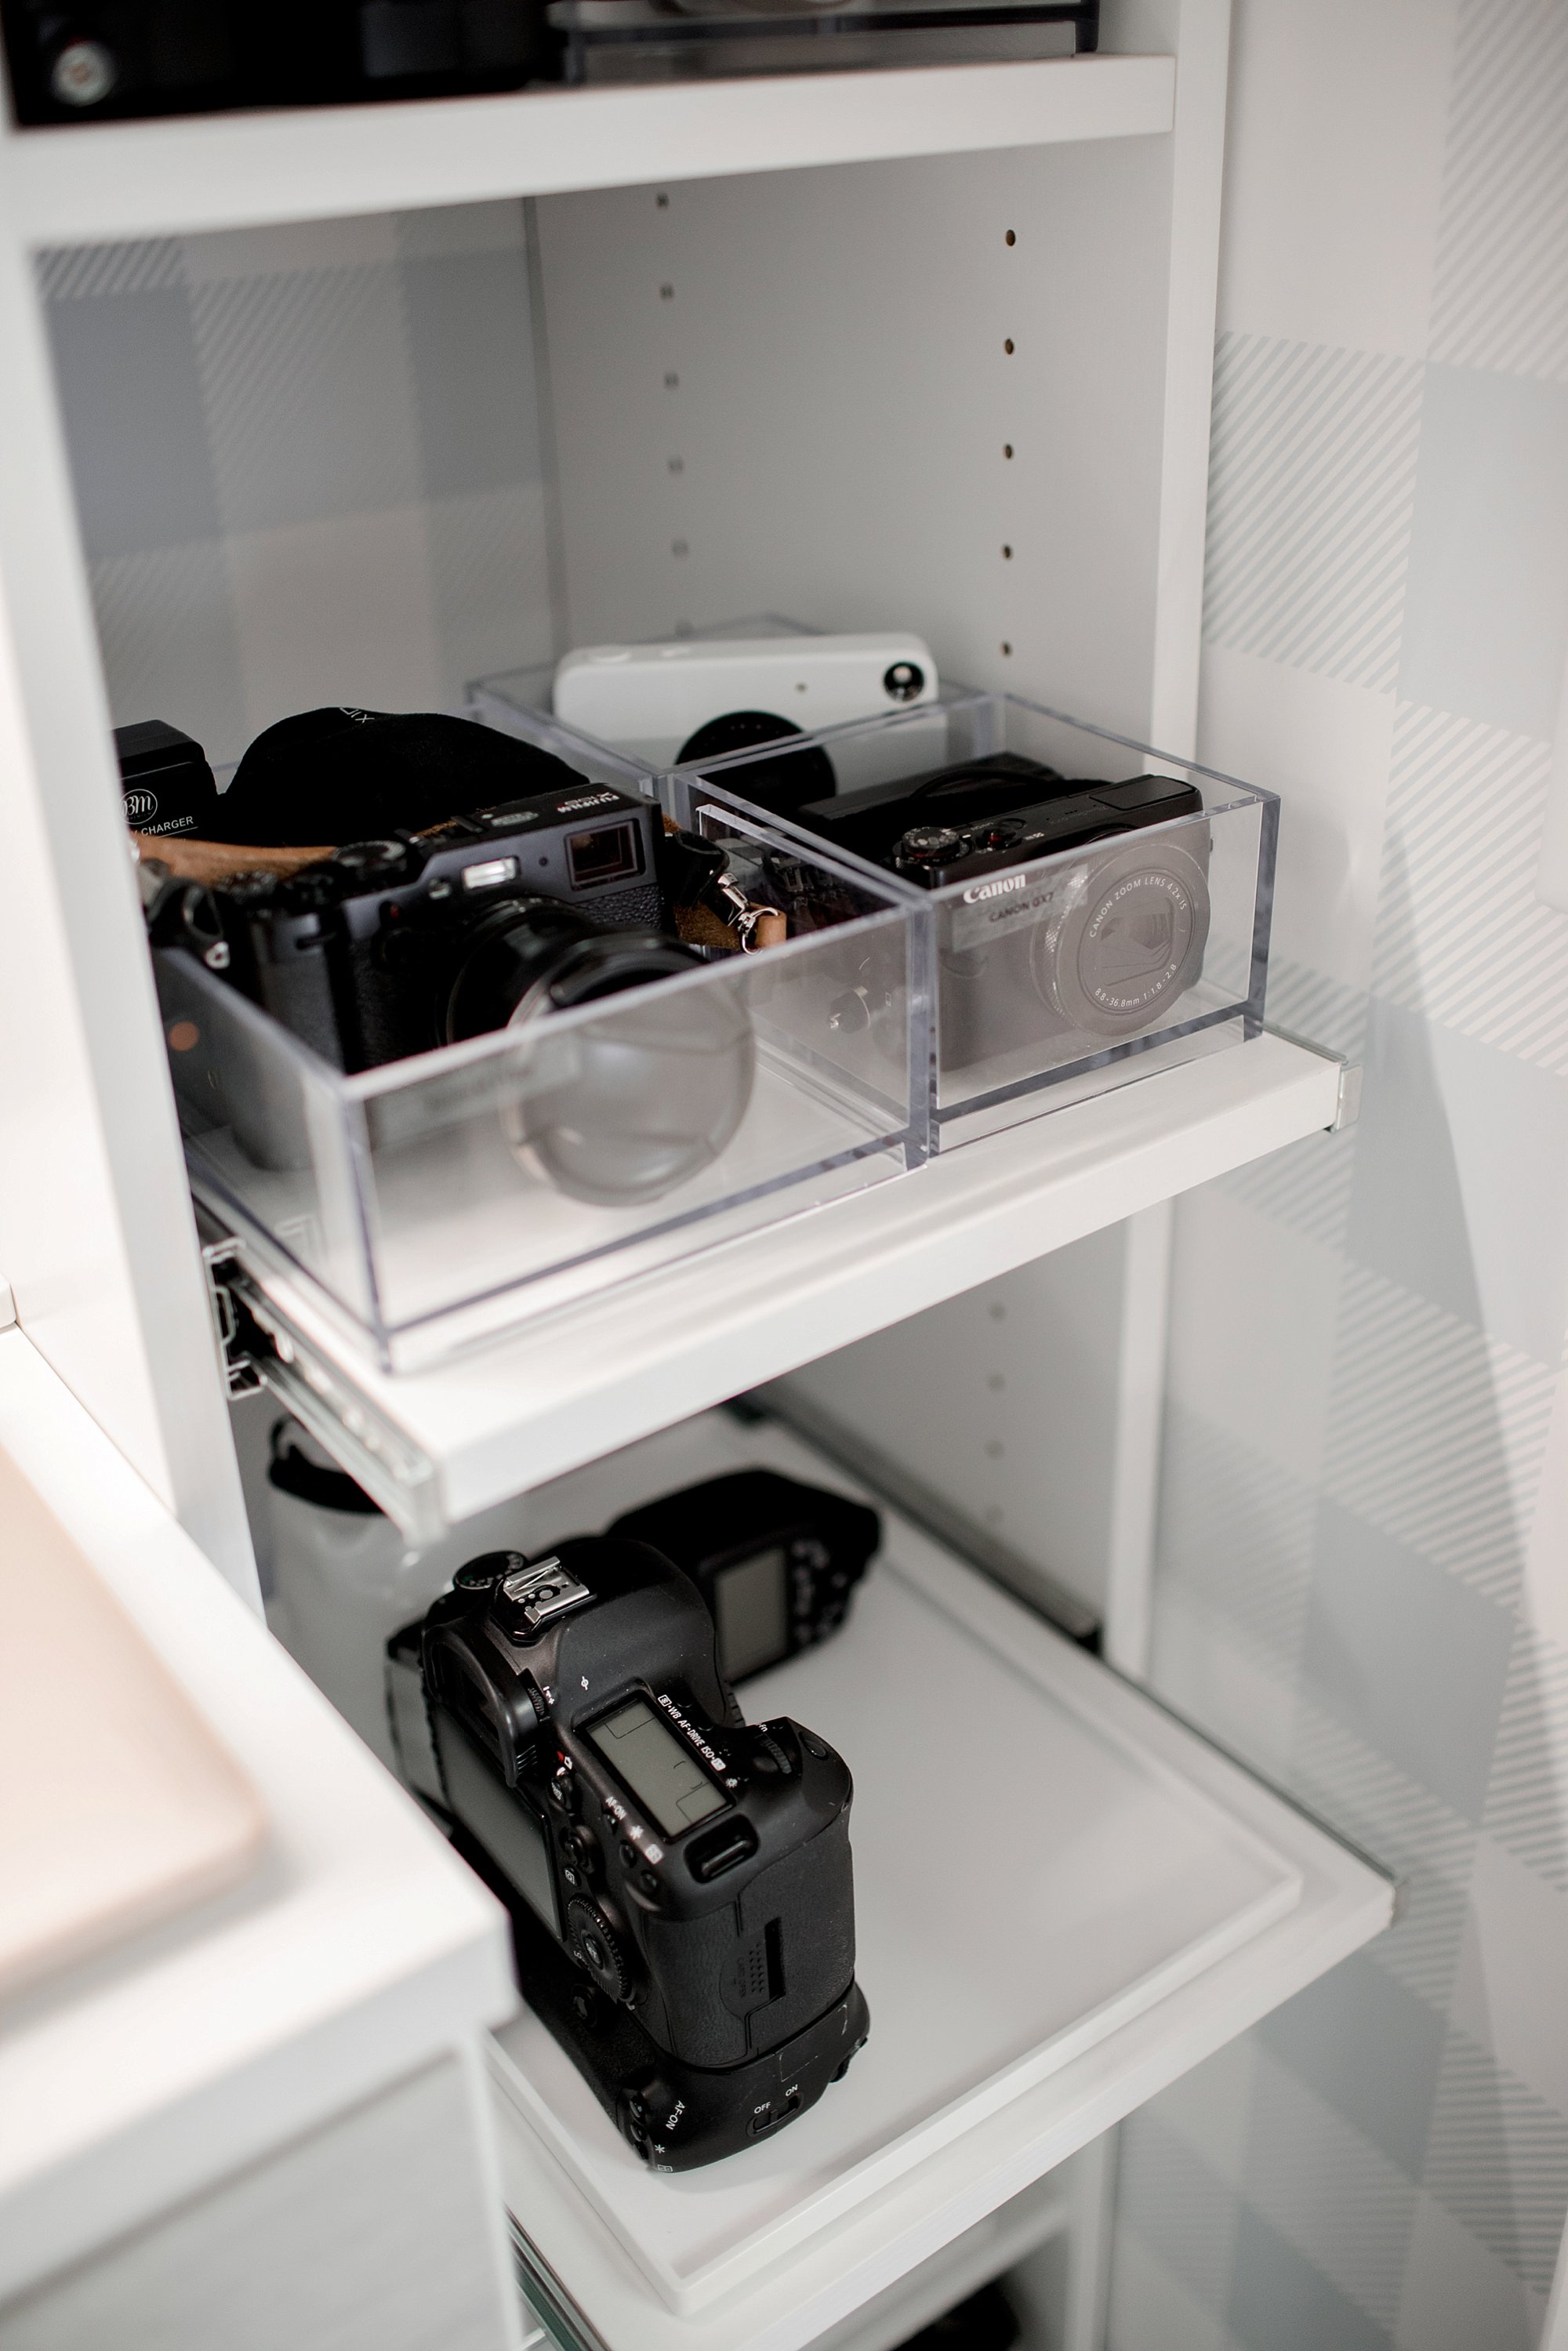
My film and mirrors cameras have their own shelves, and two of the shelves slide out for easy access. I have my Canon film cameras, my Olympus OM-1 (was my dads) and my mirrorless camera body the FujiFilm X100F and Canon G7x Powershot (the best point and shoot on the market IMO). There’s also a Kodak old school like instant printer.
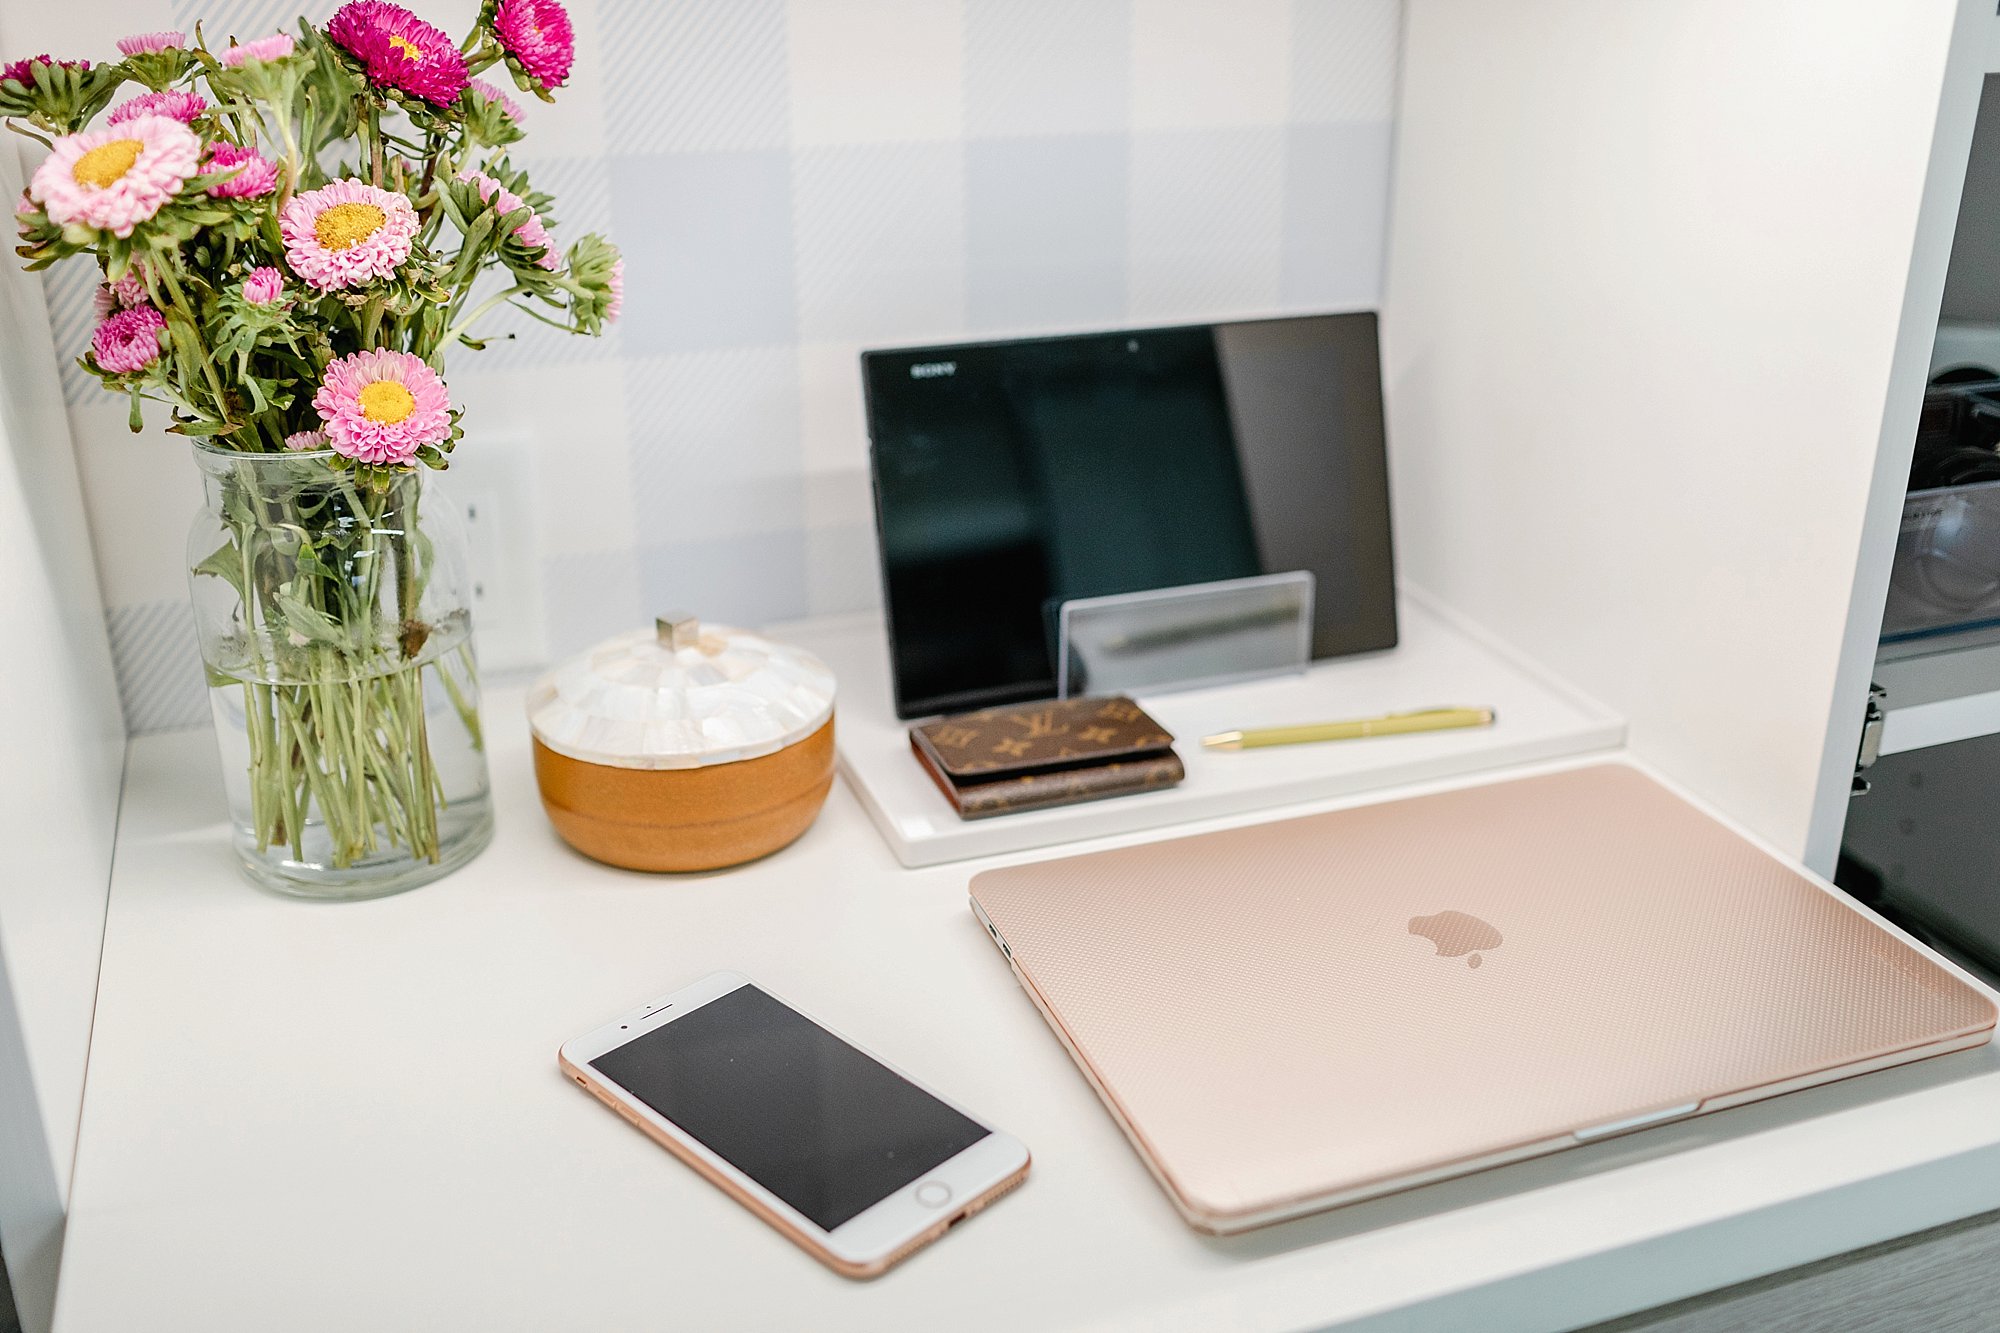
This charging counter was everything I dreamed of. I didn’t even think about how wonderful it would be to charge everything in one place. There’s a handy outlet right there on the counter so I can charge my tablets and camera batteries in one place – I just add a larger outlet adapter so I can super charge at once with USBs too.
Having this counter allows me to keep everything in its place – I know where to find things and put them back. And there’s also something about trays. It makes a counter feel like there’s less clutter and knick knacks once you put them in a tray.

Up top, above the system and the light, you can see my wrapping paper, tripods and things that are long and need a place to be stored. They go up there and are easy to reach. I lined the top with a drawer liner so they don’t bang around up there or roll down (the wrapping paper).

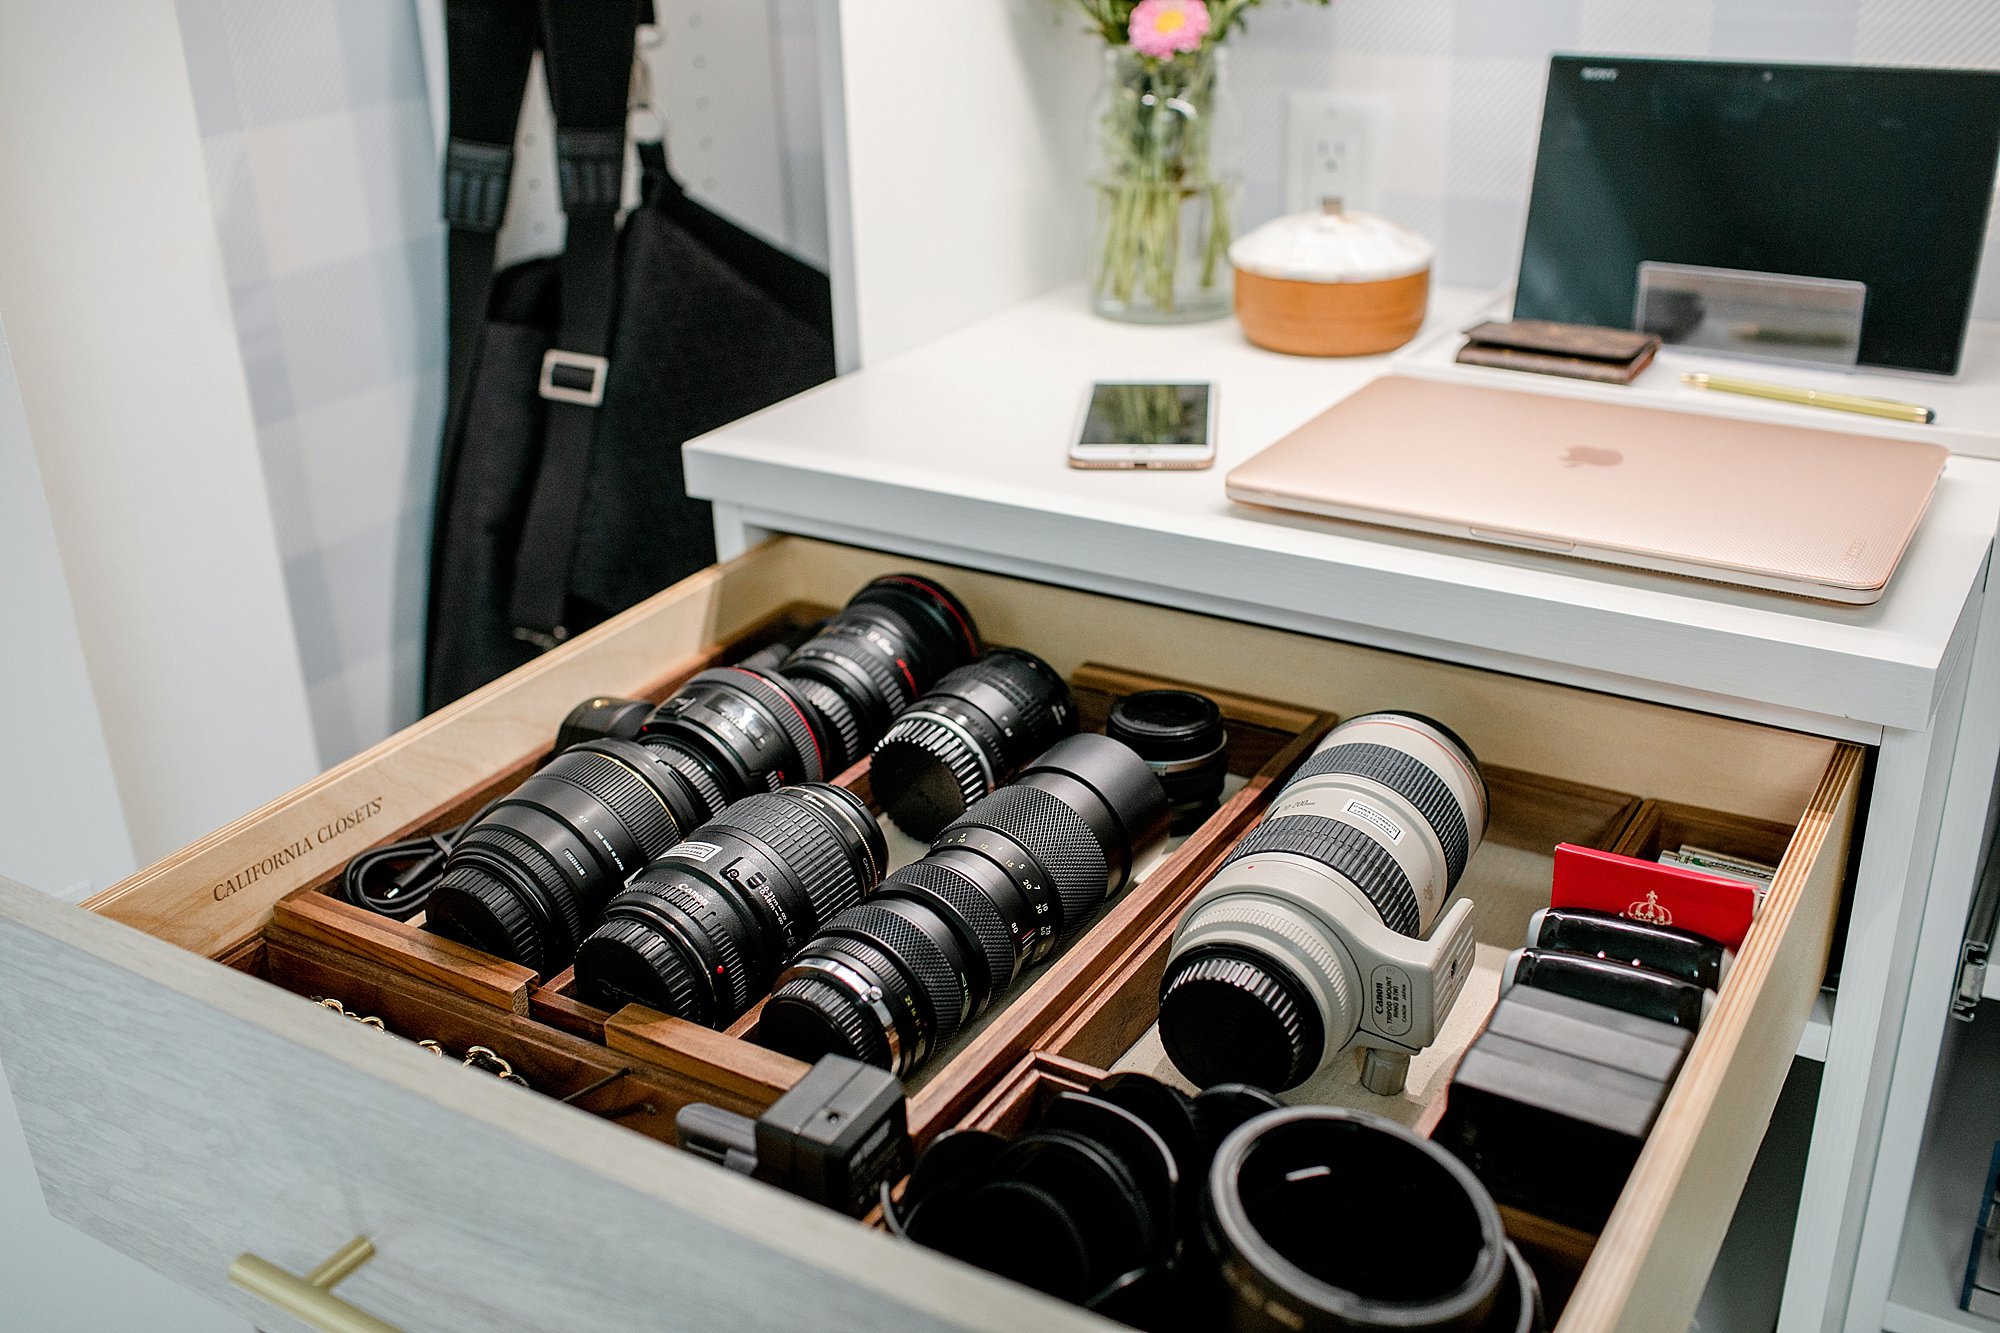
Let’s not forget about the lenses – my babies! I’m going to do a separate post about how I organized them, but for now here’s my lens drawer – minus my 35mm since I was obviously shooting with it.
I do put labels with my name and phone number on lenses. It was something I learned from a friend of mine, especially when you’re around a ton of other photographers shooting the same thing, or wondering which lens belongs to who (I noticed this when I taught a live workshop at my house). Or if you’re on a shoot, and someone finds it they can call you to tell you it’s been left behind (hasn’t happened yet).
I also have my rolling photography bag/suitcase when I carry my gear to photoshoots – you can see I place it right under my UNDFIND camera bags. The shoulder bags are on crazy clearance right now and I love mine so you should get one! I have one that is a waist bag for two lenses and I wear it around my waist with a belt, it’s easier on my back.
Let’s talk about the custom office closet features:
- Slide out drawers
- Dimmable lighting (comes with a wireless remote I mounted)
- Slideout printer
- File drawer
- Hanging rod for clothes
- Charging station
- Work bag display
And because I am always transparent on costs, I’m including a cost breakdown of this office closet project.
I think it was worth it – a small investment for the future that will save me time and sanity.
[one_half padding=”0 6px 0 0″] [/one_half]
[one_half_last padding=”0 0 0 6px”]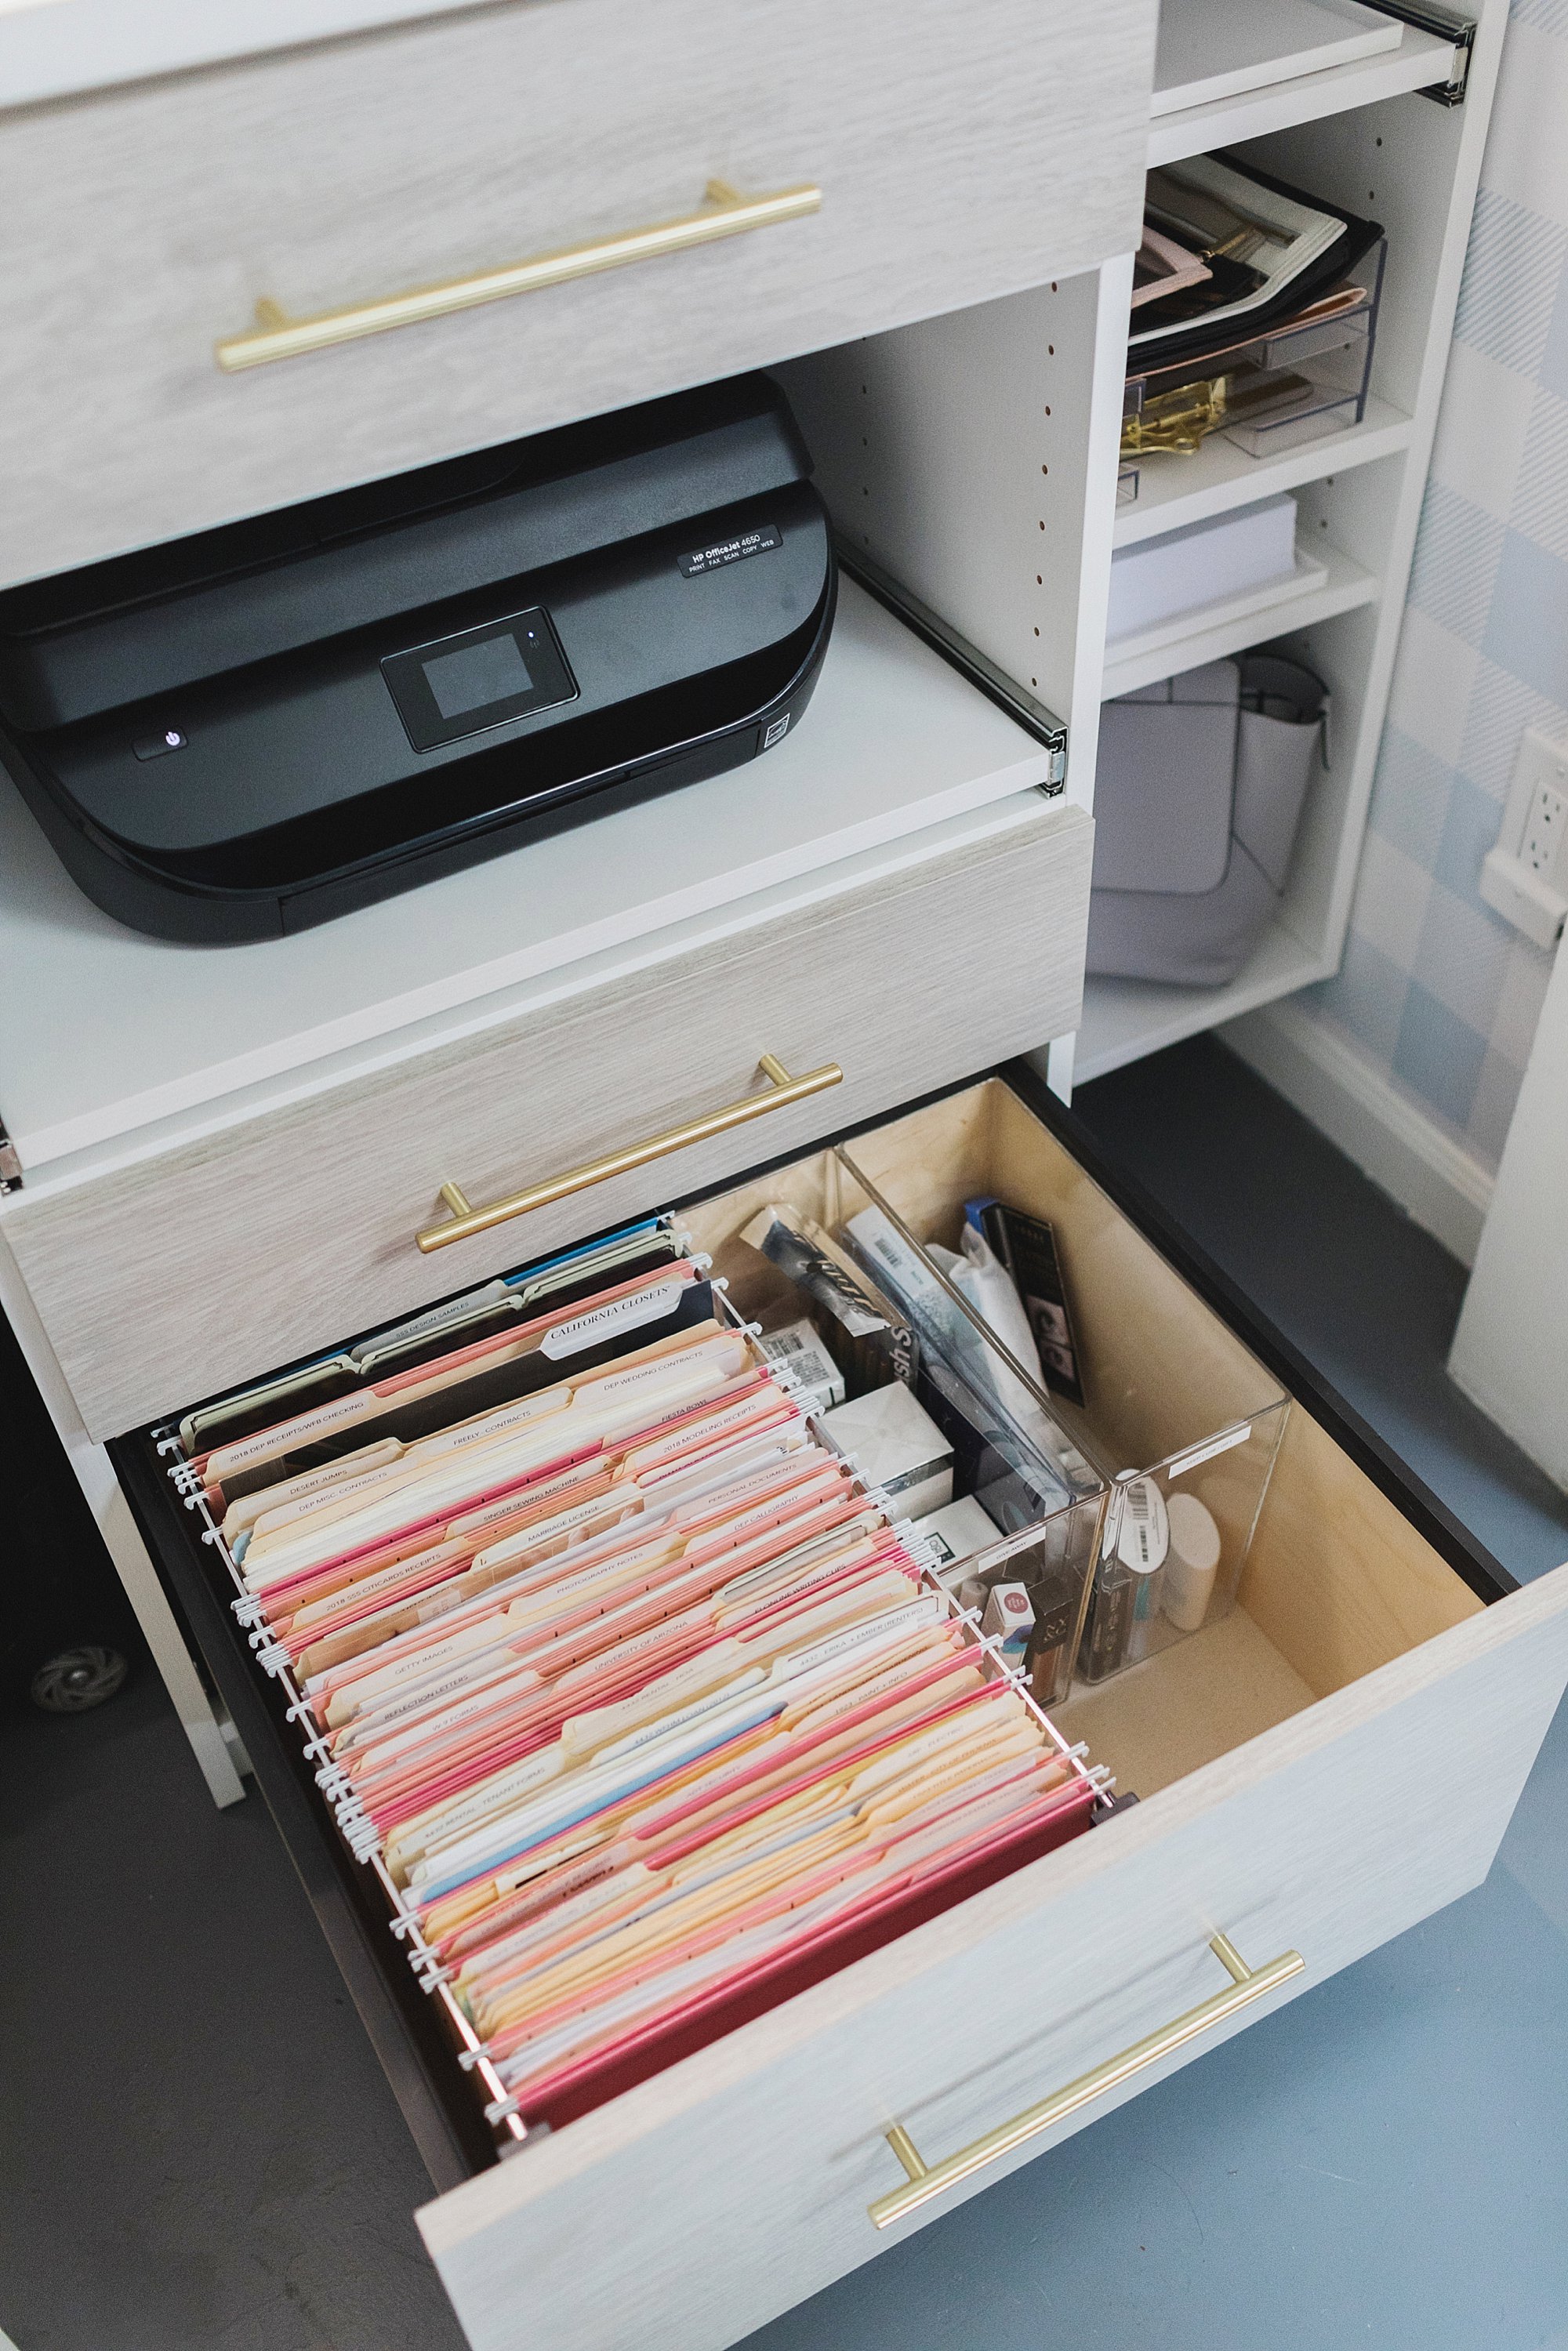 [/one_half_last]
Oh yes pink folders. I mean I tell you, everything you own and do should be elevated to cuteness level 10!
Whatever it takes to make organizing, camping, hiking, working out, working fun! They make pretty things for a reason (for people like myself).
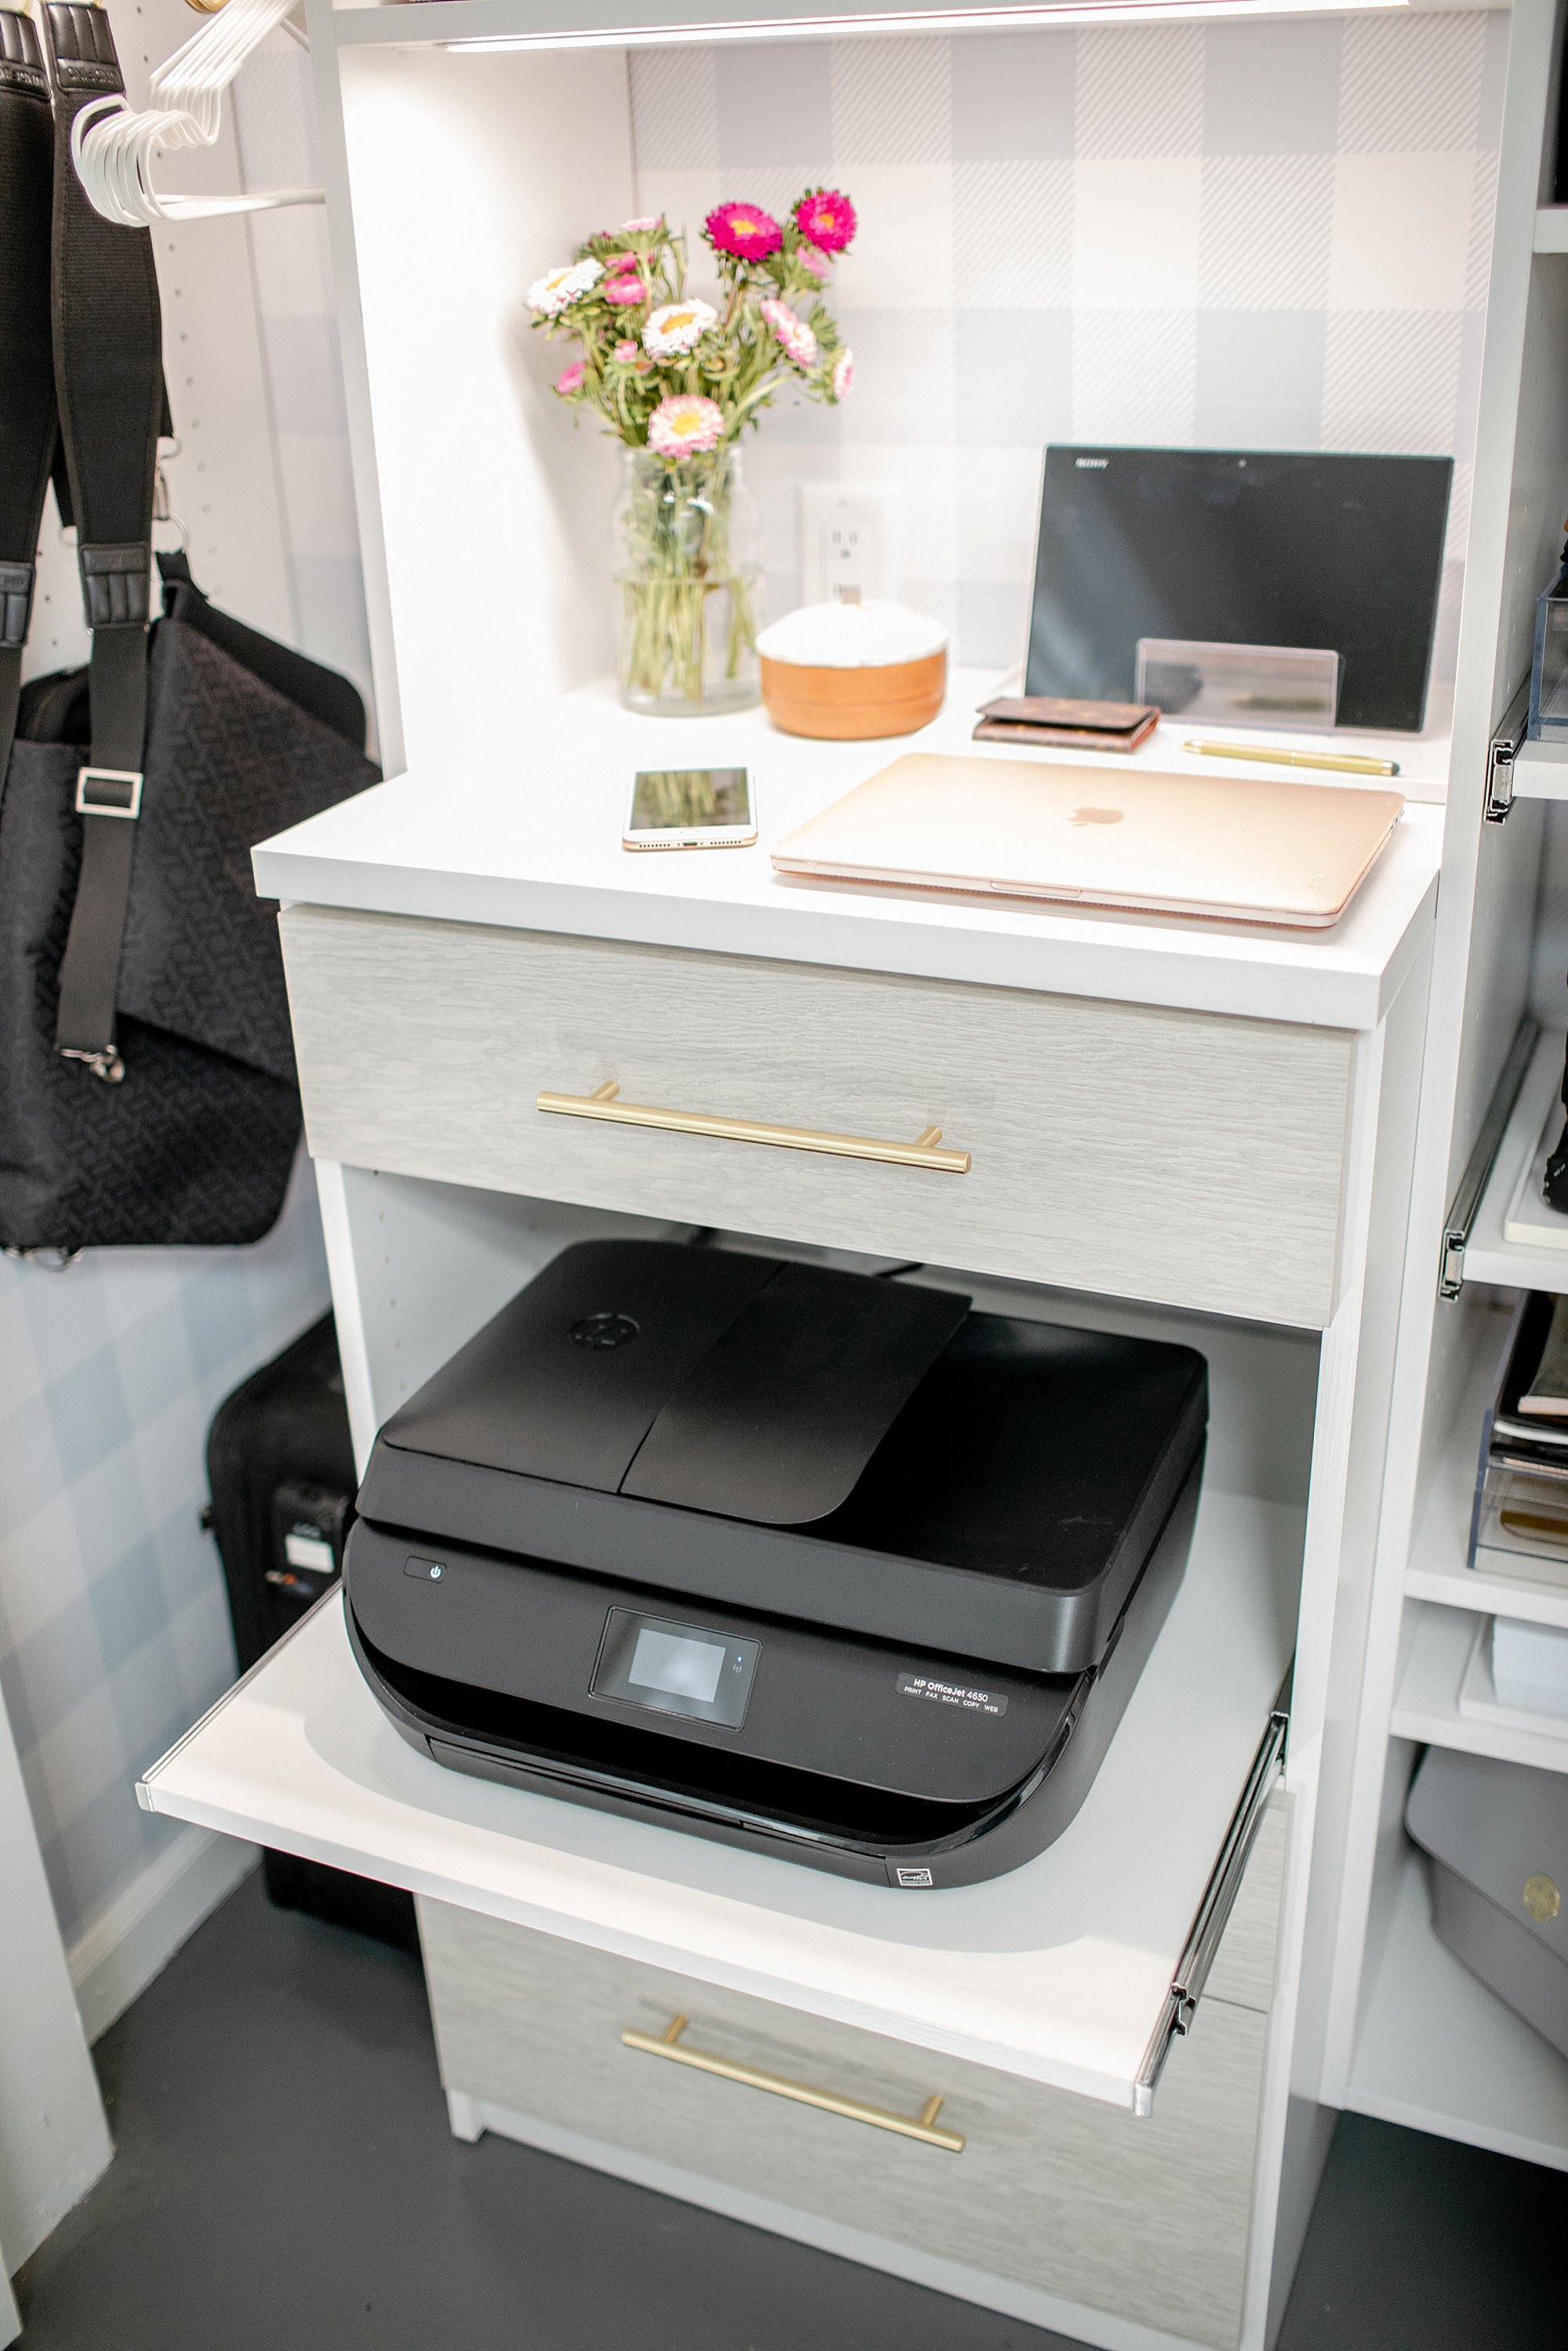
I love that my printer slides out so I can copy and fax – such a great idea thanks to California Closets! My designer really knew what my needs were. This is an HP OfficeJet and I love it!
[one_half padding=”0 6px 0 0″]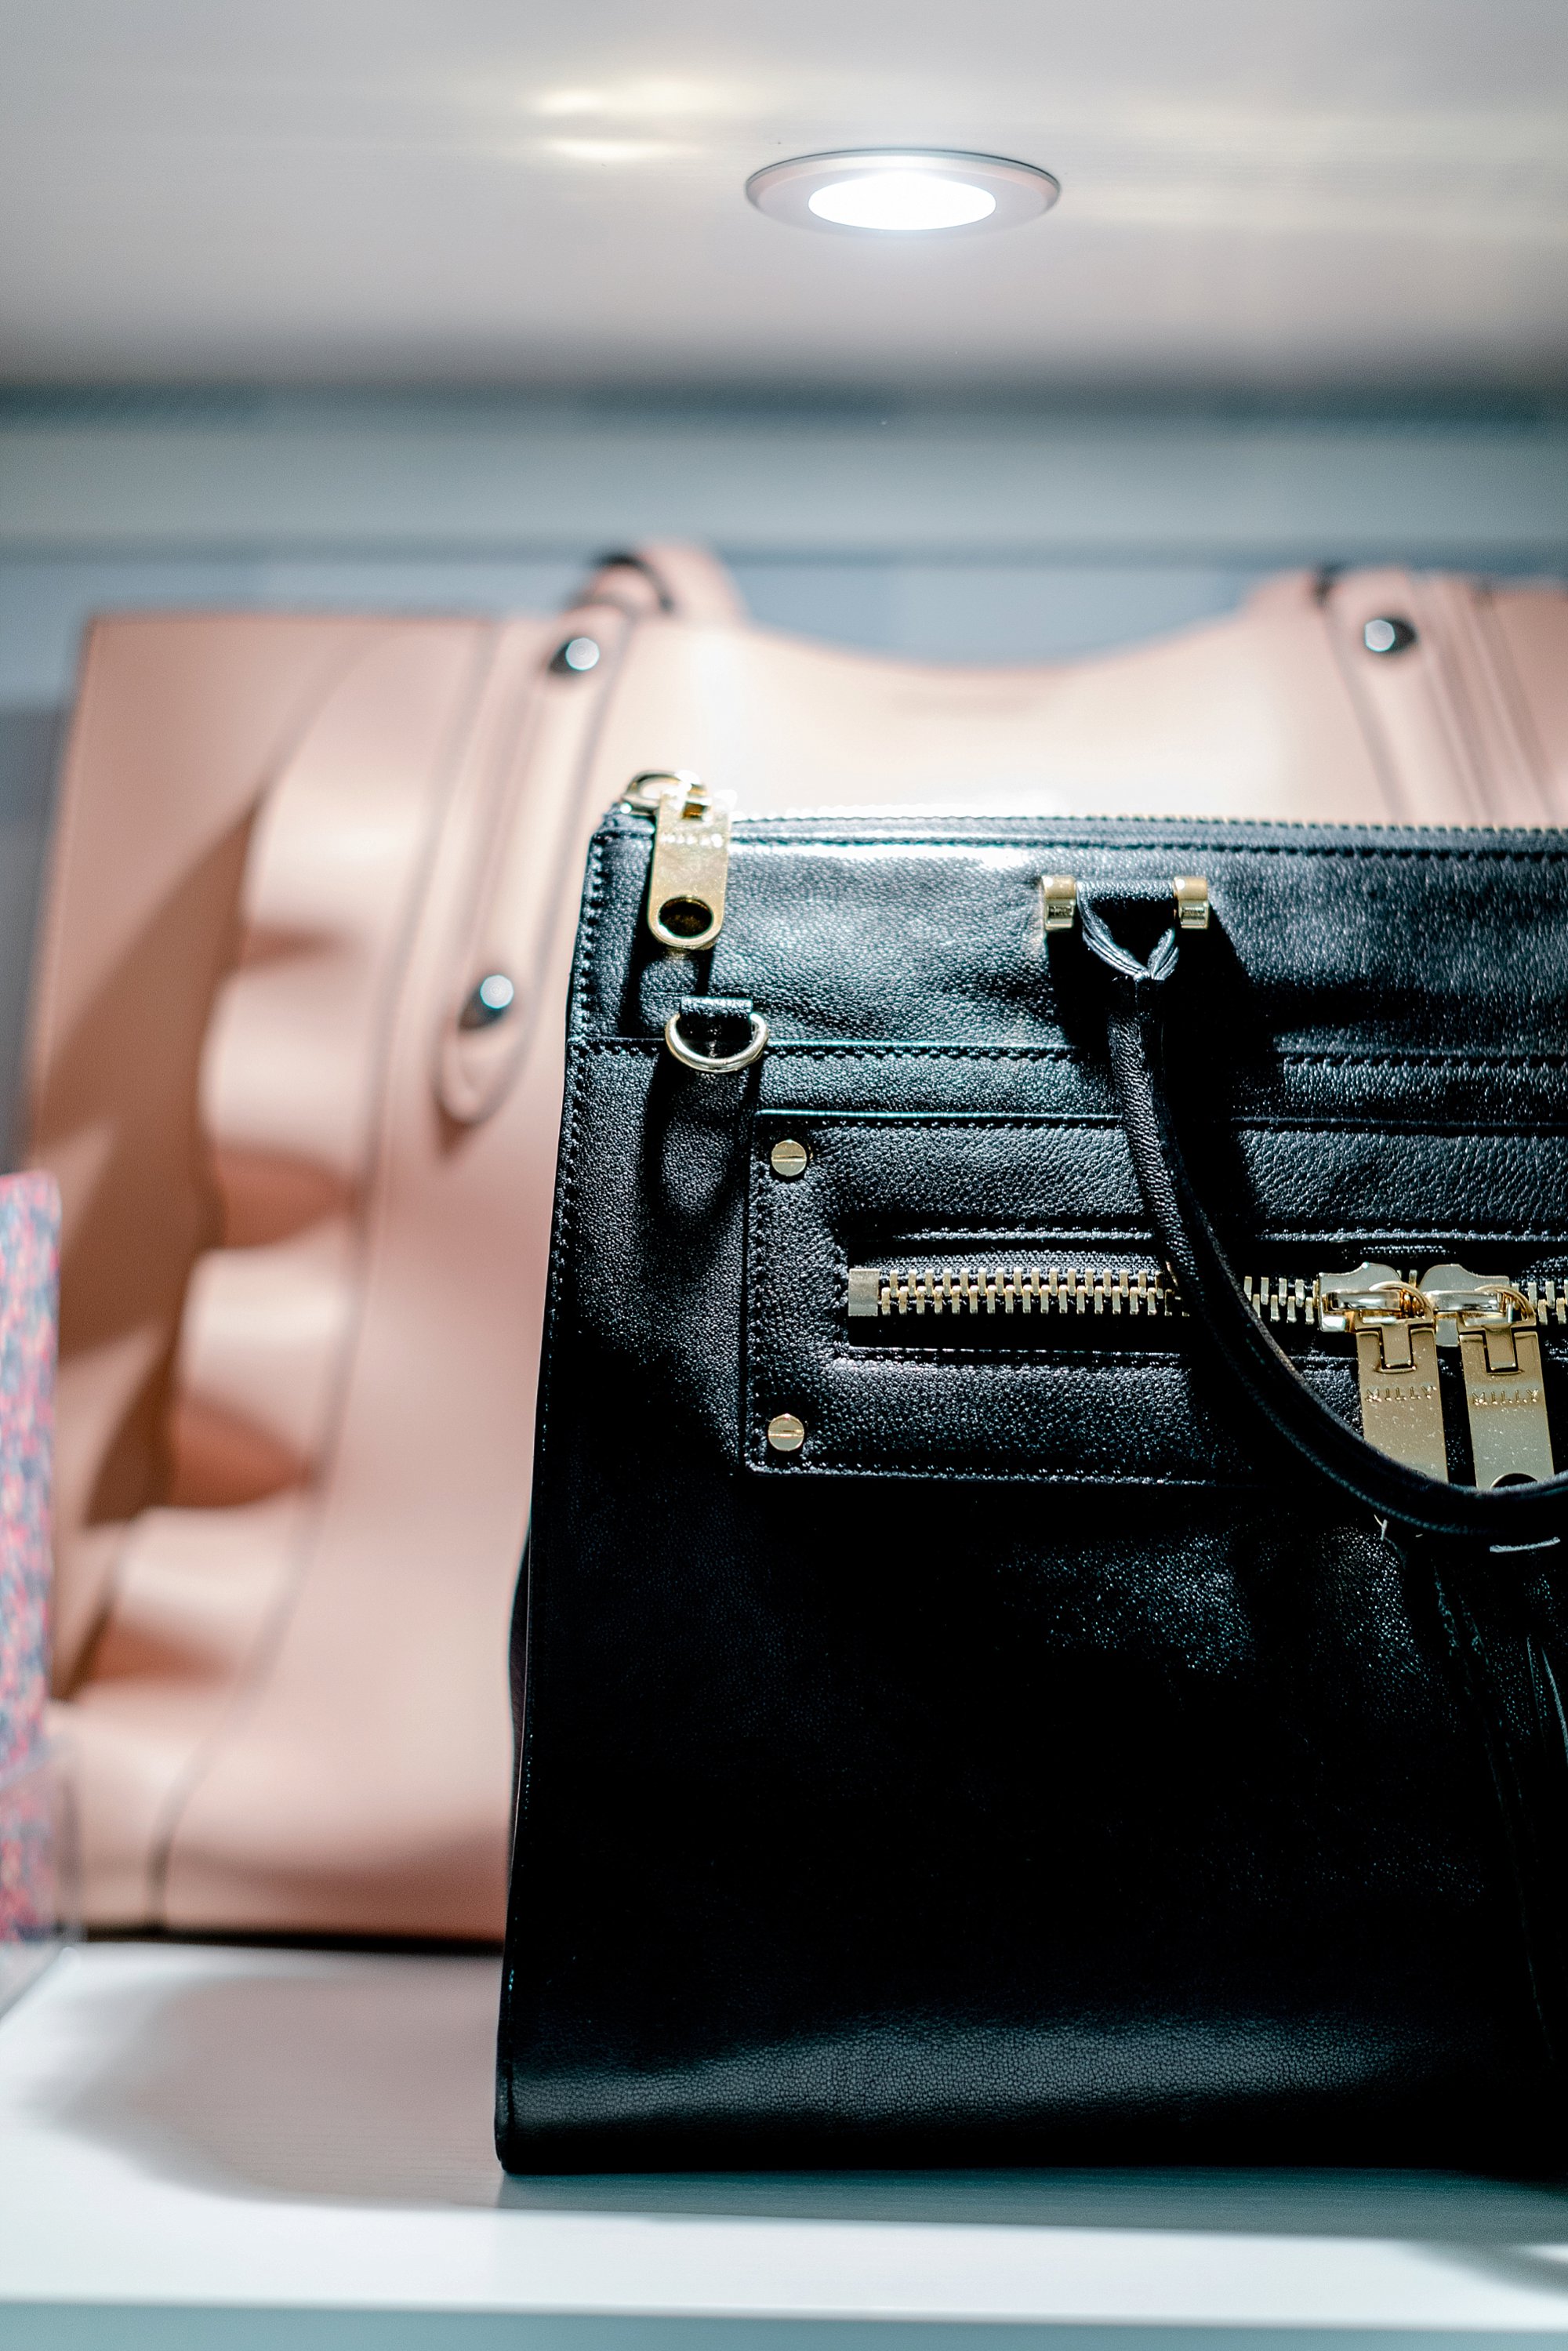 [/one_half]
[one_half_last padding=”0 0 0 6px”] [/one_half_last]
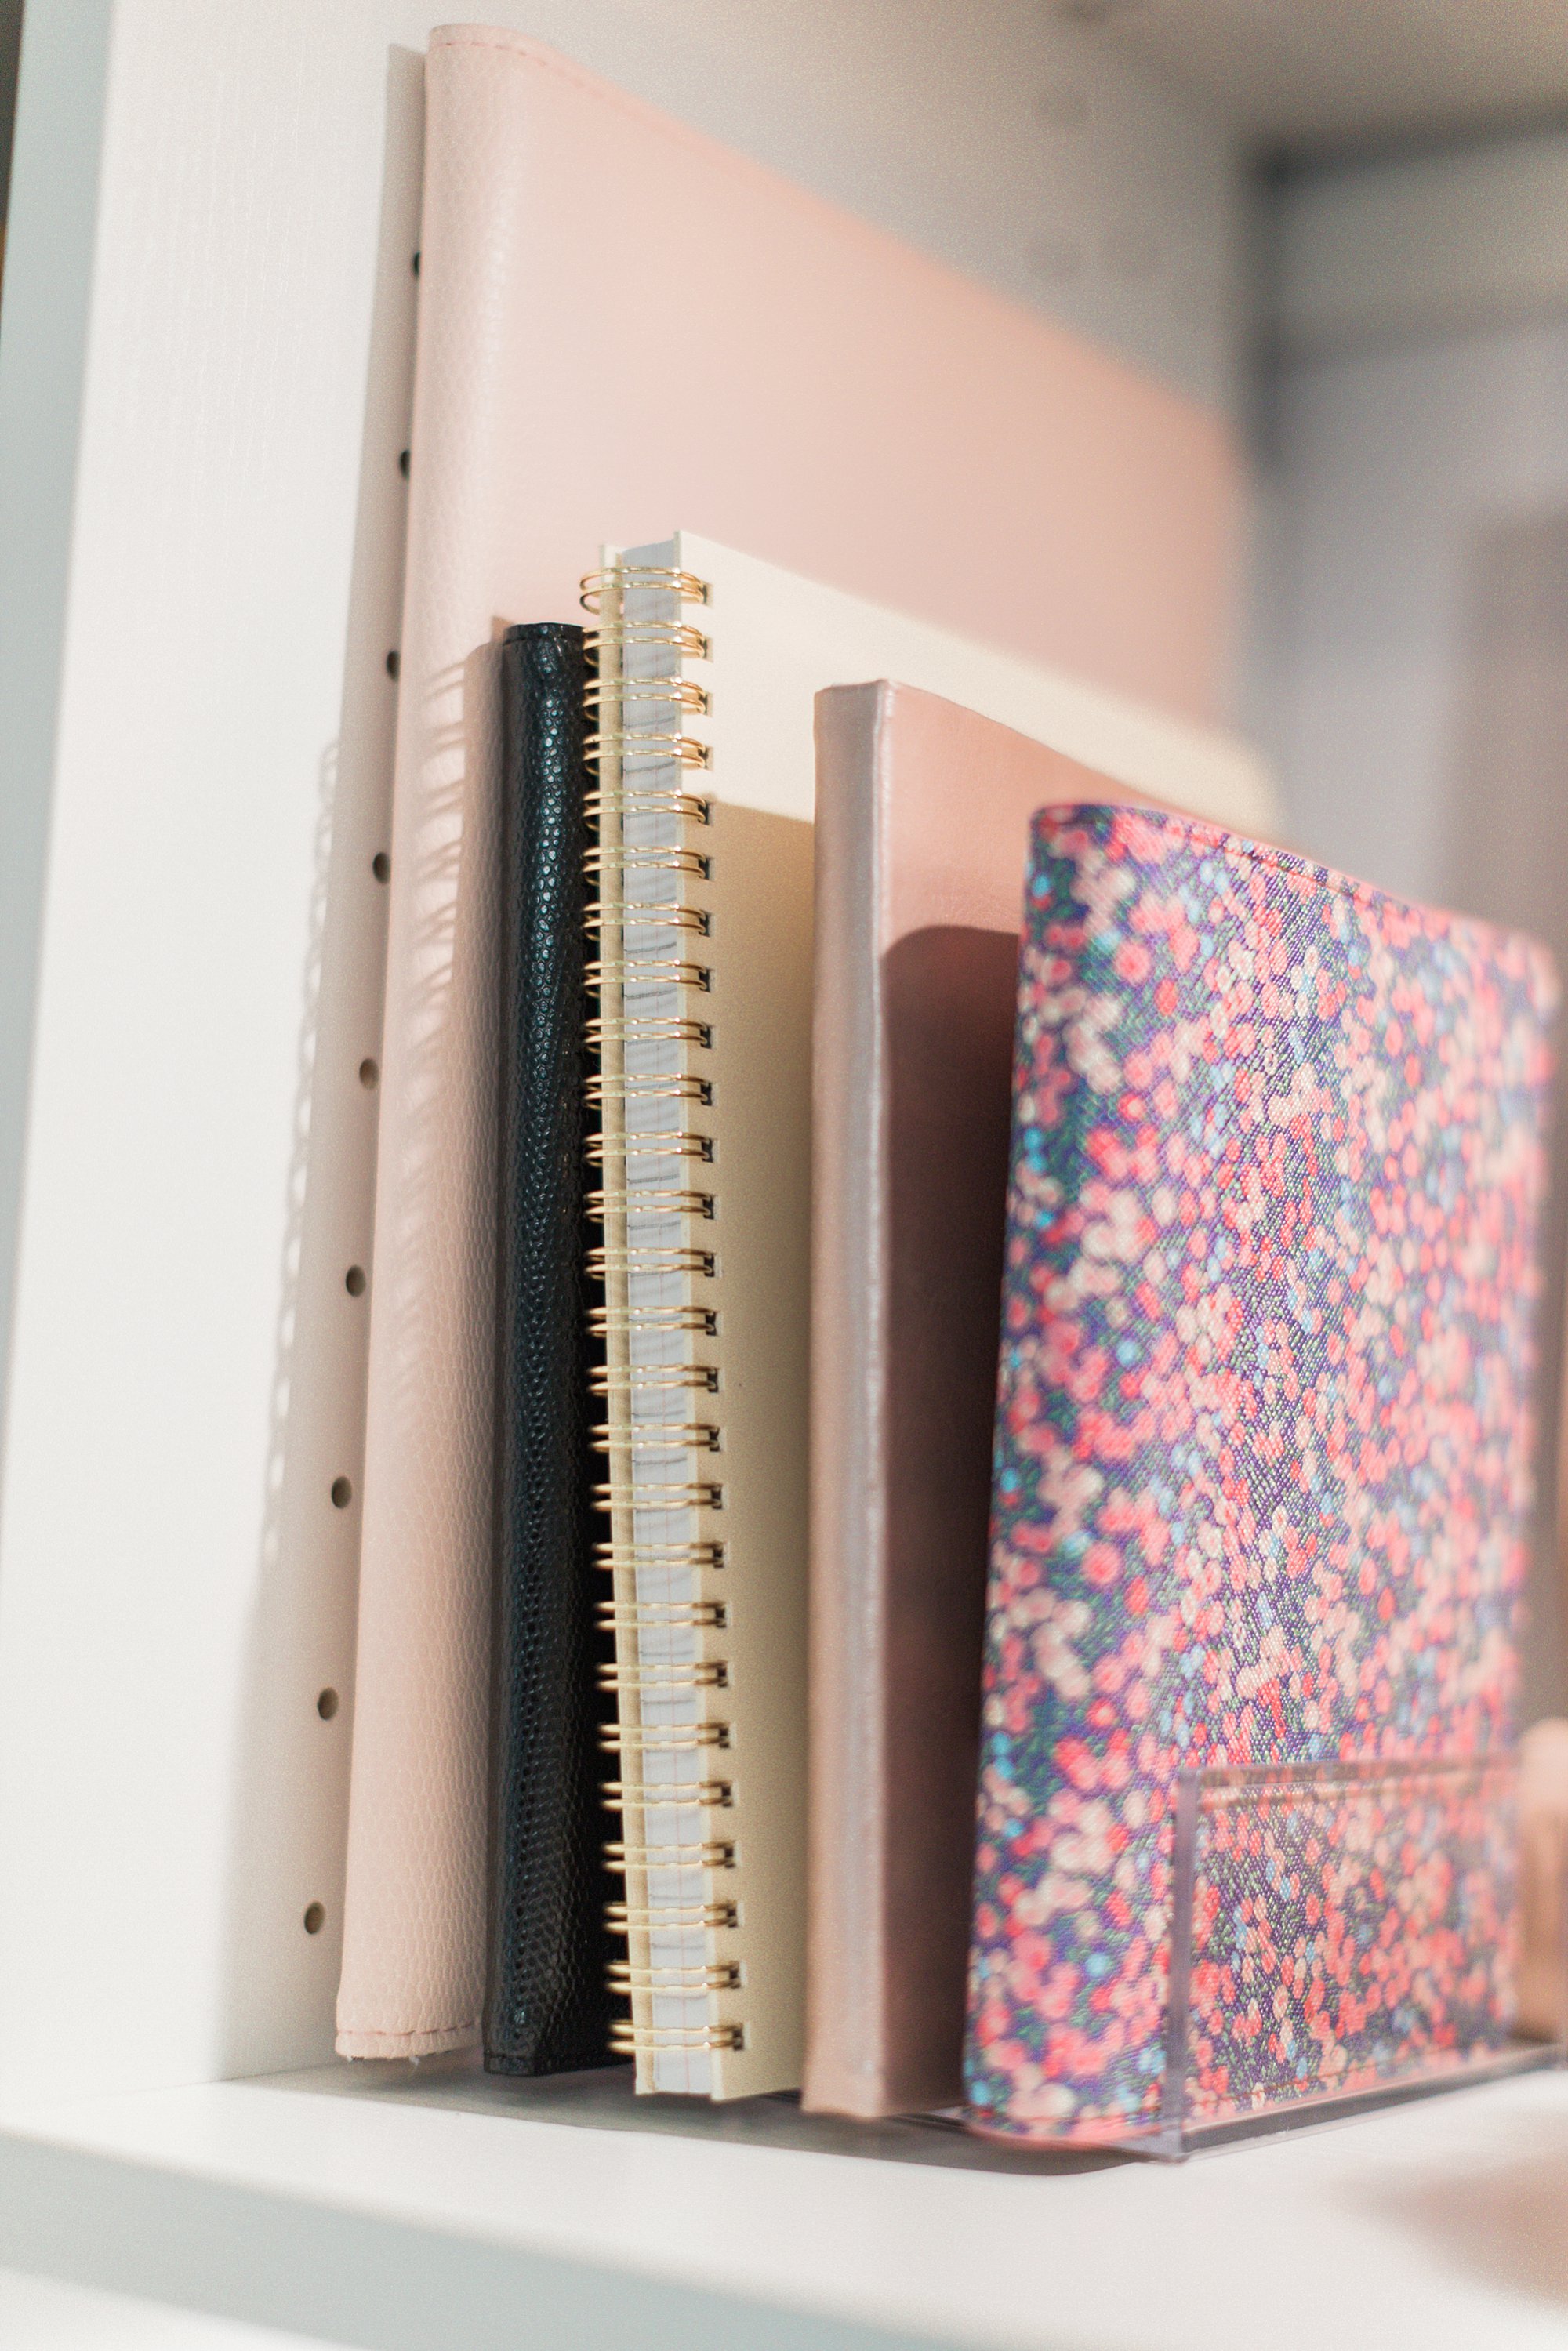
It might feel like this office closet meets wardrobe closet – yes! The lighting is pretty, I love that it dims. I also like that I can display my work bags in my work office and not in my closet.
I can grab one depending on my day, if I have a meeting and I have my notebooks lined up right by them so I remember to grab one too!
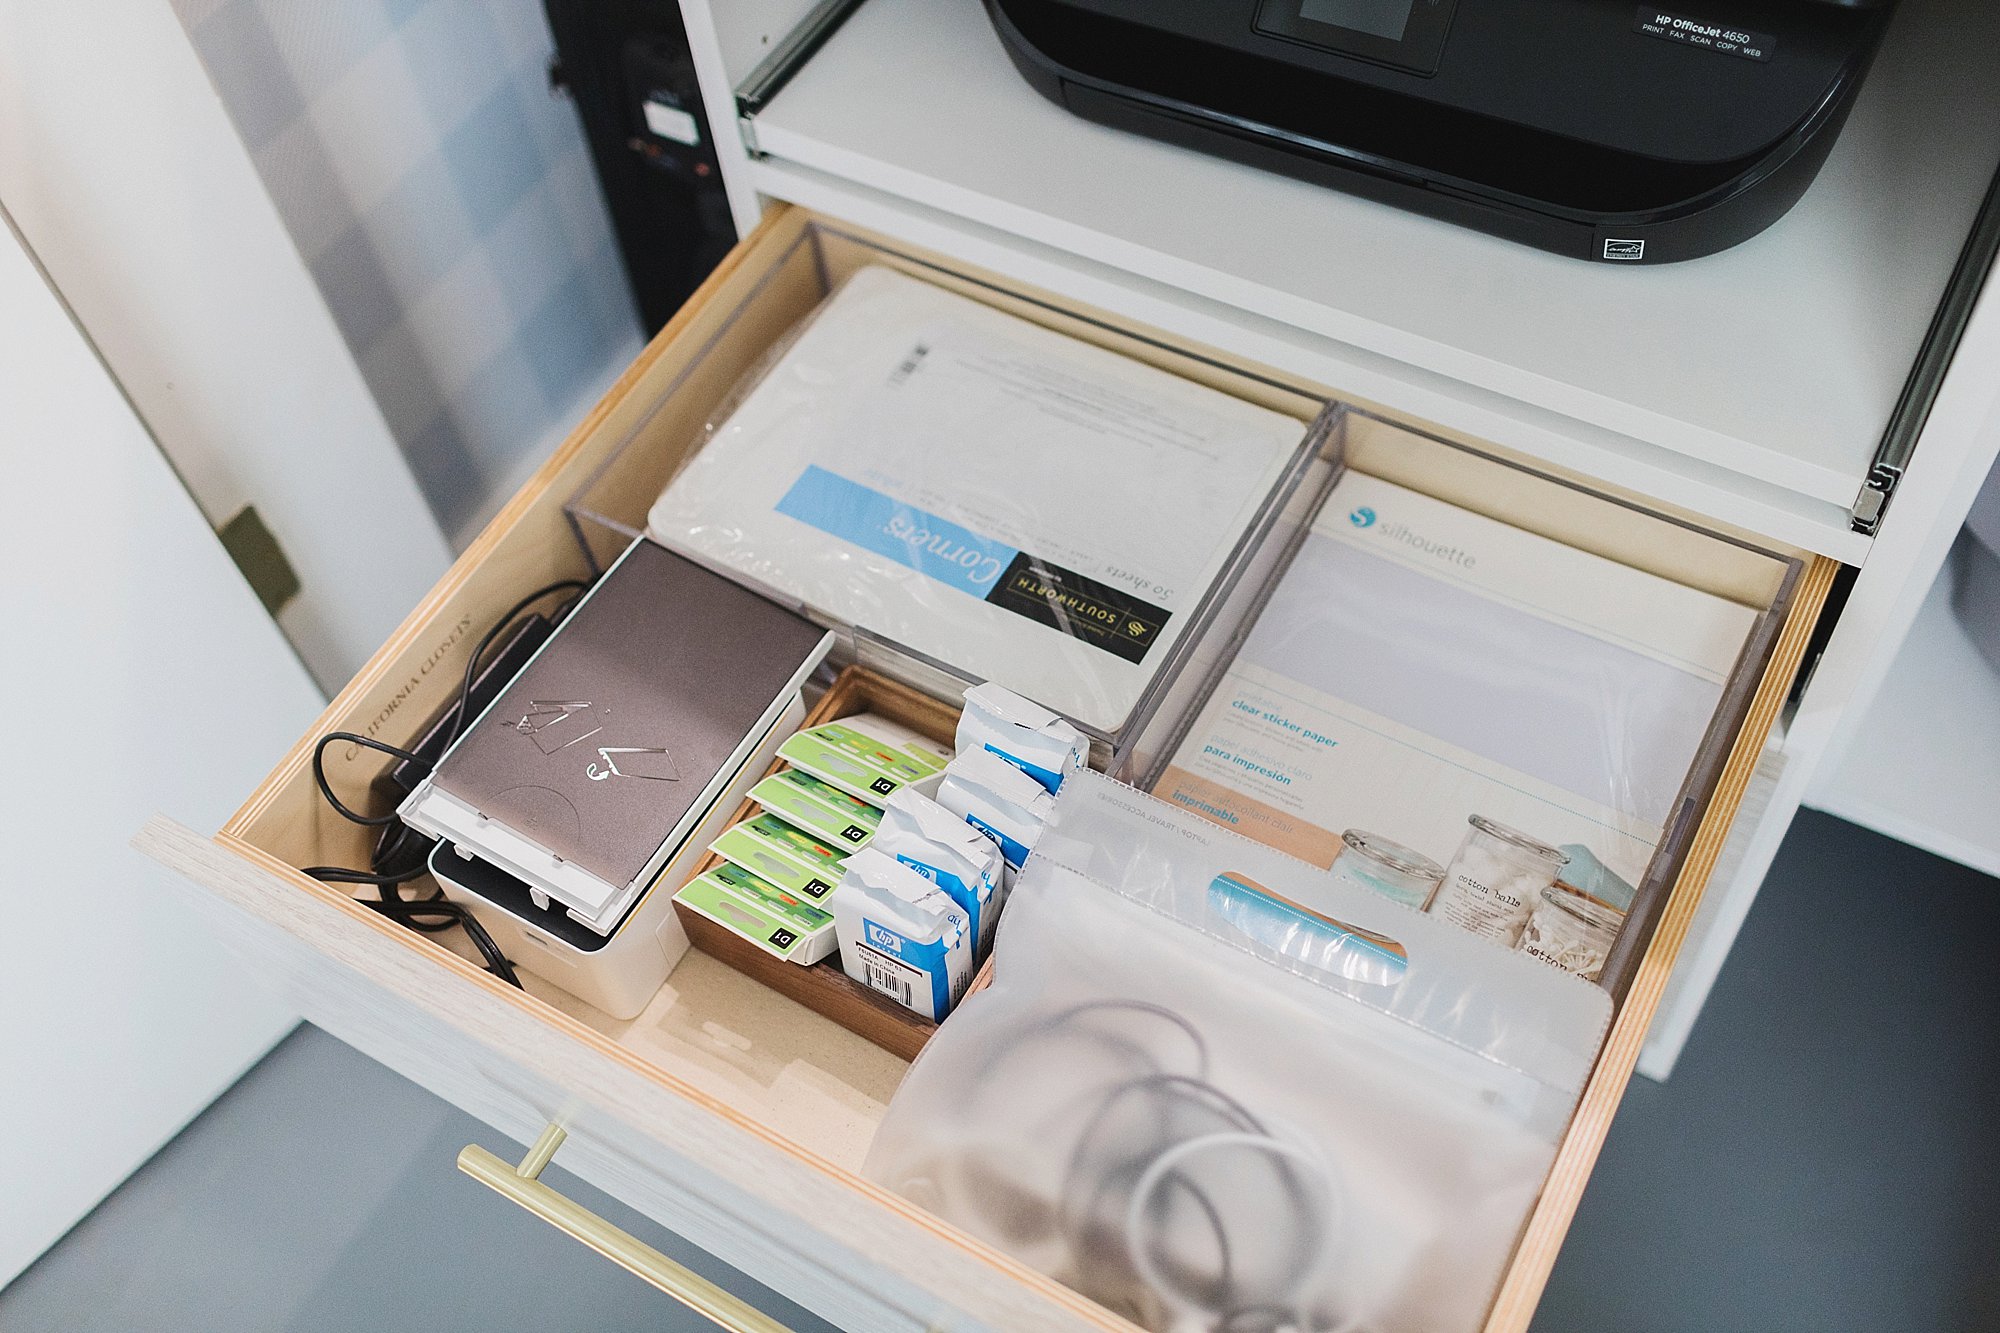
The drawer below the printer is all printing paper, another Kodak instant photo printer, ink, travel and laptop plugs and wires, and also label stickers for my DIY projects like these fridge labels I made.
Cost breakdown
$1850 California Closets installation, rods, shelves, lighting (I selected tier 2 for finish materials)
$18 Brass drawer handles from Amazon (10″)
$50 Drawers organizers from Home Goods for lenses
$24 White plastic trays from Container Store
Free Leftover drawer liner from office makeover (from The Container Store)
$70 Handyman removal of closet rod and shelves + patching
$20 Miscellaneous supplies from Ace Hardware (sanders, painters tape)
$350 Electrician adding outlets and light switch
$100 Drywall repair
$10 Umbra metal hook, brass 4 pack
Free Leftover paint from Benjamin Moore in Simply White
c/o Removable wallpaper by Livettes Wallpaper
– White bins from IKEA (already own) $7.99 each
– Acrylic containers from Container Store (already own)
—
$2482 TOTAL
[one_half padding=”0 6px 0 0″]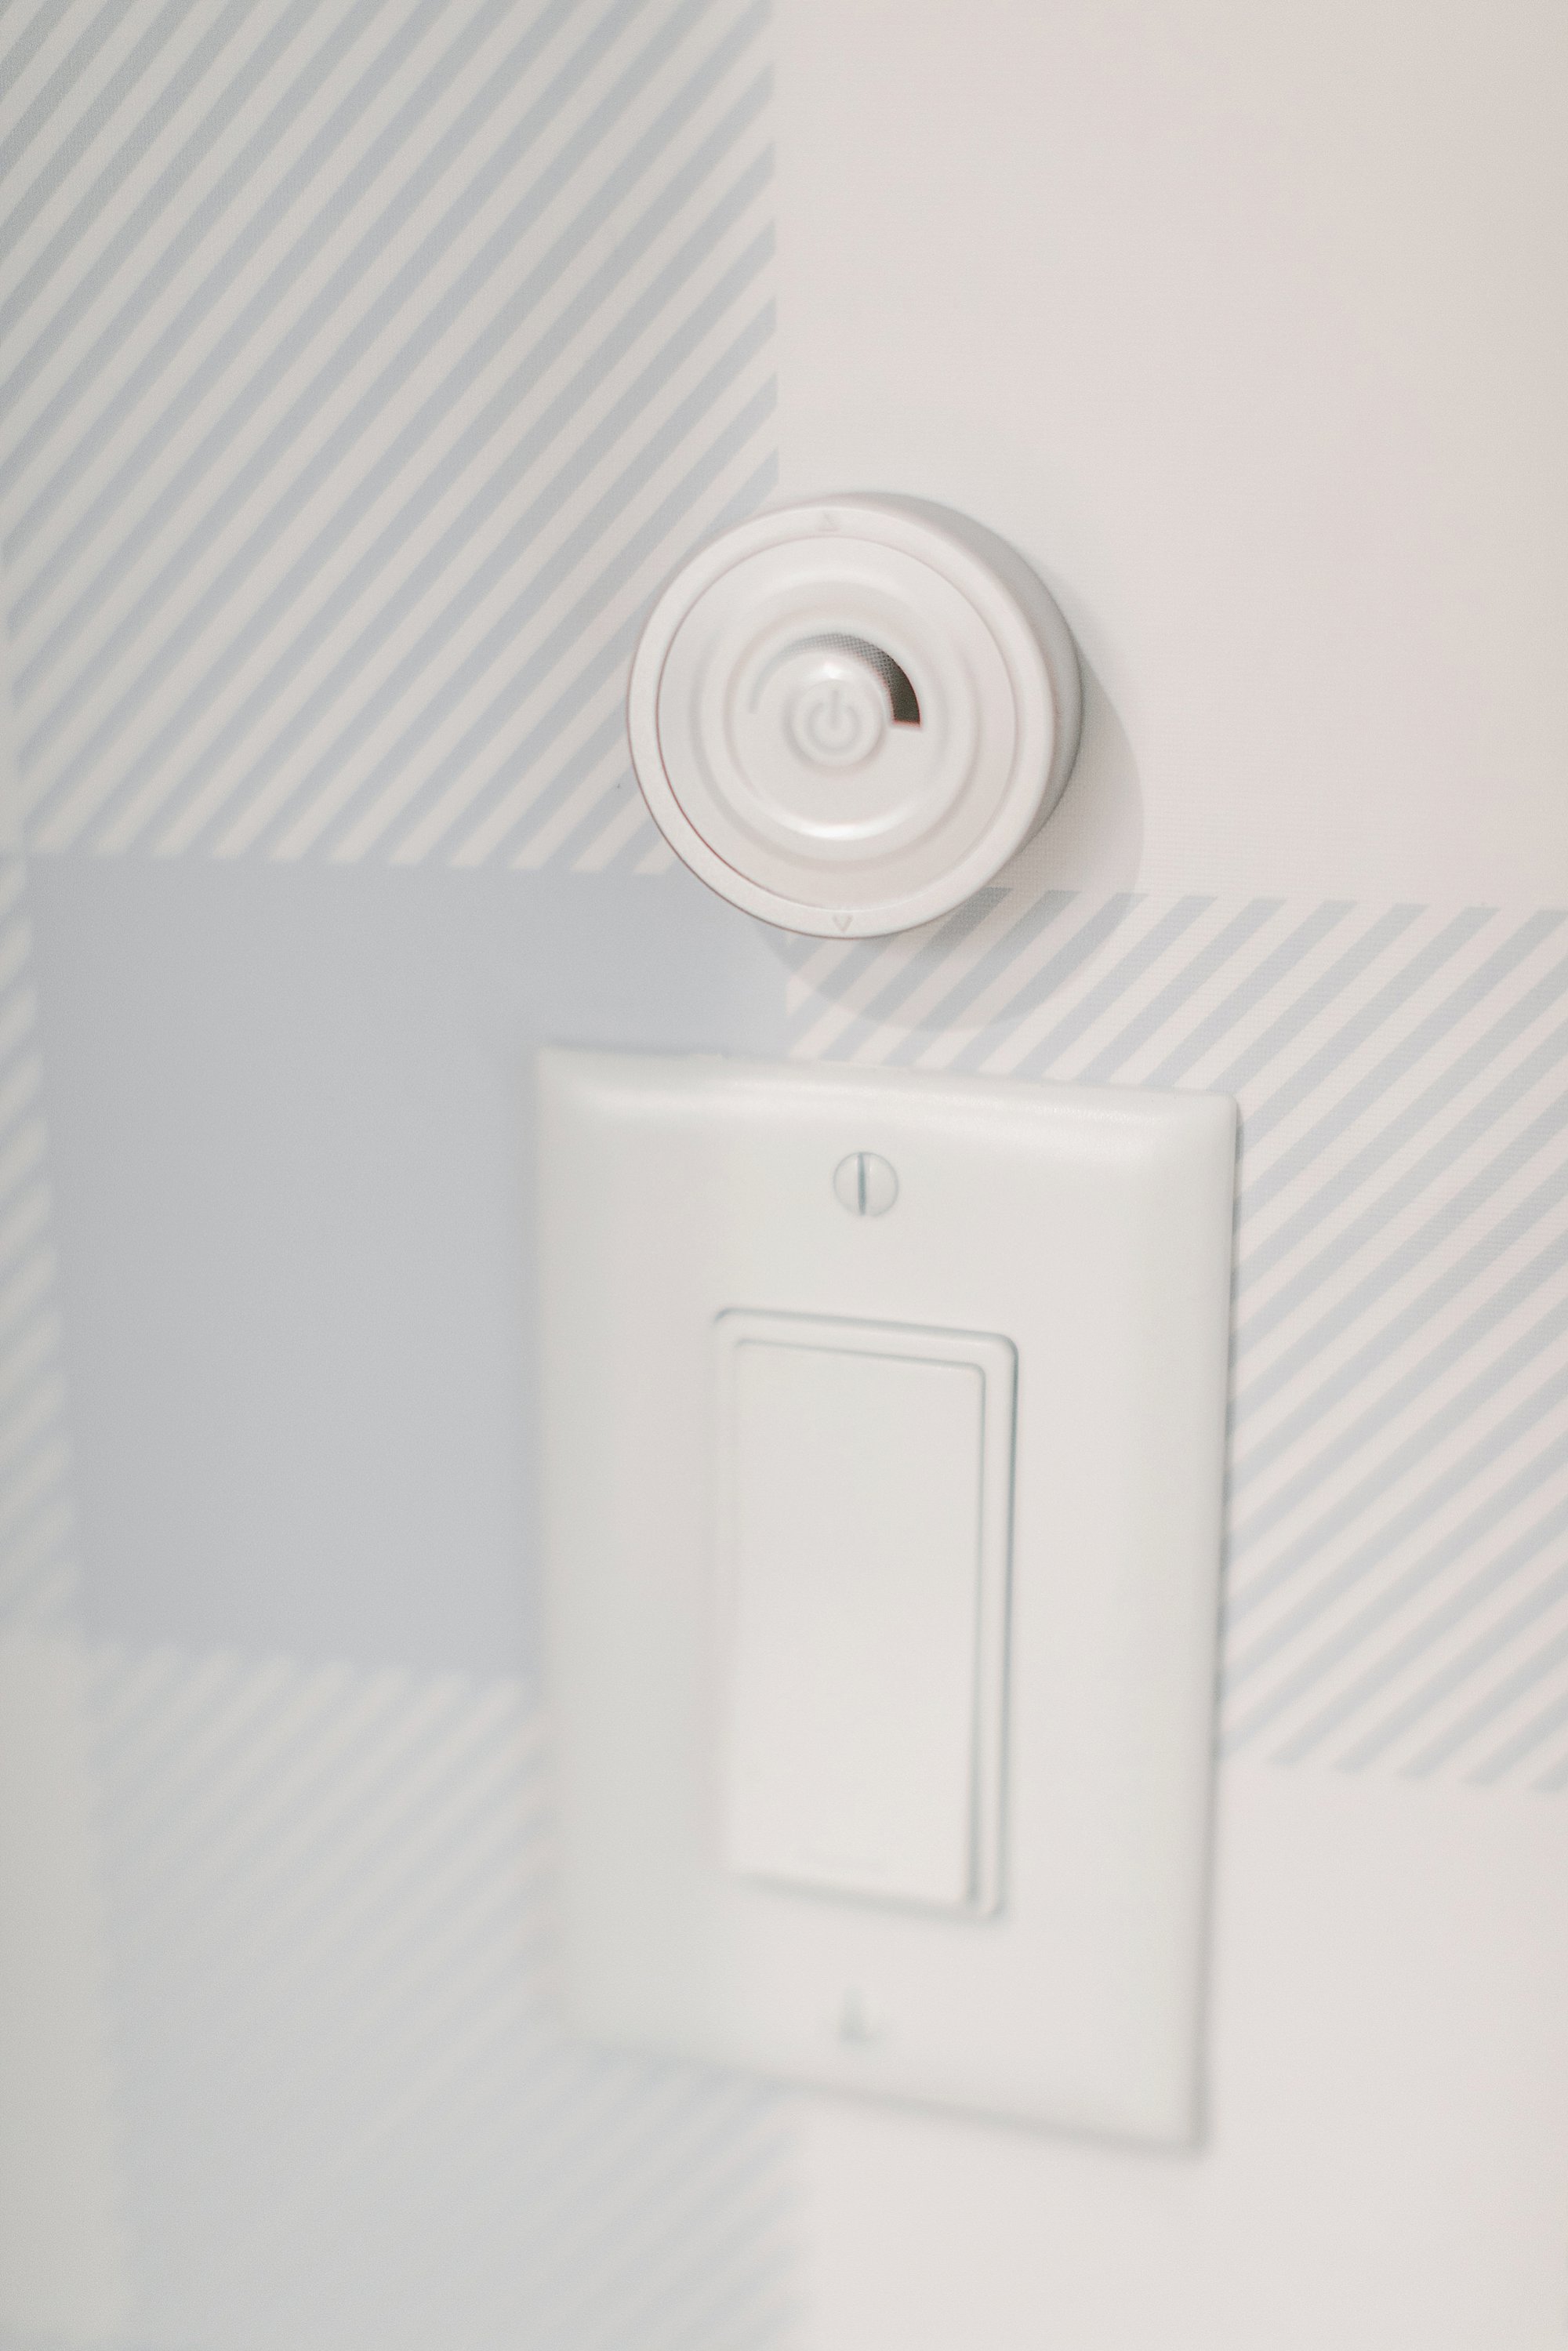 [/one_half]
[one_half_last padding=”0 0 0 6px”]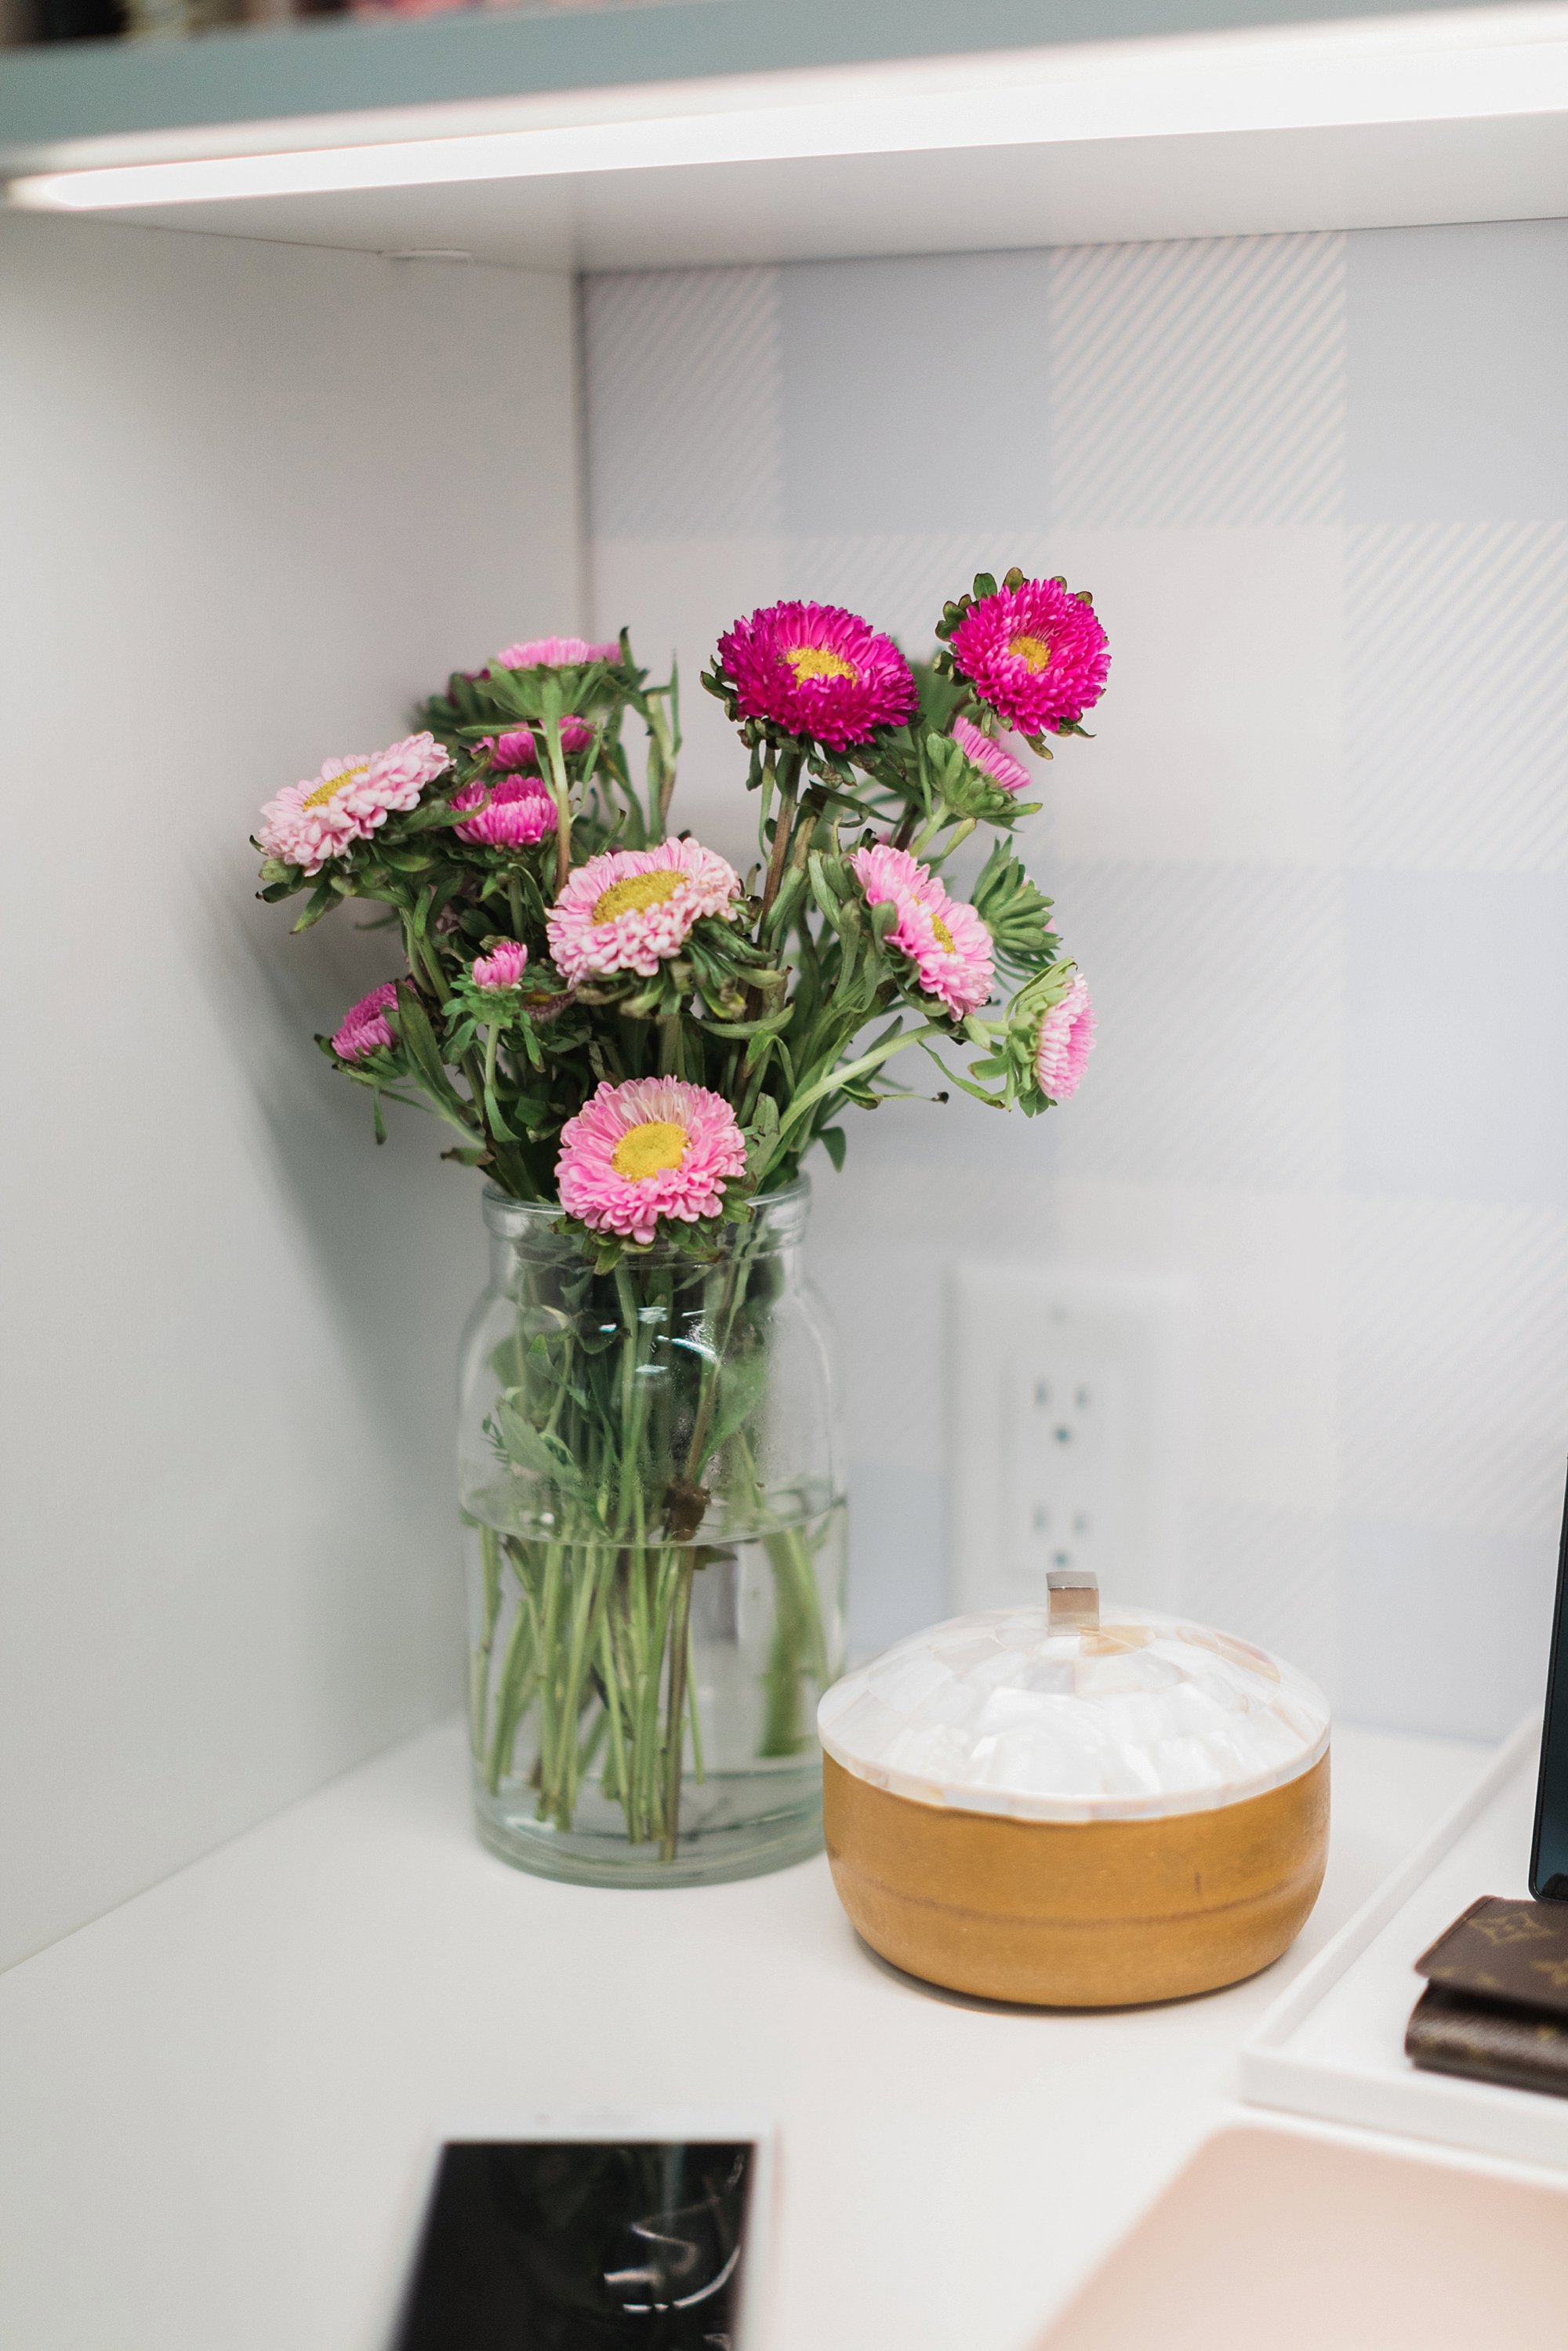 [/one_half_last]
There is a wireless light dimmer that came with my California Closets office closet install.
I had the installer add it above the light switch. I love that I can dim the lights depending on the time of day – or my mood.

If you haven’t seen my home office in its entirety, check it out here. It was the fourth facelift makeover since I moved in 7 years ago. Time flies.
Thank you so much for checking out my closet. I hope this inspires you to organize – and purge – things out of your closet to make room for the things you need. Check out my post with more photos and details of my photography and camera lens organization tips and details. xx
Leave a Reply