
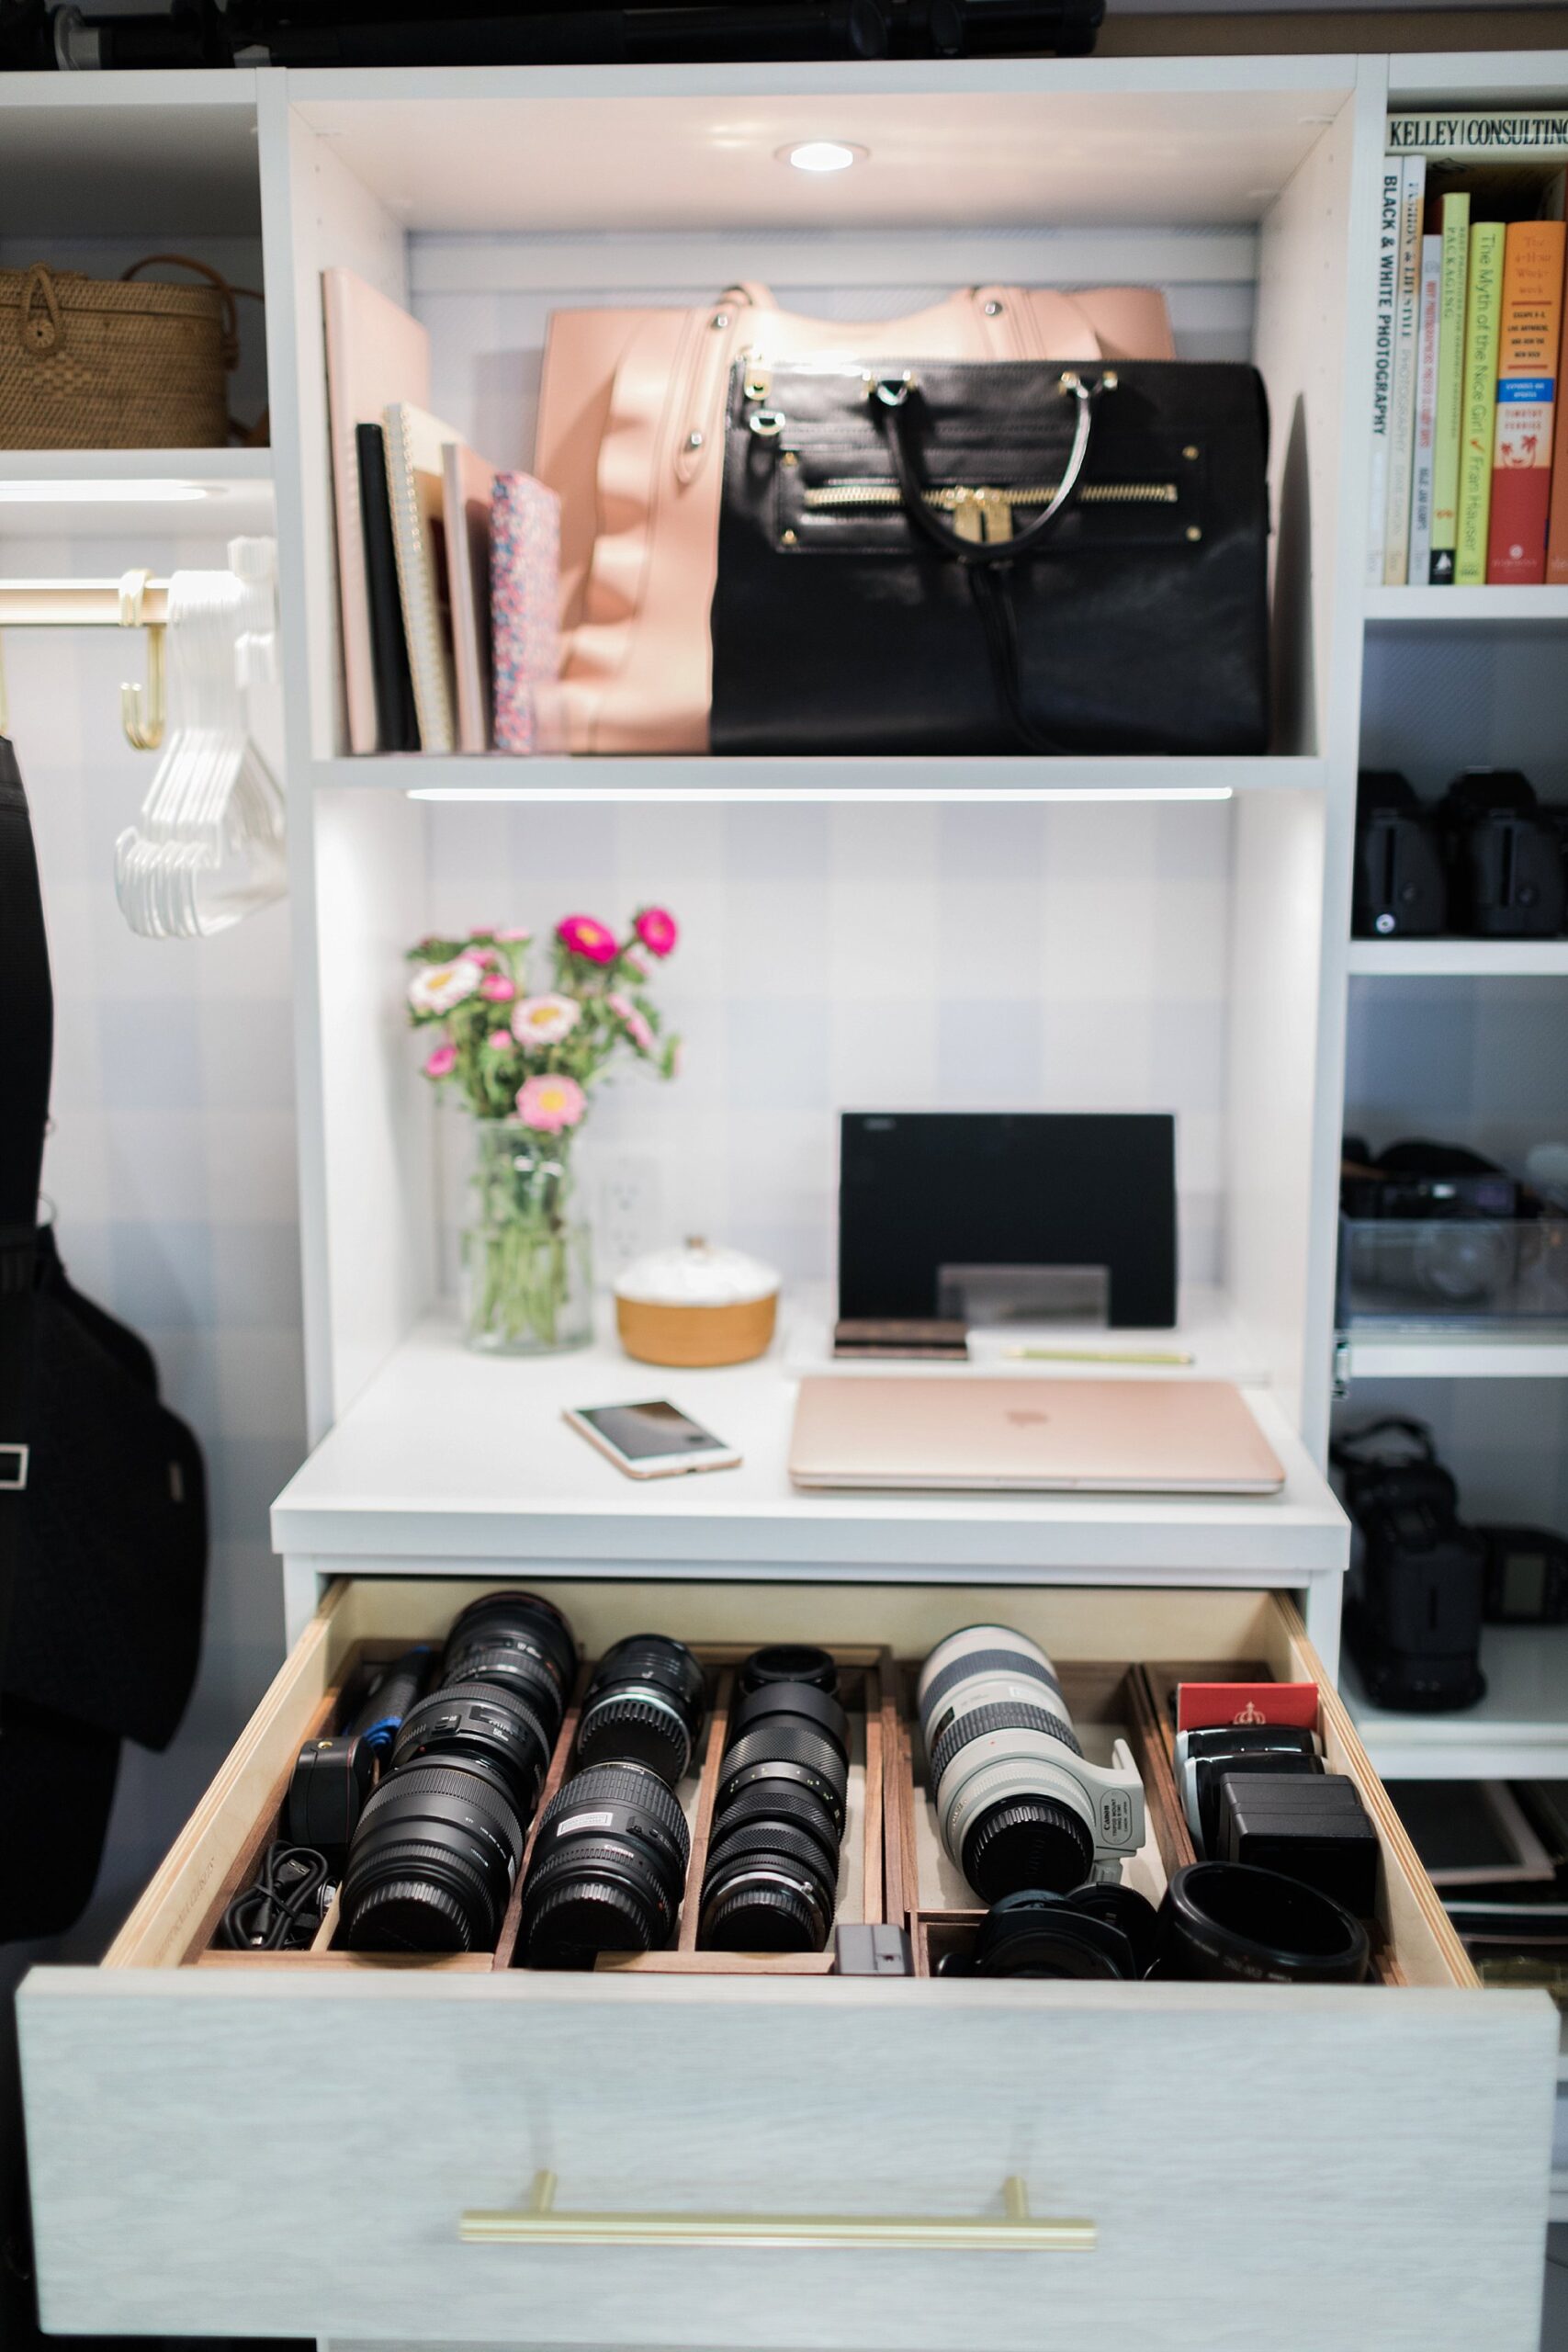


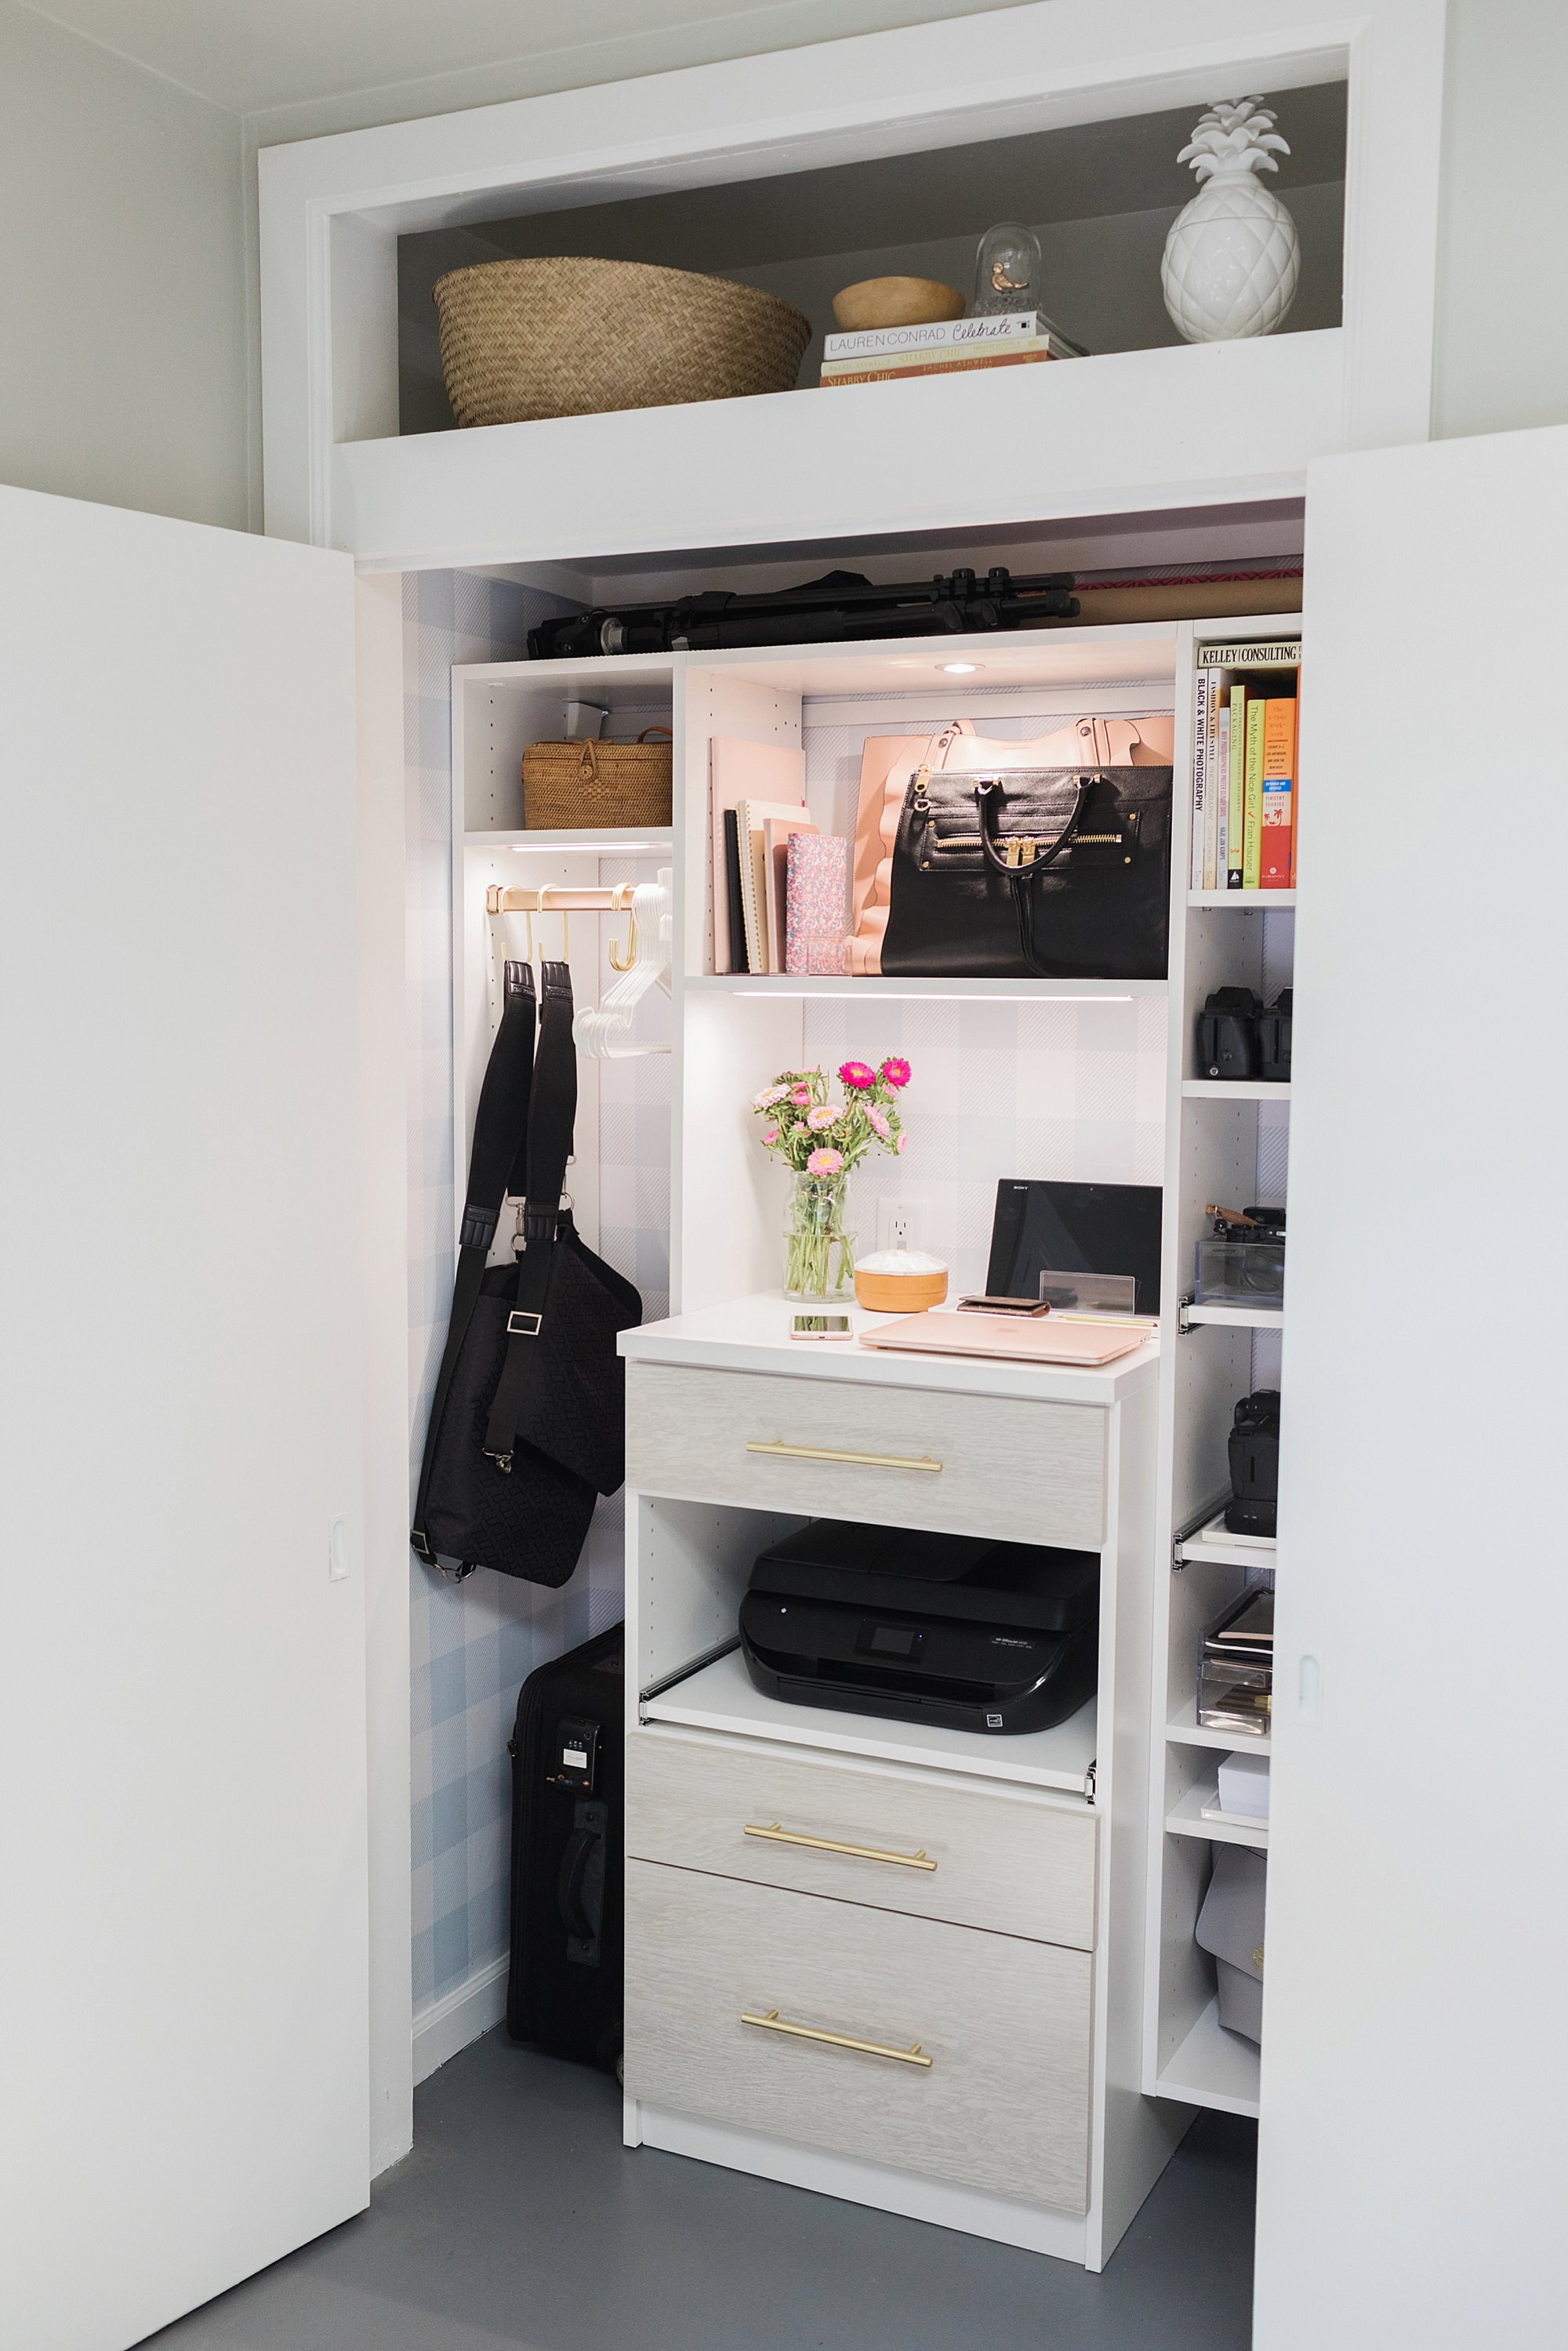
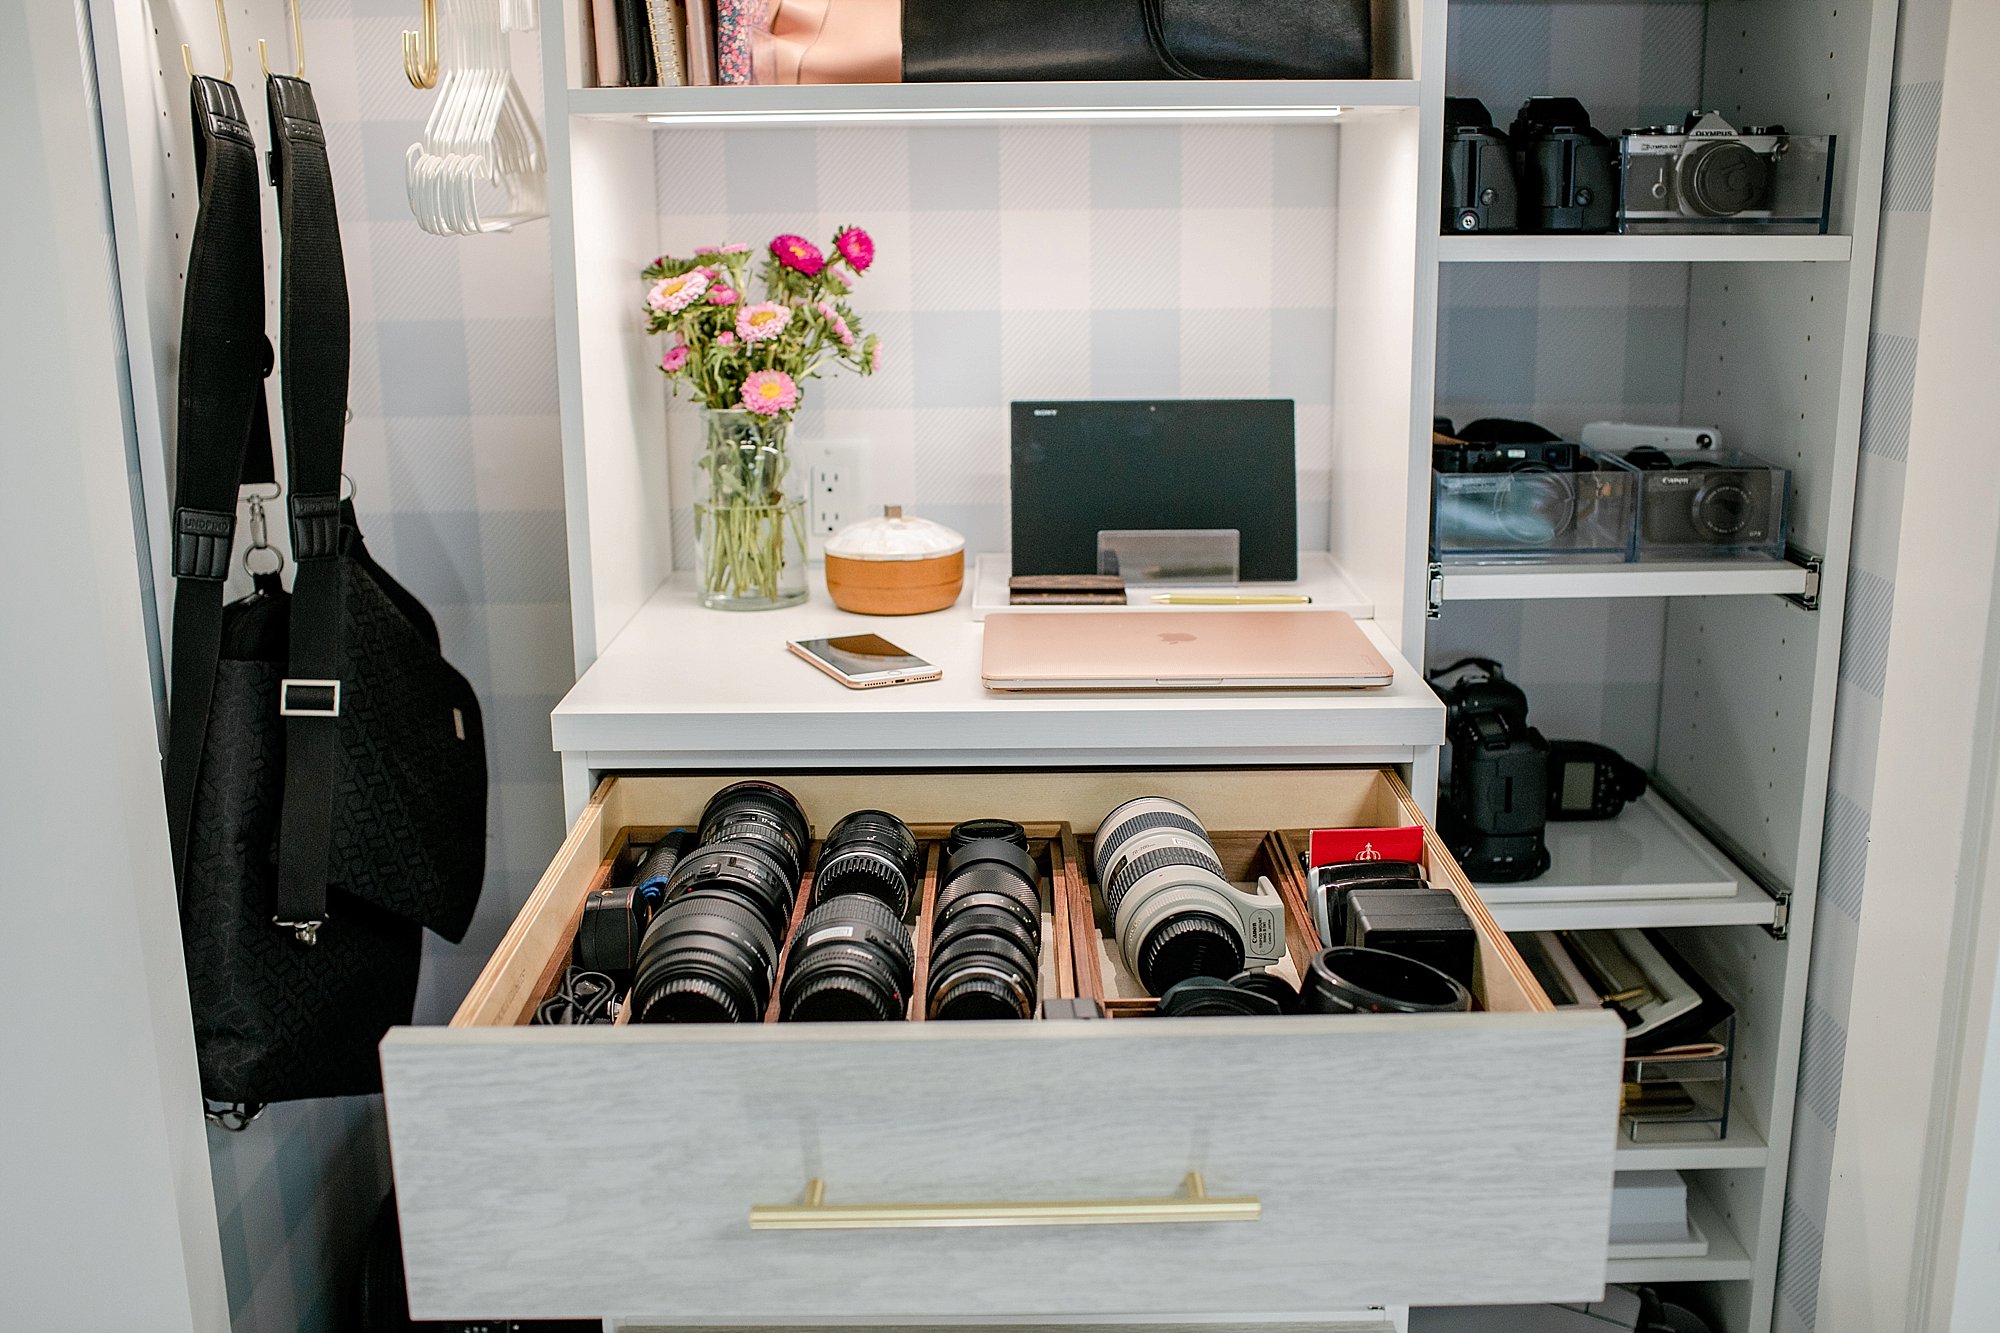
Lately I find myself cleaning lenses, charging batteries and making sure my equipment is in tip top shape. I love opening this top drawer seeing my camera lenses all neatly in their beds. I’m pretty stoked about this feature in my office closet (see reveal here of the full office closet tour). I wanted to create a separate post focusing on this camera lens drawer and how I organize my camera lenses in drawers, shelves, as well as other camera equipment.
1. Lens storage
Be creative. This is a kitchen utensil drawer found from a home goods store. It is lined with a linen drawer liner for cushion and contrast. I had measured my lenses earlier and these looked like a few of my lenses could fit so I picked up a several configurations.
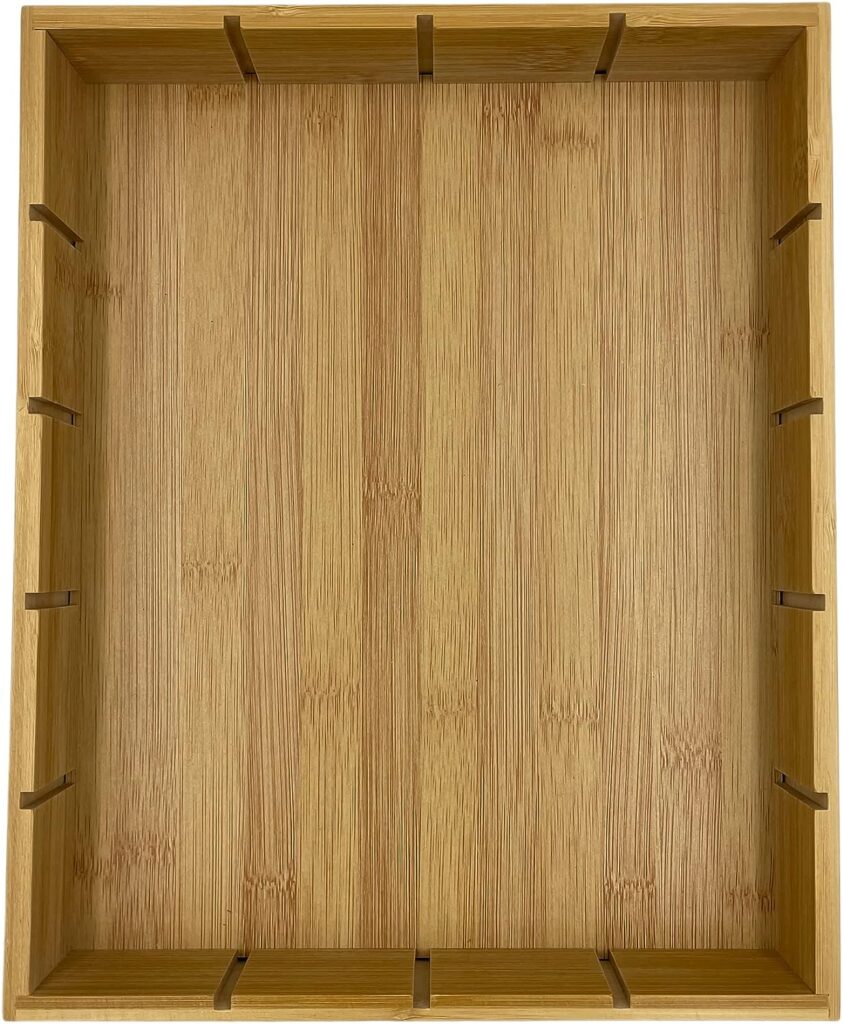
I found this bamboo drawer organizer on Amazon here. You will need to check to make sure your lenses will fit.
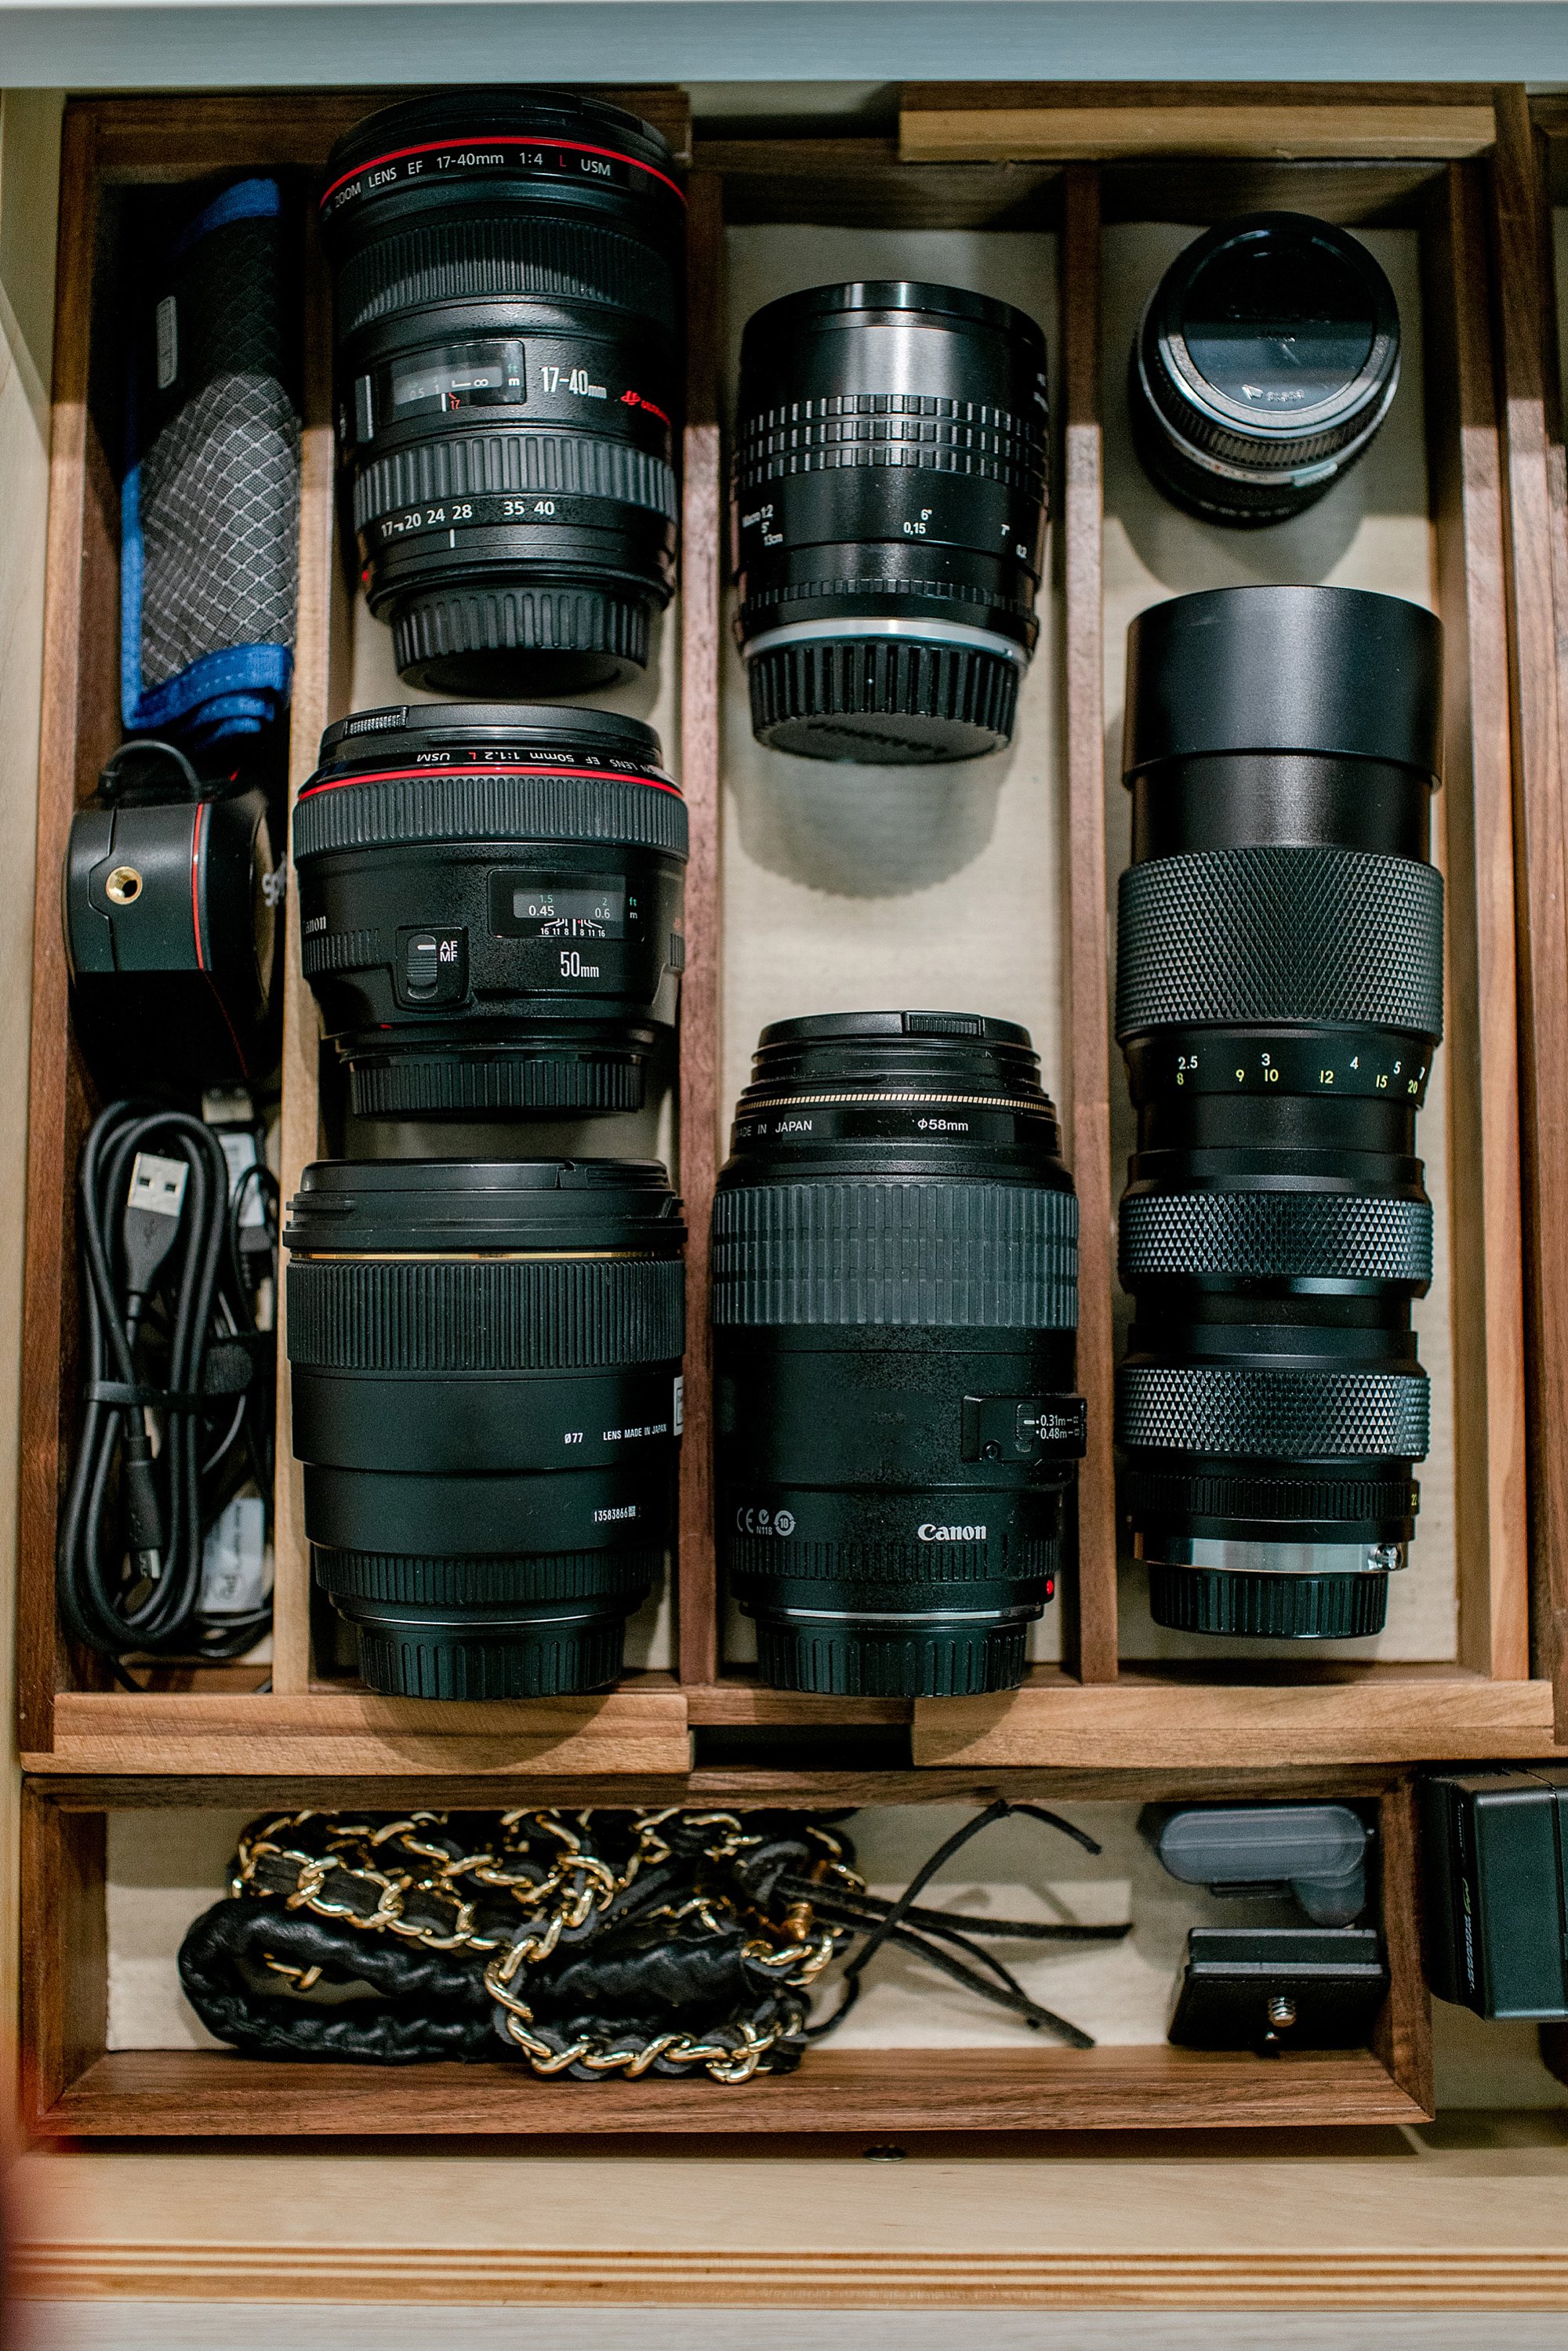

I removed the dark brown cork lining and added extra canvas linen drawer liner I had used for my office desk drawers from The Container Store (here). I love this drawer liner because it has just a light coastal, clean feel. It has some cushion and it also has a liner fabric on top.
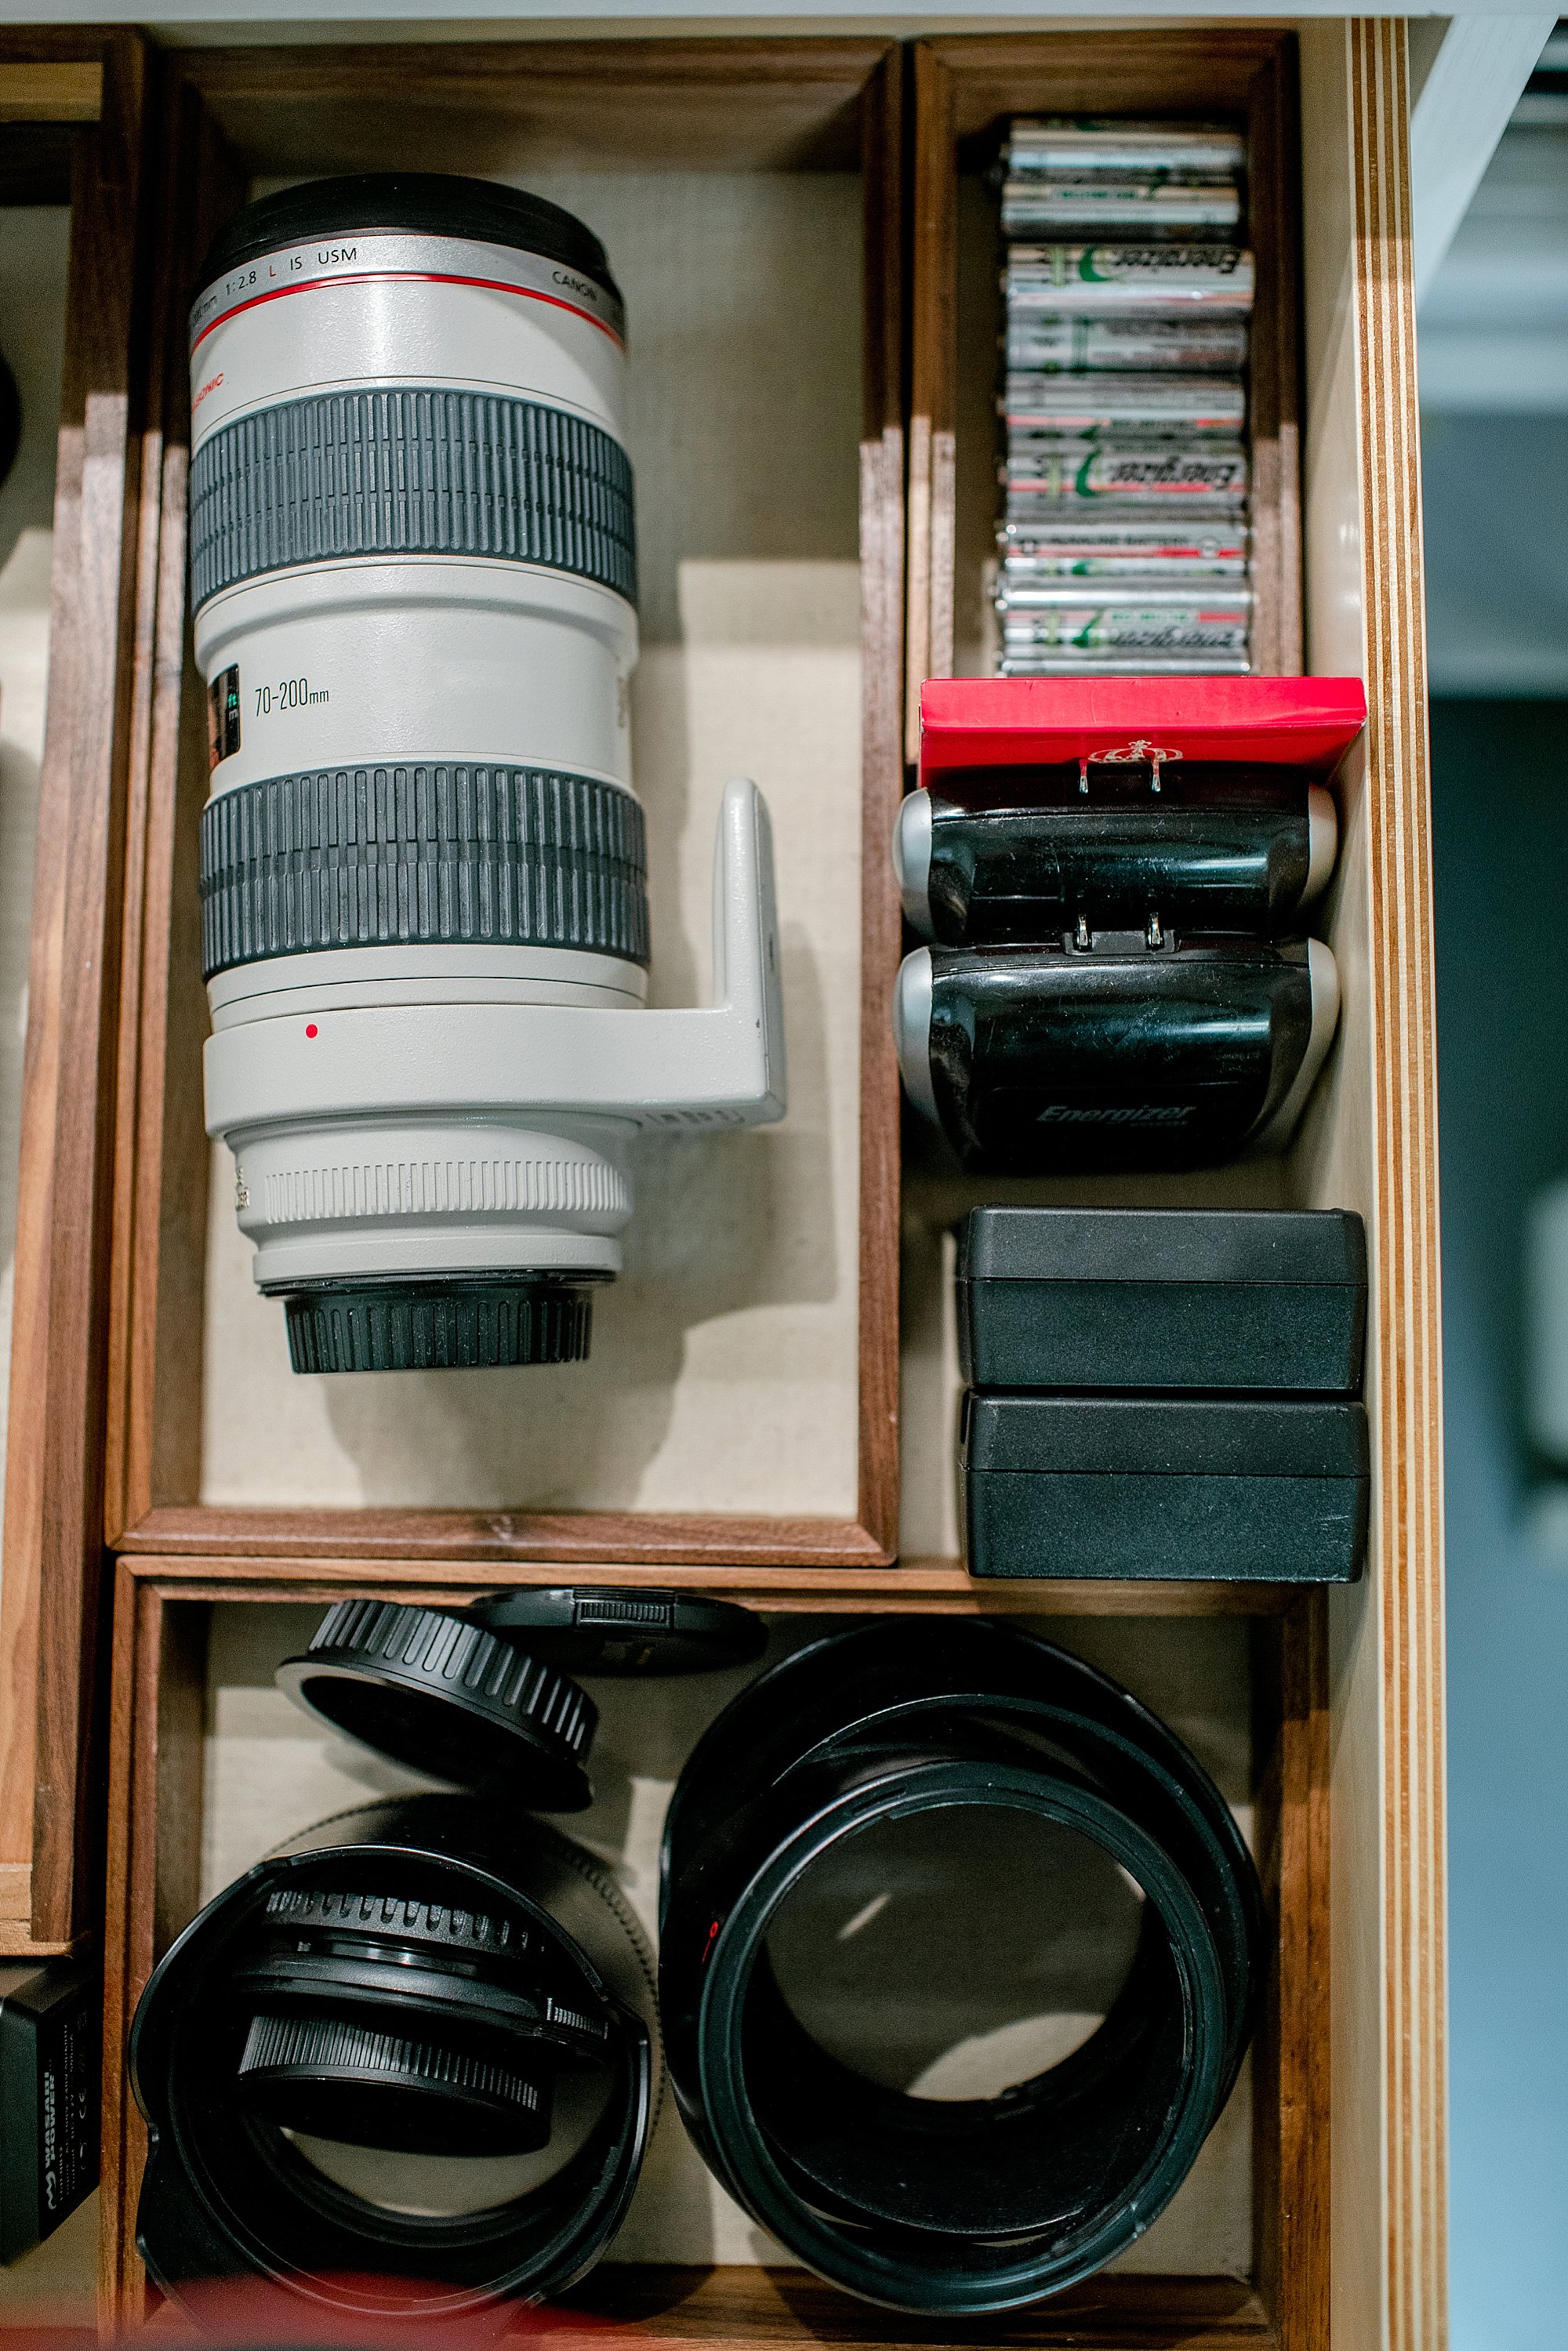
I like being able to see the lenses and it was a miracle they fit in these drawer compartments! They wouldn’t fit with the hoods on them so I put them in a separate area.
While I have a rolling suitcase just for my equipment, I often shoot at home and I like to have my lenses in these drawers for my daily access. Then I can fill up my bag with the lenses I think I’ll need instead of carrying them all with me to a shoot.
If you’re looking for storage ideas, I recommend searching kitchen drawer utensil organizers. They have mesh metal ones, various wood organizers, and peek at any Home Goods, TJ Maxx, Marshall’s or even Bed Bath & Beyond. I would also recommend taking ruler with you and making sure they are at least 3 1/8″ wide inside – measure your own lenses and make sure, or just bring a thick one with you to the store and try it.
My larger lenses needed their own larger compartments.
This bamboo drawer organizer might work well, because you can configure it yourself – available on Amazon.
2. Hooks for lens bags and backpacks
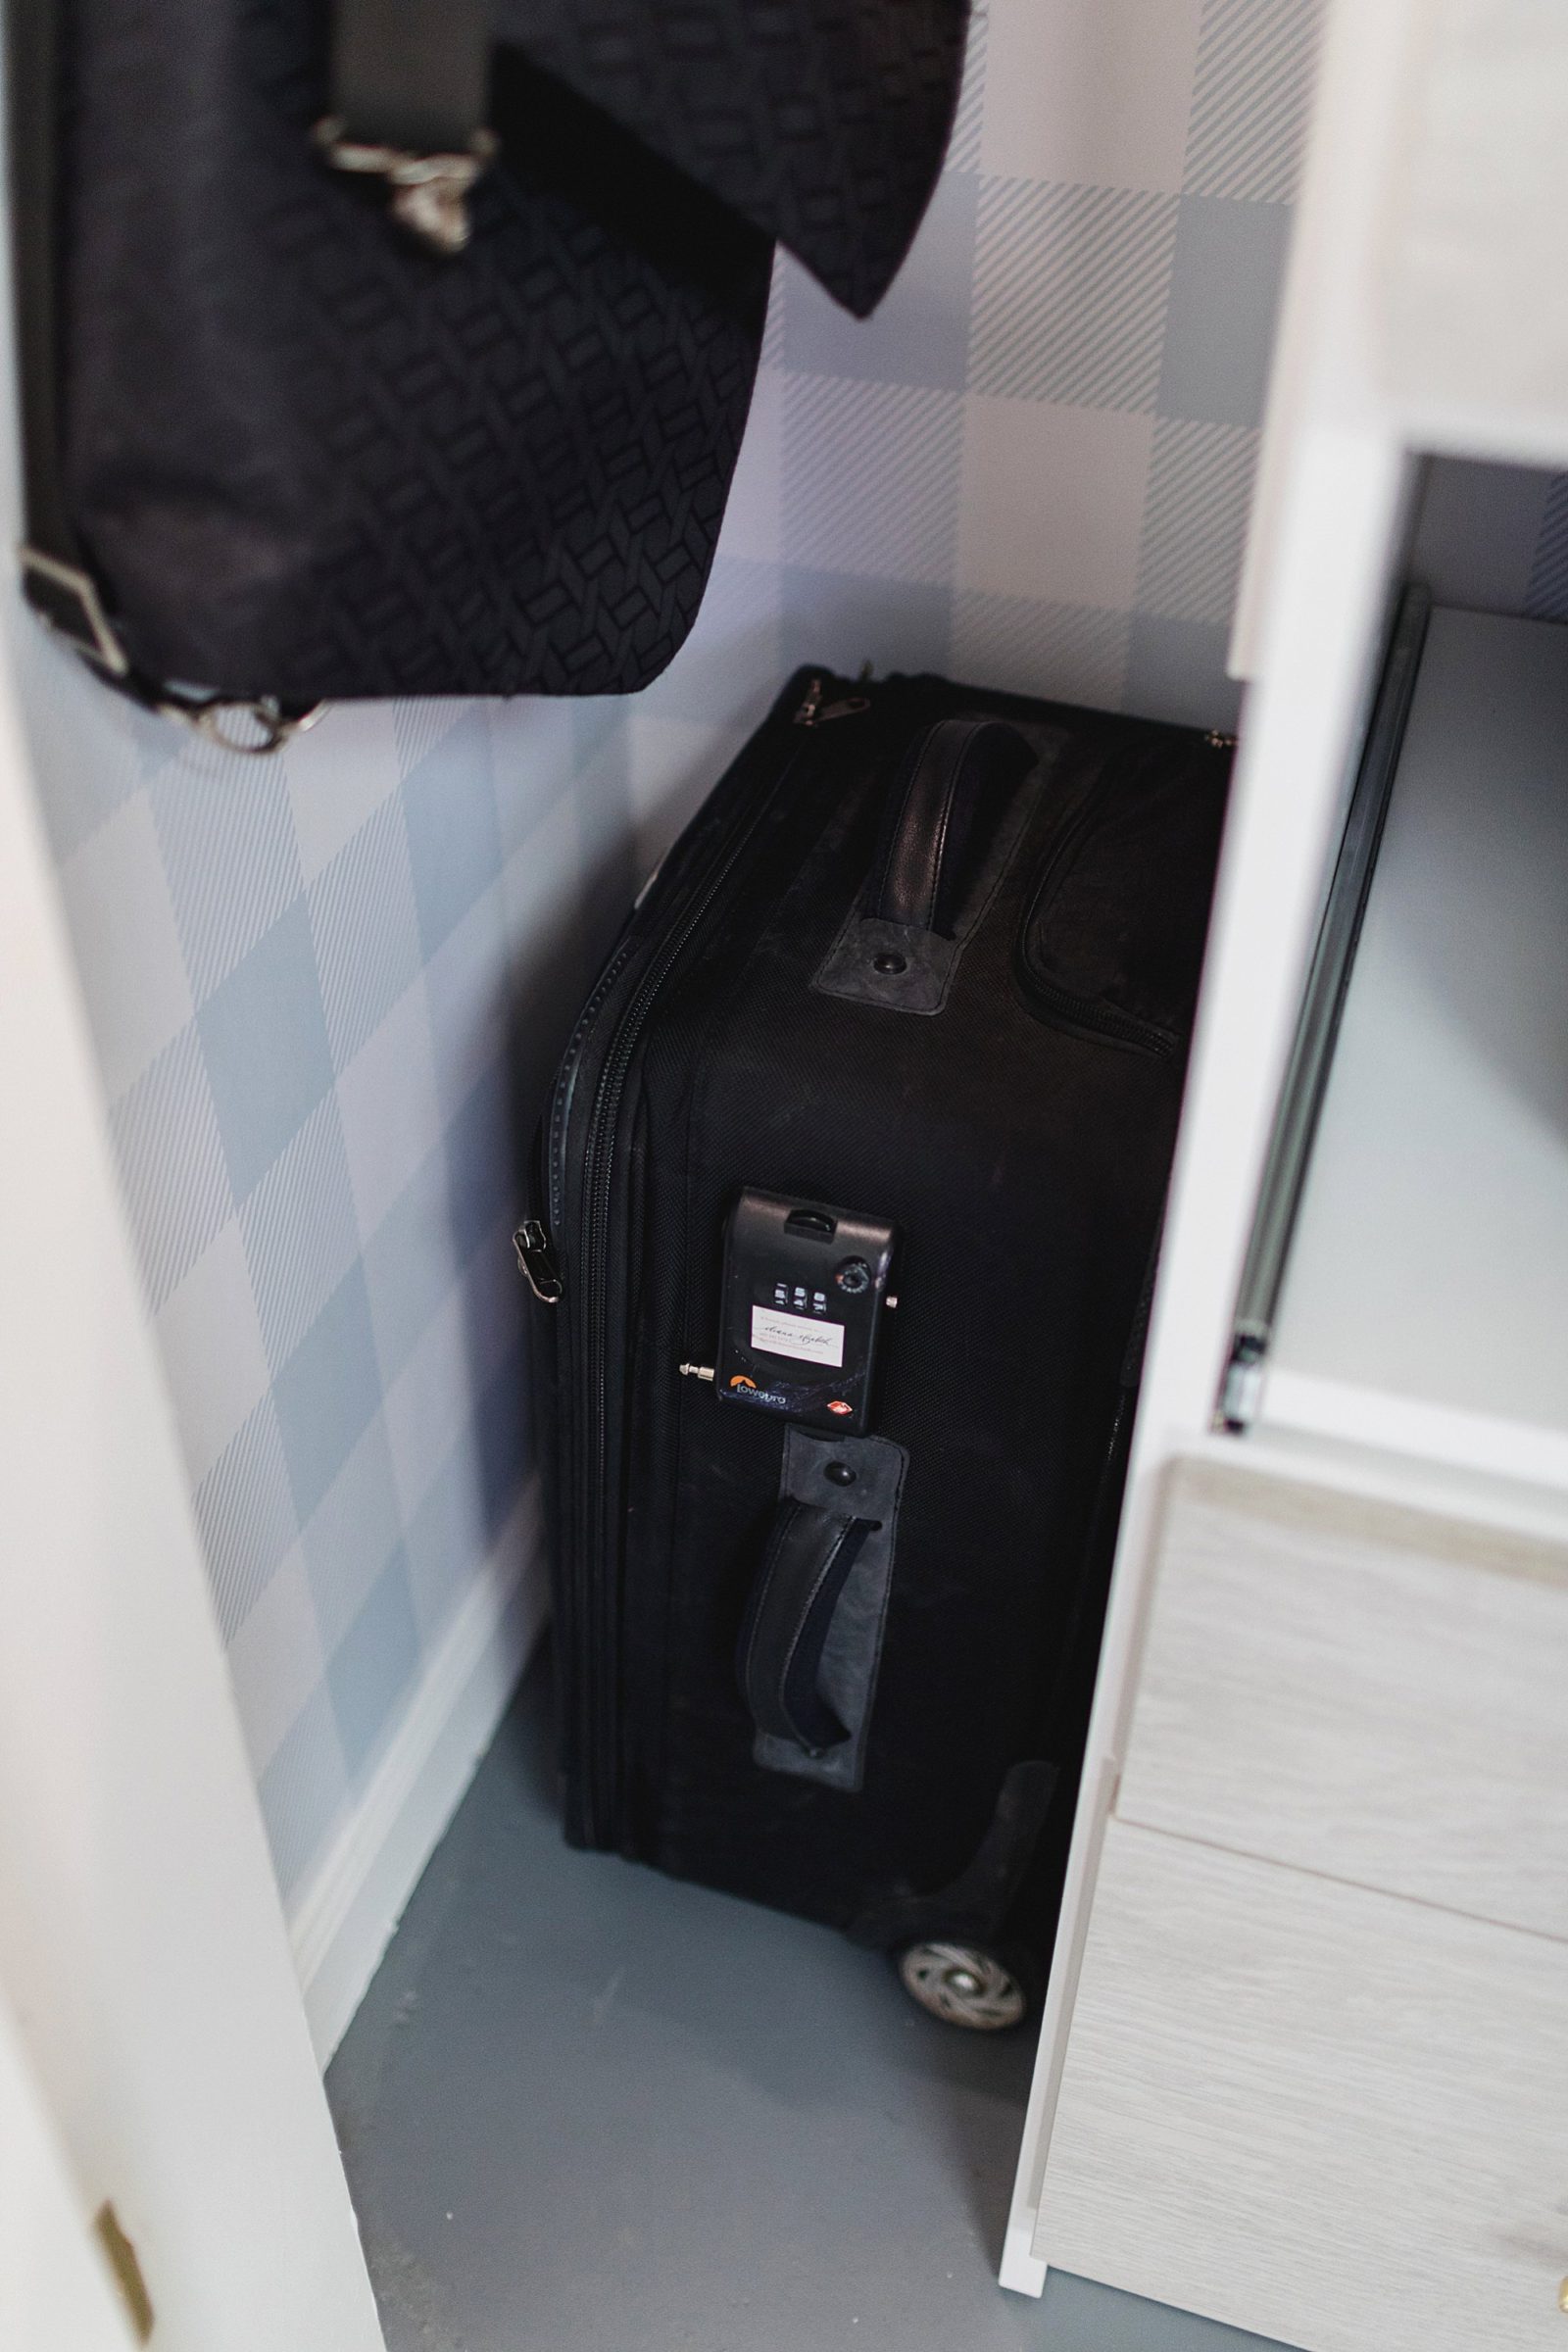
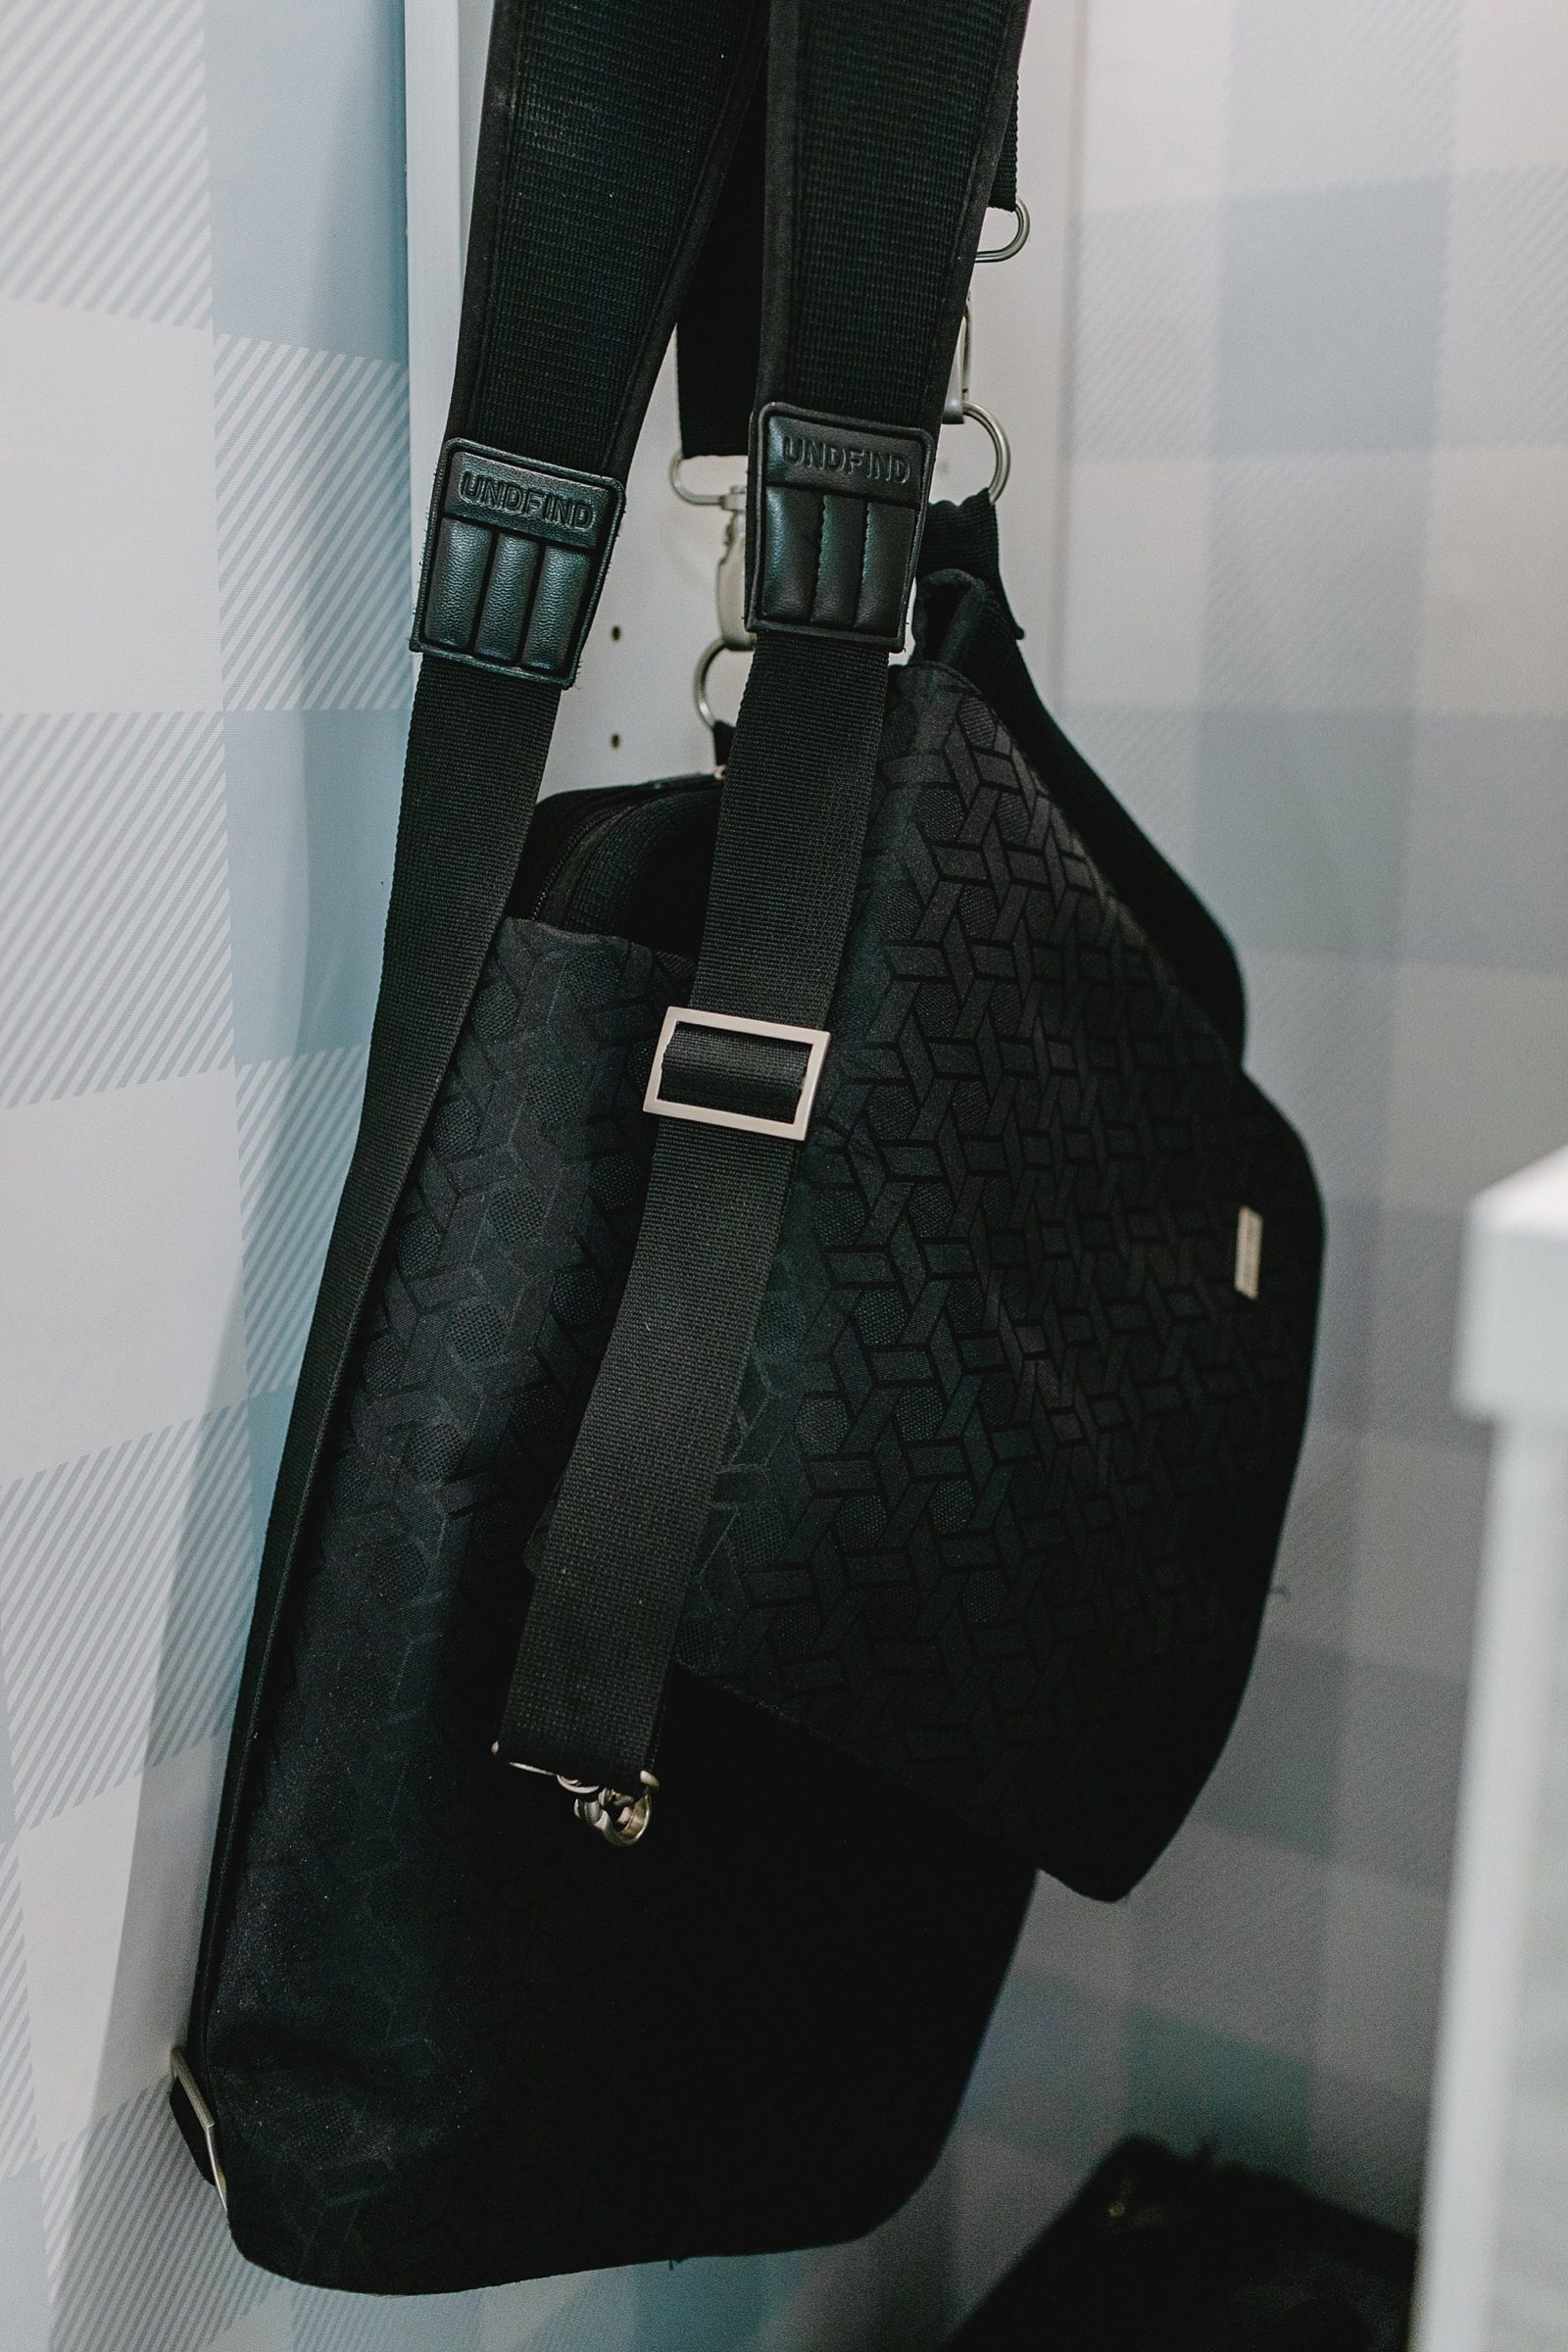
Use purse hooks (the actual ones I have here) from a local organization store to hook your lens bags or backpacks and get them off the floor. I hang my camera bags from UNFIND on hooks, and my roller suitcase for my equipment fits below.

3. Acrylic Boxes
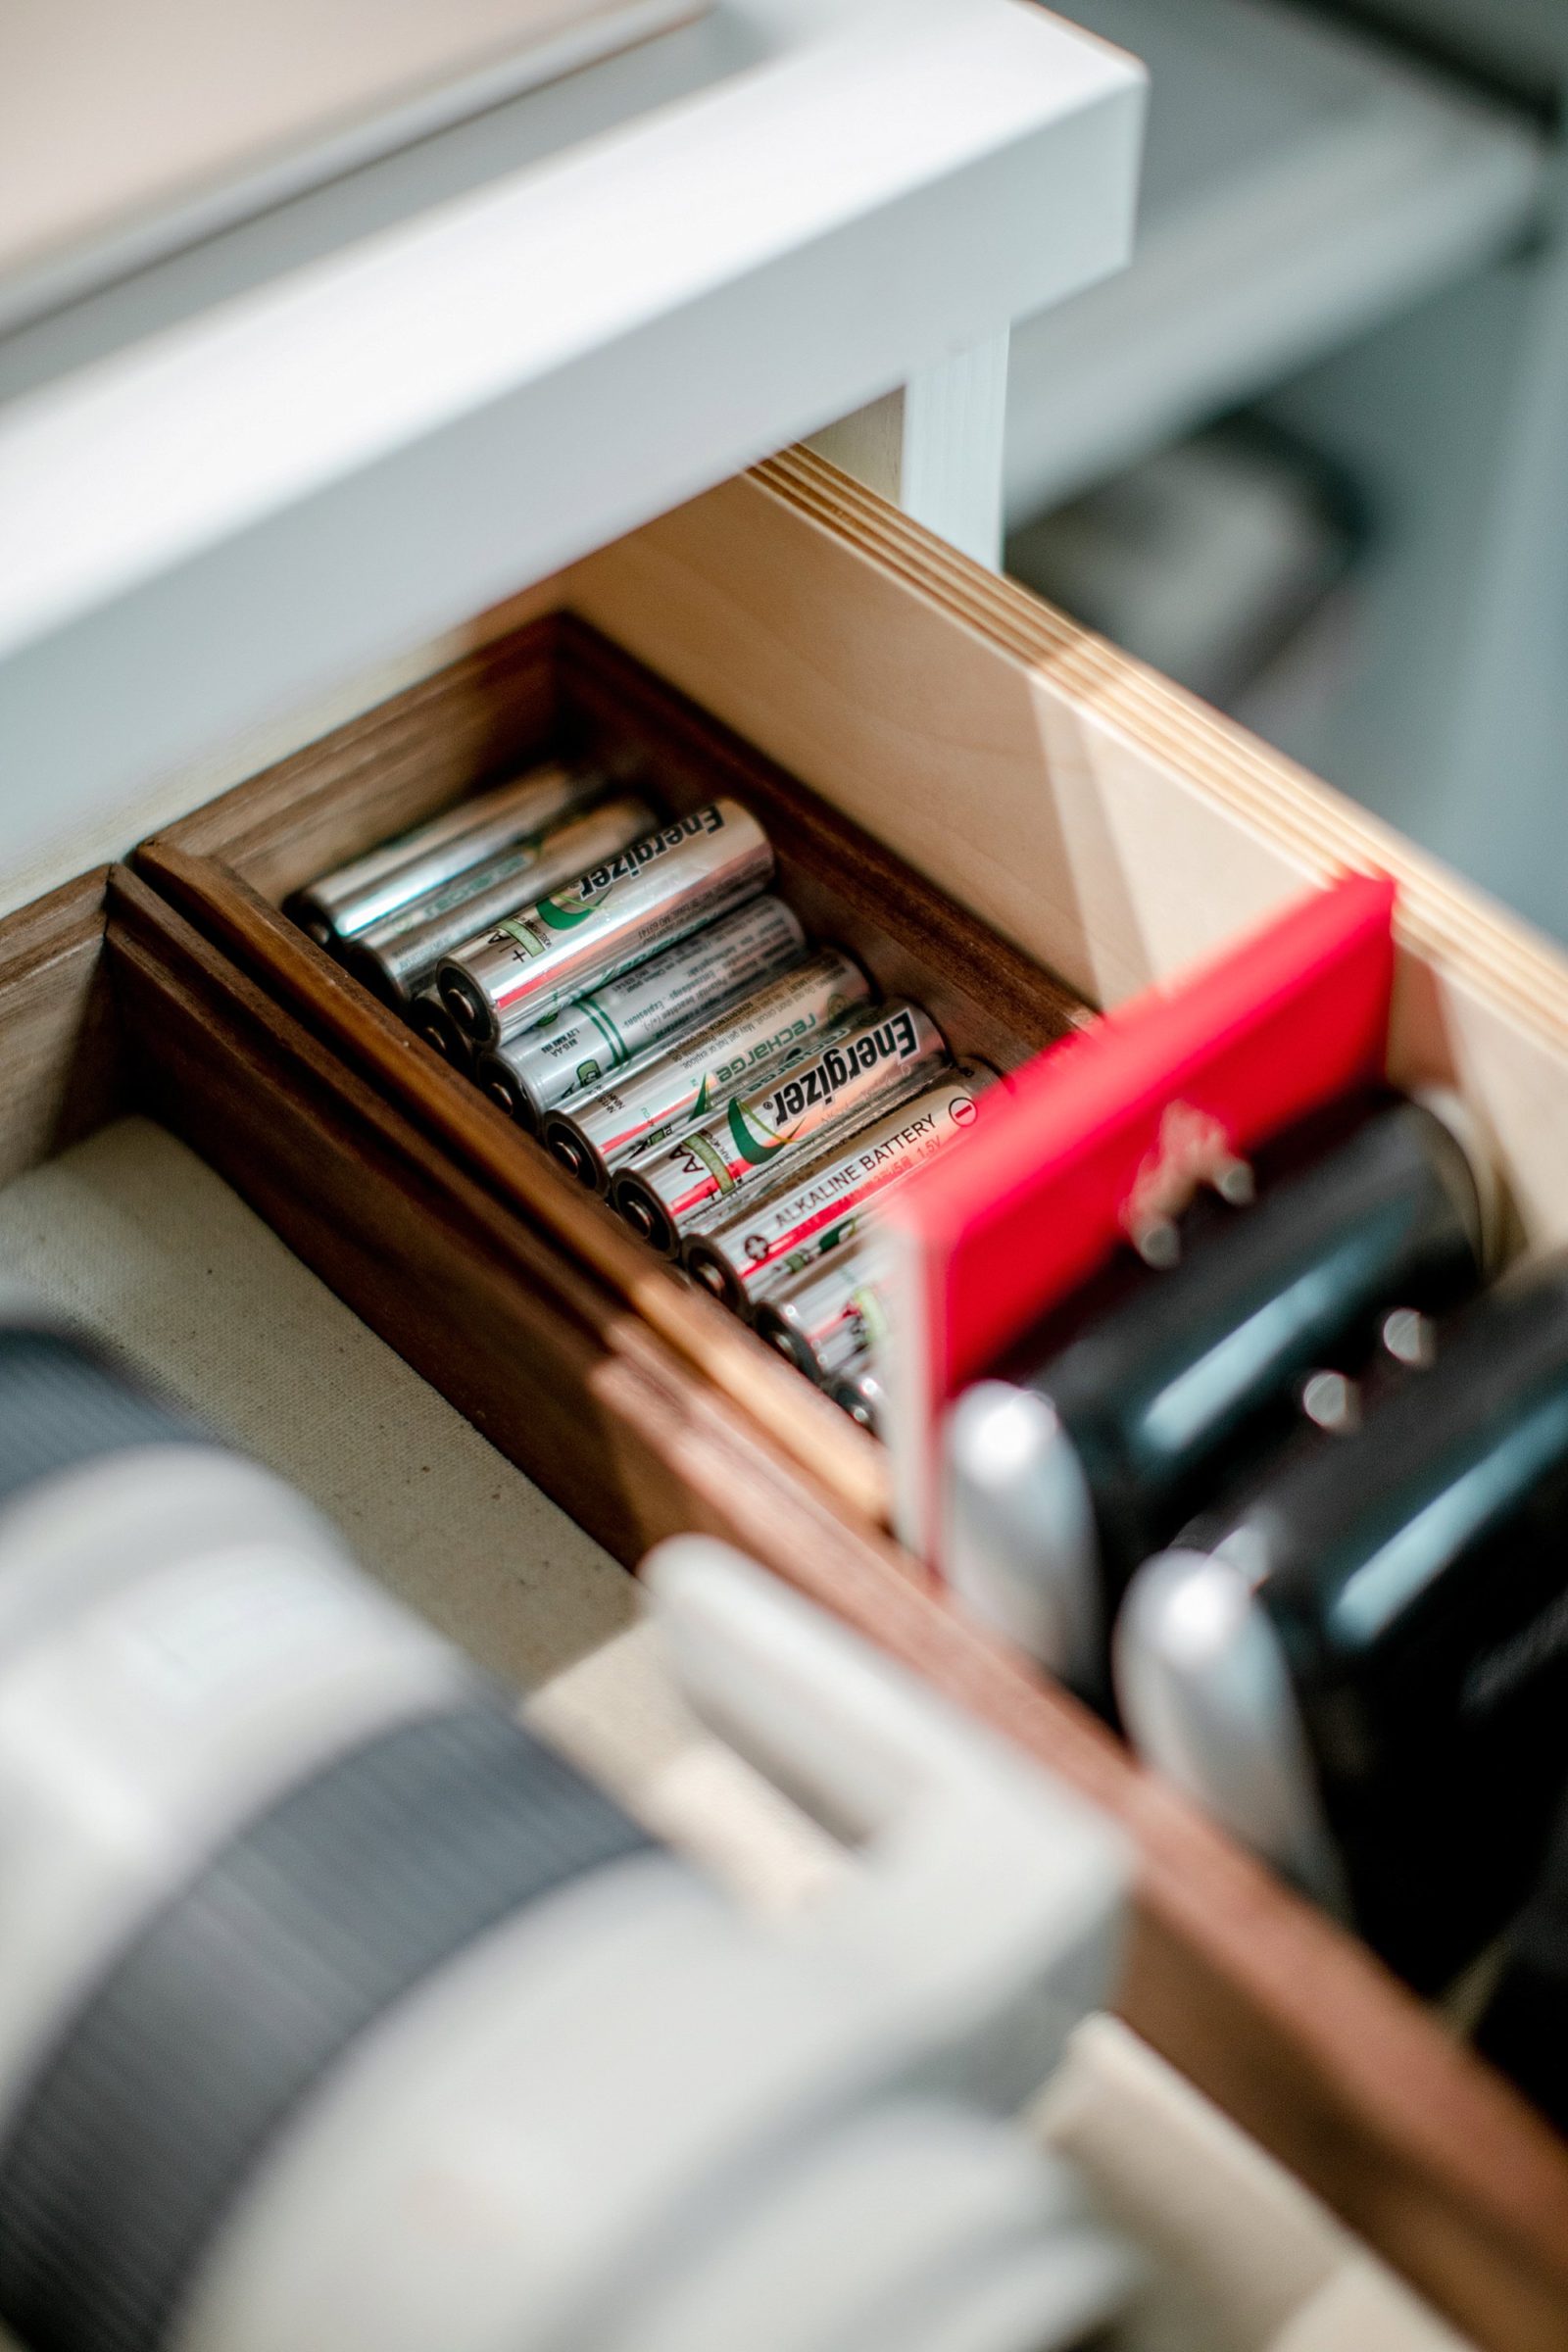
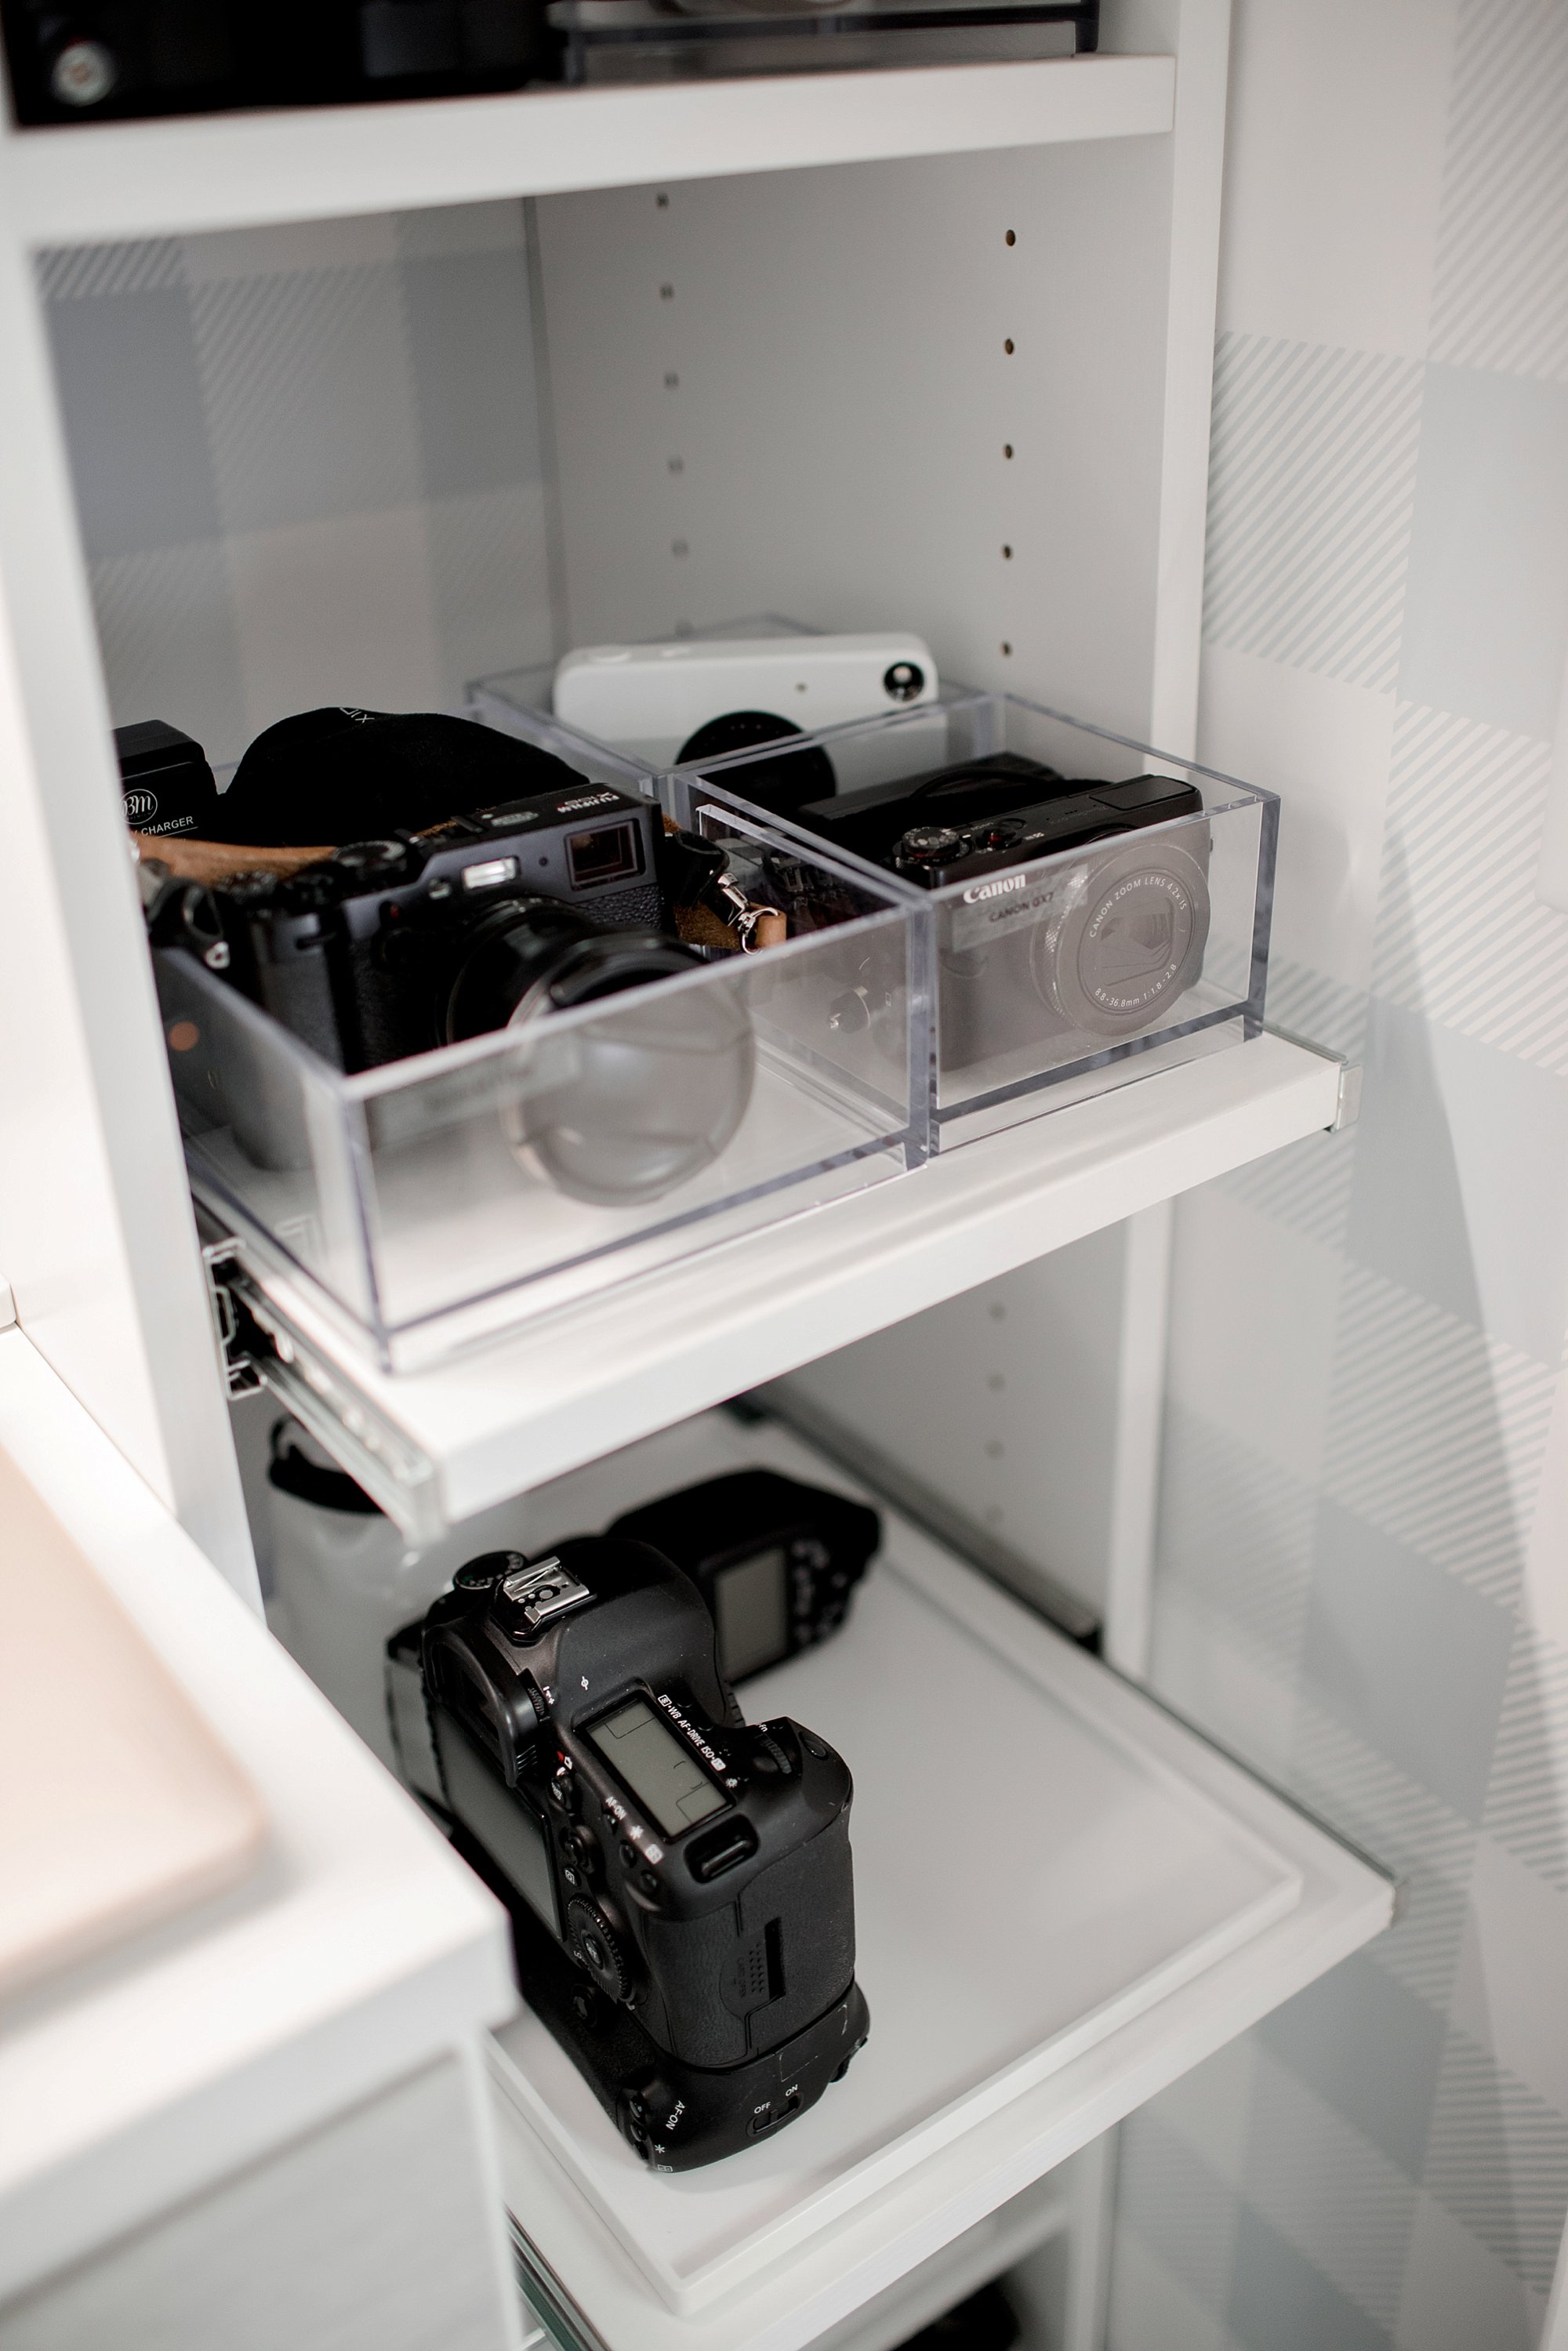
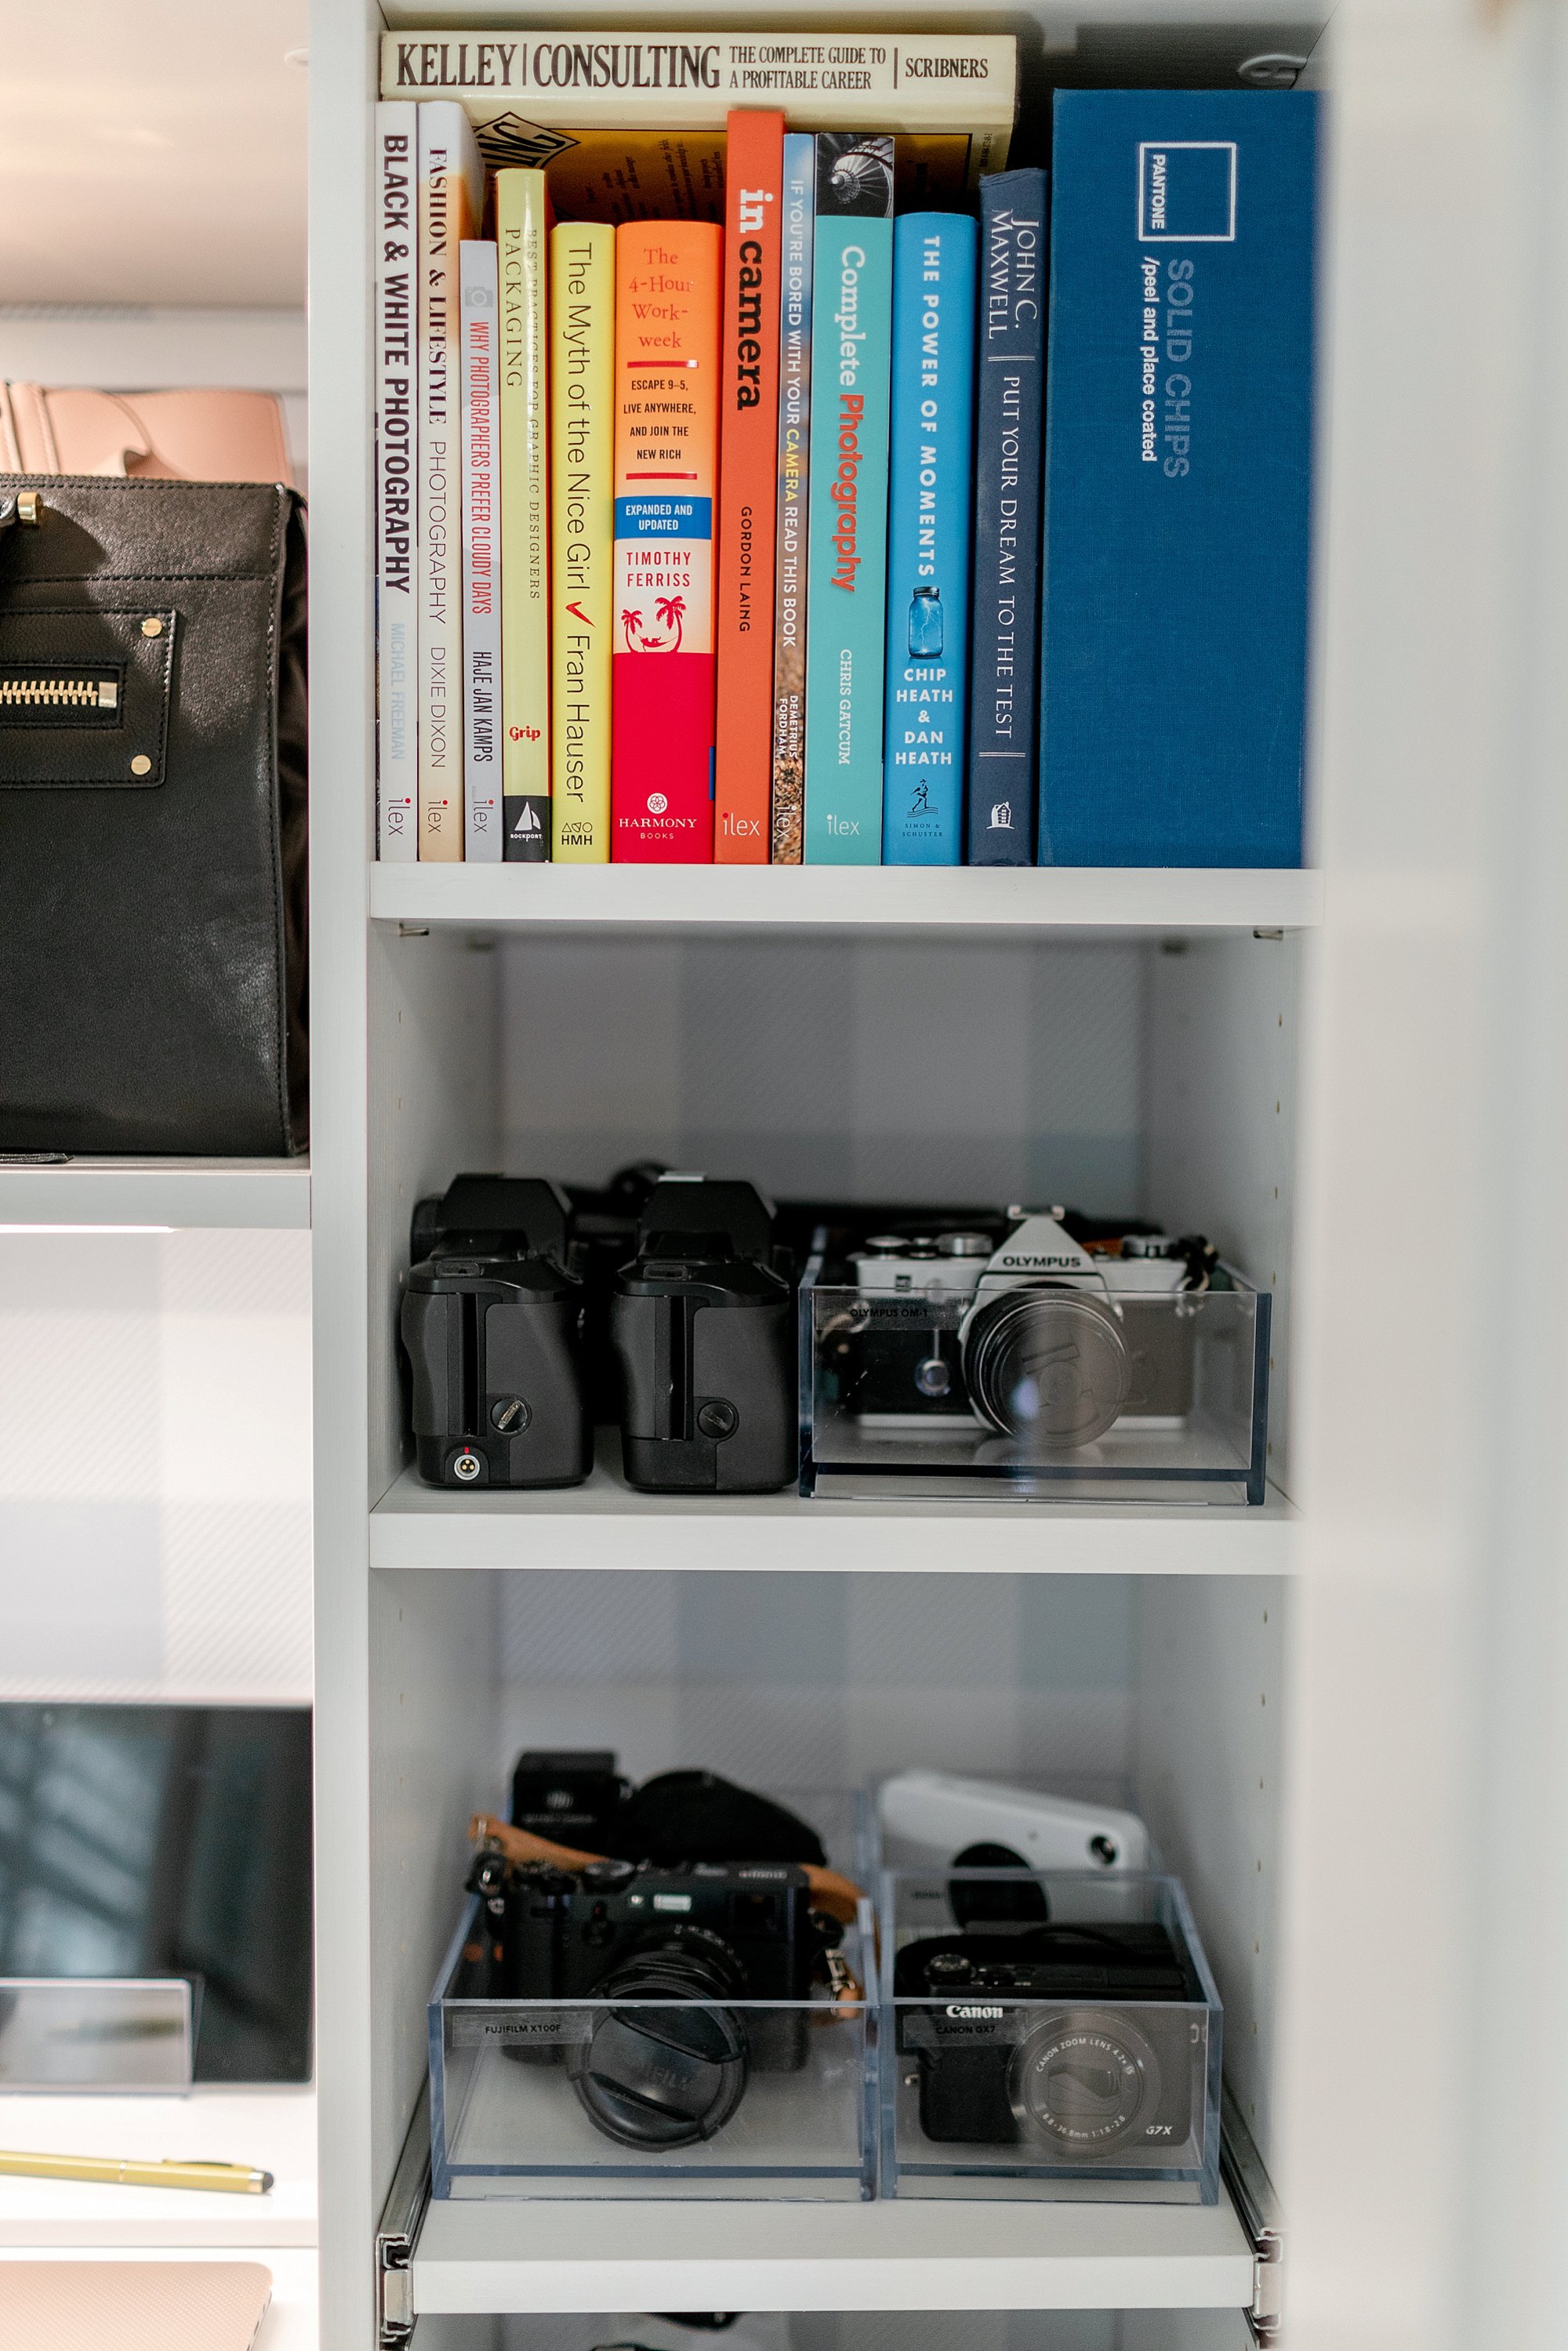
Easily see and reach for your equipment in organized acrylic tray compartments. Bonus if the drawers slide out for easy access. As for my other camera bodies, film and mirrorless, they go on the right hand side of my cubby holes and some are on slide out drawers. I placed each camera body type with their charger and batteries in an acrylic container. On Amazon here.
I also labeled them even though it seems obvious, I swear labels really help.
4. Bookshelf
Display your wedding album samples, photography book guides, and other references on a shelf by your equipment for easy inspiration and reference.
5. Counter height space worktop
Have a counter height area where you can rest your computer, recharge devices, or rest equipment that needs to be put away. Bonus: Add an outlet for charging.
6. Top shelf for tripods and backdrops
Have a top shelf that stretches across your closet for tripods and lengthier equipment to be stored, including backdrops.
And this is now how I organize my lenses in drawers and in my office closet! I hope this inspires you to find a great way to organize photography equipment.
If you have a great set up, please share the link below, I’d love to check it out and I’m sure others would too! Let’s inspire each other!
*This blog post was updated from its original publish date of July 13, 2020.
Leave a Reply