No products in the cart.

Frill Dresses


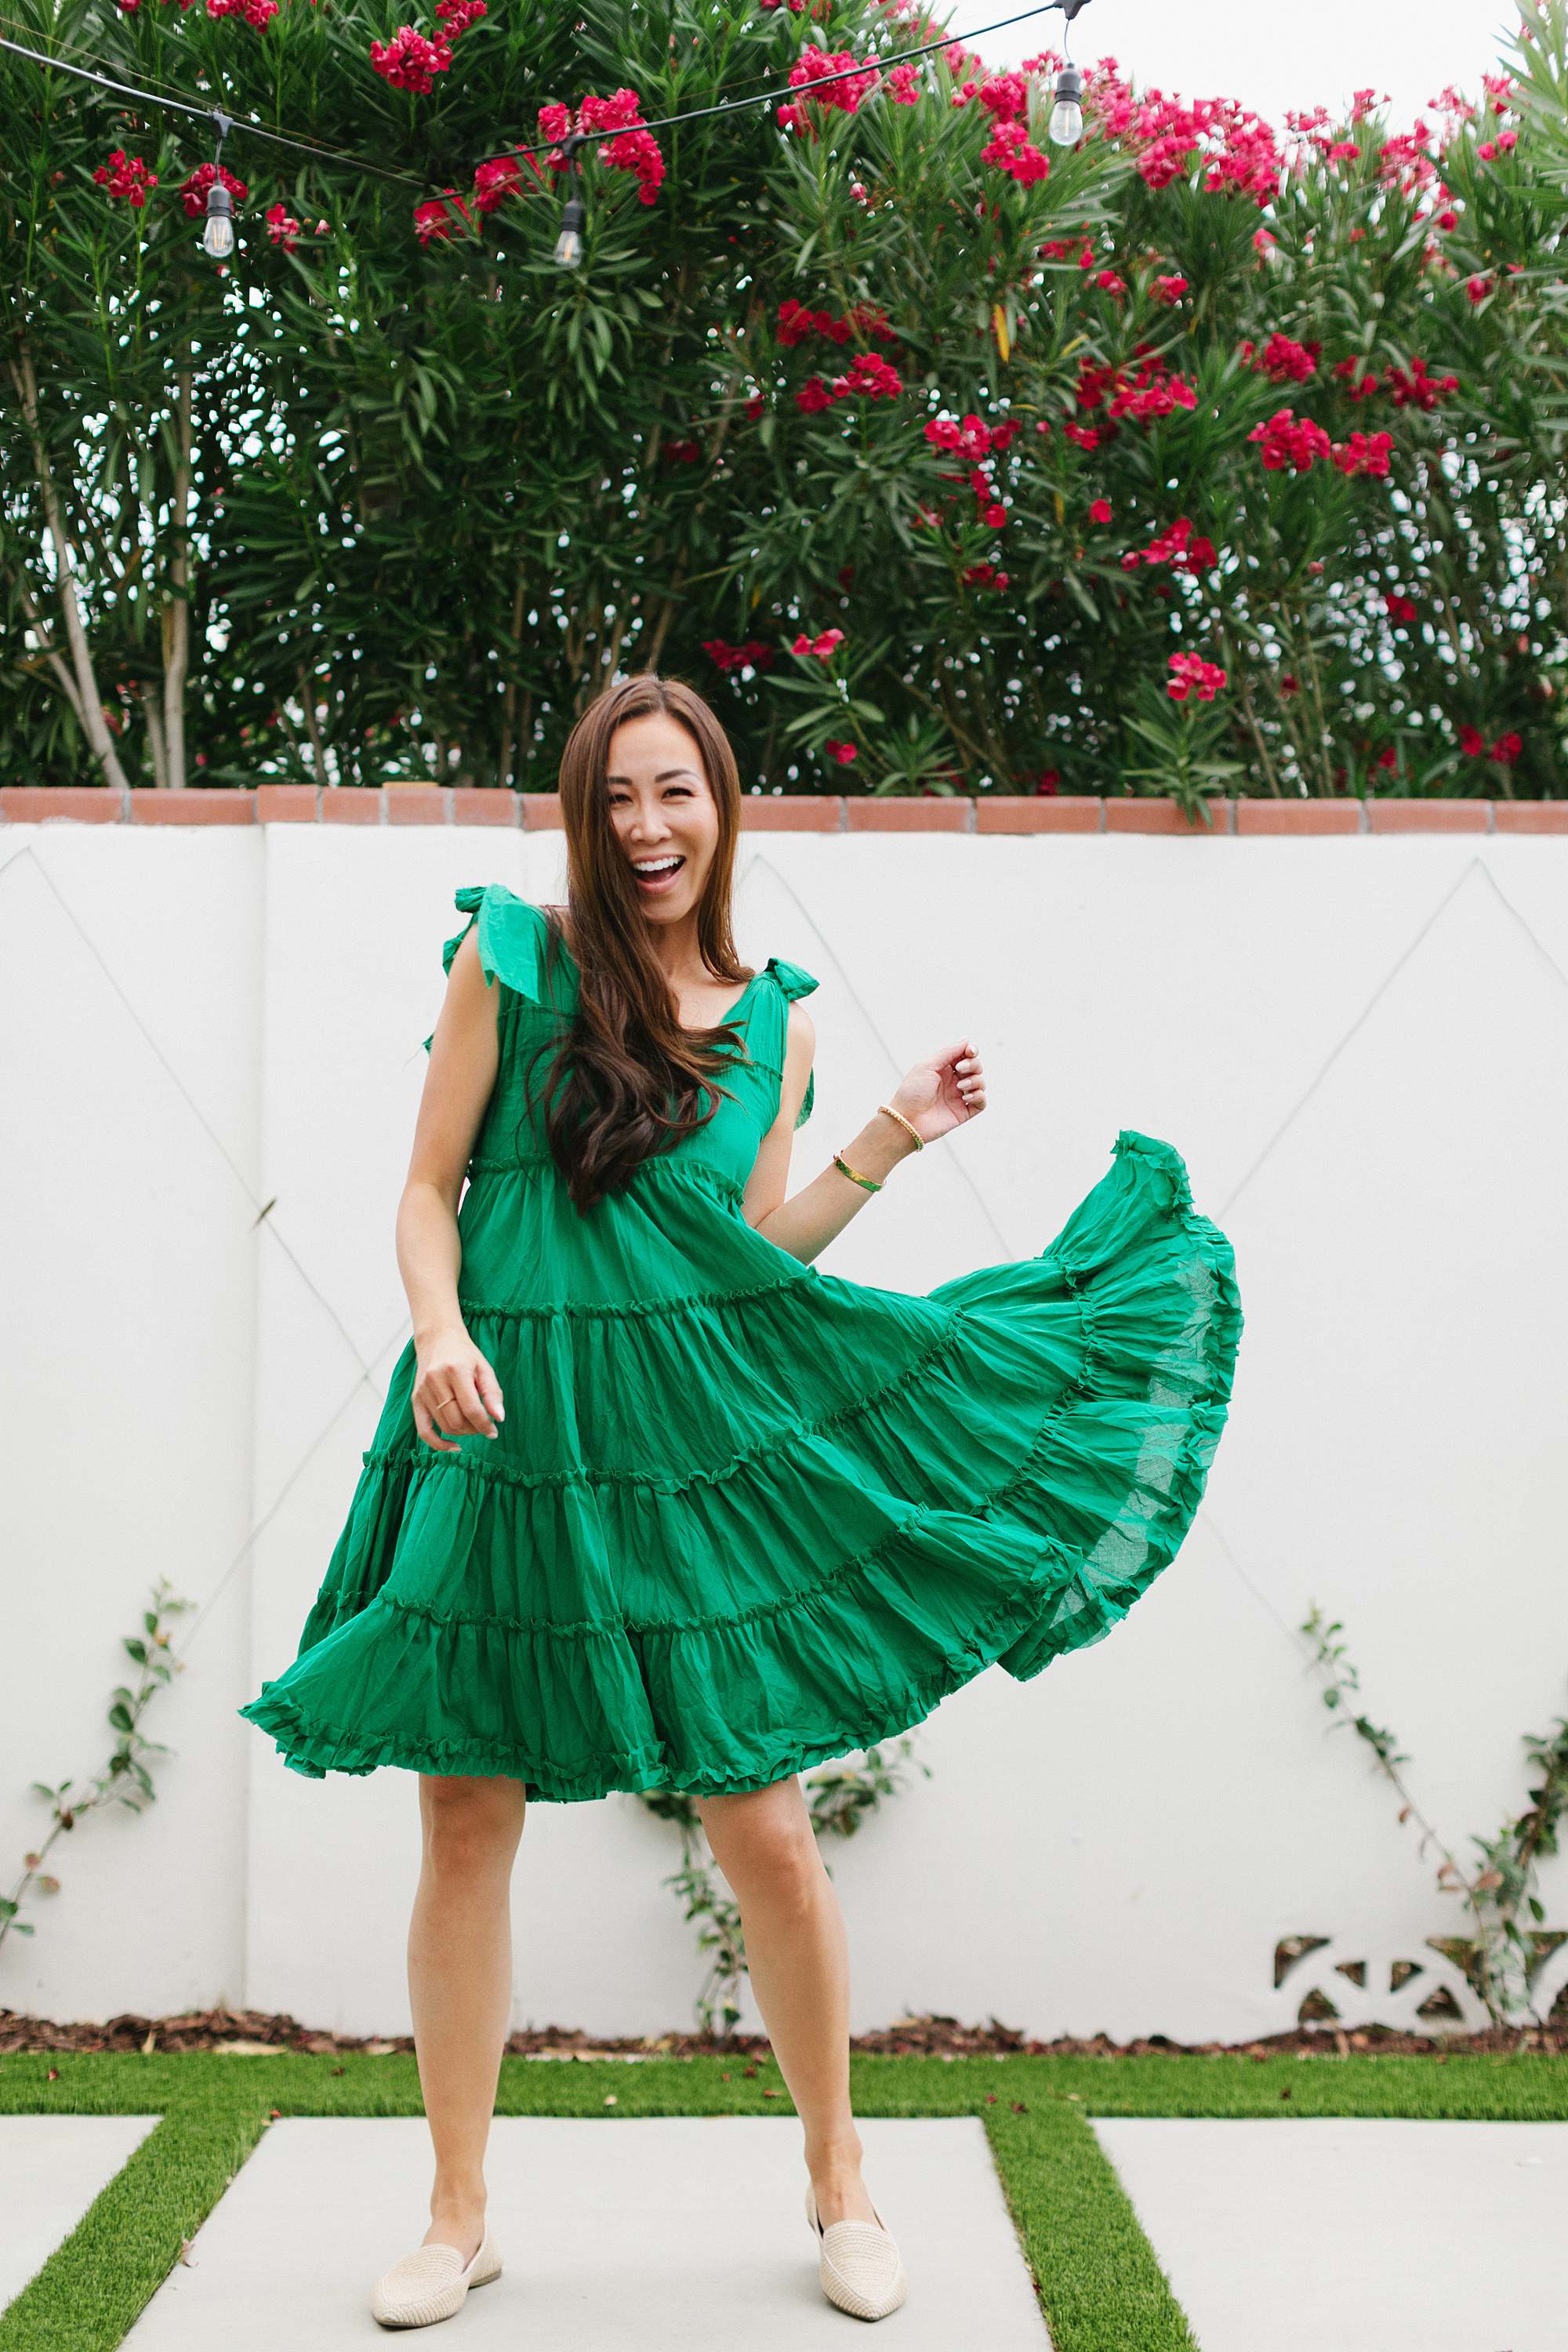
I’ve been wanting a frill dress (originally inspired by Innika Choo) but they sold out fast when they went on sale. I was super sad because I wanted a fluffy dress to hang out in all summer. You know me, if there’s a will, there’s a way. So I stared at the photos of the dress and thought about how I could possibly make something similar work, and I found a boho skirt online for $22 – I will warn you that it took a month to get it and I was worried it wouldn’t arrive so I had escalated the case to PayPal and then a few days later it arrived. Coincidence or what, not sure but I’m glad my skirts arrived so I could do this crafty DIY dress!
I recommend going with the darker colors – the fabric is lightweight and kind of see through, the white especially so I am bummed and will use that as a swimsuit coverup or will need to wear a slip under (but who wants to do that?).
So I suggest the green and the dark blue. I would get a dark blue but I’m afraid I won’t get it for a while. So if you can find an old boho skirt in your closet or a store, go that route! There are also skirts on Amazon, but unsure if they fit the pattern of instructions I’m about to share with you – if there is no slip inside, this might pose an issue. However if you are a sewing goddess and good DIYer, you’ll be fine. Amazon skirts, here, here and here.
You can make it as fancy as you want aka as complicated or have it be a casual summer dress – good enough for me for a quick DIY and about $20! I made a quick PDF illustration you can download here – it’s nothing fancy but hopefully it will give you a visual.
Of course if you aren’t into the DIY, I’m sharing some cute frill dresses below!

Diana Elizabeth is thinking she won’t really be living in shorts much, she might think shorts are not going to a wardrobe staple in her life from here on out so time to thin them down. Skirts, dresses and pants are much more flattering from this age out. *wink*


POST COMMENT