No products in the cart.
How to make a diamond patterned trellis vine wall
Materials you need to make a wall trellis
What you need (Amazon Links Below):
1. Plug anchors (there are different!)
2. Eye screws
Ideal plants/vines for wall trellis climbing
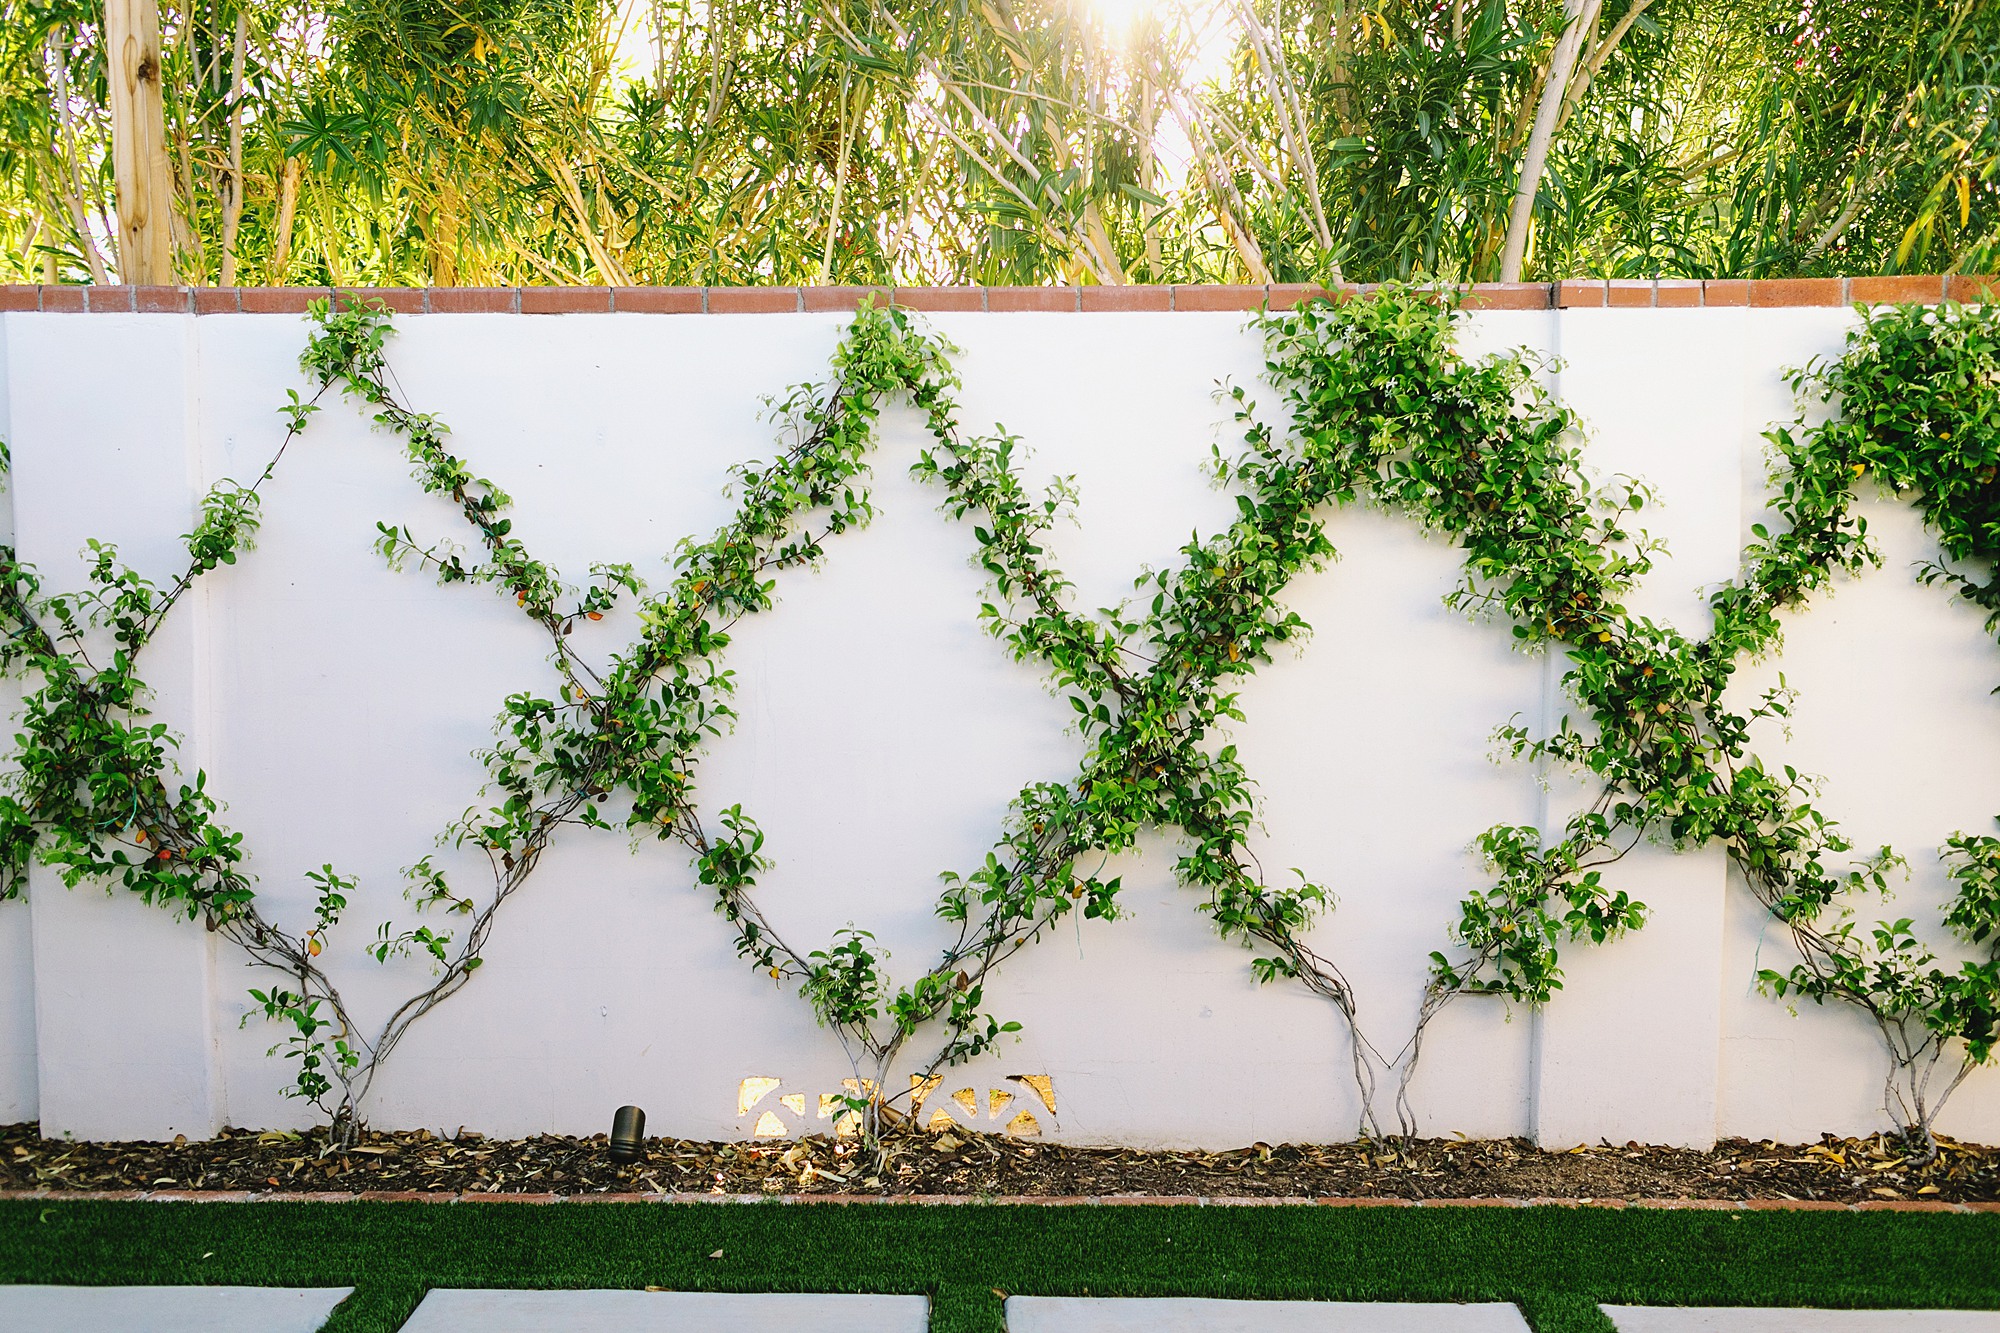
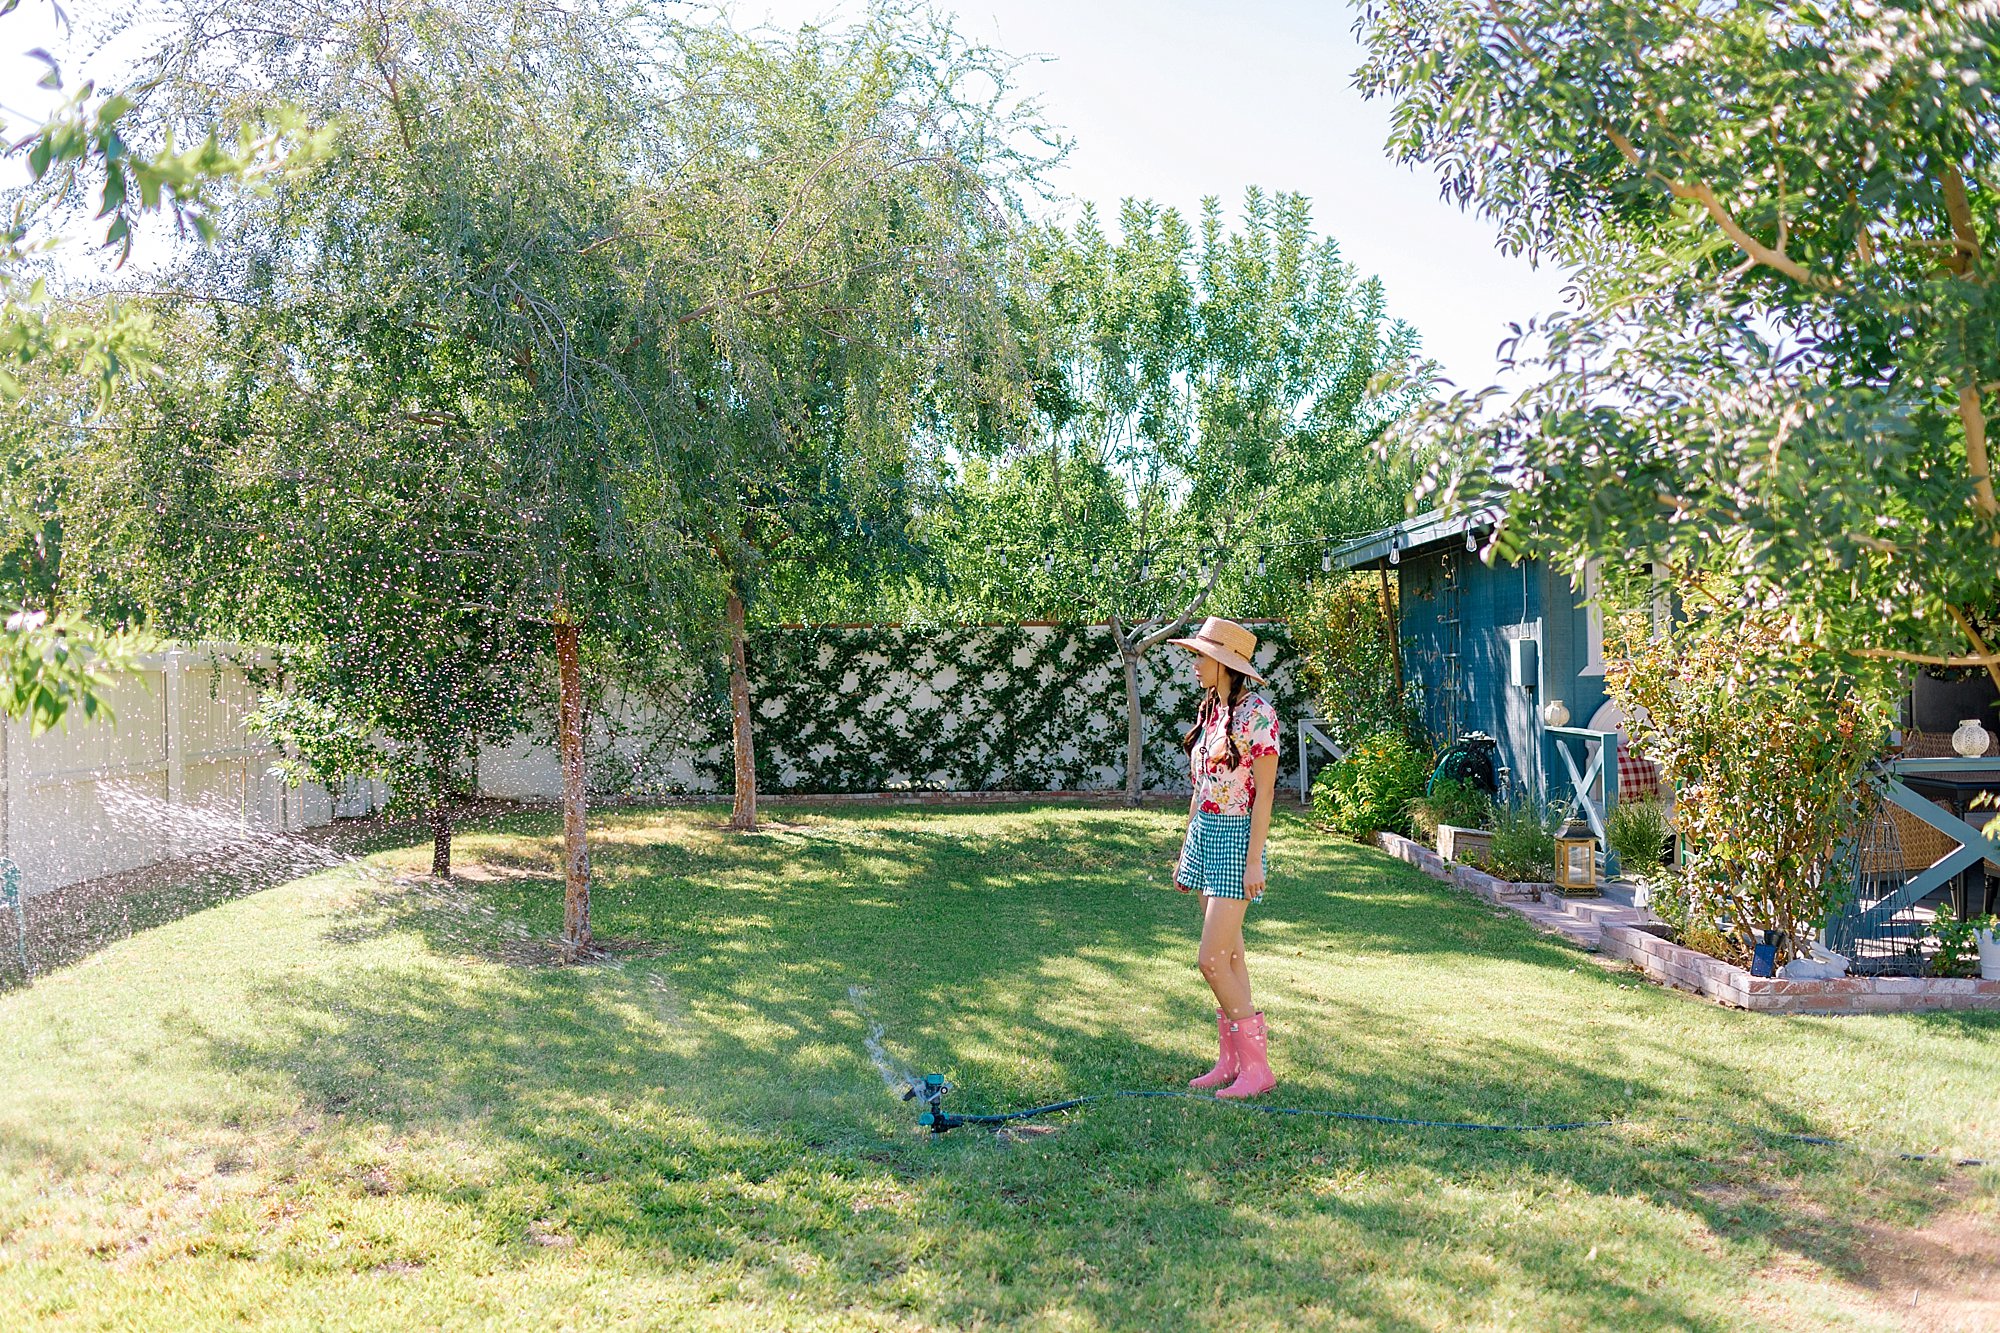
I prefer the star jasmine vine. Our location gets morning sun which is best for it or else it will scorch. We added drip irrigation.
Find a vine that does not grab but rather grows tall. Ones to avoid are cats claw (messy!) and creeping fig as they can damage walls and fences.
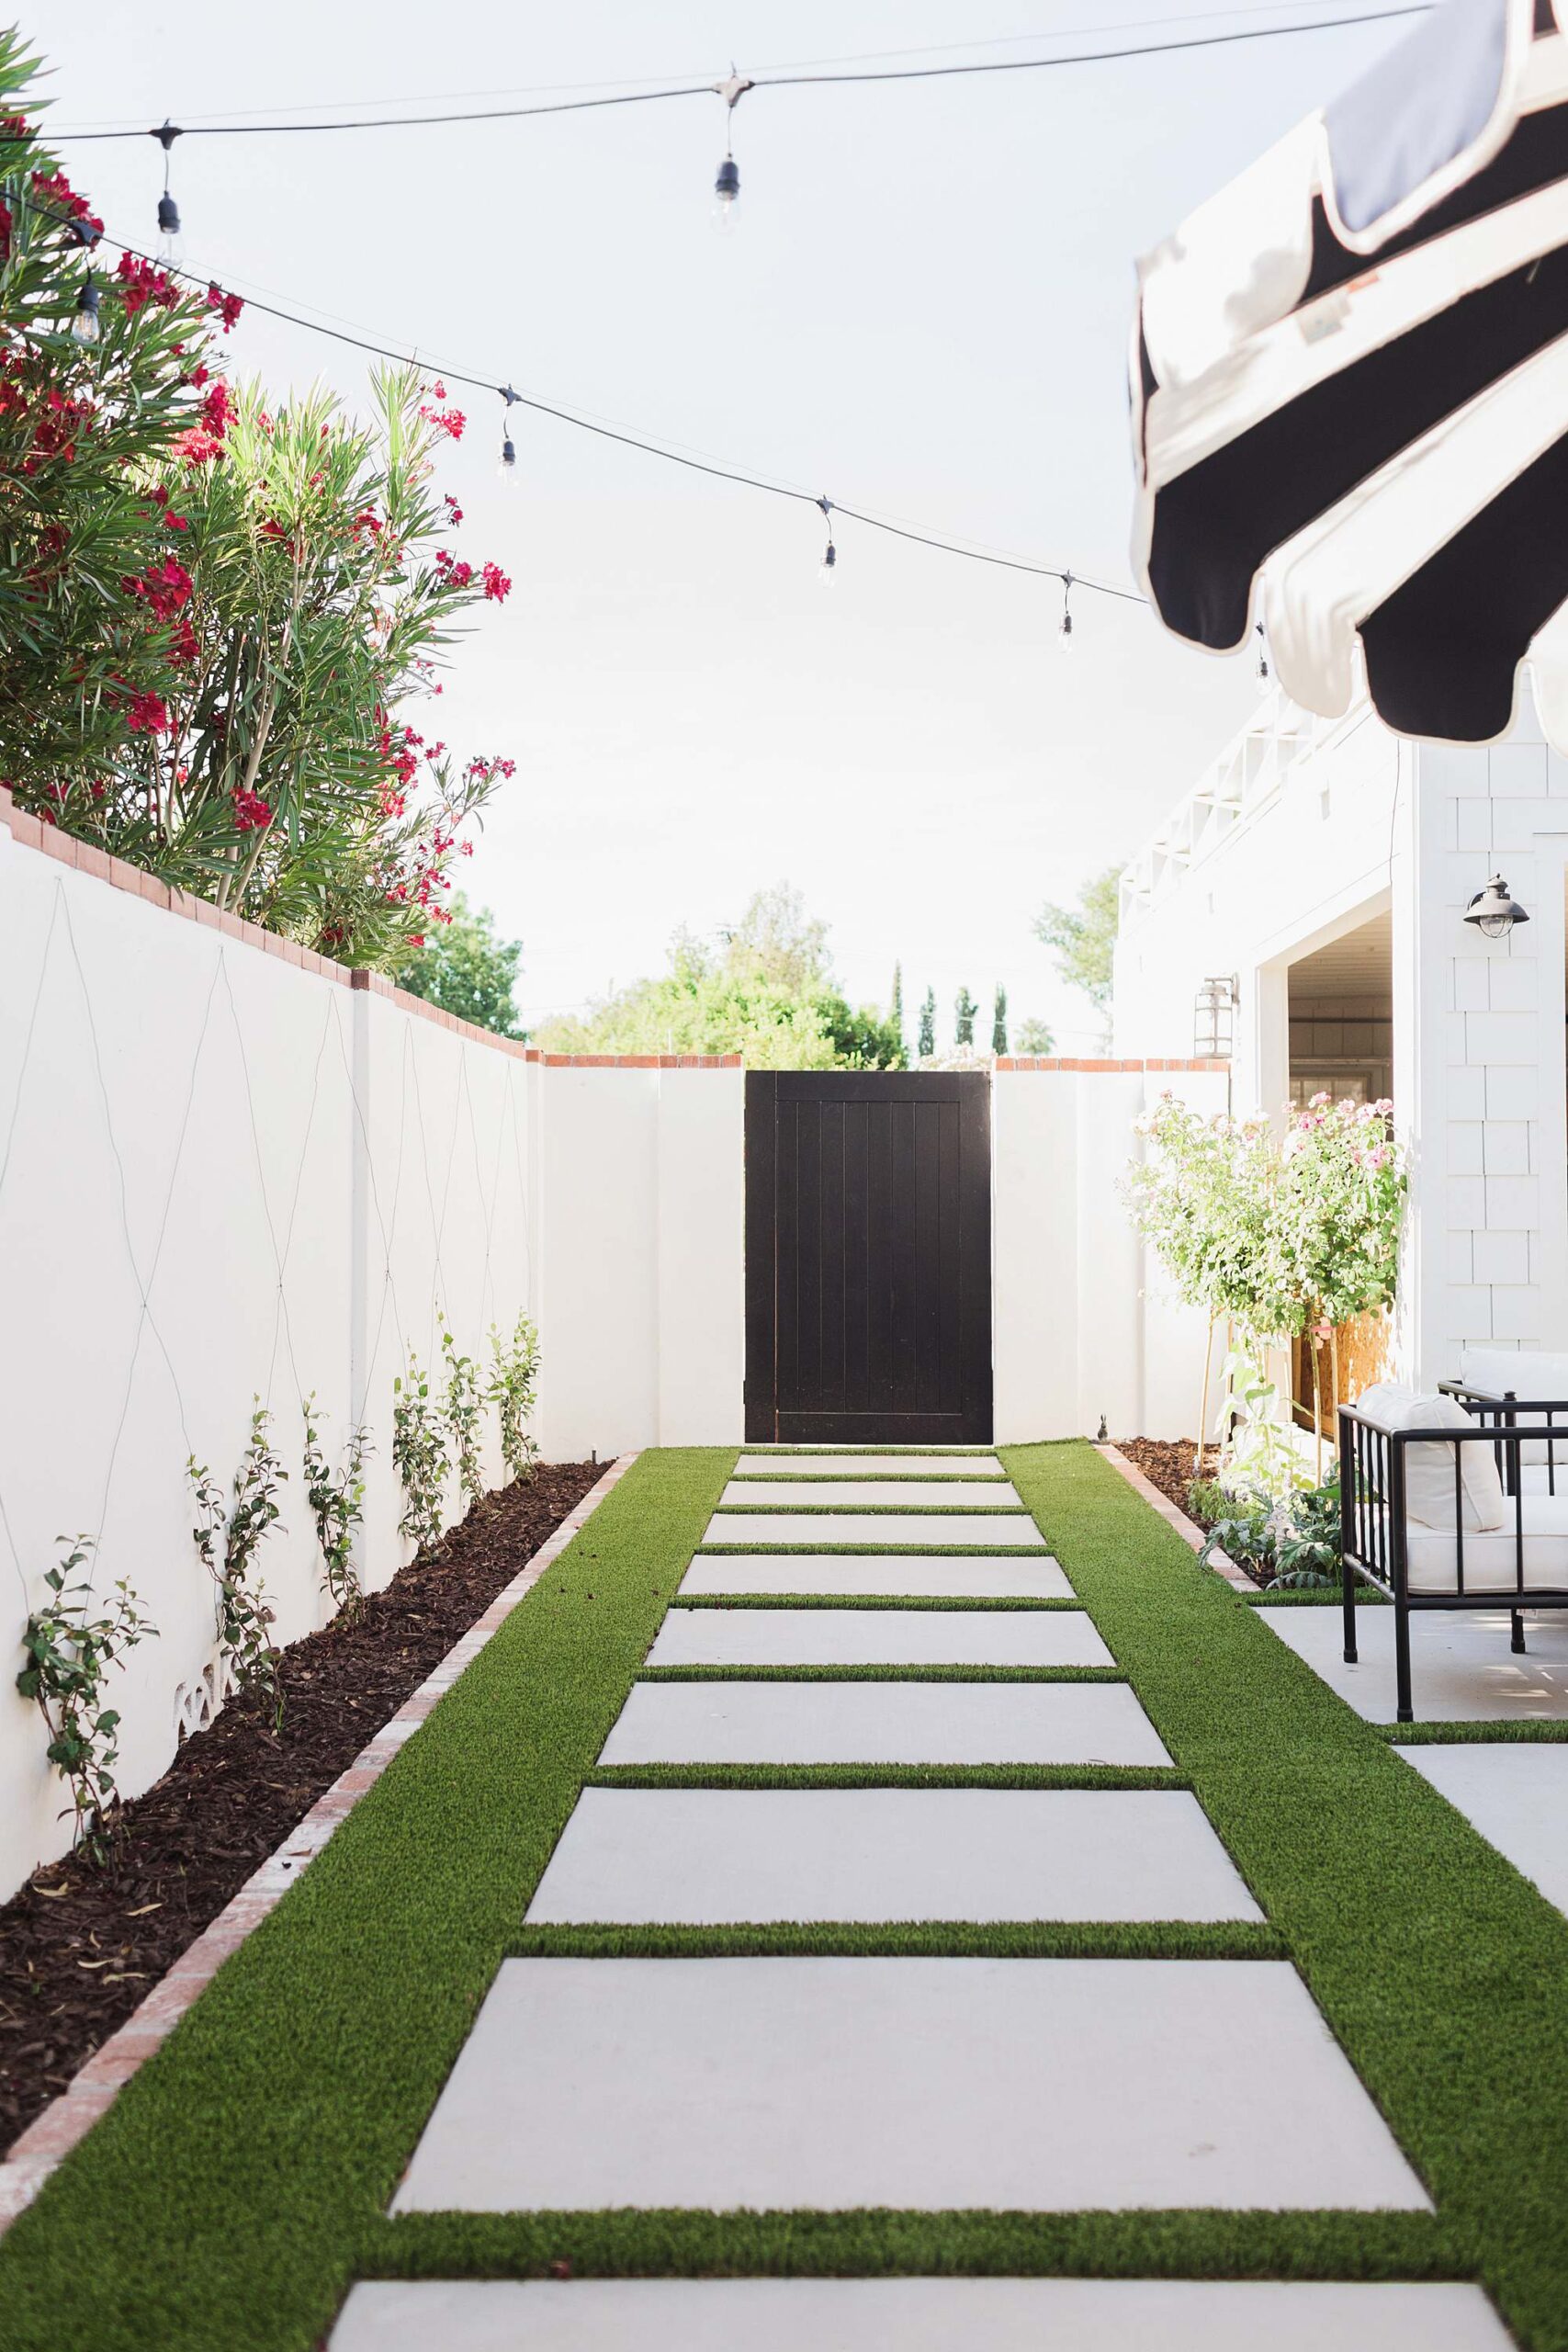
I went to the nursery and bought the smallest gallon of climbing star jasmine I could find. I couldn’t buy 13 huge ones, I wanted to save money and patience would just have to come. I untangled each plant’s vines and wrapped them around the wall just going up on both sides. Clip the vines that are growing the wrong way.
Here is HOW TO INSTALL a diamond trellis –
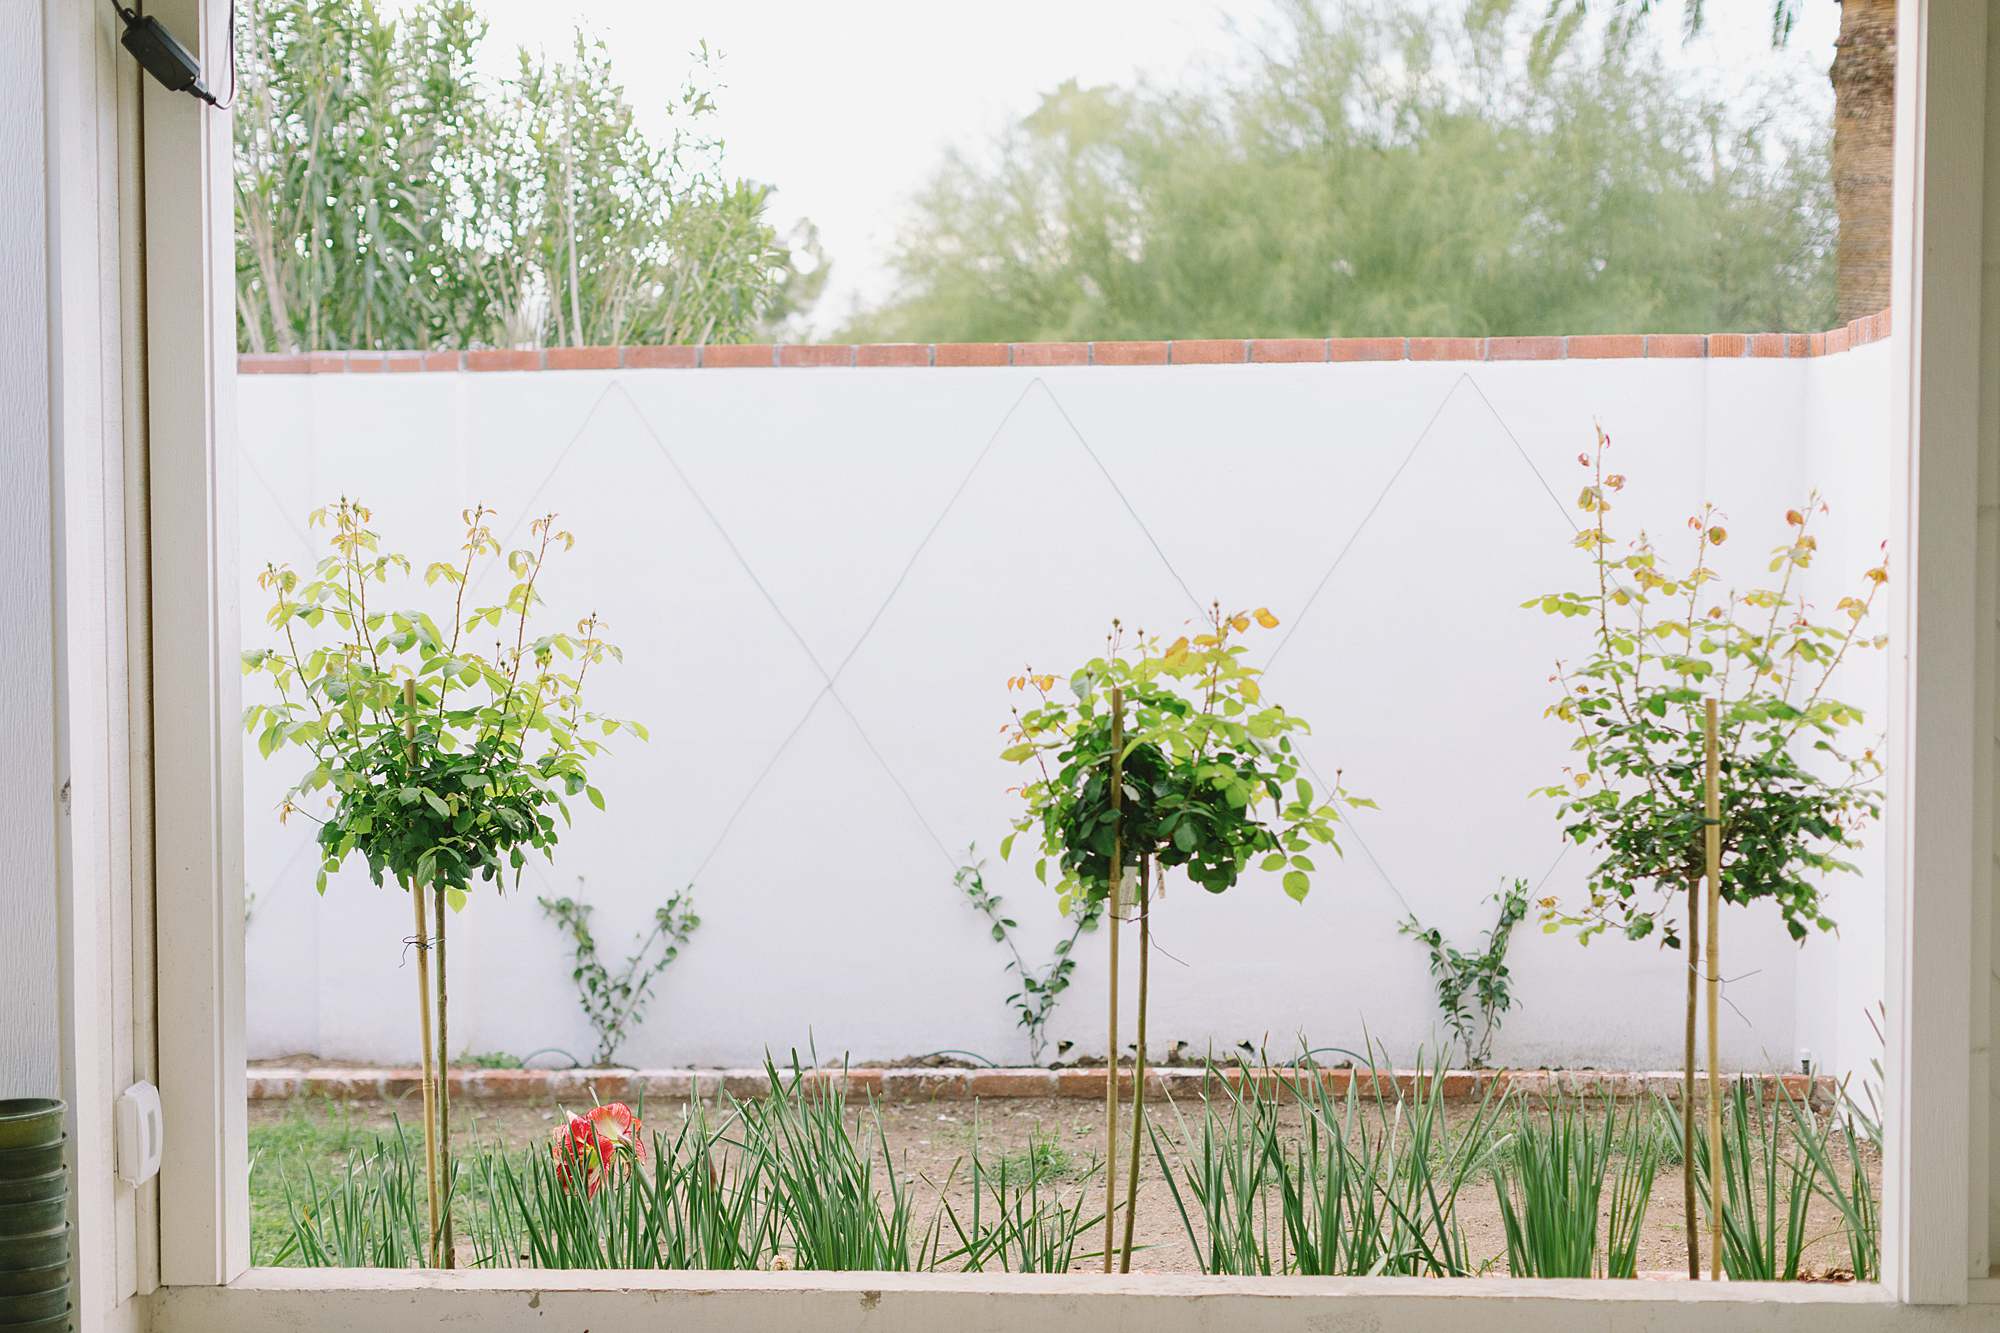
- Determine your diamond pattern size: Measure the wall width and divide by the numbered diamonds you would like. TIP: Do not go less than 22″ wide. What I show you is 46″ wide.
- Tape a string to assist with marking the top, middle, and center of diamond. Use chalk to mock up size.
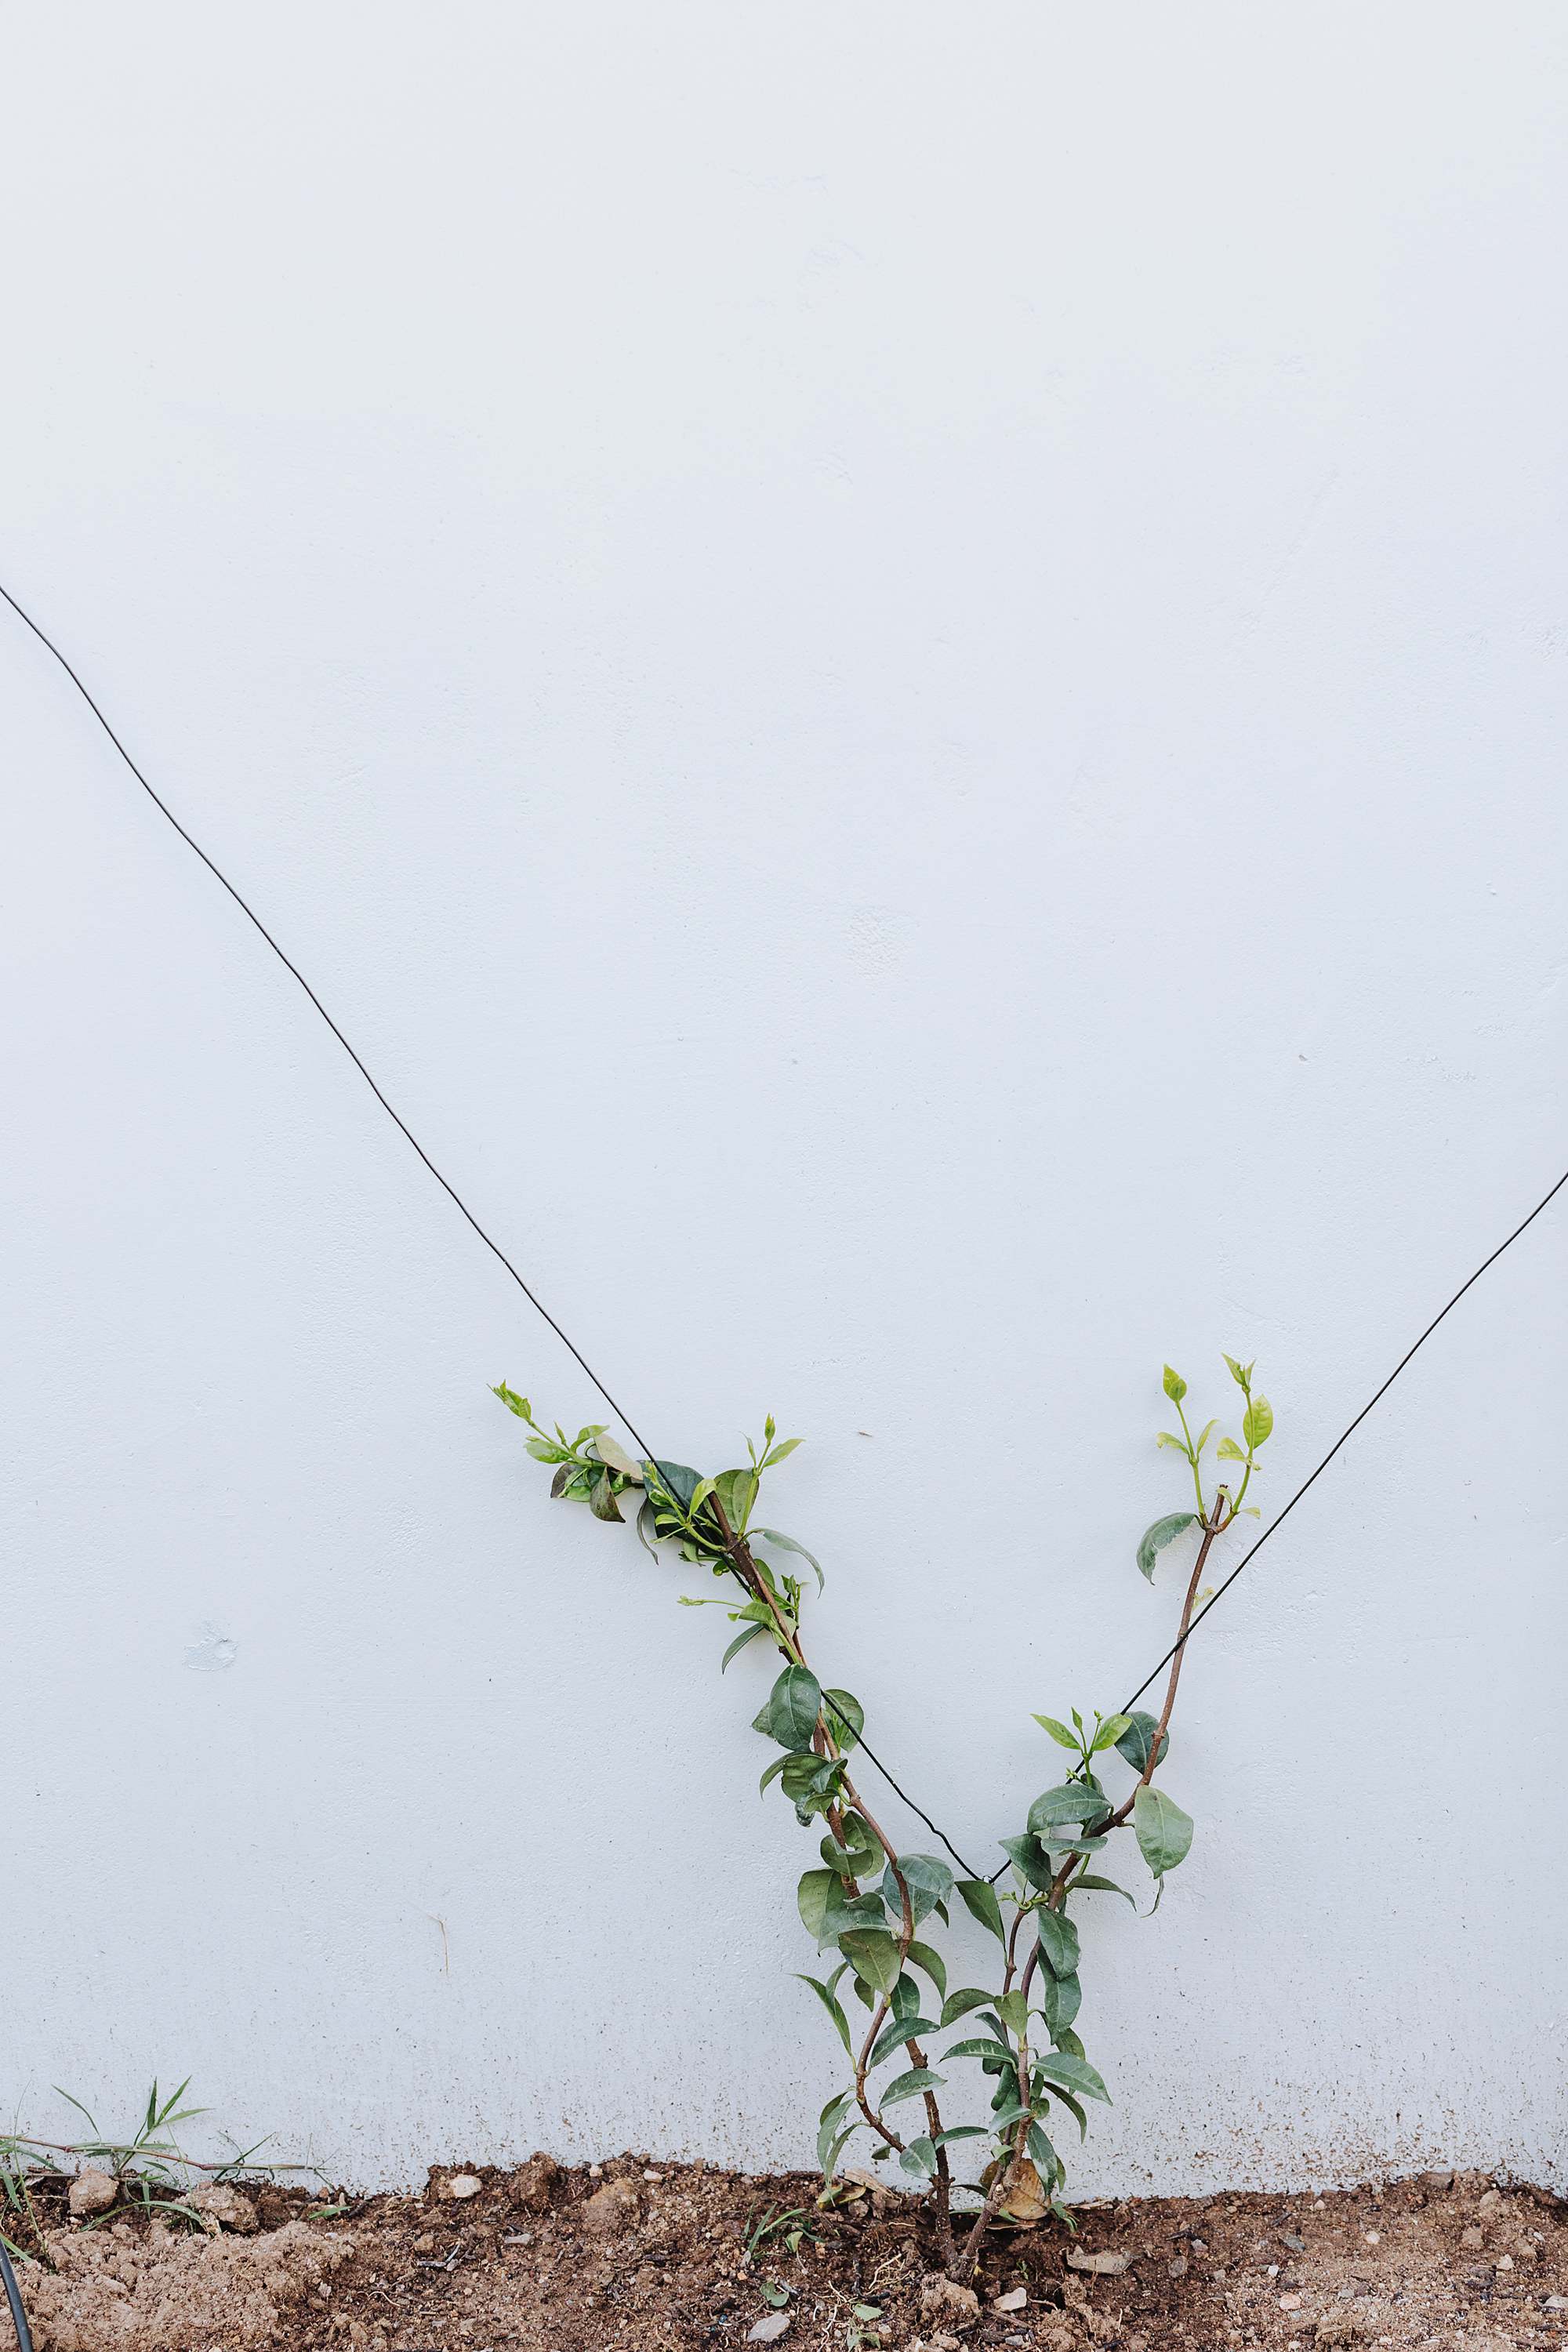
- When satisfied, drill diamond points and hammer wall plugs.
- Plant the vine at the base of the diamond.
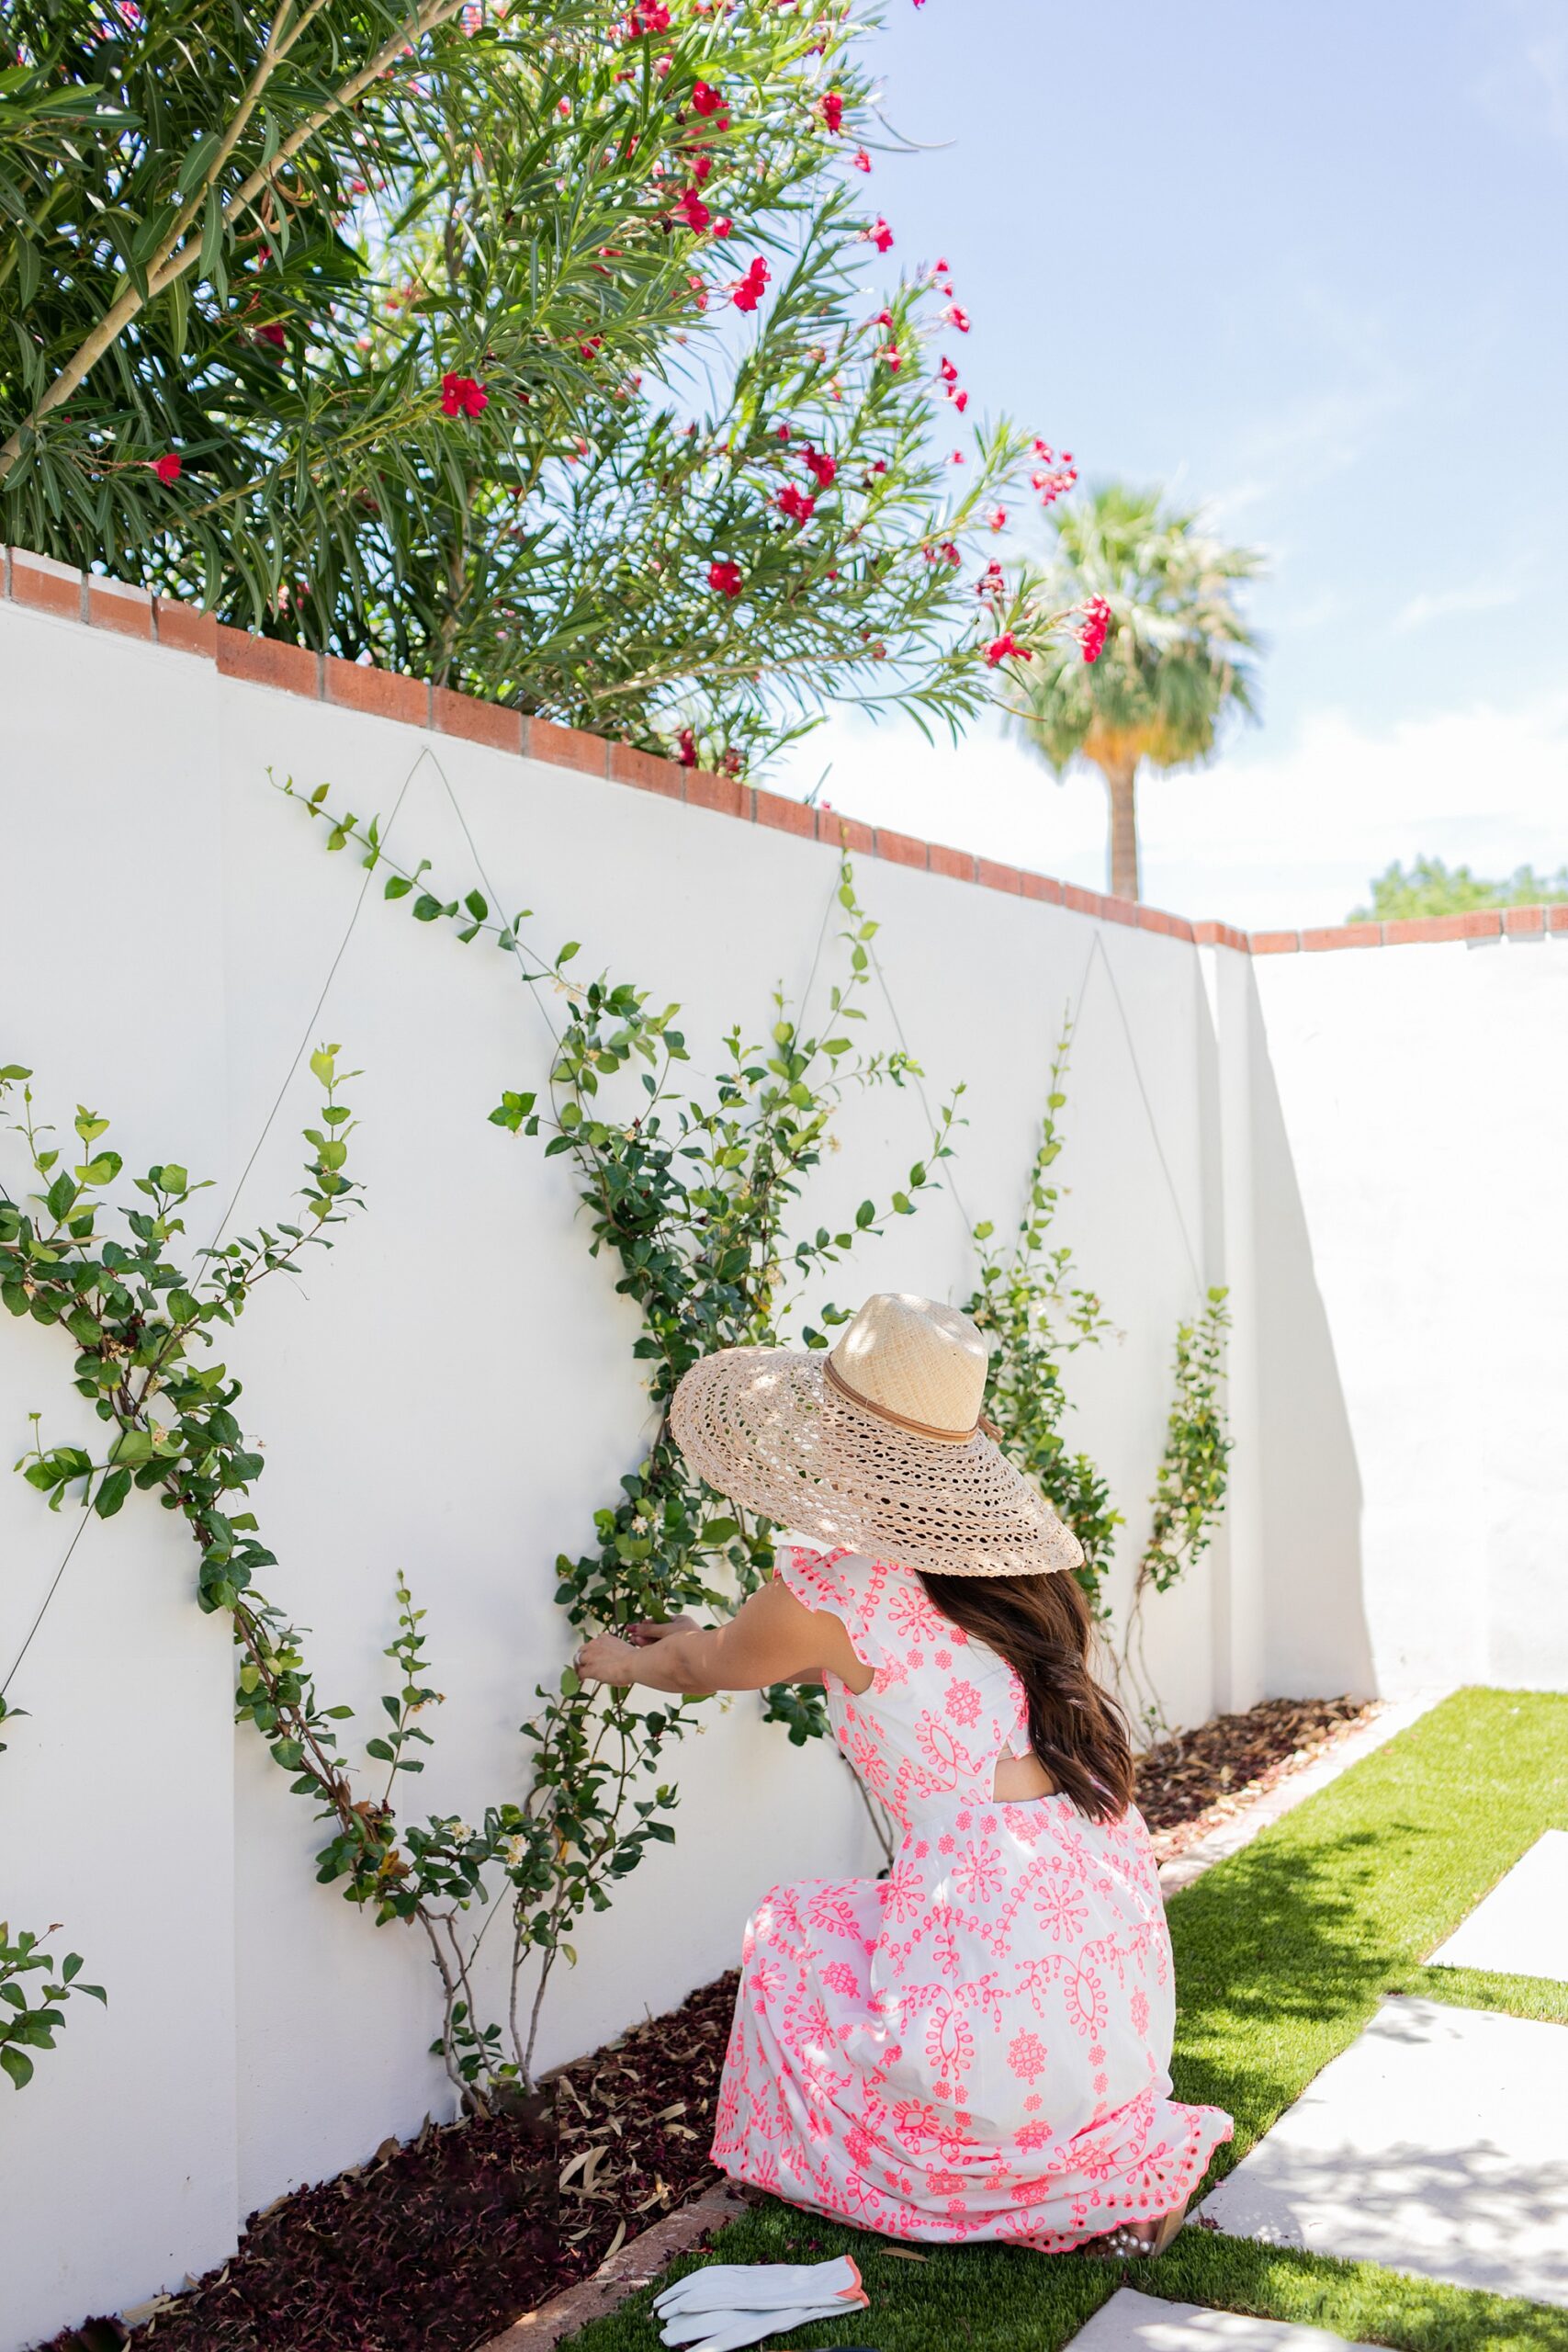
- Untangle each plant’s vines and wrap it around the wire going up on both sides – I love star jasmine, it does not stick to walls yet is trainable.
- Once planted, clip the vines that are growing the wrong way (toward you). It will allow the plant to put more energy to grow taller.
-
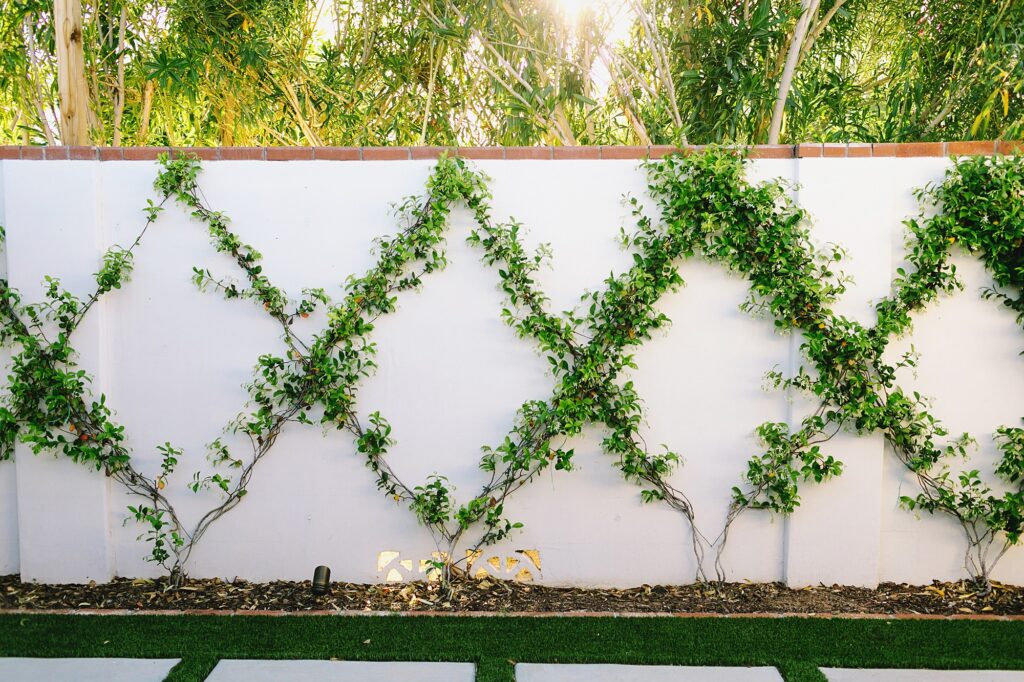
ALL DONE!Water well, fertilize, and allow vines to overlap. Occasionally trim when necessary.
My vine walls in phases
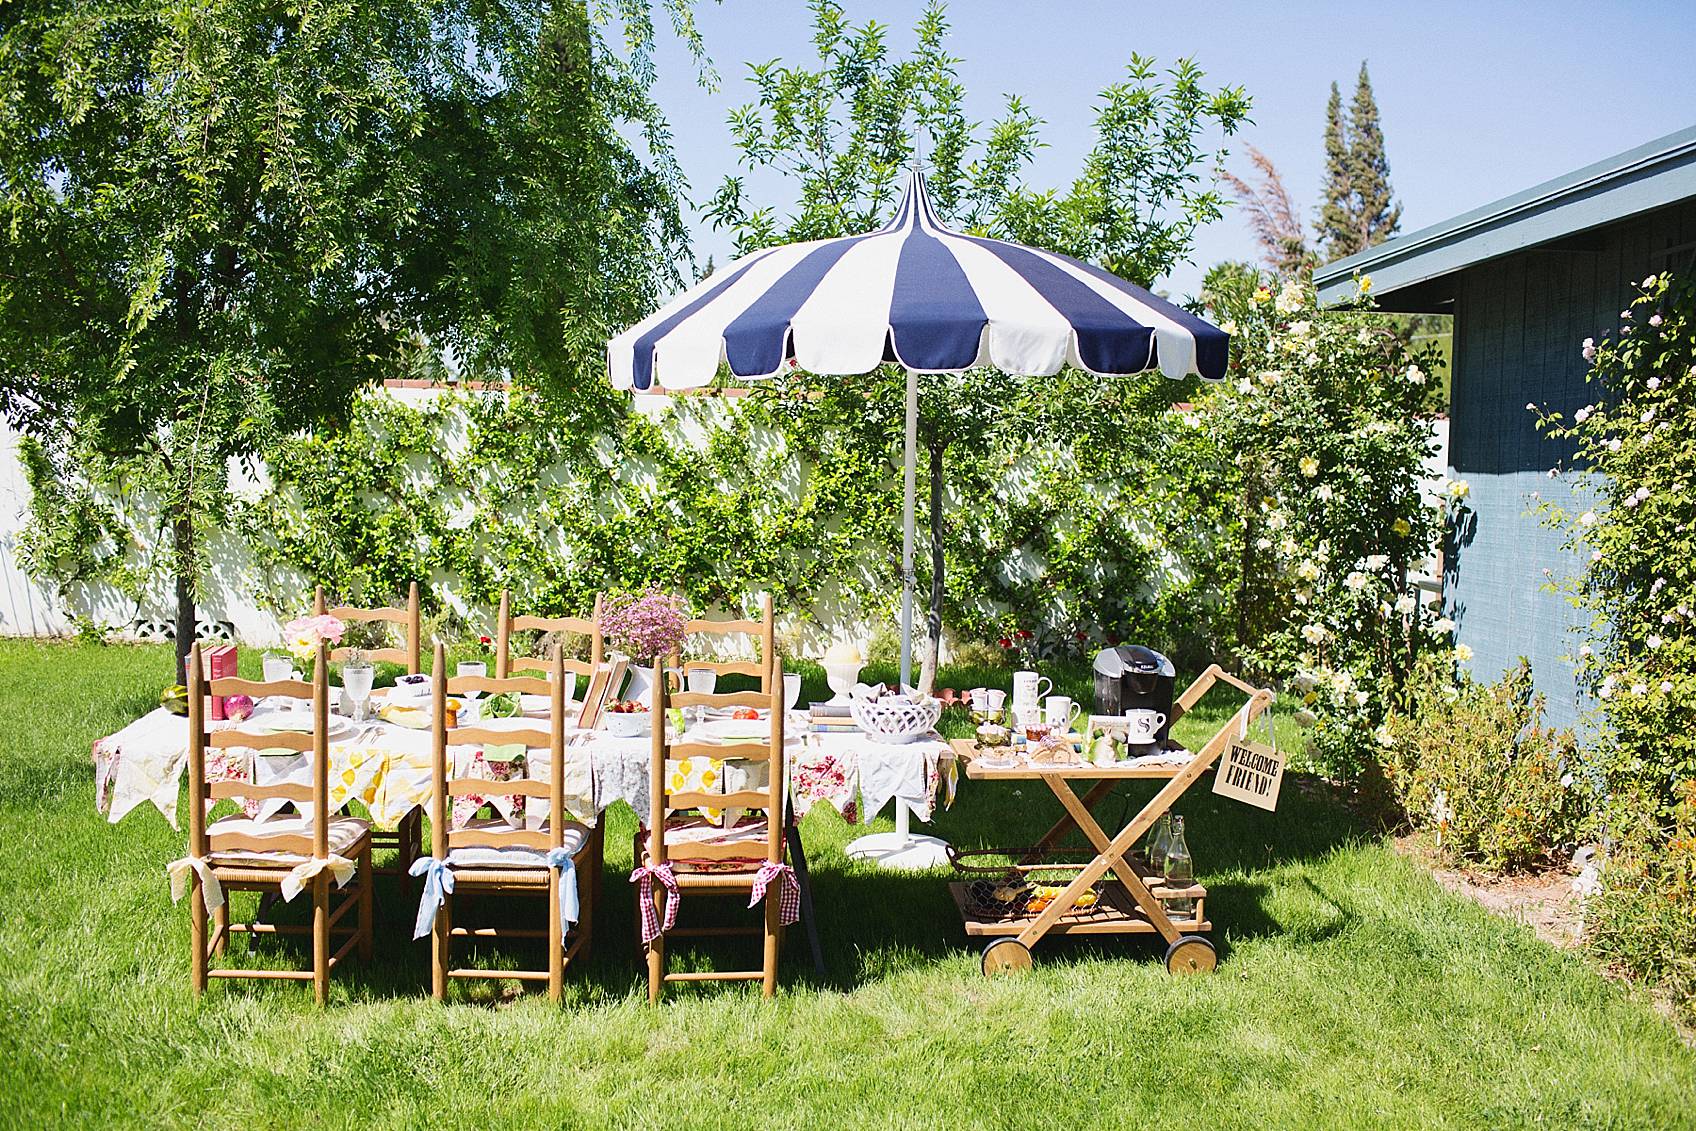
Let’s look back at some old vine photos. It’s crazy to see my backyard like this, completely bare and now it’s filled with trees and the wall is covered. Let this be encouragement to all of you if you are starting with a barebones no personality backyard. We all start from somewhere.
You can see how 22″ is enough, don’t go smaller than that. You also don’t need to touch the very bottom of the soil, a few inches above is good. This might seem like too much but it really is gorgeous to have a lot of little diamonds.
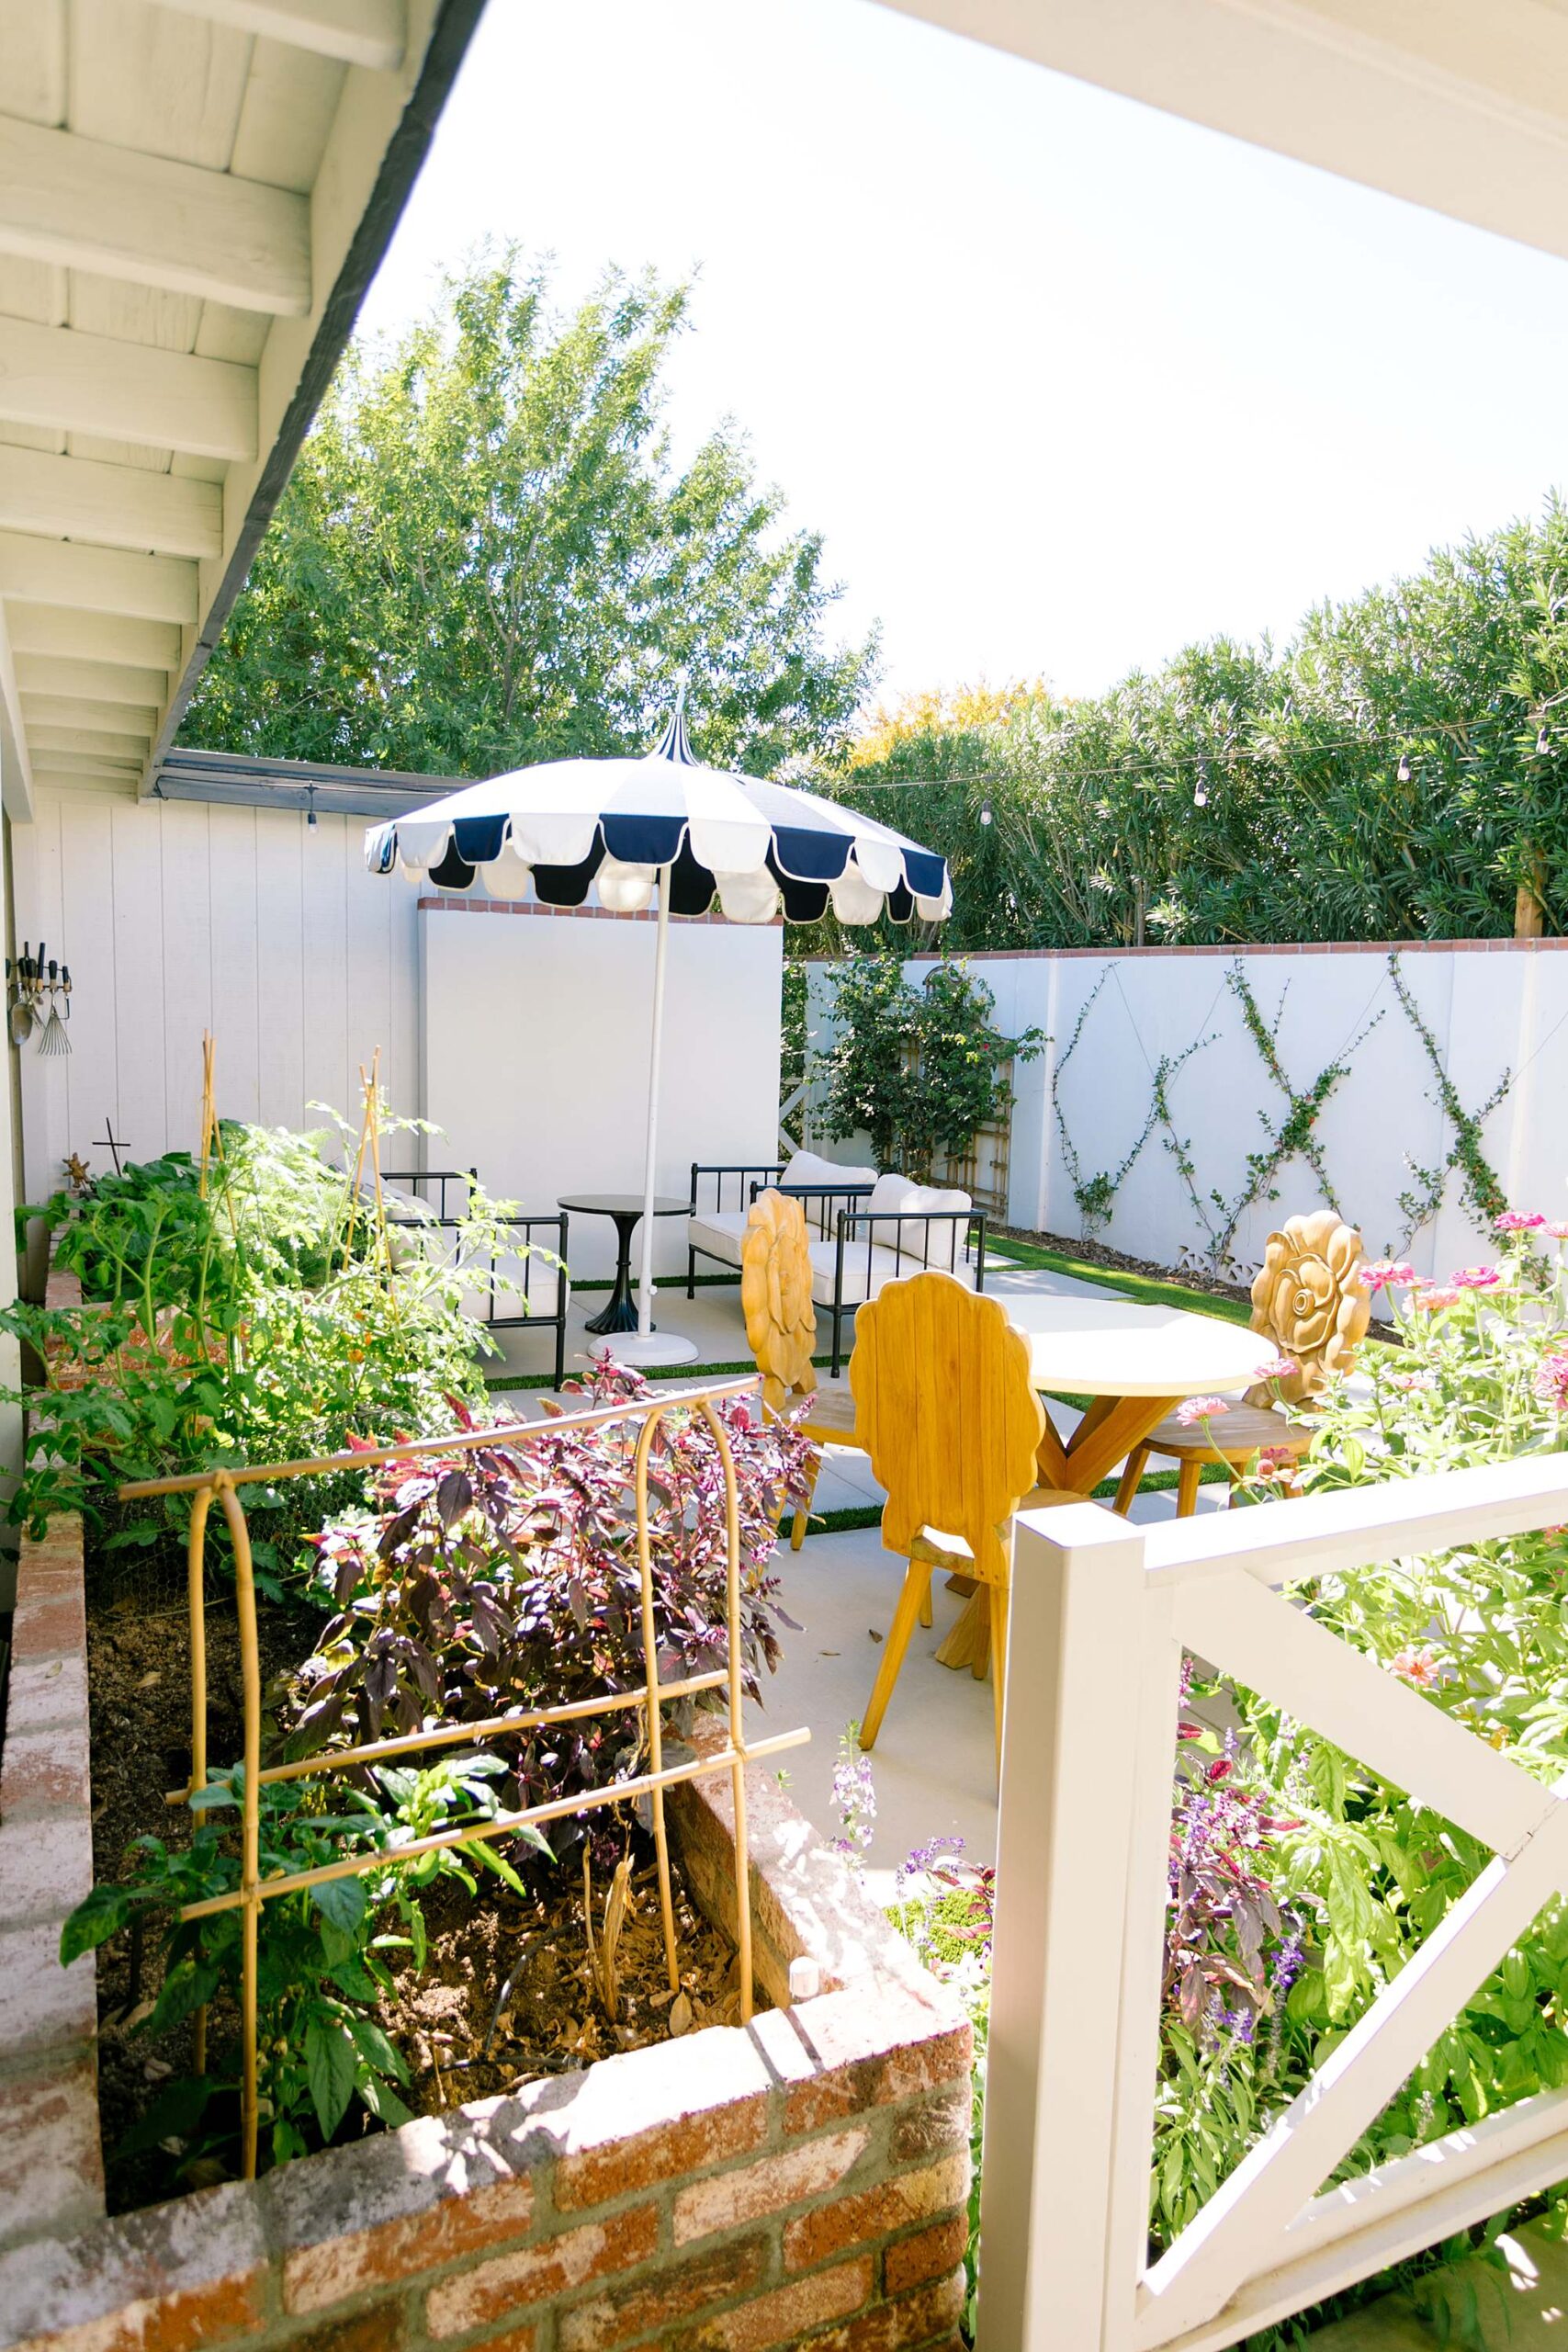
Within two years it looked like this –
How to maintain A VINE TRELLIS
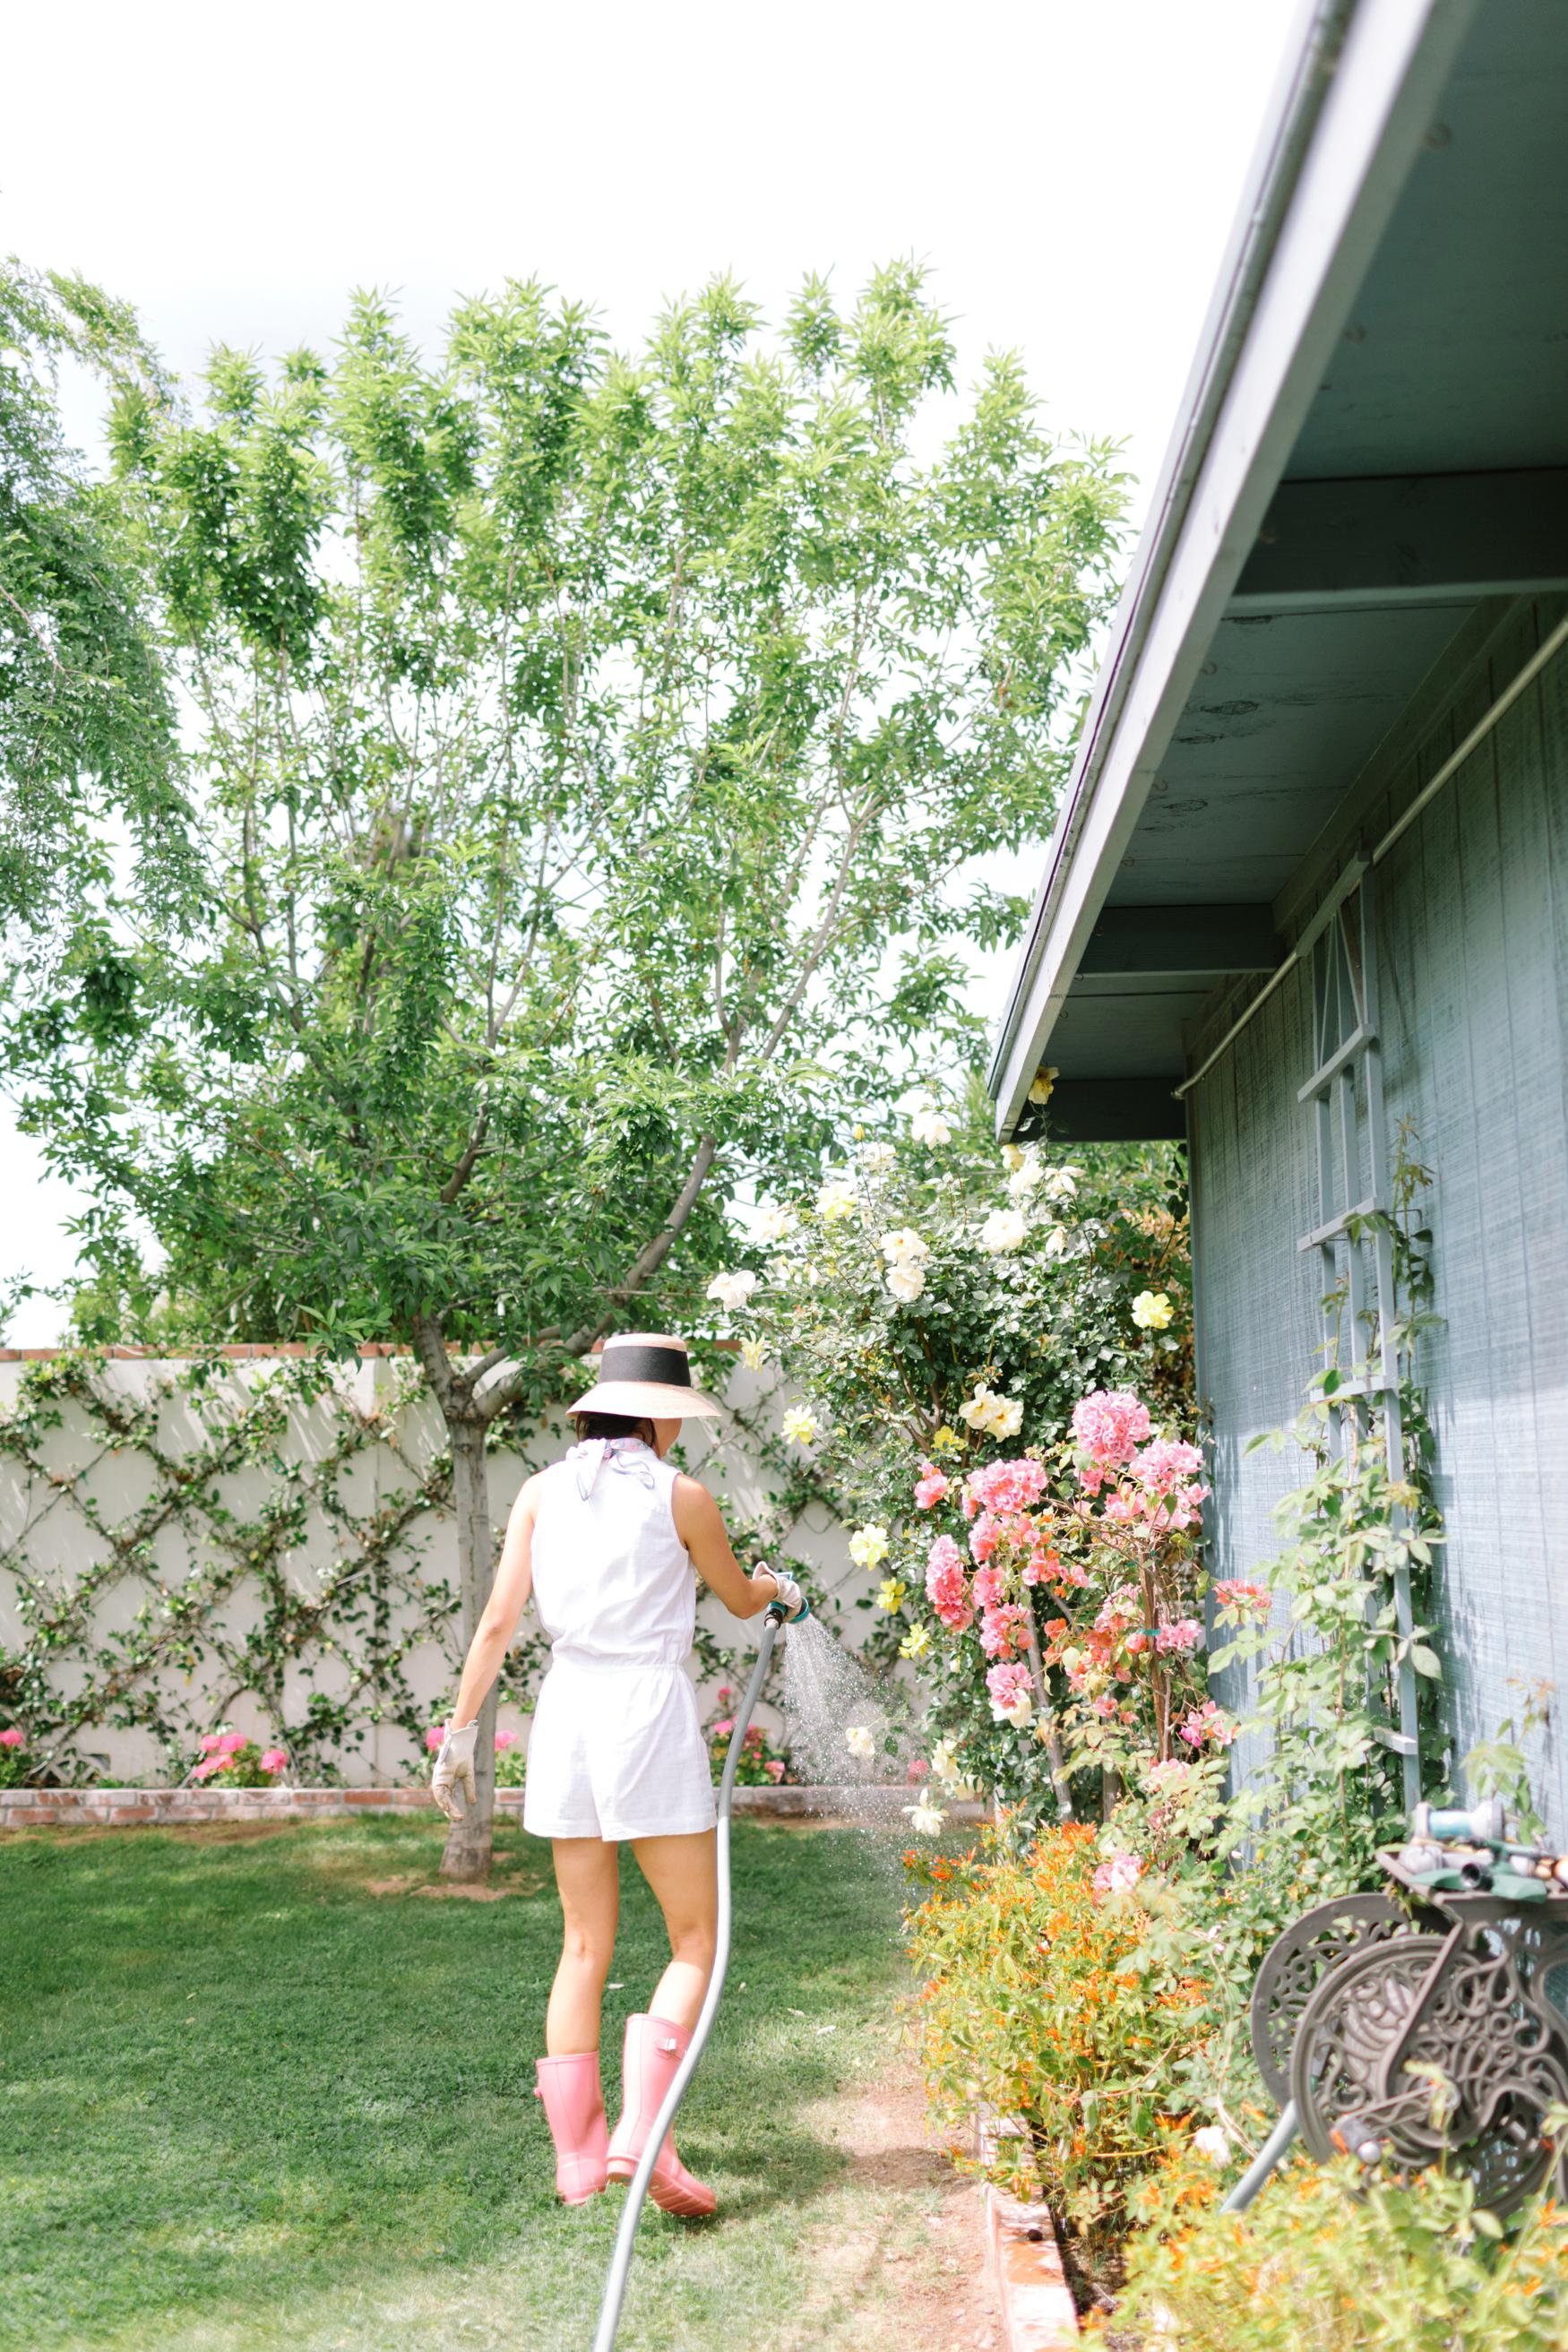
I used to trim them every spring so they would stay in a diamond shape. It really took forever. It’s exhausting and I decided to let it be. I will take a hedger and cut anything that pokes out from the wall. Anything between the eyelet screws can be quite difficult. Some seasons I hire my friend Jill to come and help me prune everything, the roses, citrus and the vine wall.
I suggest if you live in Phoenix to cut them as soon as the cooler weather hits because you have a good few months of non crazy jasmine growing time. They grow like a weed in the spring so there’s no point cutting at the start of spring or else all your pruning goes to waste.
Here are the tools all on Amazon: eye screws with plug anchors with floral wire – and to get the eyelet screws secured to any cinderblock wall you’d probably want some plastic anchors and a good drill bit for the material you are drilling into – concrete block or wood. It truly is worth the work and patience, it’s just beautiful and a great way to fill up a wall and bring in greenery.
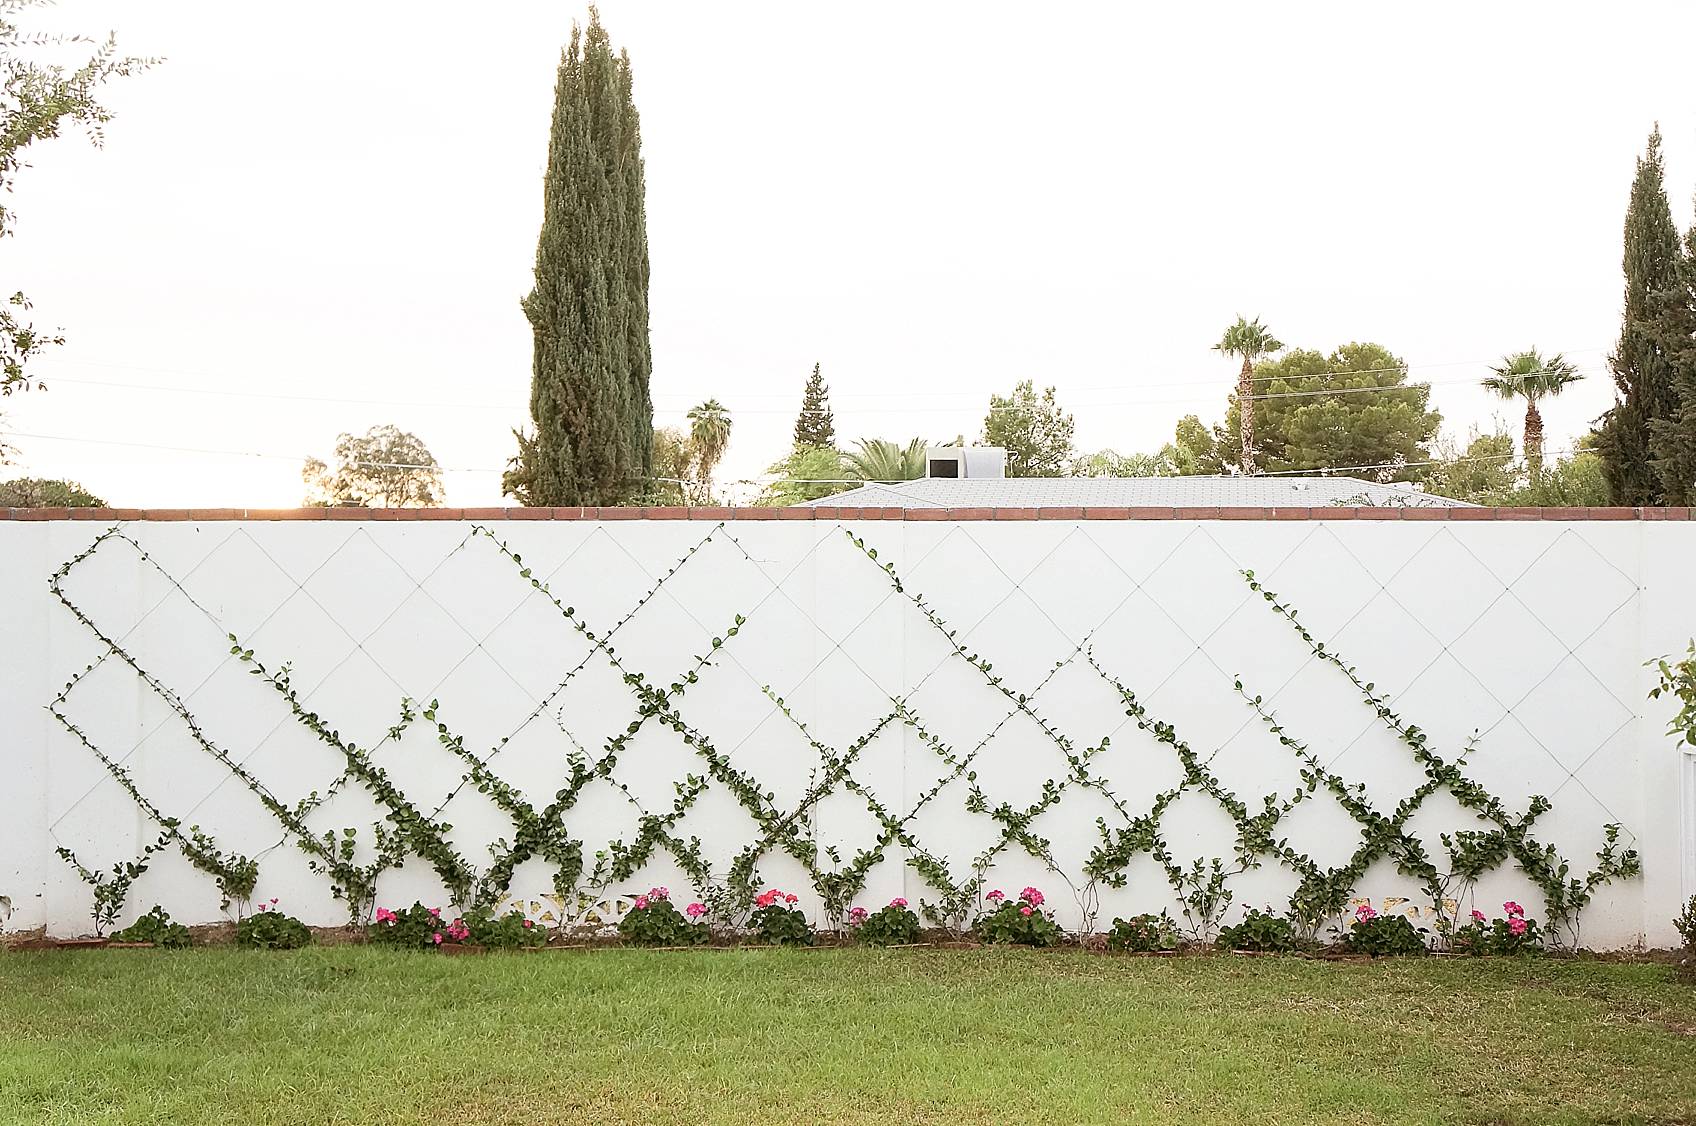
Now we have a new area and here’s what I did instead – large diamonds! I simply measured the entire width and divided by a guess of numbered diamonds I’d like, adjusted it until I was happy with the spacing, which I recommend around 40″ if you want a large diamond.
The top and bottom row are aligned, and then I divided the width and started my next line with dots so I knew where to drill for the eyes crews. You can use chalk and see if you like the look before you start drilling.

If you have any questions please feel free to ask in the comment section.
*This post has been updated from it’s original publish date on October 4, 2017.
Kathleen
Is there a vine that will grow in zone 7 for this purpose? I don’t think star jasmine will survive here.